Glass Is The Best!
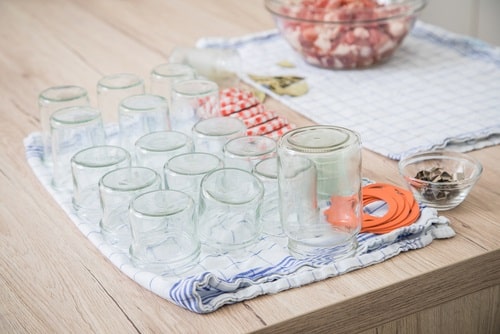
One of the most important parts of food storage and preservation is ensuring that the containers are spotlessly clean and germ-free. Glass jars are better than containers made of any other material for this and other storage purposes.
Changing from plastic to glass has benefits both for the environment and for your health. Using glass jars minimizes your exposure to harmful BPA and phthalates.
Plus, glass is completely nonporous, which means the jars will not stain or absorb odors. Sure, glass is a little more expensive than other forms of food storage, but it can be washed, sterilized, and reused over and over again and still look brand new.
Sterilizing Is Vital
Sterilizing is a crucial part of food preservation and serves to remove any bacteria, yeasts, or fungi, thus protecting the food you put into the jar from spoilage.
Dirty jars or even clean, unsterilized ones can infect the food inside, causing it to spoil very quickly and even causing you to get food poisoning if you eat it.
Sterilizing is a quick and easy process that should never be omitted. After all, canning and preserving require a lot of time and effort, so don’t let all your hard work go to waste.
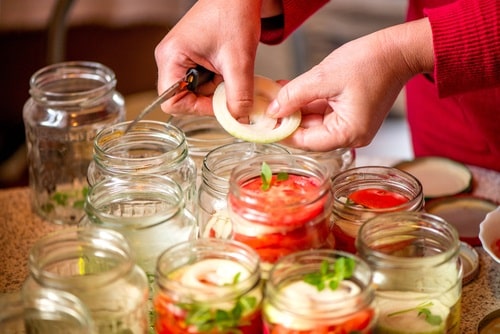
Here are simple ways to achieve proper sterilization and make all your efforts at jam making, bottling, and canning a success. Sounds like a difficult process? Don’t worry.
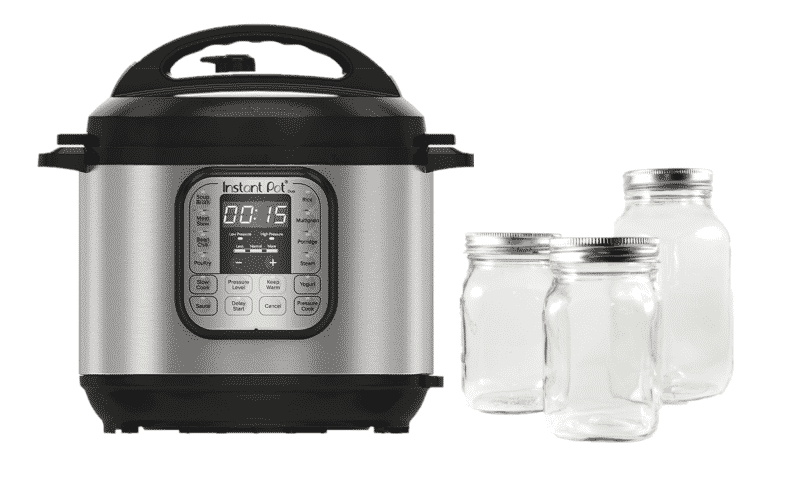
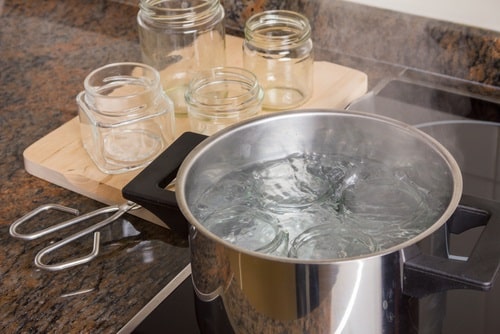
You can do this easily with your Instant Pot in less time than it would take in a saucepan on the stove. Of course, you can dry-sterilize jars in the oven, but this uses more time and electricity than quickly doing the job with your Instant Pot.
Here’s how to sterilize your jars and their lids in your Instant Pot and prevent your jams, sauces, and other preserves from going moldy.
Things you will need to sterilize jars in your Instant Pot
First, make sure to have enough water inside the pot to create steam and, therefore, pressure and heat. This depends on the size of the jars and the pot, so use this handy quantity guide:
- 1 cup (250 ml) water for a 3-liter pot
- 2 cups (500 ml) water for 5–6-liter pot
- 3 cups (750 ml) water for an 8-liter pot
How to Sterilize Jars in Your Instant Pot – Step by Step Guide
Step 1:
Now that you have added water, it’s time to insert a steam rack or basket inside the pot so that your jars will not touch the bottom of the pot. If they do, they may crack. This is an essential step to make sure the device doesn’t display errors and will function properly.
Step 2:
Make sure when you place your jars on the steam rack that they are inverted (upside-down). You can sterilize the lids of your jars inside the Instant Pot with the jars but do not put them onto the jars.
If you screw the lids onto the bottles, the pressure will build up inside the jars, and they will explode. So instead, rest the loose lids among the bottles in the basket.
Step 3:
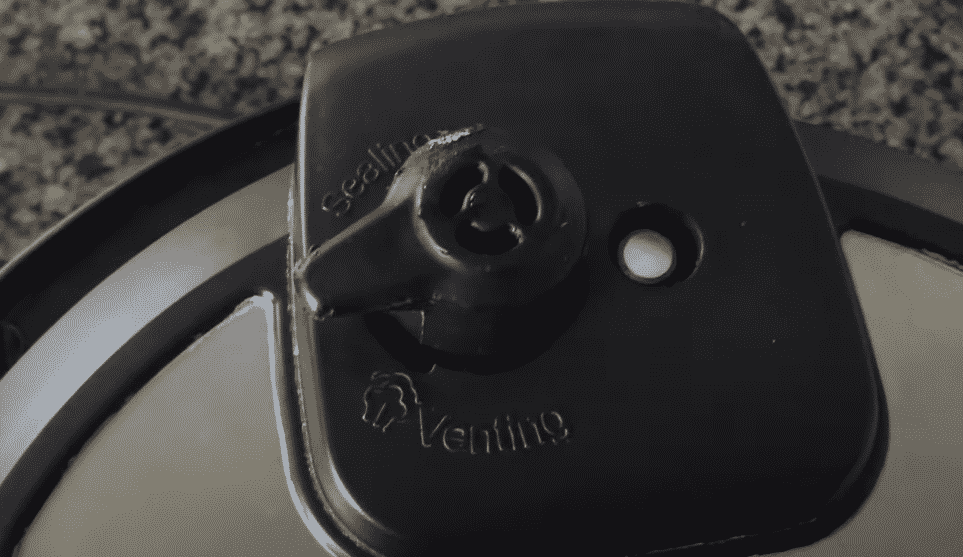
Once you have placed everything on the steam rack, it’s time to close the pot’s lid. Make sure you seal the lid of your instant pot correctly.
Step 4:
Now comes the fun part – which settings to choose?
- Well, if you have an older version of the Instant Pot, you can choose the “steam” or “pressure cook” functions.
- Select either, set the pot to high pressure, adjust the timer to 15 minutes, and hit start.
- If you have one of the latest models, press the preset “sterilize” button and let your Instant Pot do the magic.
Step 5:
Once the time is up, you need to release the pressure. Make sure not to touch anything for 5 minutes. Let your Instant Pot cool down naturally for this time, then release the steam. After that, you can remove the lid carefully.
Final Step:
Now grab your tongs or oven mitts to transfer the jars from the pot to your drying rack and wait for them to dry. You can use a tea towel to dry the outsides but don’t use it in the jars as you want to keep them sterile inside.
Just don’t leave the sterilized jars open to the air for too long. If left for more than a day, you will need to sterilize them again. It’s best to fill them with your preserves straight away while they are still warm.
Important Note
Do NOT add cold food to hot jars or hot food to cold jars; otherwise, the jar will shatter, which is very dangerous.
You can also store dry items like pasta, flour, and rice in sterilized glass containers to improve their shelf life. Just make sure that they are completely dry before filling them.
We hope this article has shown you how simple it is to use your Instant Pots for sterilizing glass jars. Happy preserving!