
DISCLOSURE: This post may contain affiliate links, meaning when you click the links and make a purchase, I receive a commission. As an Amazon Associate I earn from qualifying purchases.
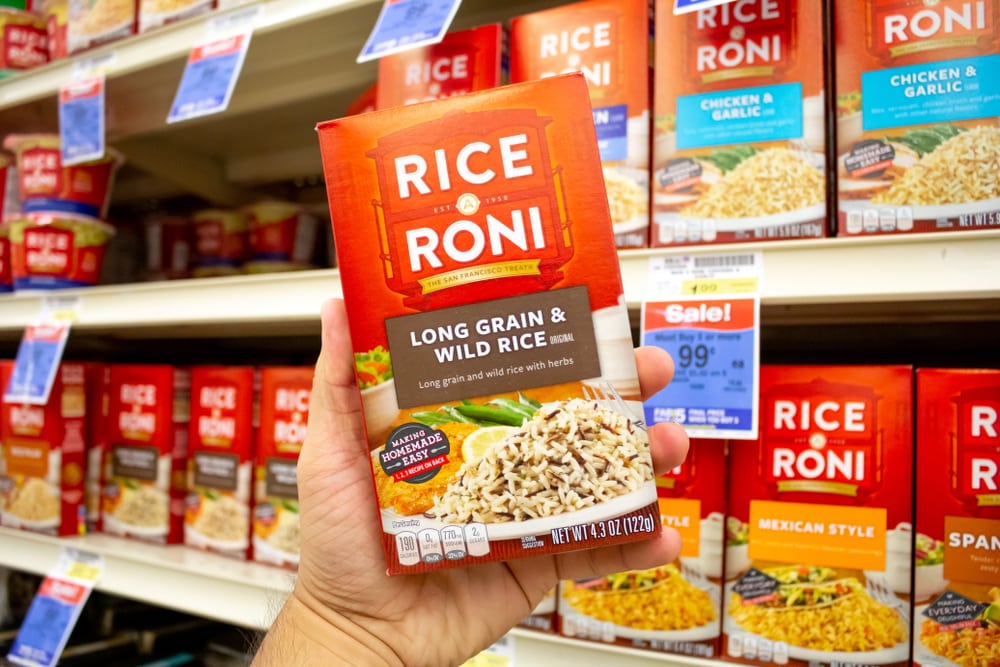
Rice-A-Roni is a popular boxed meal preparation kit. It consists of orzo pasta (rice-shaped pasta), rice, and seasonings that are quick to prepare.
It is made by frying the pasta and rice in butter, adding the seasoning, then adding water. The dish is cooked until soft and all the water has been absorbed.
Many people like to add bits of stir-fried meat, chicken, and vegetables to the dish. While it is simple to prepare, it is not always easy to get the right texture.
Sometimes the finished rice and pasta are too mushy. Read on to learn how to prevent and fix this.
[amazon box=”B06Y446KPY”]
How To Make Rice A Roni Not Mushy?
- Water Issues
First of all, some people leave the dish cooking until every last drop of water gets absorbed even when they have added too much water. This leads to mushiness (and is the most common reason).
If you have added too much water, when the water starts to boil, just pour out the extra water. Once you have taken out the extra water, lower the heat setting to low-medium and let it cook until the Rice-A-Roni is all fluffy and soft.
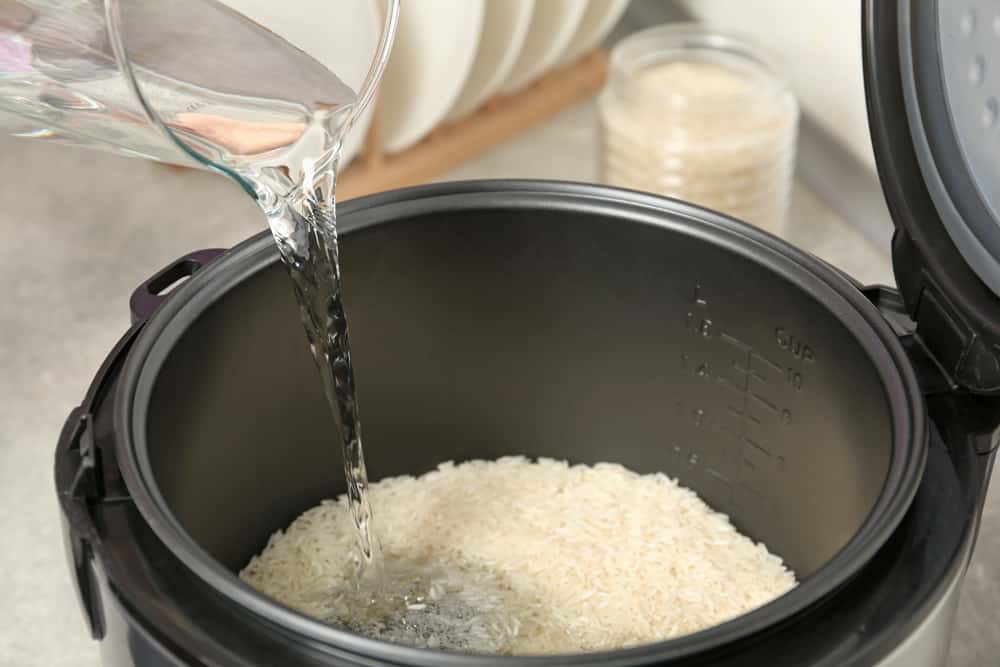
Prevent this issue in the first place by following the package instructions regarding exactly how much water to use. Two cups of water are usually recommended.
Always ensure that you boil the water before adding it to the browned rice, pasta, and seasoning mix. This will ensure quicker cooking and the Rice-A-Roni will not have time to absorb too much water and get mushy.
Once the water has been added, cover the pot with a lid, reduce the heat, and simmer until just done. A maximum of 15-20 minutes of cooking time is suggested.
Do not stir it while it is cooking and try not to remove the lid until the end of the cooking time.
- Pot Matters
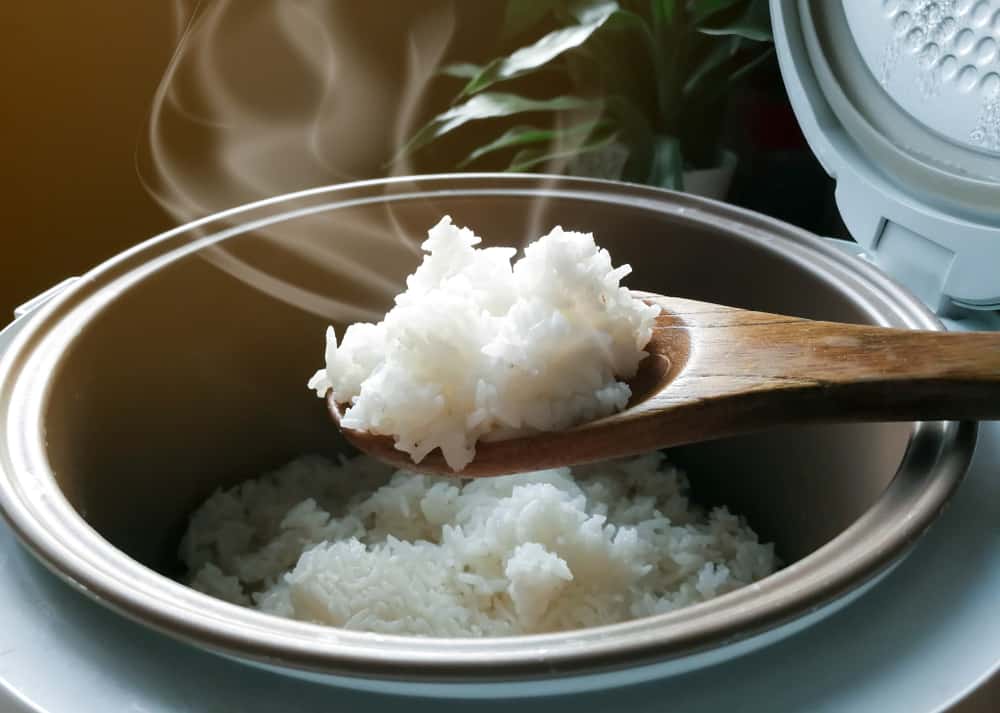
Using the wrong pot can spoil the texture of your Rice-A-Roni. An Instant Pot or rice cooker works great for it. Rather than using a saucepan, choose a skillet.
A cast-iron skillet is not recommended as it may cause the rice to stick and burn.
- Neglecting the Sauté Step

The sauté (browning) step is important not only for flavor but also for preventing the rice and pasta from going mushy.
It creates a “seal” around the grain, stopping it from absorbing too much water and becoming too soft.
- Wrong Heat

If the flame is too high, the texture will be impacted. You need to use a medium or low flame setting.
As for the water, you need to ensure that it is on a nice simmer level with mild bubbling rather than full-rolling water.
Fixing The Mushy Rice-A-Roni
If the Rice-A-Roni is already mushy and you are unsure of how to fix it, here are a few things to try.
- Microwave

Try spreading out the cooked Rice-A-Roni on a baking sheet in a thin, even layer. Put it in the microwave for two to three minutes (on a low setting), and it will turn out perfectly crispy.
- Fridge

Nothing can beat this cold solution. In this method, you need to spread out the Rice-A-Roni on the baking sheet in a thin, even layer and cover it with a sheet of baking parchment paper.
Put the tray into the fridge and let it cool down for half an hour. After this time, just put the cooled Rice-A-Roni in the microwave and reheat; all the mushiness should be gone!
Perhaps you live in a place where Rice-A-Roni isn’t available. Here’s a copycat recipe to make in your Instant Pot so that you can also try this delicious family treat.
- 2 tablespoons butter
- ½ cup dry orzo pasta
- 1 cup white rice
- 1 ¼ cup chicken stock
- ½ teaspoon dried thyme
- ½ teaspoon onion powder
- ½ teaspoon garlic powder
- ½ teaspoon salt
- ½ teaspoon turmeric
- Handful fresh parsley, chopped
- Set the Instant Pot to sauté. Put in butter.
- When melted add the orzo and rice and stir them until golden and toasted.
- Add all the herbs (except for parsley) and spices plus the rice.
- Stir with a wooden spoon in case there are any bits stuck to the bottom. Change from sautéing mode to manual mode for 8 minutes. Cover with the lid and seal the valve.
- After 8 minutes, allow to natural release for 10 minutes then vent the cooker.
- Add the parsley and fluff it all together with a fork.
Serve as a main dish or with chicken, steak, or seafood.