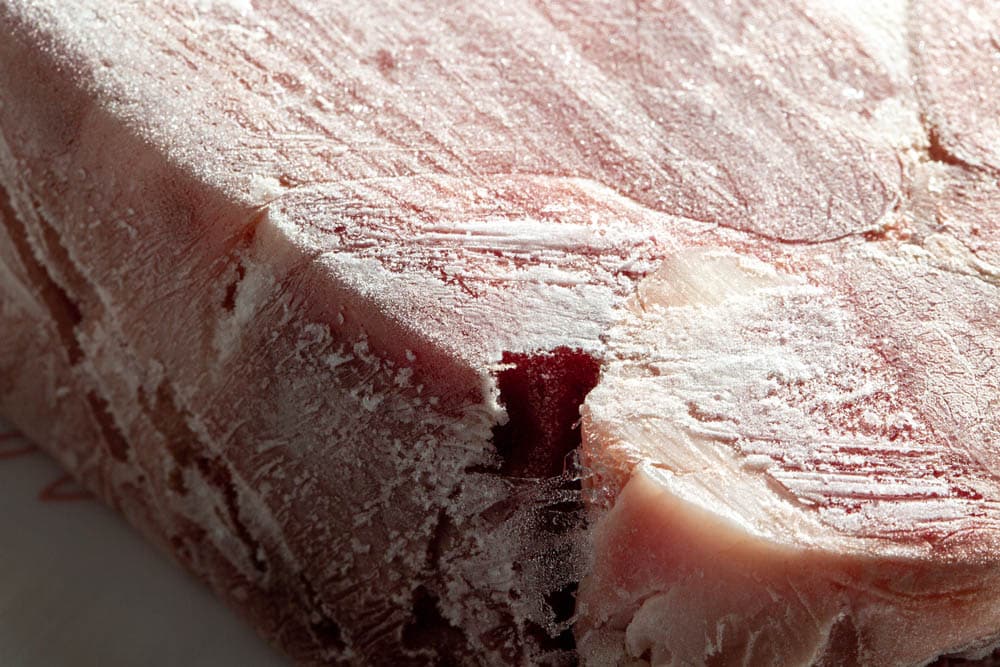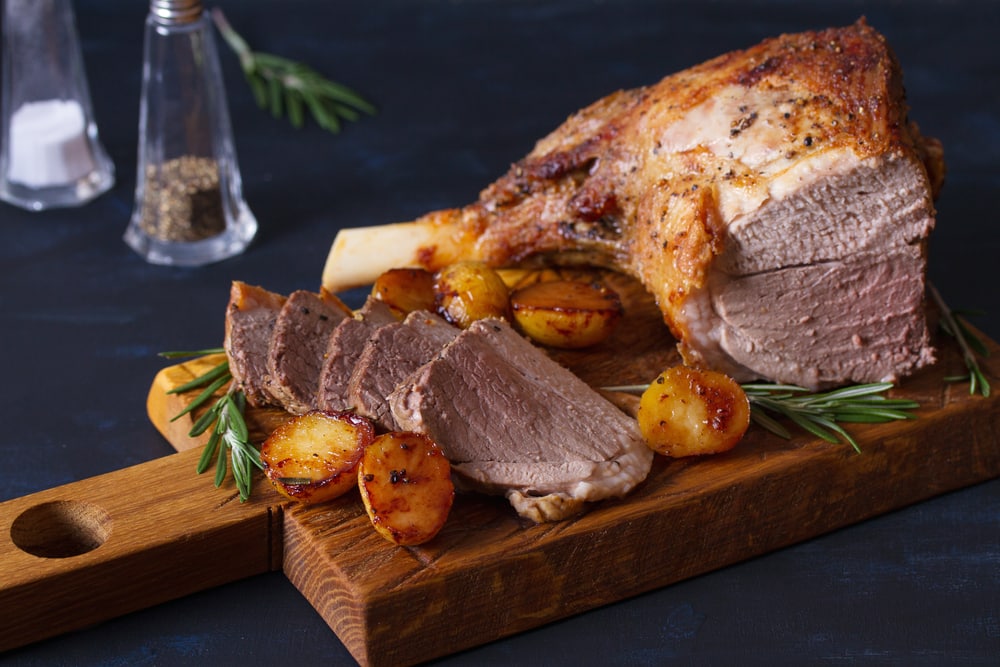
If you’re a fan of roast, it’s highly unlikely you have one in the freezer! But, if you happen to have a frozen roast, you may be wondering how to prepare it and if you can sear it. Choosing specific cooking techniques comes into play when thawing the meat for roasting.
It’s not unusual for cooks to ask if searing is the right choice for cooking a frozen roast. Keep reading to tap into all the details you need to know!
Can You Sear a Frozen Roast?
Searing is a foolproof and easy technique for cooking frozen meat, promising tender and succulent results. And, yes, this method can be applied to frozen roast too!
Known as the reverse sear method, this cooking technique is used by many high-end chefs and home cooks looking for superior texture and flavor from frozen meat.
While many people may resort to using old cooking methods, using high temperatures to cook frozen meats, the results are disappointing. The exterior side is well-cooked but the interior remains raw.
Using the searing method is an apt way of achieving tender and properly-cooked meat to your personal preference, without compromising on the crispness.
Our section below describes everything you need to know about the reverse sear method for giving you a delicious, flavorful roast cooked from frozen!
Reverse Sear Method
Cooking a frozen roast can be pretty challenging, and you certainly don’t want to ruin it by using the wrong method. After all, a roast doesn’t come cheaply these days!
A common mistake many cooks make is blasting the frozen roast in a pan at a high temperature and frying the exterior before transferring it to the oven for completing the cooking process.
This old cooking method results in a tough exterior with pink, rosy but raw interior. While this may be appealing to some meat lovers, it doesn’t make a frozen roast taste too yummy! Using the following steps will give you the best results when searing a frozen roast.
- Step 1: Cook in the Oven at the Right Temperature
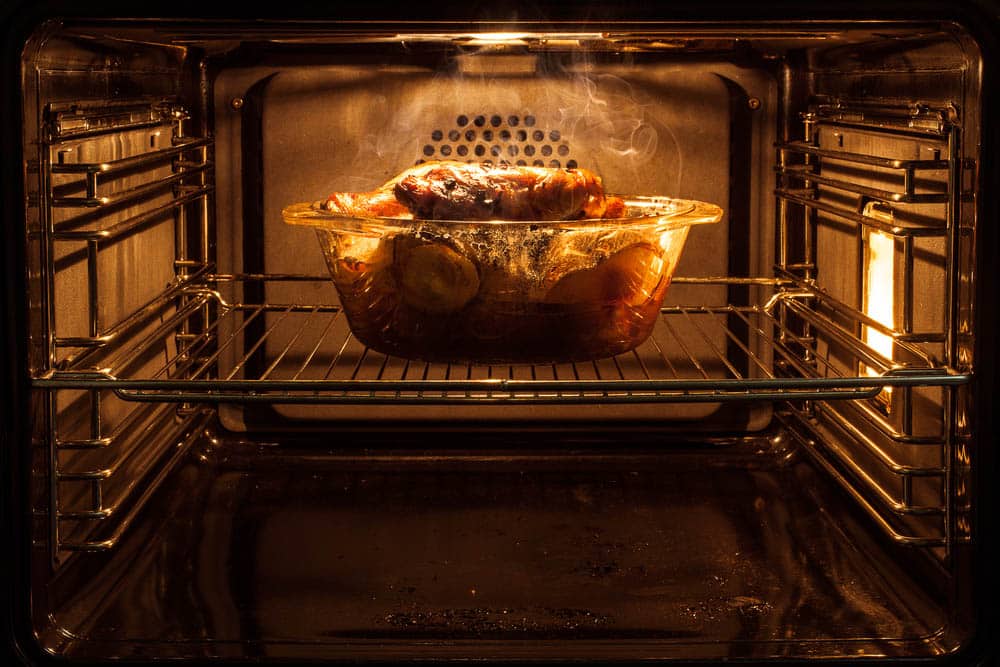
Put the frozen roast into the oven set at 250⁰F to help you get better control over the temperature. Lowering the oven temperature to 125⁰F allows for a slow cook and if you want a medium-rare roast.
After 3 to 3½ hours of cooking, the internal temperature of the meat will be around 115⁰F. You can use an oven thermometer inserted into the roast to determine the temperature of the meat.
This also allows you to control the outcome of the meat, whether you prefer a well-done or medium-rare piece of meat.
- Step2: Increase Oven Temperature to Sear the Roast
When you are happy with the internal temperature of the roast, you can set the oven to 500⁰F. Put the meat back in when the oven reaches this temperature. This reverse sear method will let you achieve a tasty but crispy and brown exterior.
Using searing method protects the roast while it’s cooking to perfection! Searing your roast should only be done just before serving so timing is important.
When taking the roast out the first time, let it rest for 10 to 20 minutes and pat it with a dish or paper towel to dry the exterior. Now it’s ready to place back in the oven for searing and serving immediately once done.
- Step 3: Rendering the Fat Cap
When using an oven thermometer to gauge the internal temperature of the meat, take into consideration the fat cap. This layer insulates the meat and the thicker it is, the more it’ll impact the time needed for the roast to achieve the ideal temperature.
If your frozen roast has a fat cap, you need to blast it with the help of a broiler or sear it properly. This ensures the fat cap is rendered properly while locking in the meat juices and moisture, preventing the roast from drying out.
When to Use the Reverse Sear Method
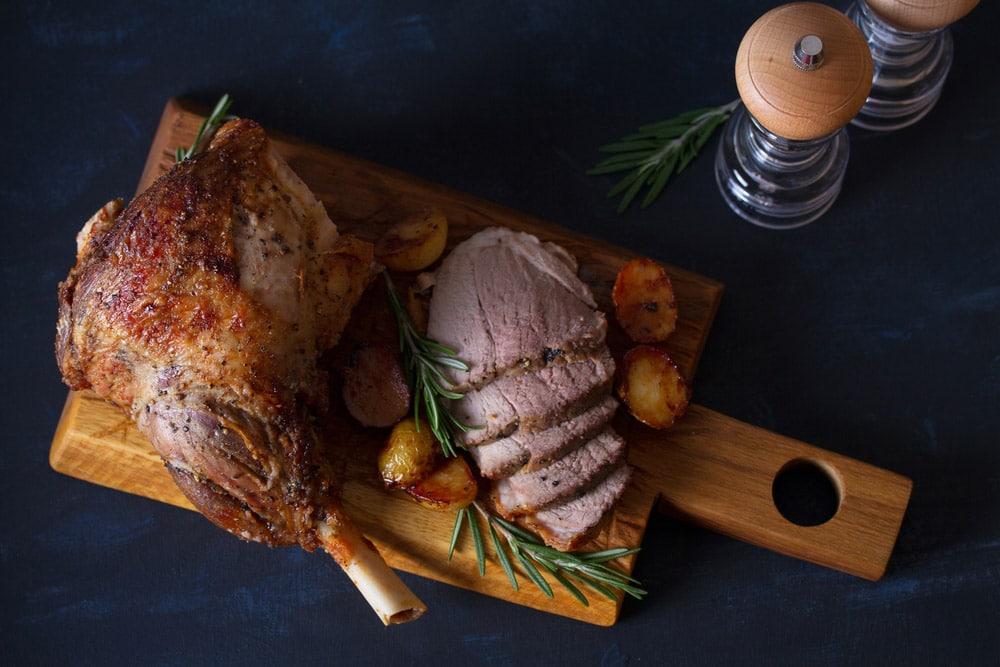
The reverse sear technique can be utilized for beef roast, lamb roast, and pork roast as well as other types of meat cuts such as steak.
However, it’s important to remember that the reverse sear method only works if the meat is thicker than 2 inches. For thinner meat cuts, using the normal searing method is recommended for tenderness and crispiness.
Additional Things to Remember
Using the reverse sear method for frozen roasts gives you the best results and we’ve shared how you can achieve this. But, if you want to defrost your frozen roast before cooking it, it’s important to do it the right way.
Frozen raw meat needs to be stored at the correct temperature when defrosting or thawing it. Raw meat can be kept in the freezer for an indefinite period as long as it’s kept at a constant freezing temperature.
Thawing frozen meat on the kitchen countertop isn’t recommended nor should defrosted perishable food items be left out at room temperature for longer than 2 hours. The best defrosting method is to take your frozen roast out of the freezer and leave it in the refrigerator overnight.
While this is a slow method, it’s the safest option while ensuring the meat thaws evenly. Your roast will be kept at a cold temperature, reducing the chances of it going off during the defrosting process.
When using this method of defrosting, keep in mind that a 3-pound roast needs anything between 15 to 16 hours to thaw properly before cooking. Once thawed, cook in the oven and use the reverse sear method to achieve the ultimate crispiness before serving.
Final Thoughts
It’s possible to sear frozen roast but it’s essential to follow the correct process to ensure the meat is tender and succulent when served.
This means placing the frozen meat into the oven at the right temperature and letting it cook slowly over a number of hours before using the reverse sear method.
The reverse sear method ensures the exterior is browned properly while crispening, keeping the interior moist and tasty.
This searing method can also be used if you decide to defrost the roast overnight before cooking. Following our tips will give you the perfect roast for the ultimate gastronomic experience!
