Shortening is a solid item at room temperature that is used in baking. It could be any fat or oil, but generally, it refers to vegetable oils. It works by coating flour in fat and consequently preventing the formation of gluten strands.
This gives the baked items a crispy and crunchy texture, and we are all for it.
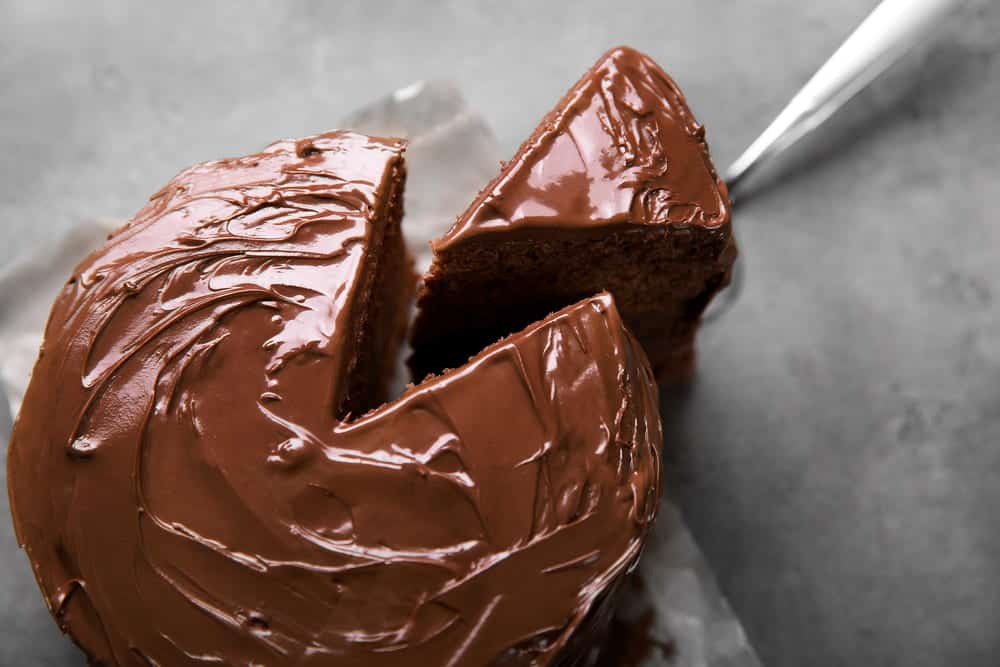
Chocolate is often the first thing that comes to our minds when thinking about sweet dishes. The relish to savor chocolate never diminishes for people with a sweet tooth.
If you are one of them, the good news for you is that chocolate coating for cakes, cookies, ice cream, donuts, or other baked items requires basic knowledge, and you can also do it at home.
Chocolate coating recipes ask for shortening. This is because shortening creates smoother and better consistency of coating. The melted chocolate itself cannot produce such consistency.
While making chocolate, add half a teaspoon of shortening when adding one ounce of chocolate.
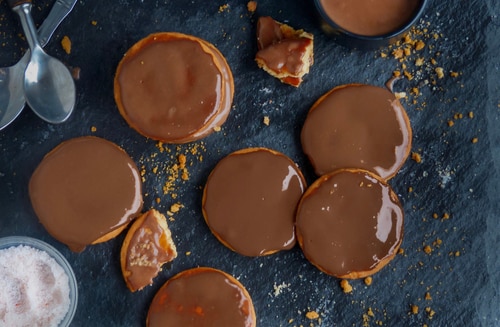
When you add shortening, it creates an even coating. The main aim of shortening is to create a coating that is thin and flows easily. When cooled down, it sets perfectly, resulting in a bar of dulcet chocolate that we all love to eat.
Shortening is a vital ingredient when making the chocolate coating. But what if shortening is not available? Of course, you’d have to go for its substitutes then. This article intends to share the most suitable substitutes for shortening in chocolate coating.
Substitute For Shortening In Chocolate Coating
Below are some of the best substitutes for shortening in the market. You can buy them from the market, or can also prepare them at home.
Yes, you can substitute vegetable oil for shortening in chocolate coating. However, it would help if you considered the recipe before using it.
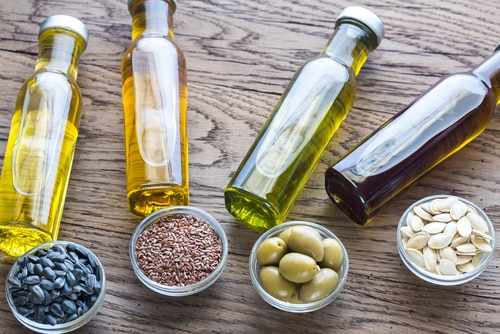
If it involves using the creaming method, which means beating sugar and fat together, then using vegetable oil is not recommended.
The second method is an all-together method, which involves mixing liquids in one place and dried powdered items in another. This method can freely use vegetable oil.
The oil will yield a denser and richer texture, ideal for chocolates. For a cup of shortening, add one cup of vegetable oil.
2. Coconut oil
What makes coconut oil different from vegetable oil is that the former is solid at room temperature, while the latter is not. To make chocolate, you need to add an equal amount of coconut oil for shortening.
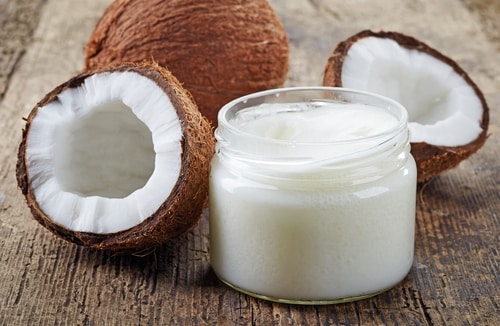
However, it is pertinent to mention that using coconut oil in pure form is not recommended as it has a pretty strong smell, which could be bothersome for some people. So, it’s recommended to buy refined coconut oil to get rid of the aroma.
For candy, coconut oil can thin out the consistency. Consider adding more coconut oil if it is thick and more chocolate if the coating becomes thinner than necessary.
The texture of coconut oil is quite similar to shortening because of its solid structure.
To make coconut oil at home, start by rinsing all the chunks properly. Once you are sure they are fit to eat, break them into small pieces. Now transfer it to a blender and add a cup of warm water to it.
Bear in mind that cold water is strictly prohibited for this purpose. However, you can dilute the hot water with some cold water to bring it to a comfortable temperature so you can easily touch it with your bare hands.
Repeat the procedure to get coconuts into the form of paste. Now take a bowl and cover it with a muslin cloth. Transfer all the coconut paste to a muslin cloth and squeeze all the milk.

Consider repeating it a couple of times to extract every drop of milk. This milk will be thicker in texture as compared to regular milk. Cover it with a lid and refrigerate it for 10-12 hours.
Once the milk is refrigerated long enough, you’d see that the cream will separate pretty easily. Transfer the cream to a saucepan, while the watery milk is not really wasted. It could be used in curries and a few other recipes.
Boil it on medium heat and keep stirring now and then. It will turn its color to a golden brown when it is boiled. Now you’d see that the oil can easily be segregated from the chaff.
Turn off the flame and transfer it to a filter to extract the oil completely. There you go; your homemade fresh coconut oil is ready!
3. Butter
Butter is another excellent alternative to shortening. It contains 80% fat and 20% water content and is widely consumed worldwide.
However, experts suggest that moisture is not good when melting chocolate. But butter could be your last resort if other alternatives are not available.
Add two extra tablespoons of butter for one cup of shortening. It’s no secret that butter melts quickly compared to shortening.
This results in a less crisp and fluffy item, which won’t be an issue for most people. However, the taste would be buttery rich.
To make butter at home, boil milk at a medium heat level. After it is boiled, don’t disturb it just yet give it some time to cool down properly and then refrigerate it overnight.
The following day, you’d see the layer of cream on the top of milk. Take it out, put it in a bowl, and add one teaspoon of curd to it to ensure it doesn’t get spoiled. Keep it outside your refrigerator for 5 to 6 hours to bring it to room temperature.
Now is the time to start churning. A hand blender may come in handy for this purpose. But if you don’t have a blender, you can also churn it manually.
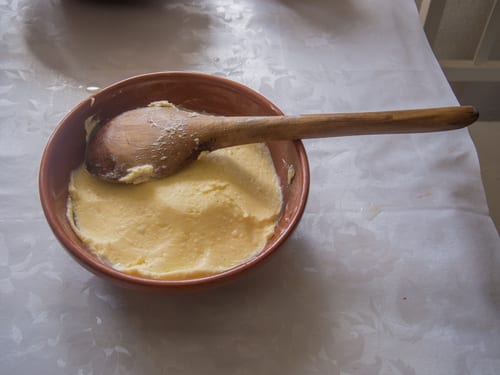
Consider using a wooden churner to churn it manually. However, this will consume a lot of time and effort. Keep swirling until the butter separates and comes to the top.
To make the butter firm, experts suggest adding ice cubes. Alternatively, you can also keep it in the refrigerator. The firmer the butter is, the easier it is to squeeze water from it.
Consider passing the buttermilk through a strainer to get more butter. The fresh and tasty butter is now ready! You can refrigerate it or eat it right away.
If you want to refrigerate it, know that it can be refrigerated for three months, more or less. So, keep it in mind while making butter, and make only as much as you think you’d use in this period.
4. Margarine
Margarine is not as common in kitchens as it used to be. However, if you still have some at home, add it to replace shortening. Add an extra tablespoon for one cup of shortening.
The taste and texture will be slightly different from the shortening, but it works just fine.

However, be mindful that margarine has more water content than fat, which is not ideal for chocolate coating. So, you should use it only if you can’t get your hands on the other substitutes for shortening. Try it out and see how it works out for you.
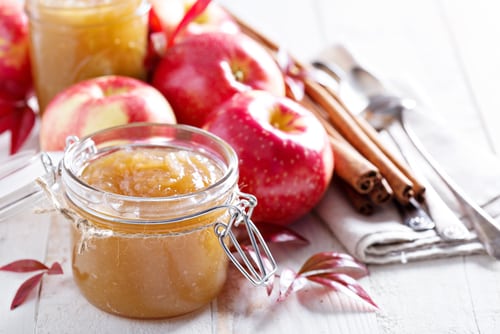
5. Fruit-based fats substitute
This is a relatively new concept. It works best for recipes with chocolates and is added with liquid ingredients. Use this substitute in a slightly less quantity.
Apple juice butter can also be used for this purpose. Make sure to consider the sweetness of the dish and adjust accordingly.
As a matter of fact, shortening works best for chocolate coating. It should be your first choice if it’s available, plain and simple! Alternatives are temporary and may or may not cater to your needs.
You can’t go wrong with shortening if you are a chocolate lover. However, at times, you may not have shortening at home when your recipe calls for it. Although we would emphasize shortening, other alternatives can also play a decent role.
Some of the substitutes have good fat content, but their water content could be a problem as it can harden the chocolate and form lumps. The perfect chocolate coating could be used to make delicious candies, cakes, and whatnot?