Though you can successfully can tomatoes without a pressure cooker, in a water bath, it is much more difficult than using a pressure cooker and not as safe.
Canning tomatoes from home has been a tradition within families for years, and it continues to be a tried-and-true method of preserving extra produce from the vegetable garden or farmer’s market.
These canned tomatoes will come in handy throughout the year. They can be used for spaghetti sauce, chili, lasagna, soups, casseroles, and much more.
If you do not have a pressure canner but have a water bath canner instead, this is not the set of instructions for you.
However, if you have a pressure cooker, we will be outlining the steps to can tomatoes within this article. It is so easy that nearly anyone can do it successfully.
Canning Tomatoes With A Pressure Cooker
Steps for canning tomatoes (with a pressure cooker)
For these steps, we are referencing about 7 quarts of tomatoes, so adjust the recipe accordingly if you have less or more. Some of the tools you will need to can your tomatoes are as follows:
- Proper canning jars
- Canning jar lids, rings, and rubber seals
- Tomato juice or water
- 7 quarts of tomatoes
- Jar lifter
- A large pot
Follow these steps to successfully can tomatoes:
1. Select the Tomatoes You Want to Use
The first step to canning tomatoes is to choose the very best tomatoes. Second rate produce will give you a second rate result. Try to choose the ones that have the least amount of bruising or cuts because it will make the next steps much easier.
Never can diseased or frosted fruits. Try to pick fruits that are all at the same level of ripeness. The riper, the better. Plum (Roma) varieties have less juice and are best for canning as they have a more concentrated flavor.

2. Clean the Jars
This seems like a no-brainer, but it can be easy to forget to fully sanitize your jars and lids before beginning the canning process. Wash them in hot water and dishwashing liquid or run them through the dishwasher.

There’s no need to sterilize them as the pressure cooker will do that for you.
3. Remove the Skins of Tomatoes
Before placing the tomatoes in the jars, you must first take their skin off. Do this by immersing them in a bowl or pot of boiling water for a minute.
Then quickly transfer them to a bowl of ice water where the skin will begin to peel off with ease. Cu the top part off where the stem was and the rest of the skin should slip off with ease.
From there, cut up the tomatoes into even-sized chunks and remove any bruising or tough parts.
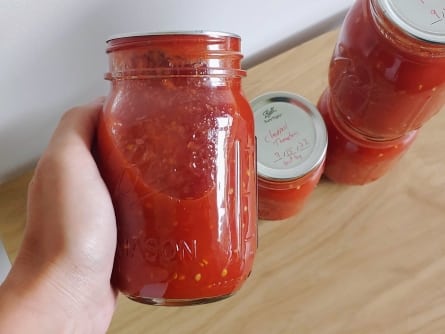
4. Fill the Jars with Tomatoes
Once peeled and chopped, you can begin to fill the jars to ¾ of the way with tomatoes.
5. Add Lemon Juice and Liquid of Choice

After filling the jars with tomatoes, add 2 tablespoons of lemon juice or the amount of citric acid called for in your recipe along with either water or tomato juice until there is just ½ inch open at the top.
The addition of the acid is important because tomatoes aren’t quite acidic enough to preserve safely without.
6. Release any Air Bubbles
Use a knife or a flat tool like a spatula to release any air bubbles that are trapped in the jars.

7. Put the Lids on the Jars
Once there are no additional air bubbles, screw the lids firmly onto the jars.
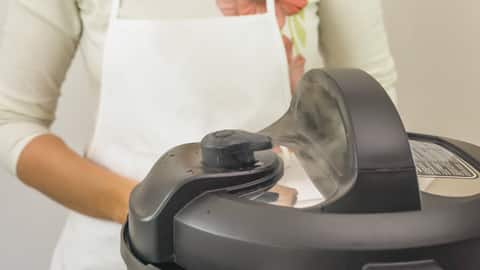
8. Prepare Your Pressure Cooker
The jars must never sit directly on the bottom of the pot (they may crack) so put a trivet inside.

Then put a few cups of boiling water into the pressure cooker. It does not need to cover the jars as in a water bath.
9. Place the Jars in the Pressure Cooker
Using your jar lifter, carefully put the jars into the pressure cooker on top of the trivet. The jars should not touch one another. Check for the proper temperature and pressure when cooking by following your recipe.
You will be processing them for around 40 minutes.
10. Adjust the Pressure and Seal
Adjust the pressure, set the timer, and seal the pressure cooker lid, ensuring that there is no way that the pressure can escape. Process the jars for the amount of time in your recipe.
11. Release the Extra Pressure
Once the pressure cooker is done, make sure to release any extra pressure prior to opening the cooker lid and letting the tomatoes cool for storing.
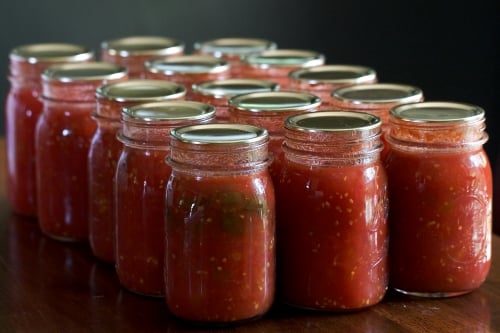
12. Finishing Off
Once the jars are cool enough to handle, remove them from the cooker with the jar lifter and let them cool completely. The lids should have a tight seal.
Label them with the contents and date of processing, along with a “best before” date. They can be stored for up to 18 months in a cool, dark, dry place.