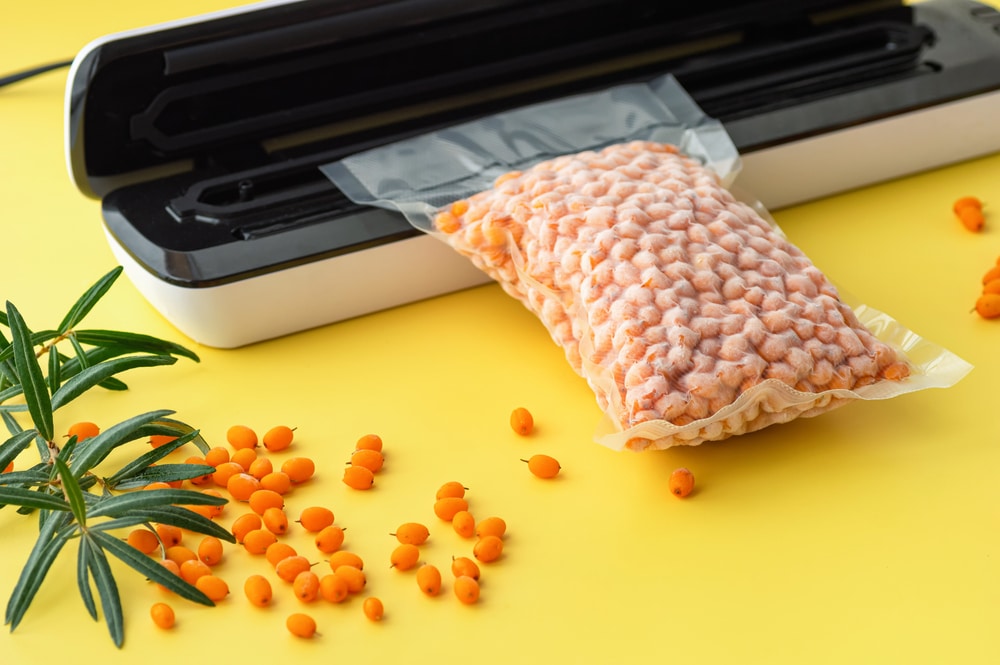
Household vacuum sealers have become a kitchen staple for people who like to preserve their food items for a longer period.
The vacuum sealers are designed to seal the food packs to make sure the food is protected from moisture and oxygen.
It’s a great way of storing food items for a long time. It works by sucking out air and moisture to protect the food items for a long time.
However, if a vacuum sealer not vacuuming issue is bugging you, we are sharing some solutions with you!
Fixing Vacuum Sealer Not Vacuuming:
- Dry The Vacuum Sealer Bag
A vacuum sealer won’t work properly when the vacuum sealer bag is wet. For this purpose, you have to check the sealer bag, and if it’s wet, you can use a disposable kitchen towel to clear it up.
Keep in mind that using a wet bag will compromise your vacuum sealer’s ability to work. Many people have a perception that high heat from your vacuum sealer will dry the bag’s moisture, but it’s not true.
In fact, during the sealing process, a vacuum sealer will melt the sealing ends of a bag – this process is disturbed when the bag is wet. So, the solution is to clear moisture from the bag or use another dry sealer bag.
- Check The Gasket
A gasket is an important part of your vacuum sealer, and a damaged gasket won’t be able to operate properly. In some cases, it fails to operate a vacuum sealer.
A gasket is made from rubber and is responsible for sealing different parts of the vacuum sealer properly. The gasket helps seal the chamber areas.
They are fitted around the access ports of your vacuum sealer. So, if a vacuum sealer isn’t doing a good job, you must check the gasket for tears and melting.
For this purpose, you have to open the lid of a vacuum sealer and inspect the rubber parts (the gasket). If it’s torn or broken, you have to get it replaced.
To take out the broken gasket, disconnect your vacuum sealer and let the unit cool down. Once it’s cooled down, take off the gasket from the lid. Then, just install a new gasket.
On the other hand, if your gasket is just dirty, use a kitchen towel to clean the food debris and grease. As far as the replacement gasket is concerned, it’s readily available at hardware stores.
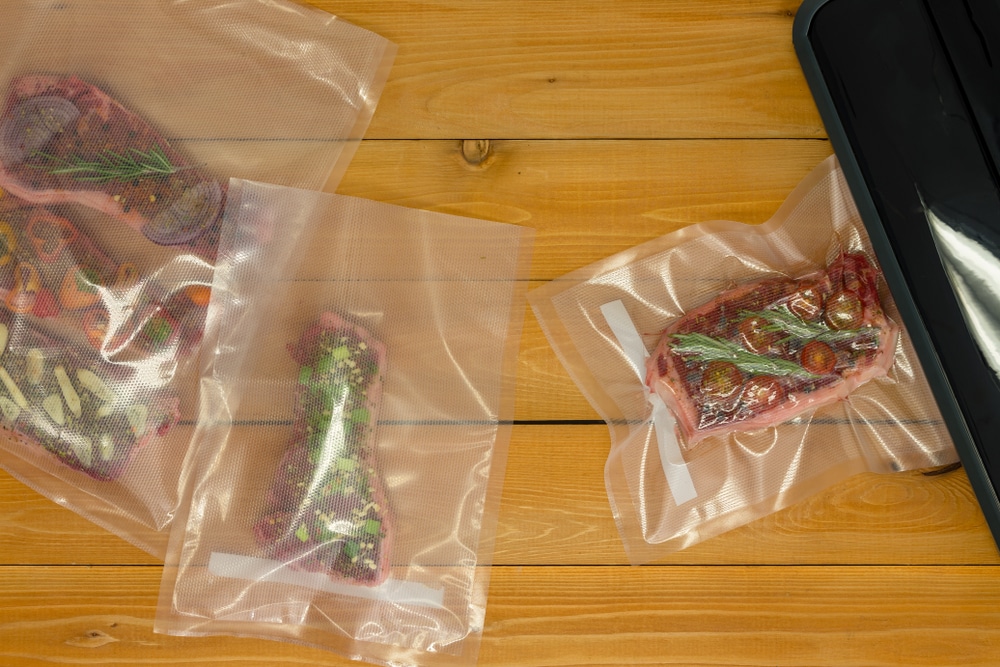
- Torn Bag
The second solution is to check the bag’s condition because a vacuum sealer won’t be able to vacuum-seal the bag if it’s torn.
Keep in mind that the smallest tears can compromise the vacuuming or sealing process. For this reason, we recommend checking the bag to ensure there are no tears.
In case there are tears on the bag, we recommend using a new vacuum sealing bag. However, if you cannot afford to purchase a new vacuum sealer bag, you can cover the tears with duct tape.
However, patching the bag’s torn parts isn’t a long-term solution, which is why we recommend purchasing a new one.
- Lid
Another solution is to check the lid for damage. Vacuum sealers have an in-depth process, and various conditions have to be met to achieve a secure lid.
So, if there is any structural damage to a vacuum sealer or the plastic casing, it won’t work. For this reason, we recommend that you inspect the vacuum sealer from every angle.
If there are any damages in the lid or casing, you have to get it replaced. Ideally, you should call vacuum sealer’s manufacturer to get a free repair or replacement.
- Temperature
An overheated vacuum sealer will not work, and the bags won’t be sealed either. For this reason, we recommend touching your vacuum sealer, and if it’s too hot to touch, you have to keep it off for a few minutes.
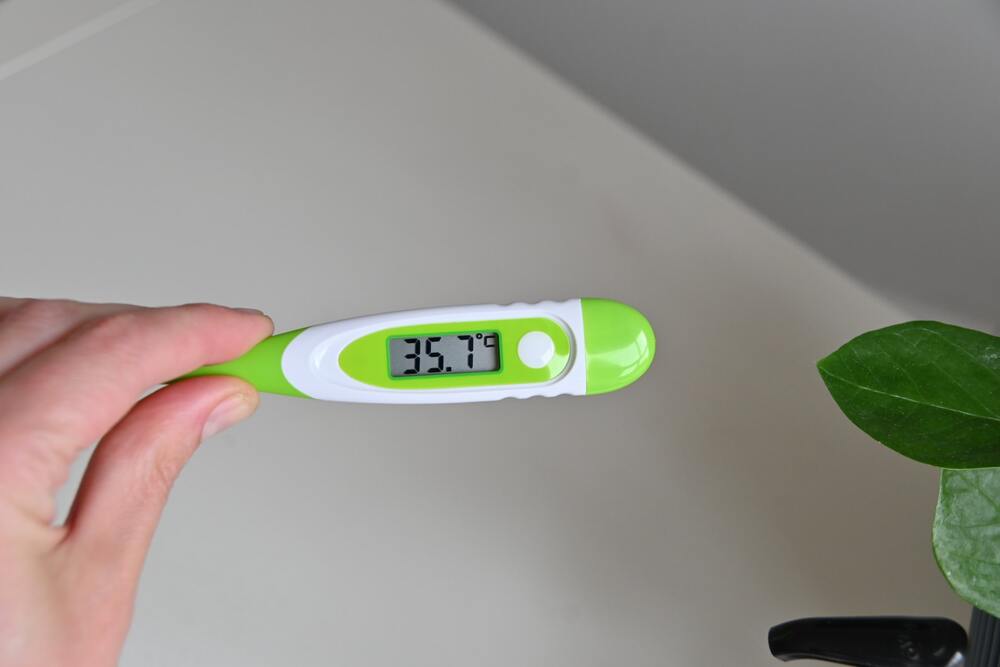
The high temperatures will not only prevent the vacuum sealer from working properly but can cause permanent damage to the internal components.
There are different reasons behind an overheated vacuum sealer but overworking is the most common reason. Ideally, you should give your vacuum sealer a break of twenty seconds after sealing one bag.
However, if the unit keeps overheating after giving due breaks, you’ve to hire a professional to get the internal components checked (broken components can lead to overheating).
- Drip Tray
If the drip tray is full, it will fail to function properly because it’s responsible for keeping your vacuum sealer dry and fully functional.
The drip tray isn’t visible, which is why people often forget to empty the drip tray. However, it’s removable and is responsible for catching spilled food or food debris.
A full drip tray prevents your vacuum sealer from turning on because it turns off to protect your vacuum sealer from overflowing and eliminates the chances of bacterial buildup in the tray.
So, the solution is to check your vacuum sealer for a full drip tray alarm or just check the drip tray on your own and clean it. Keep in mind that the drip tray should be cleaned every week, especially if you use it regularly.
- Power
Last but not least, you’ve to check the power connection – make sure that a vacuum sealer is tightly connected to the power plug.

The power cord must be tightly connected to the power socket. In addition, if the power cord is damaged, you must get it replaced to ensure a proper power connection.
- Sealing Area
The sealing area of a vacuum sealer has to be clean to make sure it closes properly and seals the bags. You have to check the sealing area for built-up grime and grease and clean it.
If it’s food debris, you can use a dry cloth to clear it off. On the other hand, if you have to remove the grease, use a vinegar and baking soda mixture to clean the sealing area.
On a concluding note, these solutions will help resume your vacuum sealer’s functionality. However, if nothing works, just take your vacuum sealer to the repair service.