There is no one-size-fits-all answer to this question. It depends on the cooking method you are using – whether you are doing the ribs in the oven or on the grill and whether you will cover them with aluminum foil completely or leave them open.
We’ll share with you the principles behind cooking the perfect rack of ribs, and you can decide for yourself. Please don’t imagine that ribs are difficult to cook. Once you know the tricks, you’ll be making them every weekend!
Ribs Meat Side Up Or Down?
- Oven-baked Ribs
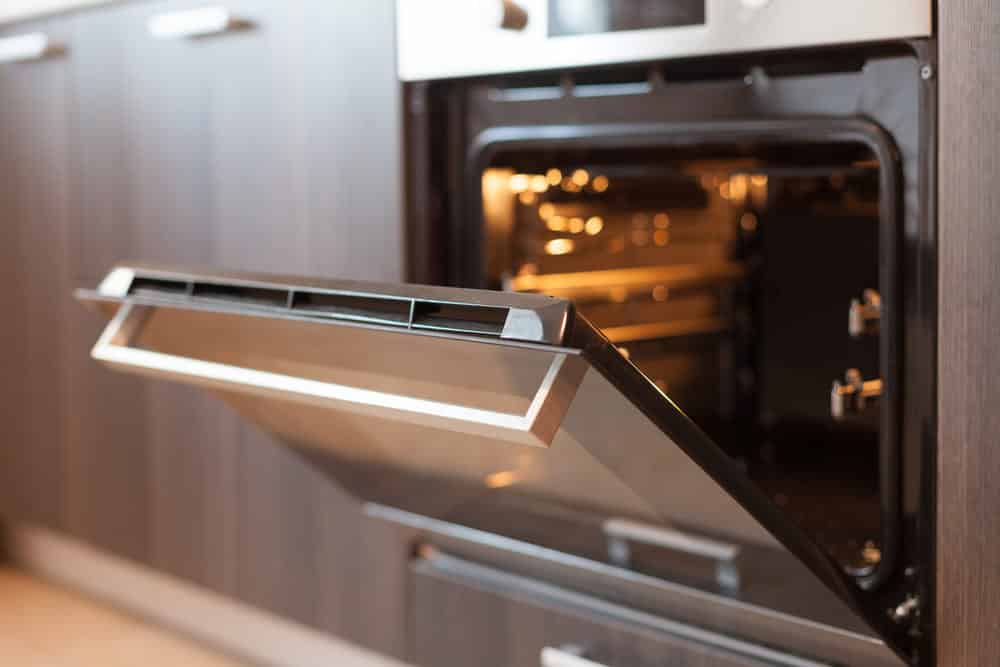
For oven-baked ribs, baking them at a low temperature for a long time gives the best results. 135 degrees Celcius (275 Fahrenheit) for about 3 to 4 hours is good. Baking ribs in the oven is probably the easiest way to do it. It’s slow, but using our method, you can leave them to their own devices most of the time.
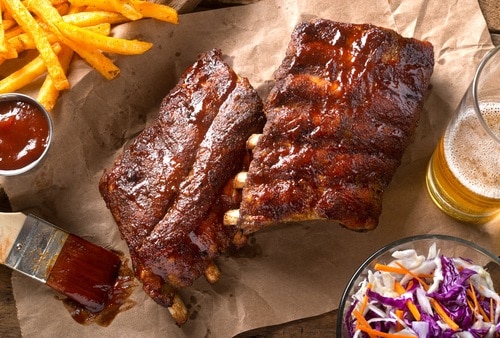
Our method involves baking the ribs to tender perfection with just a little seasoning, then basting with a BBQ sauce right at the end of the cooking time to provide a sticky decadence. You can use your favorite store-bought sauce or make one up yourself. We’ve given you a simple recipe at the end of the article to try.
1. Preheat the oven to a low temperature of 135 degrees Celcius (275 Fahrenheit).
2. Remove the membrane covering the bones first. Maybe your butcher will have already done this for you. This step is not essential – indeed, some people prefer to leave it on for extra chewiness.
We like to remove it because we like our ribs tender and falling off the bone, up to you. Loosen it with a knife, then pull it away with your fingers. It’s a thin, almost transparent skin covering the bony side.
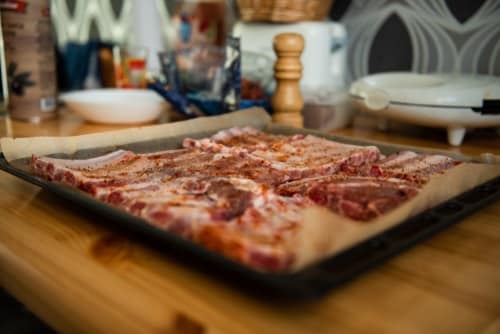
3. Season both sides of the rack with salt and pepper. Alternatively, use a spice rub.
4. Lay a sheet of heavy-duty aluminum foil, shiny side up, on a baking tray. The sheet should be twice the size of the tray because you are going to cover the top of the ribs with it. Place the ribs meat side facing down on the foil. There is a thin layer of extra fat on the bone side of the ribs that will melt and baste the ribs while they are baking.
When you open the parcel to baste the ribs, you will flip them over to make sure they cook evenly. Then, cover the ribs with the rest of the foil.
5. Bake the meat for 3 hours. Then, remove it from the oven to check. If it’s ready, it will be falling off the bones. If not, cover again and bake longer.
6. When ready, turn the rack over, so the meat side is facing upwards. Then, turn on the grill (broiler) element.
7. Brush the ribs generously with BBQ sauce and put them under the grill for a couple of minutes to caramelize the top. Baste a couple of times if you like.
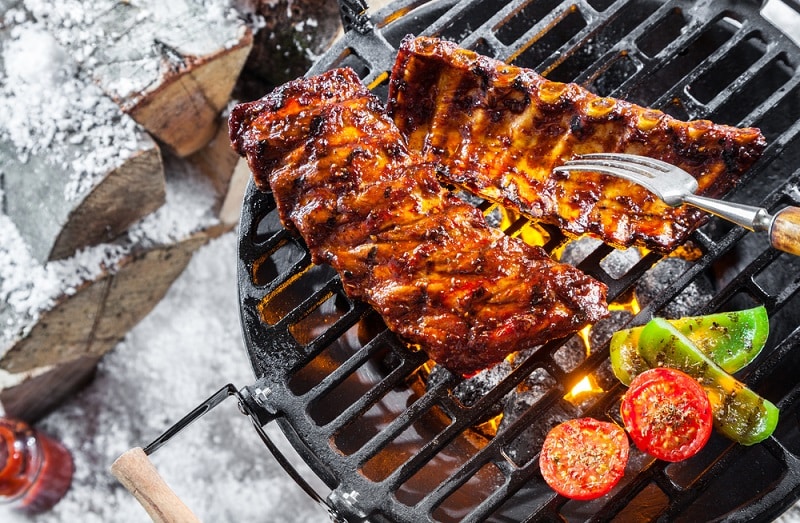
- Grilled ribs
Okay, so this method is great for oven-roasting your ribs, but what if you want to grill them on the barbeque? In this case, the method is slightly different, but the principles are the same. So follow our steps for perfect ribs on the BBQ. You’ll know you’ve been successful when you see all those bare rib bones on everyone’s plates.
1. The first step starts with your butcher. Ask him to cut the rib rack in half lengthwise for you. This creates easy-to-serve portion sizes.
2. Rub the rack with a spice mix up to a day in advance. Then, cover it in airtight plastic or foil and keep it chilled. Alternatively, you can pre-cook your ribs by boiling them if you want to cut down the amount of time they spend on the grill. Use a slow cooker or pressure cooker for this.
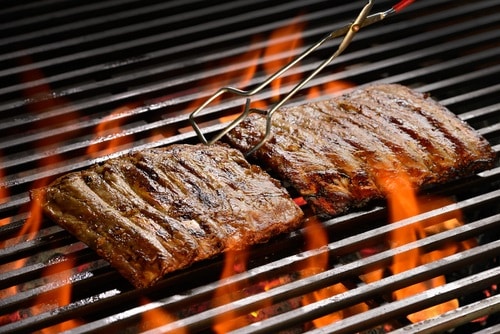
3. Fire up the grill! You want to cook the ribs over indirect heat with a lid, so move your coals to either side when they are ready and put a drip tray in between. Lay the ribs bone side down over the drip tray.
You want low temperatures and an indirect cooking method here, unlike burgers and steaks. Close the lid and cook gently for about 3 hours. If you have precooked your ribs, you can reduce this time to an hour or less.
4. Please do not use the sauce at this point. Almost every sauce contains sugar in some form, whether sugar, honey, or maple syrup. Sugar burns very easily, so we will only baste it at the end of the cooking process. We suggest basting it onto the ribs in the last 10 minutes. The sauce will caramelize at this time but not burn.
5. You will know when the ribs are ready by these signs:
The meat will shrink back, exposing about 5 mm of bone at the thin end of the ribs. When you lift the rack with your tongs, it will bend in the middle.
To conclude
We find that we get the best results when oven-cooking ribs if we lay the meat side down. This allows the fat on the bone side to drip down. Alternatively, you can flip them from side to side every 30 minutes throughout the cooking time. This is a bit more labor-intensive, but the results are great.
The procedure is simpler if you cook baby back ribs because they are easier to handle and turn. On the BBQ, it is easier to lay the ribs bone side downwards.
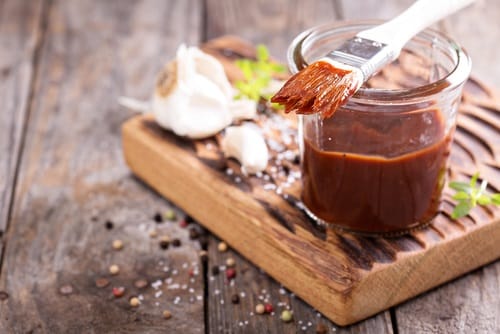
Let us know your thoughts. Meanwhile, here’s a delicious BBQ sauce for you to try on your next rack of ribs!
Sweet-spicy BBQ Rib Sauce
- 1 tablespoon oil
- 1 onion, finely diced
- ½ teaspoon ground cumin
- ½ cup good quality tomato ketchup
- 1 tablespoon hot chili sauce (e.g., Sriracha)
- 2 tablespoons brown sugar
- 1 tablespoon vinegar
- Salt and black pepper, to taste
Mix all together and use to baste the ribs at the end of the cooking time. This sauce is also delicious on chicken.