FoodSaver is a reliable appliance for people who are into preserving food. It’s actually a lifesaver for people who don’t have time to go for grocery runs all the time.
This is because it is a vacuum sealer that helps suck out moisture and air from the food and food bags to make sure they stay fresh and healthy for consumption for a longer period.
In most cases, people vacuum-seal the veggies and dry food items like pasta, cereals, and lentils. However, many people want to preserve their meaty items as well.
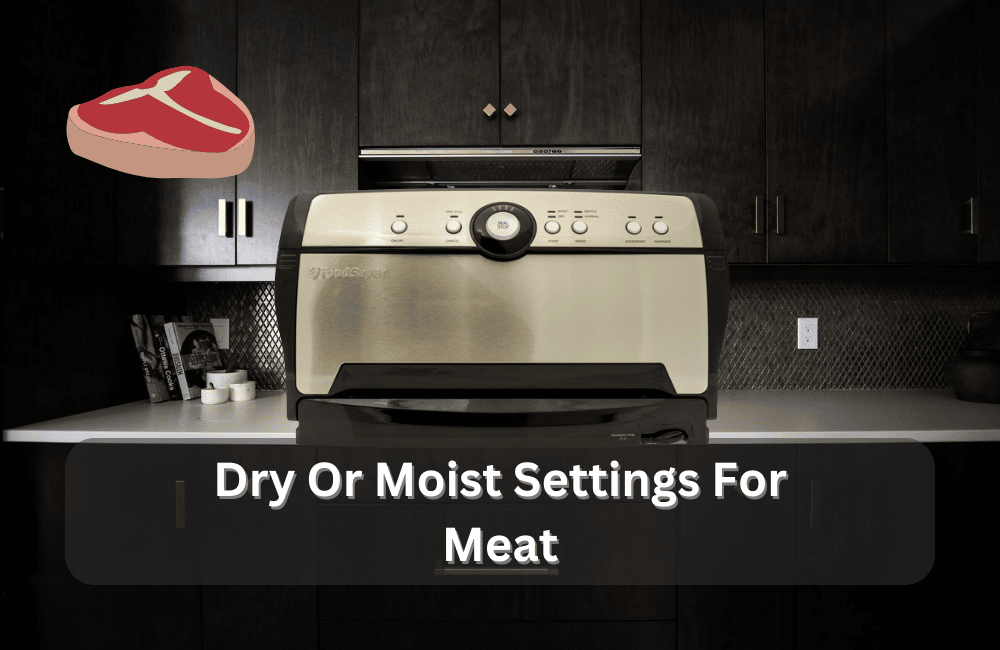
So, if you are confused about FoodSaver dry or moist setting for meat, this article has all the answers for you!
FoodSaver Dry Or Moist Setting For Meat
Choosing The Right Vacuum-Sealing Mode For FoodSaver Vacuum Sealer
The vacuum sealer is designed with two modes, including dry and moist settings. The dry mode is used for cereals, pet food, dry fruits, lentils, and other dry items.
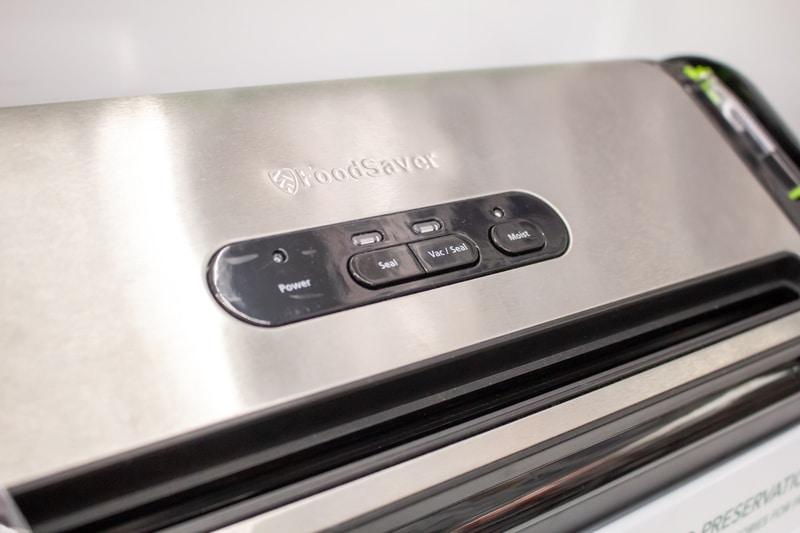
On the other hand, the moist mode is perfect for people who want to vacuum-seal fresh food items, such as meat, seafood, poultry, fruits, and vegetables.
This means that you’ve to select the moist setting on the FoodSaver vacuum sealer to preserve the meat. It’s a great way of keeping the meat fresh.
With FoodSaver vacuum sealer, you can seal the meat and store it in a freezer or cooler – it will help keep the meat fresh for a longer period.
A vacuum-sealed bag will seal the meat without leaving any residue air. Many people depend on Ziploc bags to store the meat, but they don’t always close properly, and exposure to air can lead to meat spoilage.
If the storage bag isn’t sealed properly, the meat might lose all its flavor. For this reason, it’s recommended that whenever you purchase the meat, you have to seal it in a vacuum-sealing bag.
However, you have to purchase the right size of the bag to make sure the bag isn’t overstuffed, or it can lead to the puncturing of the bag.
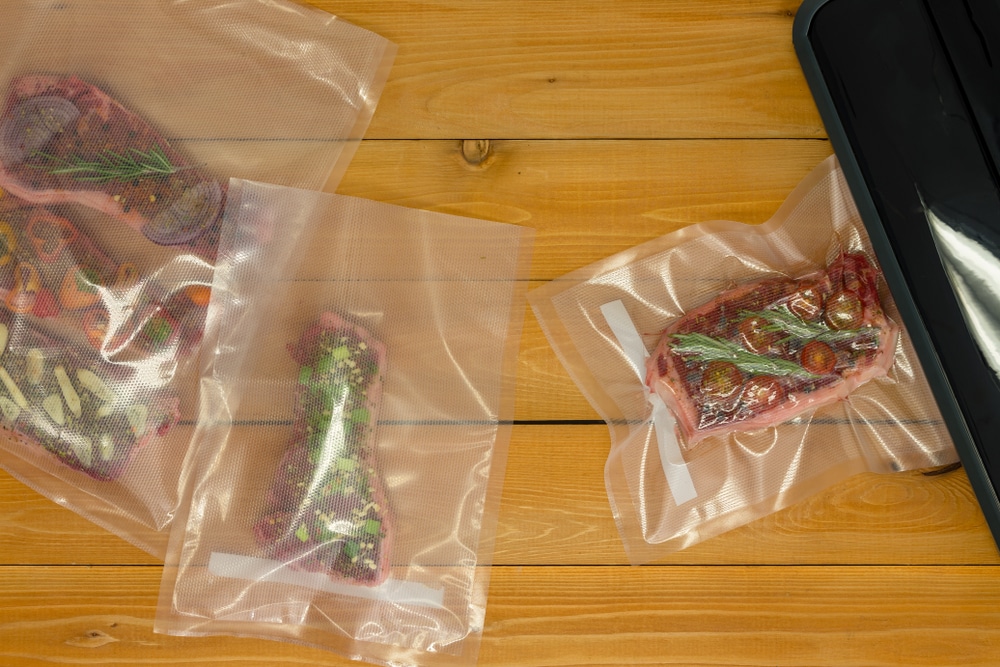
Ideally, you should cut the meat into thin slices or cubes to make sure they are easier to seal and store. Also, it’s recommended that you make portions of the food according to how much you will need to cook.
It will ensure that you only have to open the vacuum sealer bag to use the meat because re-sealing the bag isn’t an effective option.
What To Do Before Vacuum-Sealing The Meat?
Now that you know that the moist setting is used to preserve the meat, it’s important to follow the correct protocol to make sure the meat remains fresh.
First of all, you have to ensure that you have purchased fresh meat and run it under water. Once the meat is washed, dry the meat to clean out the particles or dirt (they shouldn’t be vacuum-sealed with meat).
Secondly, you have to cut the meat into smaller pieces to make sure the meat is sealed properly. In particular, preserving the meat in smaller portions will help retain the flavor and nutrients.
The Right Way Of Vacuum-Sealing The Meat
FoodSaver vacuum sealer has been integrated with automatic sensors that have the capacity to detect the vacuum sealing bag and suck out air from the bag.
Once the air is removed, the microorganisms or bacteria won’t be able to multiply in the meat. In most cases, the juices are sucked out of the meat, which results in a loss of flavor and nutrients.
For this purpose, we recommend that you use a paper towel on the opening of the vacuum sealer bag to make sure the liquid isn’t sucked out.
Also, if you have access to an oxygen absorber, we recommend that you put it in the bag as it helps preserve the flavor as well.
Once you have vacuum-sealed the meat, it’s recommended that you write the time and date on the vacuum sealer bag, so you can keep an eye on the expiration time of the meat.
What To Do After Vacuum-Sealing The Meat?
Once you have vacuum-sealed the meat, check for discoloration. If there is no discoloration, just put the meat in a refrigerator or a freezer.
On the other hand, if the meat is already discolored, it indicates contamination, which is why we recommend discarding such meat.
On top of everything, always keep a tab on the expiration date to make sure the meat is healthy to consume. As long as you are following the protocols, you will be ready to cook and serve the meat.
The best thing about vacuum-sealing the meat is that it protects the meat from dehydration and freezer burns and helps retain the nutrients.
In addition, the meat will have a longer shelf life, and you won’t have to worry about losing the texture or flavor of the meat.
The best thing about vacuum-sealing is that you can re-seal the bag if you open the bag and take out a bit of meat (it’s not recommended but can be done).
Additional Tips To Vacuum-Seal The Meat
At this point, it’s pretty clear that you can vacuum-seal the meat in a FoodSaver and extend the shelf life of the meat. However, there are some additional tips that can improve the vacuum-sealing process;
- Make sure you purchase a vacuum sealer bag that’s big enough to hold the meat
- Don’t store a big cut of meat in a sealing bag because it can result in punctures and tears. Instead, you should cut the meat into thinner slices and smaller cubes
- Always leave two to three inches of space on the top of the vacuum sealer bag to make sure the bag isn’t overstuffed
The Bottom Line
The bottom line is that FoodSaver’s moist setting is perfect for vacuum-seal the meat, and it will keep the meat fresh and healthy for weeks (you’ve to put it in a freezer or a cooler, obviously).
However, to ensure proper vacuum sealing, it is important that you select the right size of a vacuum sealer bag and make sure the meat is properly sized (don’t vacuum seal a big cut in one bag).