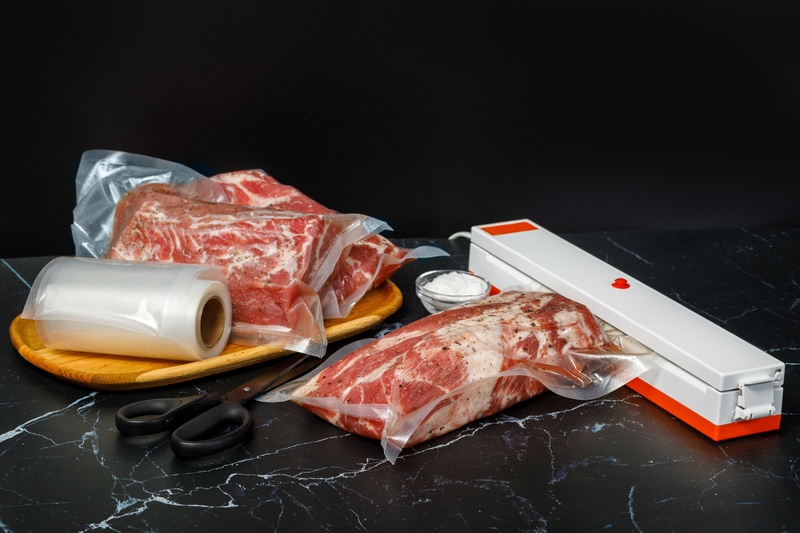
A vacuum sealer has become an important addition to every kitchen, especially among people who like to preserve food for a longer time period.
It helps protect the food from freezer burns, so the food feels fresher and is kept safe from dehydration. In addition, it’s a great way of increasing the pantry space as the bags are vacuum-sealed.
The best thing about vacuum sealers is that you don’t have to opt for chemical preservation at all. However, the vacuum sealers are designed with various settings, including dry and moist.
In most cases, people don’t understand the differences between these settings, which is why we have a dry vs. moist vacuum sealer comparison in this article!
Dry vs Moist Vacuum Sealer
The Comparison Chart
| Dry | Moist | |
| Application | Rice, cereal, pasta, spices, pet food, oats, and popcorn | Seafood, pork, meat, and poultry |
| Default | Yes | No |
Dry Setting On Vacuum Sealer
The dry setting on a vacuum sealer is pretty straightforward and versatile, and it’s usually enabled on a vacuum sealer by default.
As the name suggests, this setting is recommended for vacuum-sealing dry items. As long as there is no liquid or moisture, the dry mode can be used to preserve the food.
The dry mode on the vacuum sealers doesn’t draw any liquid into the drip tray. There is a heater bar in the unit, which allows the users to adjust the heat level – it’s a great way of ensuring a strong seal without any moisture.
Keep in mind that only dry food items can be vacuum-sealed in a vacuum sealer because if there is any moisture in the food, it won’t be hot or warm enough.
The dry setting is a perfect choice to vacuum-seal cereals, pasta, rice, spices, pet food, herbs, oats, popcorn, and dehydrated food items.
In addition, the dry setting can help vacuum-seal the naturally-sourced supplements, be they in fresh or dry form.
Moist Setting On Vacuum Sealer
The name of this setting can be confusing – the moist setting is a perfect option for wet food, but it’s not recommended for liquid items.
Keep in mind that you will have to turn on the moist setting from the vacuum sealer because the default setting is dry.
The moist setting in the vacuum sealer can be used to vacuum-seal food items that have a low liquid level or moisture.
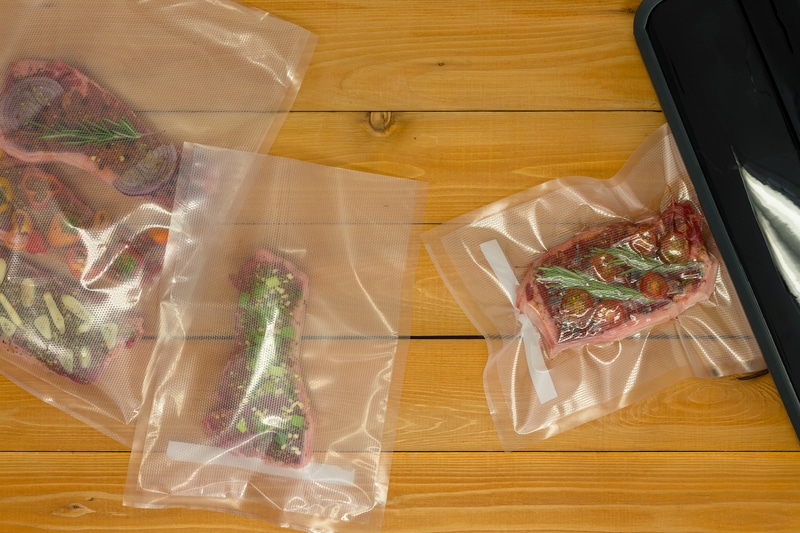
The vacuum sealers can handle a bit of liquid, but you cannot use them for stews and soups. For instance, you can use it for poultry, fish, pork, and other meat items.
When it comes down to the heater bar, it has to be adjusted to a high temperature as compared to dry mode – it is done to evaporate as much moisture as possible.
There is an impulse feature that works with a moist setting; it allows the vacuum sealer to draw out air for a longer period. All in all, it’s a great way of storing moist food.
It can be used for vacuum-sealing oily food, marinated fish and meat, minced meat, sausages, and hamburgers. In addition, it’s perfect for sous-vide cooking.
You have to be considerate about the amount of liquid or moisture in the food because the drip tray doesn’t have enough capacity.
To prevent an overflowing drip tray, we recommend that you fold a piece of paper towel and put it in the seal – it will work as a perfect buffer to remove moisture from the food.
Tips To Vacuum-Seal The Food
Vacuum sealers seem like an attractive appliance for every kitchen, but you must use them properly to ensure proper preservation.
For this reason, we are sharing some tips that will help you vacuum-seal the food to ensure the longest shelf life or storage;
- Make sure you leave sufficient space in the vacuum sealer bag because an overfilled bag won’t create a proper seal
- Try to put your food in a bag in a single layer or make sure the food is evenly placed in the bag
- The vacuum sealers are designed with speed options; the normal speed is sufficient for the majority of food items, while a gentle setting is recommended for delicate food items
- Always close down the vacuum sealer’s lid tightly and make sure the lid lock is properly locked in place
- In case the vacuum sealer bag deflates but the red light isn’t illuminating, you can press the seal button to initiate manual sealing
- Always store the sealer in an unlocked position to prevent the sealing ring’s compression
Tips To Seal The Juicy Food Items
The tips mentioned above are suitable for storing dry food items. However, if you have to store the moisture-rich or juicy food items, you have to follow the following tips to ensure proper vacuum-sealing, such as;
- Make sure you select the “moist” setting on a vacuum sealer to make sure the excess liquid is drawn out and added to the drip tray. In addition, it will ensure a strong sealing
- When the liquid starts to climb up the vacuum sealer bag, we recommend that you press the “seal only” button to initiate the seal
- Use paper towels to absorb the liquid in the chamber. Also, if the chamber is already wet, you have to wipe it clean with the help of mild and soapy water and wipe it dry before storage or vacuum sealing
Last but not least, you must not try to seal the liquid-y food items, such as soups and stews. In addition, the liquids cannot be vacuum-sealed in a sealer.
The Bottom Line
The bottom line is that vacuum sealers are designed with two settings to make sure there is something for everyone.
The dry setting is recommended for people who want to store dry food items while fruits and meats can be preserved with the help of a moist function.
However, you need to remember that the dry setting is enabled by default, so make changes according to the food that you’ve to preserve. So, are you ready to start preserving your food?