Baking is a rewarding activity when done with properly measured ingredients and effective tools. That’s right, choosing the correct equipment and accessories is important to get the ideal results when it comes to baking, especially if you’re making desserts.
But to be honest, while we all try to find the perfect equipment, we often overlook dough hooks. These underrated options may look like a broken whisk or an unnecessary piece of machinery, but they are essential for quickly kneading all types of dough.
Because dough hooks are likely never used by new bakers, they’re often forgotten about and lost, despite their usefulness in kneading. So if you’ve made the mistake of losing or accidentally throwing your dough hook away, we’ve got some alternatives that you can use.
Dough Hook Alternatives
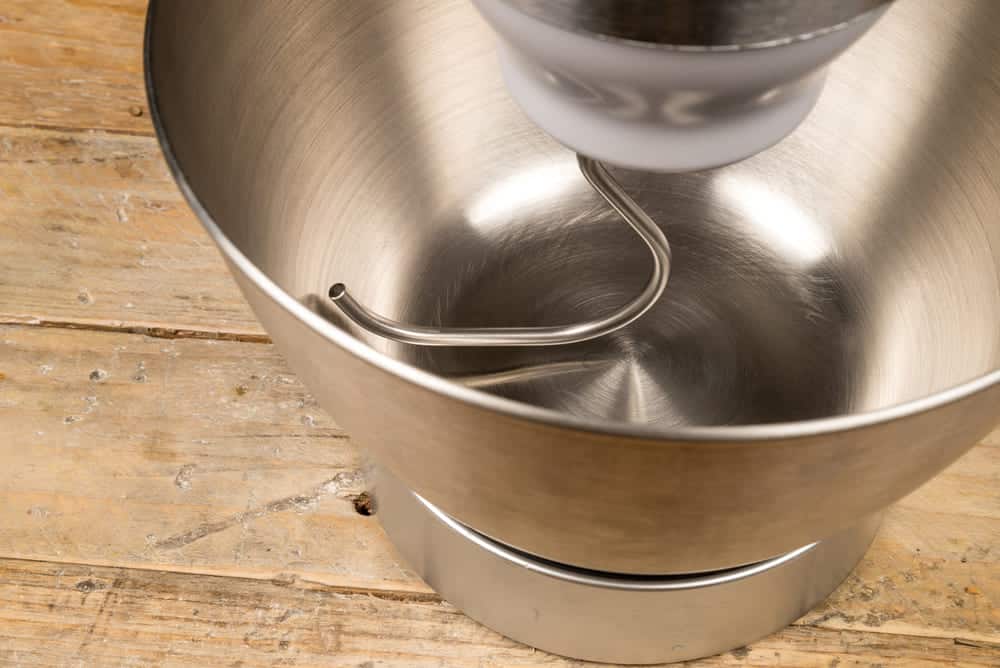
To begin with, a dough hook is an attachment that’s available in curved and bent forms. It generally looks like an apparatus with a hook-like appearance which is suitable for quick kneading of the dough.
In addition, the dough hook promises efficient dough kneading and won’t spread flour all over the shelf. It can develop gluten pretty quickly which keeps the elasticity intact.
Using a dough hook promises chewy and fluffy dough. But what’s really the best about dough hooks is that they can be cleaned within two seconds, so you don’t have to push the cookie batter from the wiring cage.
So, now that you know how important a dough hook is, you can check out the substitutes below (for future reference, don’t lose the dough hook!).
1. Use Your Hands
For the most part, kneading dough and making it by hand isn’t the exciting part because it’s exhausting and can consume too much flour (the dough hook keeps the excess flour consumption at bay).
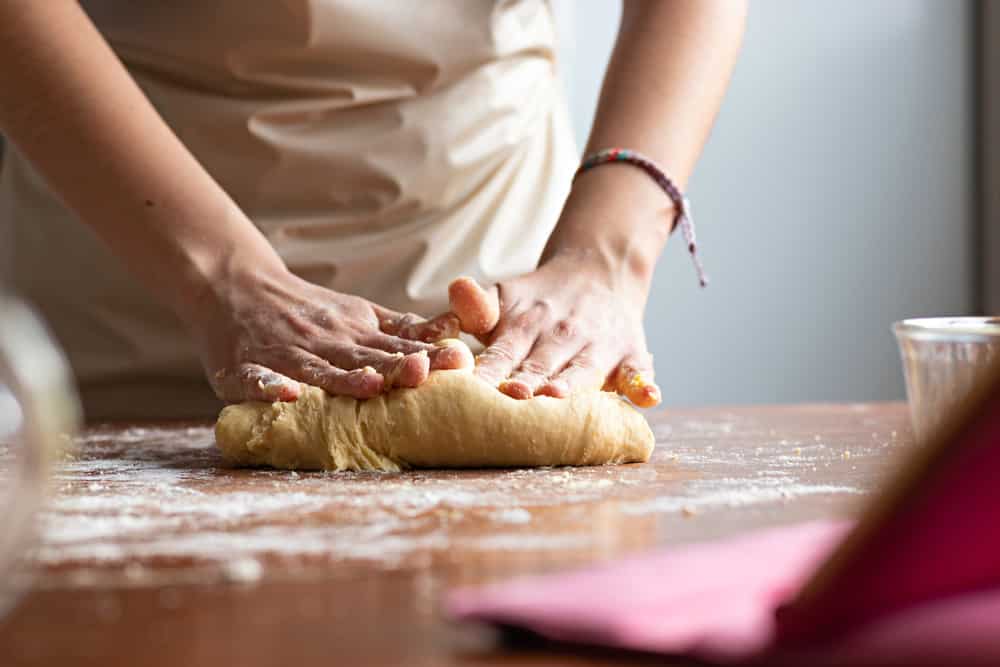
However, if you cannot find a dough hook, you can always knead the dough by hand. To do so, you must remain careful and avoid breaking the dough or letting it sit too light and airy (depending on the dish you’re baking next)
To illustrate, kneading the dough by hand takes around twenty-five minutes. While you are using your hands to knead the dough, keep in mind that you should use gentle movements because it helps stretch the dough muscles.
Also, the movements must be rhythmic and shouldn’t bruise and tear apart the dough fibers. This will guarantee an amazing texture for your dough.
For kneading the dough by hand, you should mix the ingredients and create the shaggy dough. Mix the dry ingredients together first, then create a well in the center.
Gradually add your liquid content to the center of the well and mix with the powdered ingredient, forming lumps. Keep on adding powdered ingredients to achieve a dough-like consistency before kneading the dough into a ball.
When the shaggy dough texture is attained, you can dust the counter with flour and knead the dough on the counter. While kneading, you should fold the dough multiple times. Within four minutes of this folding and kneading, the texture will be smoothened, and you can use it for baking or cooking.
One of the most important elements of kneading the dough by hand is checking the time you’ve spent kneading. For example, if you need a softer dough for pizzas and bread, then kneading should only be done for a few minutes.
Of course, you’ll be using yeast and the dough will self-rise. But we’re looking for a well-kneaded dough before it rises, so then it’s hard for the dough to disintegrate.
For dishes that require tougher doughs, like various kinds of pasta, you’ll be looking at kneading the dough for 20-25 minutes. Pie dough will need to be kneaded for longer.
Doughs that are cold or frozen can be tough to knead by hand, so you have to be extra careful when you’re replacing dough hooks with your arm muscles in these cases.
2. Stand Mixer
If you don’t want to knead by hand but still want the functionality of a dough hook, using a stand mixer is the right choice. Stand mixers are hand-held, designed with a motor mounting which results in rotary action- these powerful motors can speed up your kneading process by multiple times.
Some stand mixers also have a special bowl attachment that can be locked to operate the mixer and knead the dough.
Typically, the stand mixer comes with a wire whisk that can whip the egg whites and whipping cream. In addition, it has a flat beater for mixing the batters.
There are various stand mixers available in the market, such as floor models and countertop models. For the most part, the home models are suitable for kneading up to four liters of flour.
To knead any dough properly in the stand mixer, use first mix the dry ingredients together at a low speed to avoid flour dust from blowing everywhere. Gradually add your wet ingredients, whether it’s egg, milk, oil, butter, or water.
Crumbling the dough is a great idea as it helps you avoid adding extra liquids that make the dough soft and fluid. Add your essences and chunky ingredients like chocolate chips at the end, then fold the dough.
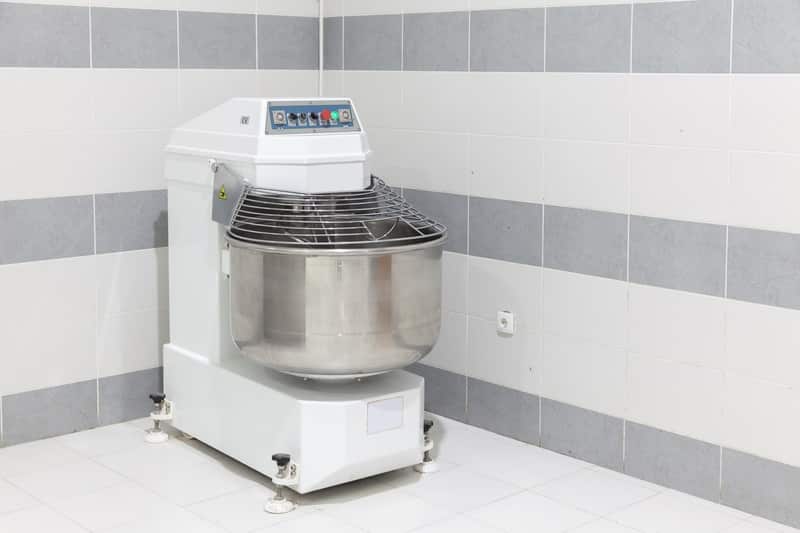
3. Spiral Mixer
A spiral mixer is another option that you have if the dough hook isn’t available. Despite its usefulness though, the spiral mixer can be expensive (you have got to pay the price for losing or throwing away the dough hook).
All in all, spiral mixers are the special tools for kneading and mixing dough. They are designed with spiral agitators which can spin the bowl in an opposite direction.
It means that a large amount of dough can be kneaded without spreading around the flour. Also, spiral mixers will knead the dough to perfection without compromising on smoothness and consistency. Not to forget, the spiral mixer can increase the temperature of the dough which results in optimal rising.
What we like about spiral mixers is that they can be used for kneading dough for naan, bagels, and pizza. They lack the versatility of planetary mixers but offer better dough kneading.
To use a spiral mixer effectively, start with low speed. This ensures that the mixture being created is homogenous. Switch to a higher speed to get the gluten formation going. Spiral mixers are designed to avoid high friction, which keeps the dough ingredients well-balanced.
4. Planetary Mixers
These mixers are designed with an agitator and bowl. With the planetary mixers, the bowl remains in one place but the agitator moves quickly to mix up the ingredients and contents.
These mixers are extremely versatile and have the capacity to blend and whip the ingredients. That’s why they’re often called “all-purpose” mixers. Also, planetary mixers are easy to find in Europe, Australia, and India.
A big pro of using planetary mixers is that they’re very easy to clean, making them a convenient option for anyone who hates doing the dishes.
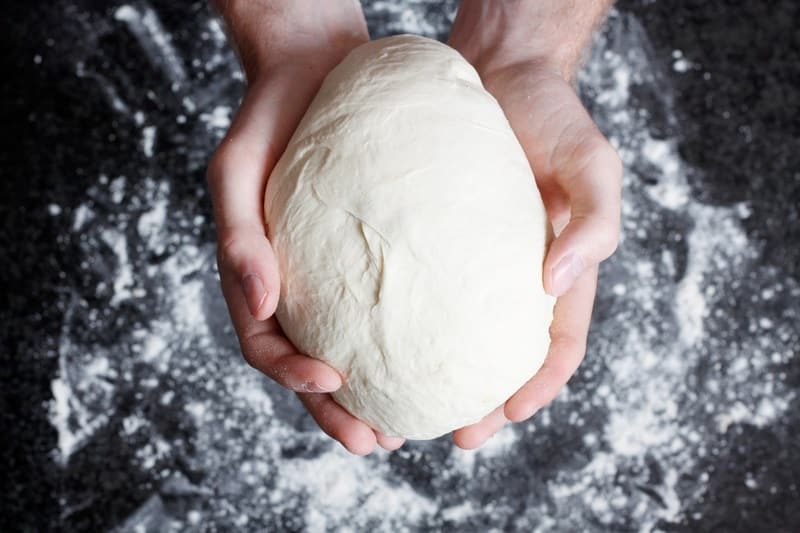
And that’s about it! If you can’t find your dough hook, then your best bet is to measure the ingredients properly, hand mix them, then form a dough by gradually adding your wet ingredients to your dry ones.
Once crumbles form, add a bit of liquid to help them stick together then knead on a clean surface for anywhere between 5 minutes to half an hour. Hand-kneaded doughs take muscle strength but provide excellent results similar to using an actual dough hook.
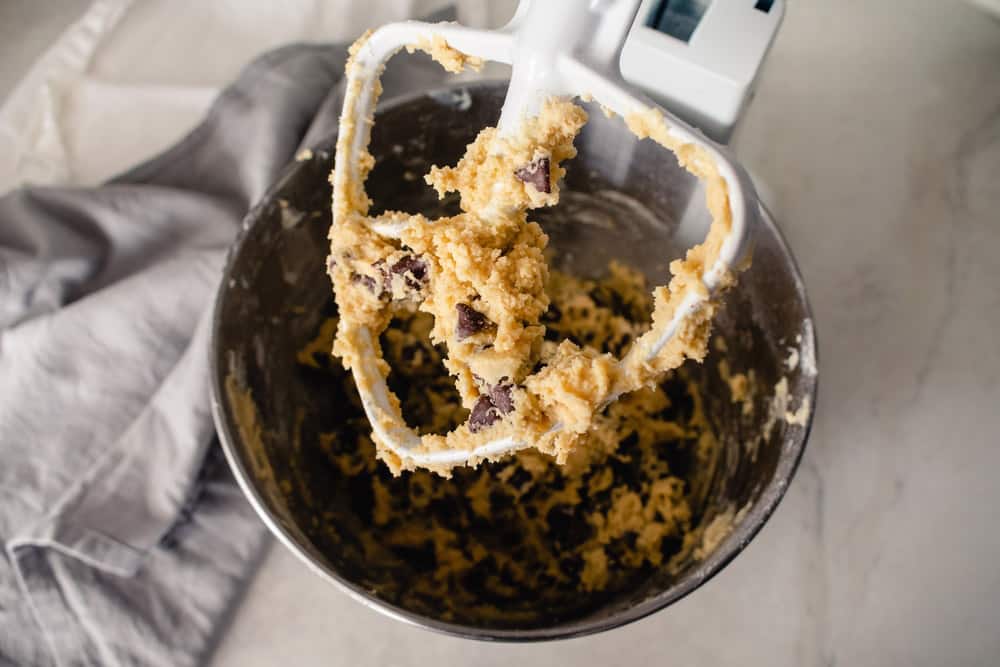
If using your physical strength to knead the dough doesn’t sound great, you can always use a stand mixer with a flat beater.
Although a flat beater is better suited for cookie doughs and cake mixes, you can make a regular dough for pies and naans too. Once the kneading is done by the stand mixer, you can hand-knead for a minute or two.