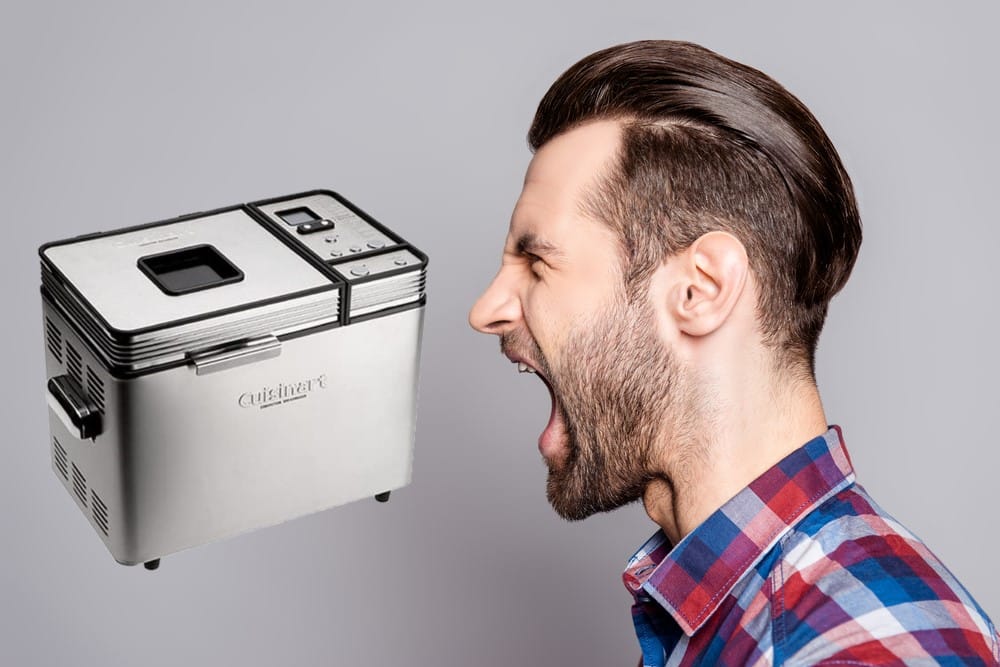
Too many people cooking is nothing more than a daily chore. However, there are a select few home cooks and bakers that look forward to their time in the kitchen.
It gives them ample opportunity to experiment with recipes and more especially, try out the many interesting new kitchen gadgets. One such gadget is the Cuisinart bread maker. However, as fun as it is to use, some users do experience a few common problems.
Cuisinart Bread Maker Problems
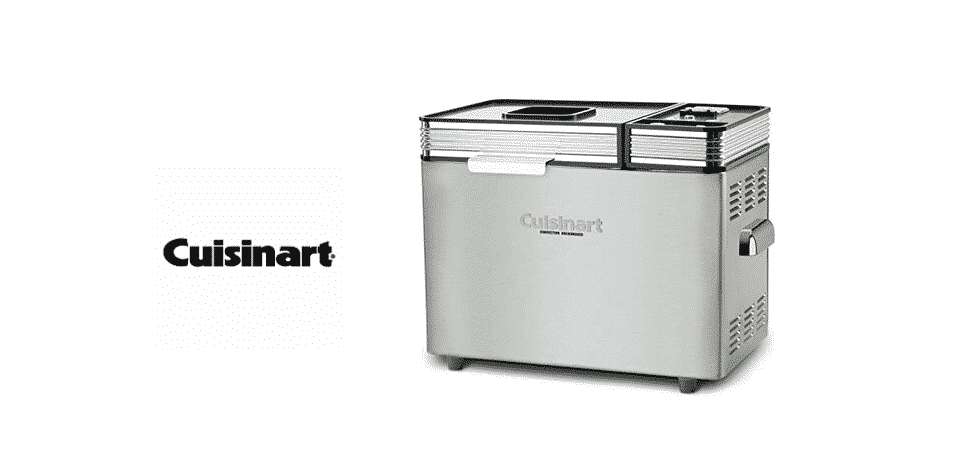
Baking bread used to be a complex and time-consuming process. Fortunately, products such as the Cuisinart bread maker have made it incredibly easy for any home baker to create tasty loaves of bread for any occasion.
The Cuisinart bread maker is one of the more popular countertop appliances because it simplifies the process of making bread. It not only mixes, but also kneads the bread.
However, some users have reported a few issues. We’ve compiled some of the top problems you could experience. Additionally, we’ll look at the quickest ways to resolve these issues.
- Device Not Switching On
The most common problem users experience with their Cuisinart bread maker is the unit not switching on. A related problem involves the unit switching on but not heating the way you need it to.
An error message of “HHH” will confirm that the device won’t switch on. There are generally two reasons for this issue.
- Electric Socket Issue
For the most part, both these issues are generally caused by the electrical issues from your electric sockets. Over time, the springs in your electric outlets will loosen, meaning there might not always be a proper connection.
To establish if the problem is with your outlet, test another appliance in the same socket. If the problem persists, you know the problem is with the outlet.
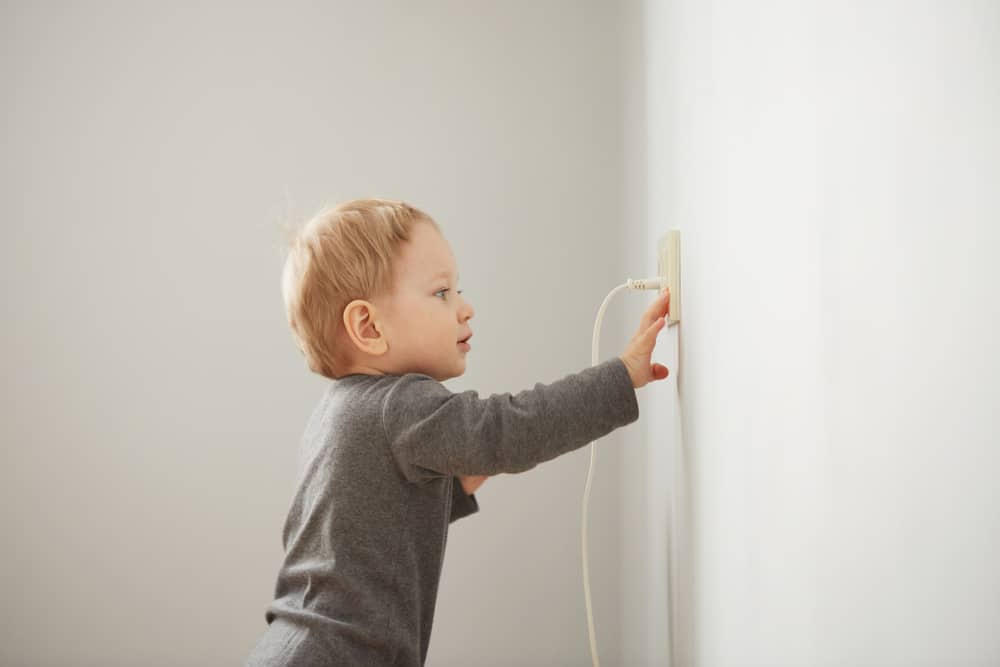
A quick tip that might get your outlet working is to replace any blown fuses at the main circuit breaker. It might be necessary to move your bread maker to an alternative outlet.
- The Machine is Too Hot
When the temperature on your bread maker has been set too high, it’s very easy for the unit to become too hot in a short space of time. To rectify this, simply open the machine’s lid and allow the unit to cool down for about 10 to 20 minutes.
Once the machine is cool, you can continue with your bread-making process. To avoid this problem from reoccurring, switch the machine off to cool down between baking sessions. Especially if you’re baking several loaves on one day!
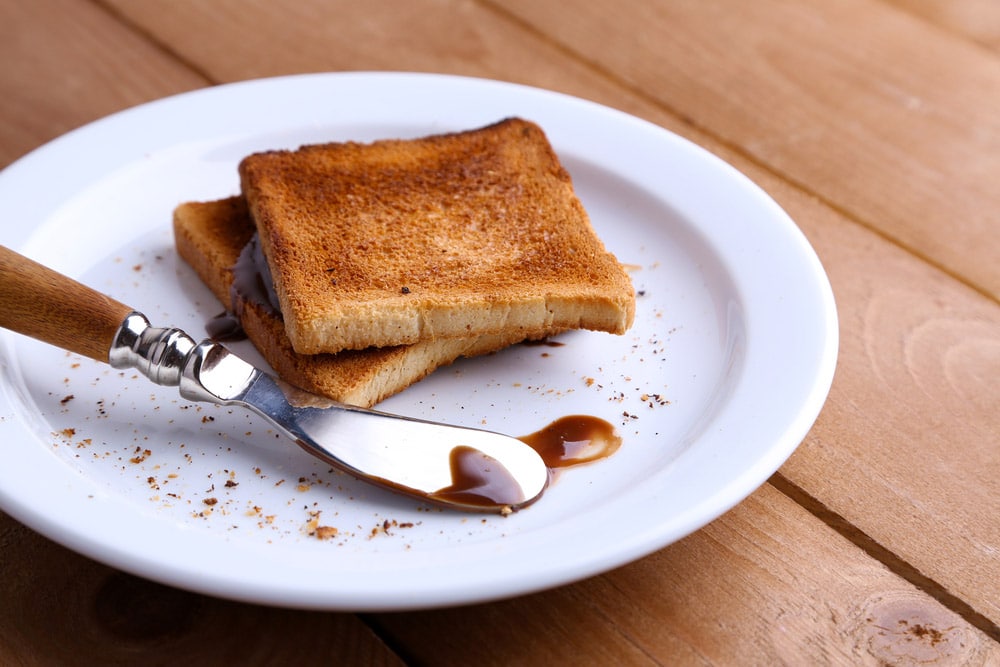
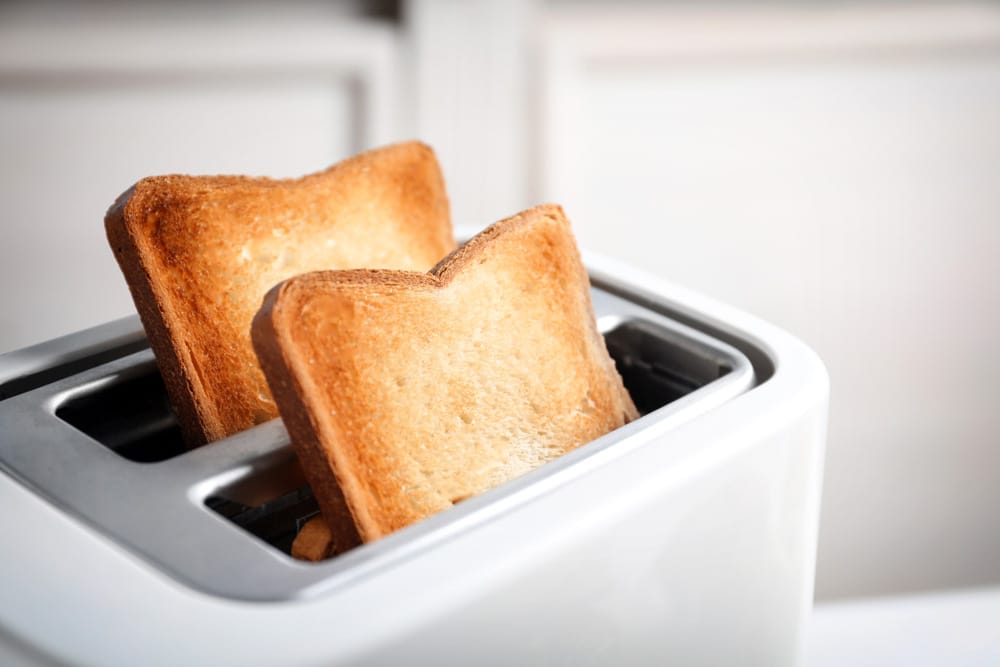
- Bread Keeps on Burning
The last thing you want when you’re baking tasty fresh bread is to have it come out burnt. That said, the second most common problem users report experiencing is burnt bread.
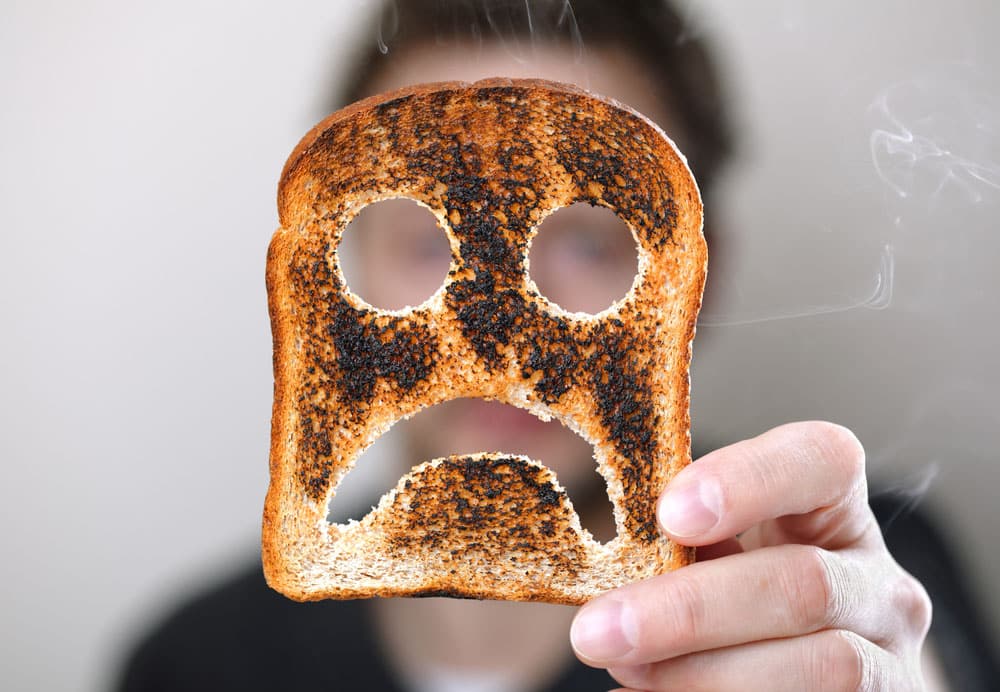
Additionally, bread also might be too dark or there is a burnt smell during the baking process. To many people, this might sound like one general problem causing the burning, but it’s not that simple.
- Burnt Bread
Burnt bread can often be chalked down to the bread being in the machine for too long. Always check your recipe and ensure that you’re setting the timer correctly. In some instances, you might have to adjust the time of the recipe you’re using.
With that in mind, if you’re confident the recipe is right, we recommend double-checking the heat settings on your machine. The problem could be as simple as the heat setting being set too high. Refer to your manufacturer’s manual for the correct temperature settings for your specific recipe.
- Dark Color
When the bread comes out of the machine too dark for your liking, you might think the bread is burnt. In many instances, the bread isn’t burnt but the dark color is caused by adding too much sugar to the dough.
Reduce the sugar with the next batch and check if that makes a difference to the color of your bread.
- Burning Smell
It’s normal to go into a panic when there is a burning smell from your Cuisinart bread maker. The good news is that it’s not always a sign of a faulty unit. In most instances, the burning smell comes from excessive ingredients spilling over into the machine.
To rectify this problem, switch the machine off and unplug the unit. When the machine has cooled down, remove the baking pan from your device. Clean it properly before plugging it in and continuing the baking cycle.
- Bread Maker Emits Smoke
If your bread maker emits smoke during the mixing or kneading process AFTER you’ve cleaned the baking pan, it could be an indication that something is wrong with the machine.
A more specific indication could be smoke rising from the motor base or cord, you need to switch off the machine and unplug it immediately. This is a rare problem to have so in this instance you would need to call the customer care department.
- Bread Not Rising Properly

It can be disappointing to open your bread maker after the required time only to find that your tasty loaves haven’t risen properly. That said, the third biggest problem home bread bakers encounter is having the dough or bread not rising properly. There are two main reasons that could be causing this.
- Opening the Lid Early
Generally, the biggest culprit of bread not rising stems from you checking your ingredients repeatedly during the baking process. It’s tempting to open the unit to check how things are going in there.
However, opening the bread maker to check on the baking process often results in heat being lost. When this happens it becomes difficult for the bread to rise, as the machine needs to reach the required temperature after you closed the lid again.
Remember, your bread maker is made airtight for a reason – to keep the heat and air inside to provide you with the best bread!
- Expired/Wrong Ingredients
Furthermore, some bread-raising issues result from the types of ingredients you’ve used. Using expired yeast or adding too many leavening agents are common problems that result in bread not rising properly.
Always check the expiration dates of ingredients and double your recipe if you’re using it for the first time. Be sure to keep liquids at a temperature between 75 to 90 degrees F. Any liquid hotter than that will kill the yeast, causing the bread to stay flat.
- Sunken, Uneven Tops
While many troubleshooting tips also refer a user to double-check their recipe or ingredients, those suggestions aren’t very helpful if you know your recipe to be awesome as it is. One of these issues is your bread having sunken and uneven tops.
The main reason for this has to do with the humidity in the kitchen and is more common on hot days. To rectify this issue simply dry out the dough by adding a tablespoon of flour for each cup of flour you added.

On these days we recommend placing your bread maker in a cool, dry place. That means, if your bread maker is on the counter near a sunny window, you’ll have to move it. If it’s too hot in the kitchen, move the bread maker to a cooler place.
- Kneading Paddle Gets Stuck
If you’re new to using a bread maker, it can be quite alarming when the kneading paddle gets stuck in the dough. This usually happens when you don’t hear the alarm signaling the last phase of the kneading process.
To rectify this, be sure to stay near your bread maker when it’s almost done with kneading. When the alarm sounds, open the lid and remove the kneading paddle. Simply reshape the dough and place it back into the bread maker.
- Bread Has a Wrinkly Top Crust
Have you ever removed your bread from the bread maker immediately after baking only to find it develops a wrinkly top crust shortly after? Once again, it’s quite easy to fix.
Don’t remove the bread from the bread maker immediately because you’ll be taking it from a hot unit to cooler air. This will cause condensation to settle on the top crust. Since the bread is still hot, the crust will turn wrinkly.
Our suggestion is to remove the bucket from the machine and then remove the bread from the bucket. Quickly place the loaf back into the machine, minus the bucket. Close the lid but not all the way.
Leaving a small space open will enable the bread to cool at a steadier pace, eliminating the risk of a wrinkly top. As the bread starts cooling, the crust will slowly harden the way it’s supposed to.
In a Nutshell
Fortunately, most problems you’ll encounter with your Cuisinart bread maker can be easily rectified by making a few simple changes to your ingredients.
Additionally, using fresh ingredients at the recommended temperature will ensure that your bread rises and tastes the way it should. Enjoy making delicious bread by keeping our simple troubleshooting tips in mind!
My cusinart bread machine has developed a problem with the bread pan jumping up off the bottom drive while in the knead cycle. If not discovered in time to push the pan down and engage the drive the bread will not knead and the loaf will be unsatisfactory. Can you help with any recomendations?
my cuisinart bread machine CBK-110 series did not pick up where it left off after i mixed up the sugar cinnamon mixture put the dough back in the machine and hit the stop start button and it stared from the beginning im very upset over this please get back to me on this issue marylou farmer
I cant change the program by pressing the program button – its stuck on program #1
now what?