A well-put-together kitchen is essential to increase your home value. If you are optimizing or remodeling the kitchen with new appliances and countertops, you must wonder how to raise the stove height.
There are a few different ways in which you can go about raising the height of your stove. If your stove is on legs, you can purchase taller adjustable legs to replace the existing ones. This is generally the easiest and most cost-effective option.
If your stove is not on its legs or wants to raise it more than a few inches, you will need to build a solid platform, preferably out of plywood, to sit on. This is a more involved project, but still relatively easy to do.
You will just need some basic carpentry skills and supplies. This article will help you raise the stove height easily and quickly.
How to Raise Stove Height?
- Raise the Stove Platform
If your stove is on a platform, follow the following mentioned tips.
Begin With Taking Measurements
The most crucial step is to take accurate measurements. You need to know how much higher you want to raise the stove. This will help you avoid any mistakes in the process. Keep in mind that most stoves have a standard height of 36 inches.
Consider using an electronic measuring tape for more accuracy. Once you’ve decided to take measurements, begin by pushing the stove out of its place. This way, you’ll have additional space to take accurate measurements.
Take a notepad and note down the initial height, then add the desired height to estimate how much additional height you want. Make sure you measure the space where you’ve fit the oven. This is to ensure that the stove’s new height will be appropriate and will not result in any problems.
Remove The Stove
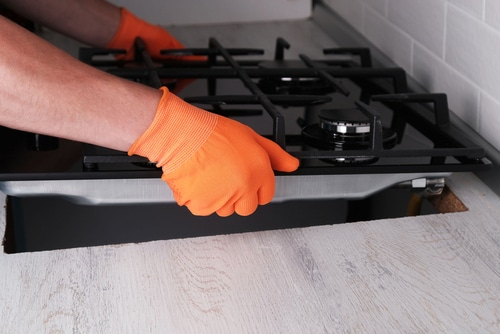
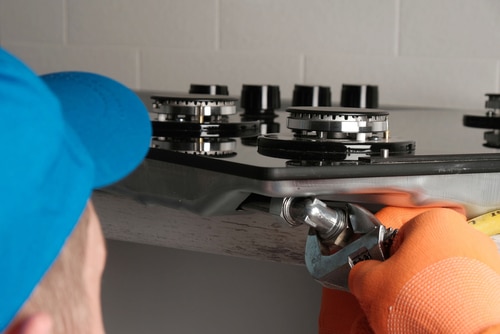
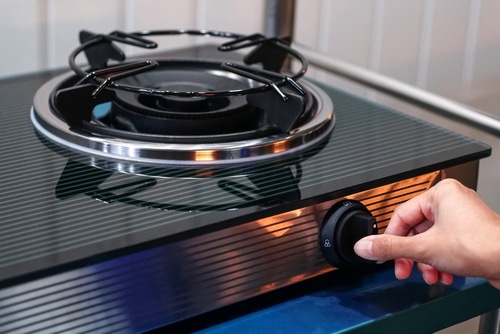
The second step is to take out the stove from its place. If your stove is electric, make sure you shut off the power source before you start removing it. Gas stoves will have a shutoff valve that needs to be turned off before you begin the process.
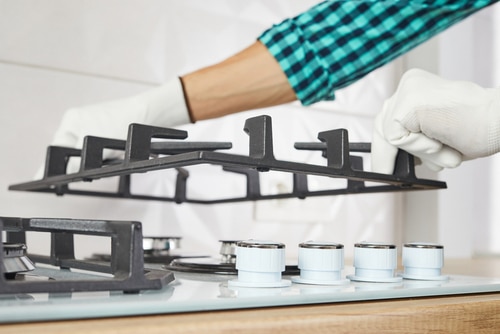
Place a few towels or rags on the floor where you will be working. This is to avoid any scratches on your floor. Now, it’s time to remove the stove. Begin by taking out all the racks and anything inside the oven. Be very careful with fragile items.
Once you’ve taken everything out, it’s time to unscrew the stove. Most stoves will be attached with four screws at the back. Unscrew them using a power drill or a screwdriver. If your stove is too heavy, ask someone for help before you try to remove it on your own.
Detach The Wires
Now, detach the wires connected to the stove. Be careful while doing this, and ensure you do not damage any wires while separating them. Use a pair of pliers to loosen the screws holding the wires in place.
Handle it with care so you do not damage the insulation around the wires. Once you’ve removed all the wires, place them in a safe spot where they will not get damaged.
Use Plywood To Extend The Base Of The Stove
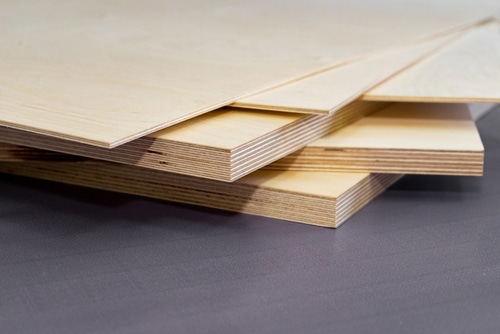
If you’re looking to raise the stove by a few inches, you can do this by attaching a piece of plywood to the bottom of the stove. This will give it extra height and make it easier to install. You can use screws or nails to attach the plywood to the stove.
Use strong screws or nails that will not come off easily. If you want to raise the stove by more than a few inches, you will need to build a new base.
You can use lumber or other sturdy materials to support the stove. When building the base, ensure it is the same width and depth as the stove. This will make it easier to install.
Take Measurements Again
Once you’ve built the new base or attached the plywood, it’s time to take measurements again. This ensures that everything is the correct size and that the stove will fit correctly.
Measure the new base’s height, width, and depth. You should also measure the distance between the stove and the countertop.
Install The Stove
The final step is to install the stove. Begin by attaching the wires to the stove. Be sure to use the correct screws and tighten them securely. Next, place the stove on the new base or plywood and secure it in place.
If you’re using screws, be sure to use ones long enough to reach the studs in the wall. Once the stove is secure, place all the racks and anything else inside the oven. Turn on the power source and test the stove to ensure it works correctly.
- Raise the Stove Legs
If your stove has legs, follow this method, you can do this by using adjustable leveling legs. These are available at most hardware stores and can be easily installed.
Be sure to follow the instructions that come with the leveling legs. This will ensure that they are installed correctly and will work properly.
Take Measurements
Start by taking measurements, then move the stove out of place. If you are using an electric stove, make sure to disconnect the power before starting the procedure. On the contrary, if you have a model that runs on gas, turn off its shutoff valve.
Fixate Adjustable legs
Carefully fixate the adjustable legs in position according to the manufacturer’s instructions. Put the stove back in place. Check if it is level by using a spirit level. If it is not, adjust the legs until it is.
Secure the stove
If your floor is made of wood, you might want to use some L-brackets to secure the stove to the floor. This will prevent the stove from tipping over if it is bumped into. Be sure to use screws that are long enough to reach the studs on the floor. Now you’re done!
Plugin the power cord (for electric stoves) or turn on the gas supply (for gas stoves). Test the stove to make sure it is working
Check Stove Stability After You’re Done
Now is a good time to make sure your stove is level and steady. If you’re using plywood, ensure it’s flush against the wall and that there are no gaps between it and the stove. Press down on each side of the stove to check for sturdiness. If everything feels stable, you’re good to go!
Following these steps correctly, you should now have a properly installed stove. Be sure to regularly check the condition of the stove and the installation to ensure everything is still working correctly.
By taking the time to install your stove properly, you can avoid any problems in the future. Now that you know how to install a stove, you can do it yourself the next time you need to. Just be sure to take your time and measure twice before cutting anything.
You can choose between using plywood as a permanent base under the stove or utilizing a good pair of solid adjustable legs. We suggest the latter. An advantage of plywood is that it can be painted or stained to match your floors.
Another advantage is the added height might be just what you need for easier cooking. If you go the plywood route, make sure it’s cut to fit snugly and use screws long enough to go into a stud behind the drywall.
Be especially careful if gas lines run behind your stove because you don’t want to puncture them. If you go the adjustable leg route, ensure they can support your stove’s weight and that they’re properly installed before use.
The Bottom Line
Adjusting the stove height is important for home improvement, and safety should be your number one priority. Improper stove installation can lead to gas or electrical leaks, which can be dangerous.
Be sure to follow the instructions carefully and take all the necessary precautions. With a little effort, you can easily install a stove.
