I’ve been cooking for years now, and I know how to do all kinds of things in the kitchen. But until recently even I sometimes struggled with perfectly peeling the shell off of a boiled egg. It’s an annoying issue that rookie and expert chefs alike struggle with sometimes, because egg shells can just be so darn persistent sometimes.
But, a relative of mine told me about a trick recently that’s changed things forever, and I couldn’t be more thankful to them. Now I’m able to get rid of shells on a boiled egg as easy as I could want, and today I’m going to tell you how you can do the same!
Why Do Shells Stick To Eggs?
Okay, who wants a little science lesson before everything? Ever wondered why shells stick to eggs? I’ll give you a short answer and a long one, starting with the long one.
Egg shells are made up of a little something called calcium carbonate, a type of salt. There’s a natural layer of protection around eggs when they’re laid. This layer is basically just a bunch of protein that helps everything stay together so the chick can hatch healthy.
But sometimes, when the egg is cracked open, some of that protein can stick to the egg white or yolk, along with bits of the shell. Now, the reason that the bits of shell stick to the egg is because of a phenomenon called surface tension.
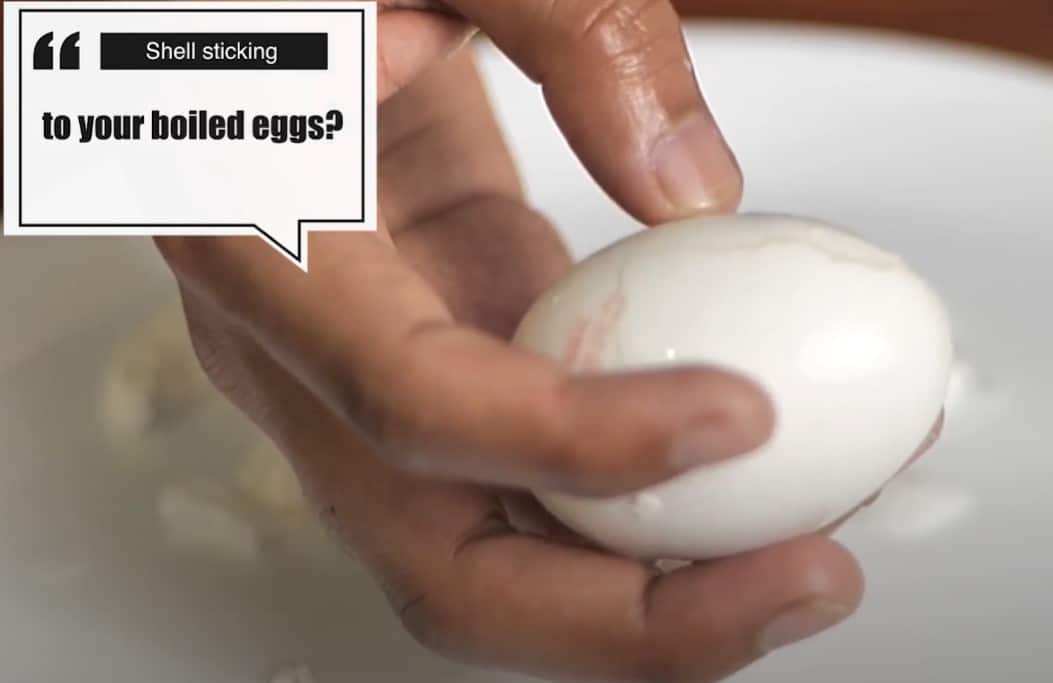
The surface of the egg is slightly sticky because of protein. What this does is it makes the shell fragments get trapped after they come into contact with it.
An easy way to explain this to yourself practically is to just touch something sticky like slime. You’ll notice how even when you pull your finger away, the gooey stuff sticks to your finger for a bit. Well, this is kind of like that, but more drastic because eggs fall apart easier than your fingers do (at least I sure hope so).
So, that’s why shells stick to eggs!
Short answer? It’s a combination of the sticky surface of the egg and the protein that coats the shell that makes this happen.
How To Peel Boiled Eggs?
Perfectly Peeling Your Boiled Eggs:
I’ll turn this method into a step-by-step guide, so that it’s easier for you to follow exactly the way I do it! Here’s what you need to do if you’re all ready to get started:
- Boil The Egg
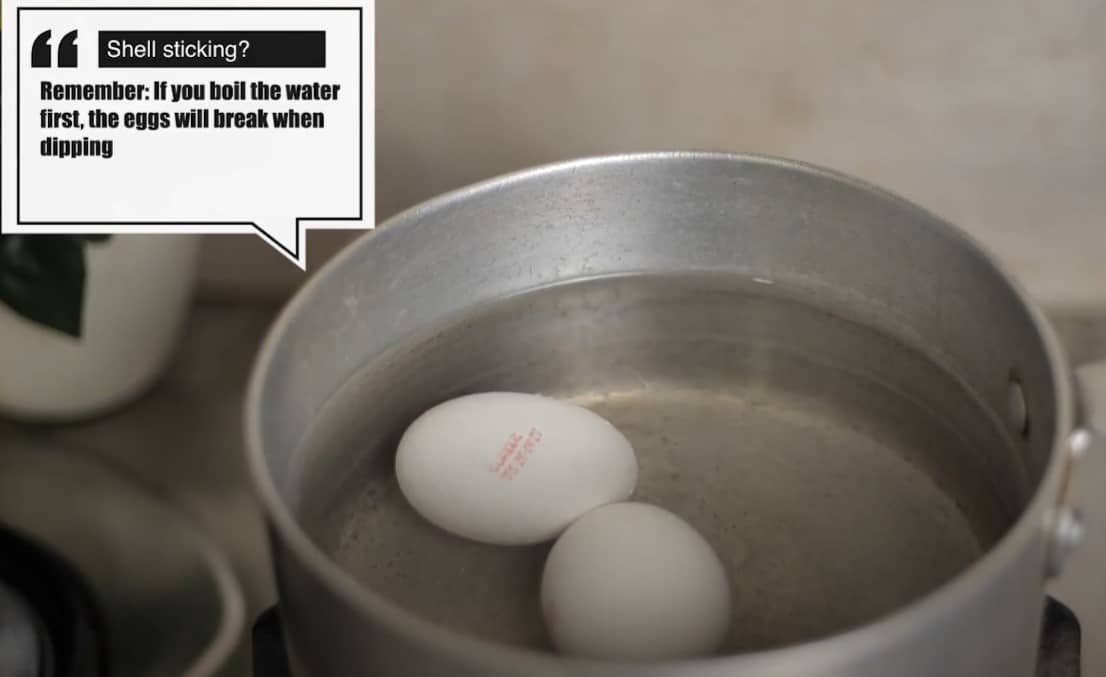
You’re going to need a boiled egg to practice on if you want to try this method, so start off by preparing one for yourself. Add enough water inside of a pan to completely drown the eggs. Add a bit of salt inside, and start boiling the eggs inside the water. Boil 8-10 minutes for a soft-boiled egg, and 14-15 minutes for a hard-boiled one.
- Dip Boiled Eggs In Cold Water
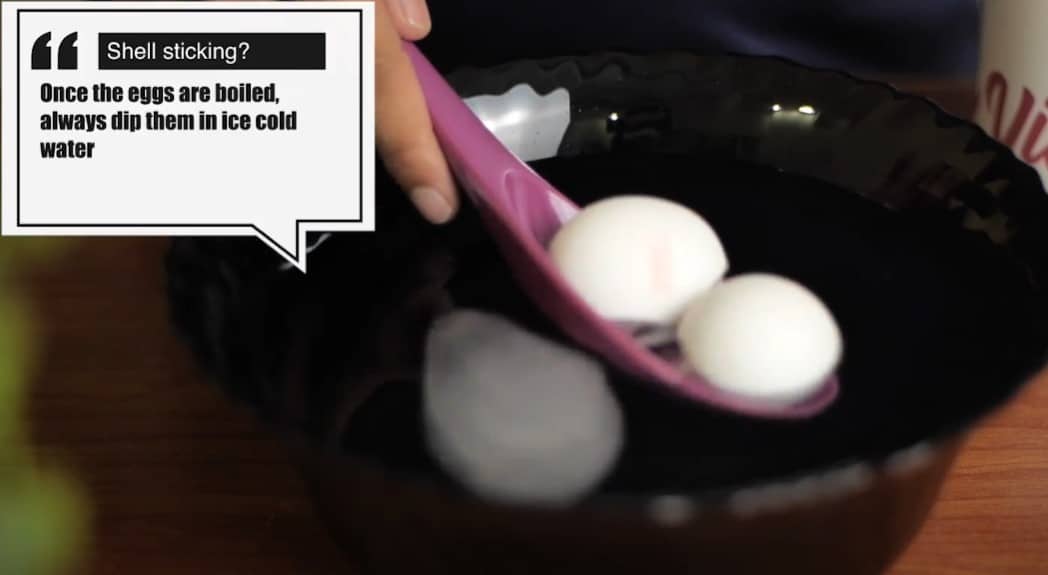
After you’re done boiling the eggs to your liking, remove them from the pan and wait a few moments. Then, put them inside a bowl filled with ice cold water. This is a very important step, because without it, the shell is much likelier to stick and even break the egg while you peel it. Putting a boiled egg in ice cold water immediately makes its shell very brittle thanks to the sudden change in temperature, making the job easier for you when you start peeling.
- Crack The Shell
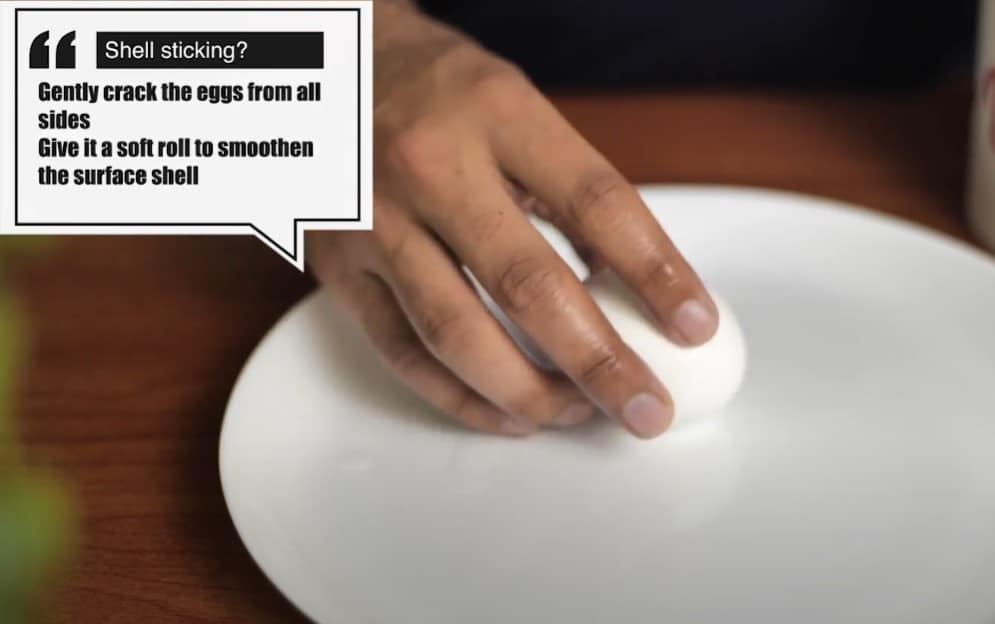
When it’s done chilling in the cold water for a bit, take the eggs and start cracking them from all sides. Gently hit them against a plate or other surface at all sides. Give the eggs a soft roll across a hard surface too, because that will smooth out the shell and make it even easier to get rid of perfectly.
- Start Peeling Away!
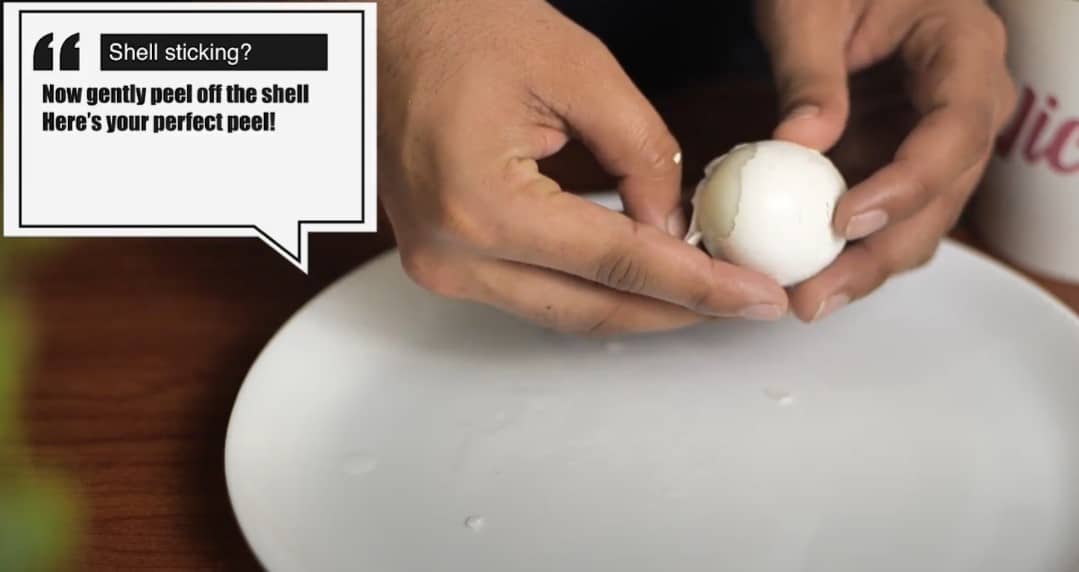
Now that you’ve done everything in the previous steps, it’s time to start peeling at the shell. The cracks and rolling from the last step should’ve made things much easier, and you will be able to easily get rid of the egg shell now. Just start scratching away and none of it should stick if you did what I said so far.
That’s all you need to do to get the perfect peel each time! I didn’t struggle with peeling boiled eggs regularly. But whenever I did, it would always be so annoying. Now that I’ve been using this trick, it’s so much easier, even if it takes a tiny bit longer than usual. I hope that it makes things as convenient for you as it did for me!