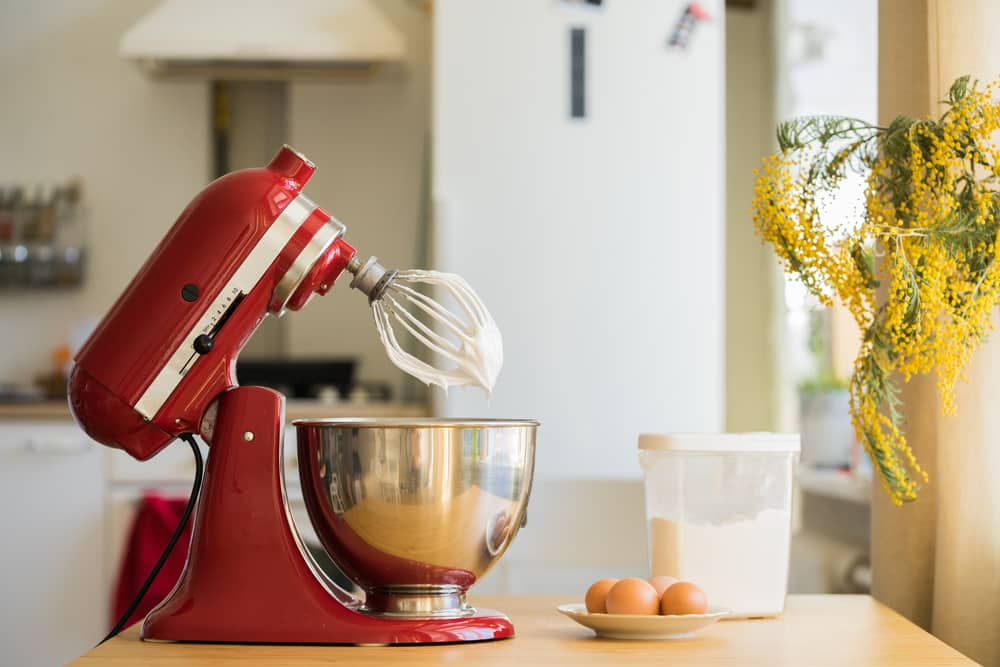
A kitchen mixer, also referred to as a stand mixer, is a common appliance that you will find in almost any modern kitchen. These mixers have a set of beaters that are used to mix and blend the ingredients that you put inside the mixer bowl.
Many come with a variety of other attachments as well such as pasta makers, juice squeezers, and spiralizers.
KitchenAid is an established American home appliance brand falling under the Whirlpool company. It has been marketing its upmarket products for over a century. KitchenAid is famous for its artisan quality and iconic design.
The appliances are durable and sturdy because they are made with high-quality materials such as stainless steel.
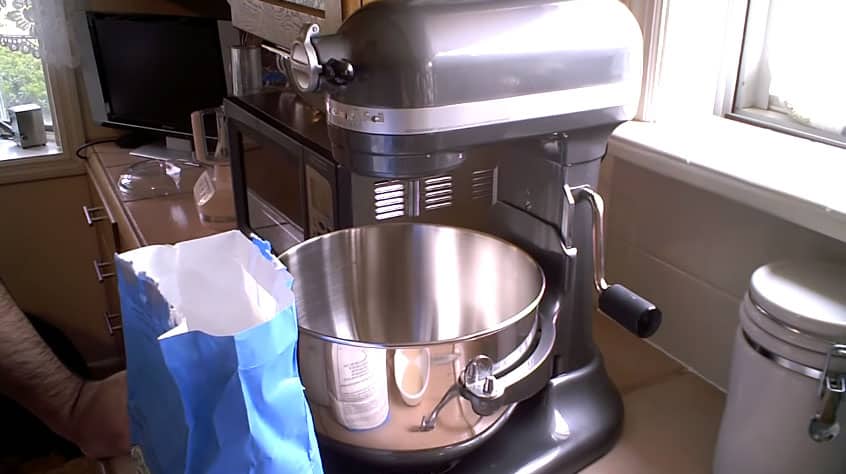
How to Lubricate KitchenAid Mixer?
That said, after extended use and with time, most stand mixers start making weird grinding noises.
On top of that, sometimes they start to leak oil. This is because these mixers work hard and need some proper maintenance every now and then to ensure they stay in top shape.
You may be wondering how to lubricate your KitchenAid mixer yourself at home. With luck, regular lubrication and careful use should keep your mixer working for many years.
Lubricating a KitchenAid Mixer
Following are the simple steps that you will need to follow to lubricate your KitchenAid stand mixer:

- First, disconnect the appliance from the power source (unplug it).
- Gather your supplies. You will need some grease, a putty knife or old kitchen knife, paper towels, and a screwdriver.
- Start by removing the rear cover of the stand mixer.
- Also, remove the metal strip found near the head of the mixer.
- Remove both the planetary ring and cover.
- There should be 5 different screws hidden beneath the planetary cover. Remove all of them. Set them aside carefully to avoid losing them!
- You should also find 4 different screws under the mixer head. Remove them as well and keep them safe.
- Now, pull the power cord out of the strain guard.
- You should be able to separate the bottom and top half of the mixer by simply removing the top side.
- Disconnect the gasket.
- There should be 3 more screws on the bottom part of the mixer which you will need to remove.
- Using a putty knife, we recommend removing any old grease. You may also use a paper towel with an old, blunt kitchen knife.
- Put the gasket back in its place.
- Simply add the new grease to both the upper and lower gears of the mixer.
- Combine the top and bottom parts of the mixer.
- Put all the screws back in their respective places.
- Insert the planetary cover and ring into their original spaces.
- Replace the metal strip and then the power cable. Lastly, replace the back cover.
Following these steps will help you to successfully lubricate the mixer without any complications.
The Bottom Line
Remember that if you struggle with this in any way, you can always ask for professional help. Also, if your KitchenAid is still under warranty, never attempt to open it yourself but rather return it to the manufacturer for replacement.
Lubricating or even opening your machine while it is still under warranty will nullify your guarantee.