Tilapia is a dull-colored fish native to Africa but farmed in many parts of the world. China produces the most. Tilapia is the fourth most consumed fish in the U.S. and because it is easy to farm, it is relatively inexpensive.
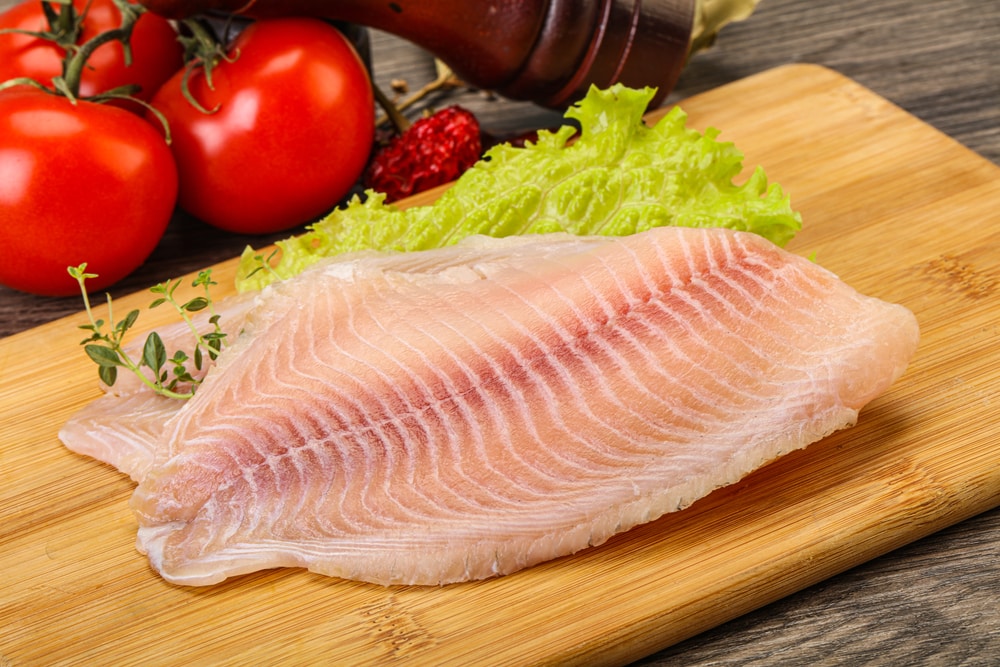
Tilapia’s mild-tasting, white flesh makes it perfect for a number of fish dishes, from fishcakes to fried battered fish and fish pie.
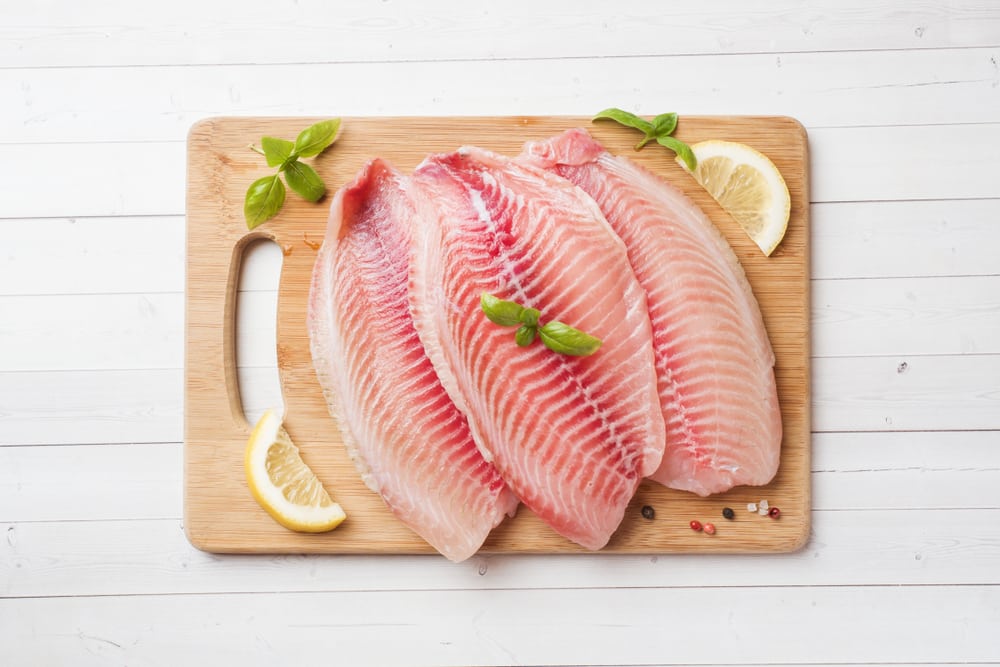
While tilapia is mostly sold already filleted and deboned, you may come across whole fish in which case you would need to fillet and debone it. Keep reading because we are going to share with you seven easy steps to do so.
How to Fillet and Debone Tilapia
Careful deboning is essential to ensure you have an easy and safe eating experience. (Who likes picking out the bones continuously as they eat?)
Step One: Scale the fish
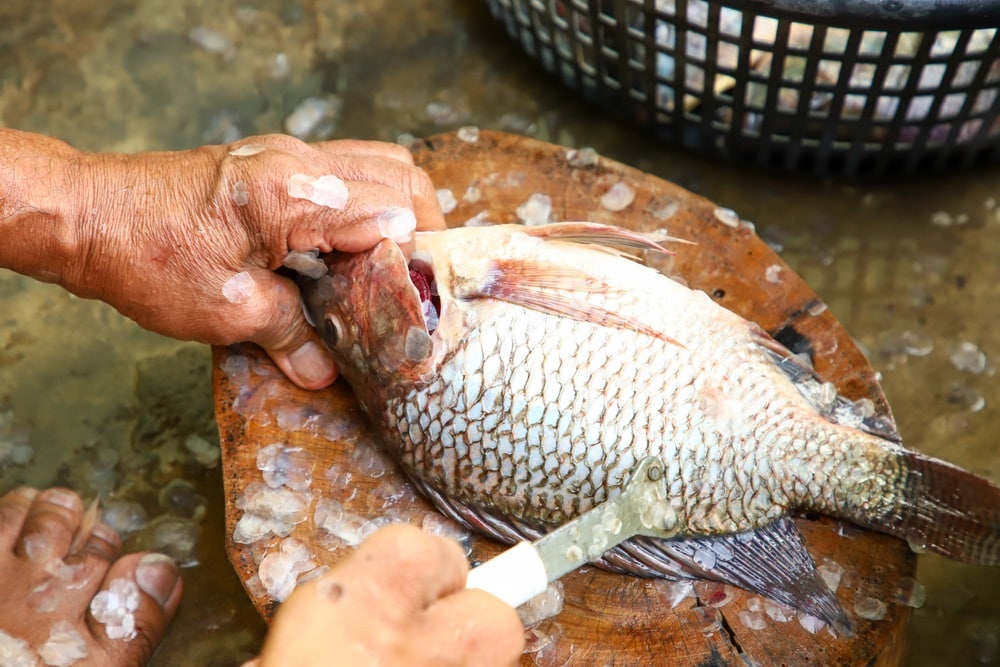
Once you have purchased your fresh tilapia, wash it in cold tap water to which you have added a squeeze of lemon juice and then put it on a work surface.
Hold the fish by its head with one hand. Now, scrape with a blunt knife held at an angle from the fishtail to the gills. This will remove any scales from the skin.
You might have to apply moderate pressure and keep rotating the tilapia until you’ve removed all the scales.
Step Two: Removing the fins
The second step is to make slits all along in line with the top fin on both sides. Try to make small cuts on either side of the fin at an angle. Grasp the fin or the tail firmly to help you do this.
Once you have made the cuts, get a strong grip on the fin, remove it by pulling firmly, and most of the connected bones will be removed along with the fin.
Step Three: Removing inedible innards
Once you have removed the fin, you are ready to remove the inedible innards. Hold the tilapia fish by its tail and put a sharp knife at the end of the tail and it dig into the fish.
Make a slit all along the fish’s belly, and when you reach the fish’s gill, stop right there. Using your fingers, remove the fish guts and discard them. We suggest that you wear gloves to be hygienic.
Step Four: Rinse the fish
Rinse the fish under cold running water until the water is completely clear. This will wash away any loose scales or innards.
Step Five: Filleting the fish
Now that the fins and attached bones, and innards are out, you are ready to start cutting the fish into fillets. Turn the fish onto one side and make slits from top to bottom (make the slits behind the gills).
Secondly, slide your knife horizontally in a sawing motion all along the fish’s backbone down to the tail. Turn the fish onto its other side and cut the second fillet.
Step Six: Removing the smaller bones
Now that all the large bones have been removed and you have two fleshy fillets, it is important to remove any small pin bones from the flesh.
Tilapia, and many other fish, have several very sharp pin bones that extend from the middle of either fillet about two-thirds of the way to the sides. While they are not as large or as many as in some other types of fish, they must still be removed.
You should be able to feel them sticking out in a row running down the center of the fillets. Use a pair of clean kitchen tweezers to pull them out.
If your fish is very big, it might be better to pull all the pin bones out in one go. Do this by cutting downwards at an angle on both sides of the line of bones. The cuts should line up under the line.
Now you have a V-shaped strip of flesh with the bones inside. Remove this from the fillet and discard it.
Conclusion
Being able to fillet and debone your fresh tilapia is a valuable skill. The same principles we’ve shared here apply to other fish too. Just ensure that your knife is very sharp before you begin the process.
Once you’re done, run your fingers over the fillets to feel if there are any bones still remaining. All that is left to do now is cook and enjoy your fish dish!