Before we talk about canning venison without using a pressure cooker, it’s important to understand a bit about the history and the health issues associated with canning venison.
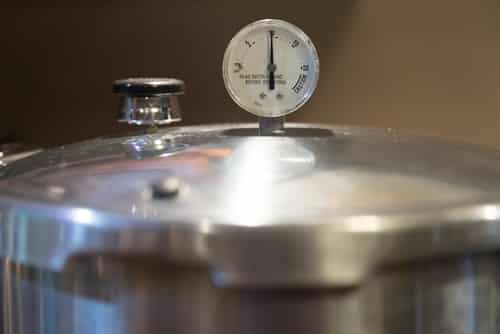
While the world has had access to pressure cookers for a long time, pressure canners weren’t commercially available until the mid-1970s. Even then, they were priced out of an average person’s range.
The original pressure canners would usually run up to hundreds of dollars. It simply wasn’t a viable purchase. Even today, you won’t find pressure canners at local stores. They aren’t that common.
But, you don’t always need a pressure canner or cooker to can venison. In this article, we will guide you on how to can venison without a pressure cooker.
Before canning was introduced, did most buyers only purchase venison directly from the grocery store? Of course not. Venison wasn’t always sold in grocery stores.
Family history goes back to a time when canning was done on a Franklin (read wood burning) stove using a regular water bath canner, and that included meat.
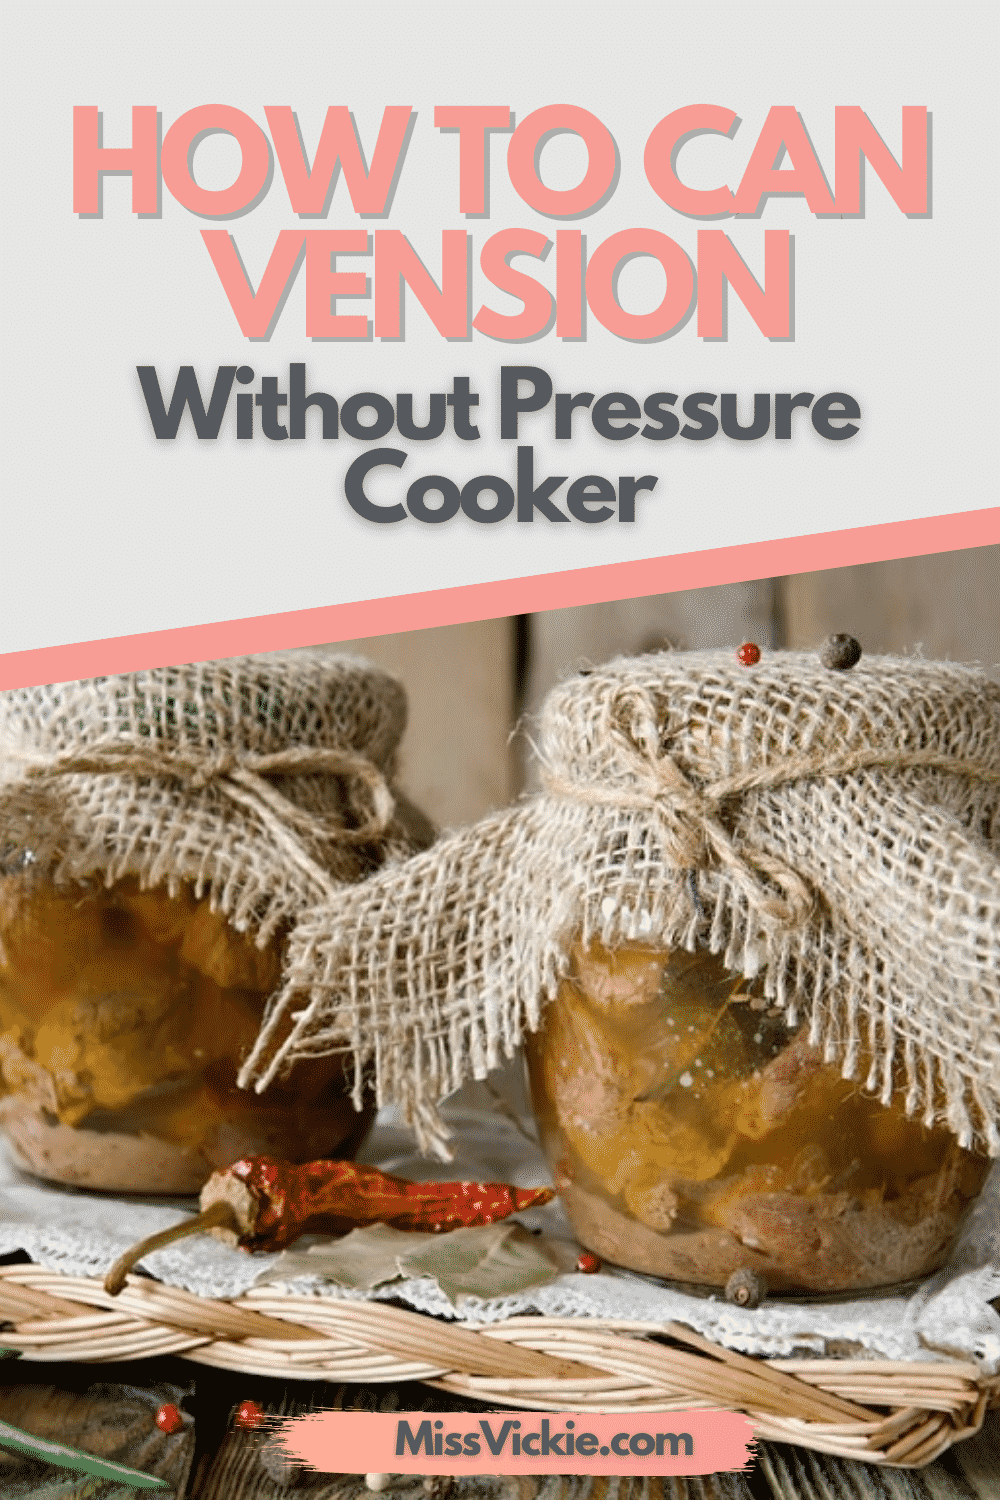
How To Can Venison Without A Pressure Cooker
Now, let’s talk a bit about the health issues associated with canning.
Most websites and modern cookbooks demand the use of a pressure canner because a water bath canner isn’t guaranteed to get rid of all of the bacteria that could cause severe illness or death.
A pressure canner is more likely to sterilize the meat so that it is safer to eat. Bacteria start to rapidly multiply in food items when they are kept at room temperature.
With a conventional pressure canner, you don’t have to worry about this. But, if bacteria starts developing in a water bath canner and you end up eating it, later on, it could prove to be lethal.
Water bath canning is not always a safe option. There is a high risk involved with water canning. Even if it doesn’t kill, there is a pretty strong chance of food poisoning.
There have been many cases where people have suffered serious stomachaches and even had to go to the hospital to get their stomachs pumped as a result.
Water bath Canning Venison (High-risk Involved)
Warning: Pressure canning is more effective in killing botulism.
The water bath canning venison mentioned below is a traditional method and NOT a scientifically approved method. Try at your own risk!
Example video of canning meat using the water bath method:
If you don’t have a pressure cooker, what do you do? There are two ways to water bath or can meat, including venison.
One is to cook it completely beforehand – probably the safest method, as it will kill all the bacteria. Even with this method, adding something high in acid will help in preservation.
That used to mean tomatoes, but present-day tomatoes don’t have enough acidity. As a result, most people use a specific amount of vinegar depending upon the amount of meat that needs to be canned.
1. Firstly, sanitize the jars.
You will want to hot-pack them to prevent the meat from cooling off, resulting in the rapid multiplication of bacteria and rendering the meat unfit for consumption.
2. Cook the meat according to the way you like it, add the proper amount of vinegar to maintain acidity, and hot pack it into the jars.
Please remember that the jars have to be hot as well, or they will break.
This is a slightly tricky method because most people don’t know the proper way to heat the jars. Just make sure that there isn’t a massive difference in temperature between the jars and the meat.
3. Sanitize the lids and rings. To do this, the best thing that you can do is submerge them in hot, soapy water.
Now, it is much simpler to use a dishwasher, but you should know that dishwashers don’t necessarily “sanitize” the jars or lids.
It might seem like a shortcut because you don’t have to handle the hot equipment, but it’s definitely not recommended.
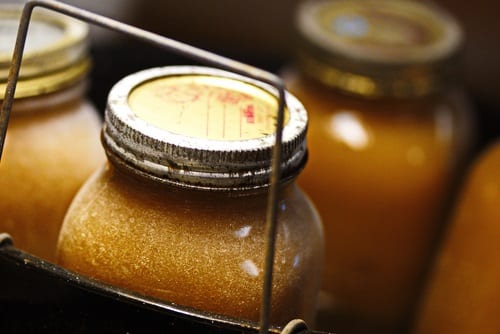
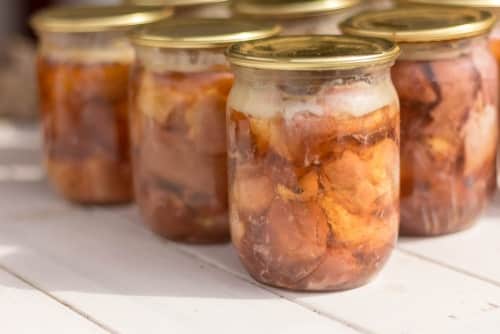
4. Pack the jars with the cooked venison for about three-quarters of an inch. A little bit of headroom is generally recommended. Not doing so will result in the jar not sealing properly.
5. Clean the rim of the jars with vinegar and seal them.
6. Place the hot jars in a water bath canner filled with equally hot water. Again, this is to prevent the jars from breaking.
When all of the jars are placed in, the water should be at least an inch and preferably two inches above the jars’ top.
7. Bring the canner to a boil and boil it for at least 3 hours.
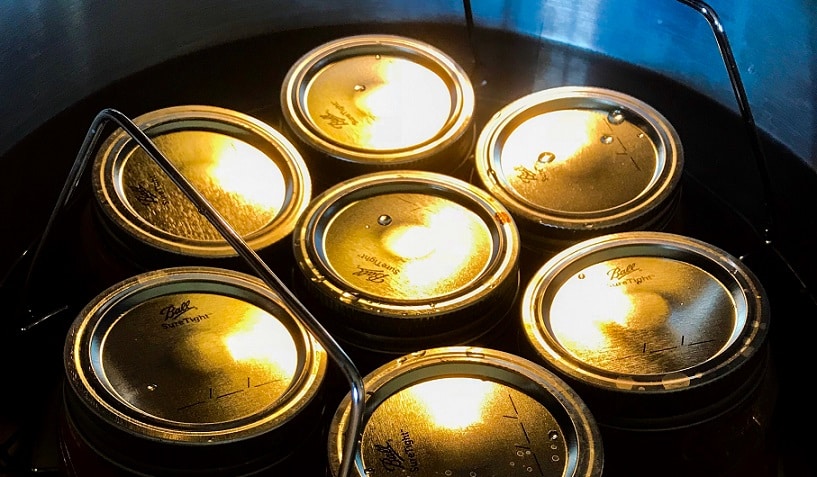
8. Remove the jars using jar tongs carefully and set them on a towel.
9. Cover the jars with another towel once you have removed them completely.
Listen for the lids to make a slight popping sound. Check to be sure they’ve sealed and then store in a cool, dry place.
The risk involved
It’s important to understand that this method does not guarantee a full seal in any way.
There is always a slight element of risk involved in the process, and in case the jar doesn’t seal tightly, you will return to a pungent smell coming from your pantry.
There’s always a slight element of risk involved when canning venison like this, so it’s just something that you have to deal with.
If you are looking for a SAFE method, try PRESSURE CANNING venison as per the videos below!