Do you like eating fresh squash or do you can it for later use? Canning is a great way of preserving the food for a longer period when you have bought too much or your garden has produced large amounts.
But how can you preserve squash without a pressure cooker if you don’t have one? No worries because in this article you’ll find it out. We are going to tell you how you can simply use the water bath canning method without using a pressure cooker.
How To Can Squash Without a Pressure Cooker
Warning: Pressure canning is more effective at killing the botulism potential than the water bath method. The water bath canning squash mentioned below is a traditional method and NOT a scientifically approved method. Try at your own risk!
A method called water bath canning is done when you don’t have a pressure cooker at home. So, this is how to can squash without a pressure cooker at home. Just follow the easy steps that are described below.
Because squash is a low acid food, the only way to safely water-bath can it is to add enough acid to make it safe.
We’ll show you how.
1. Picking the Right Amount of Squash to Can
You cannot safely can vast quantities of squash in one day. Start small and build from there. Instead, to can squash without a pressure cooker, there are some rules to help you pick the right amount of squash per jar.
Usually, you’ll be needing approximately 1kg of fresh squash to fill a 1-quart glass jar. It’s better not to attempt to can more than 6 such jars at a time.
2. Clean and Cut Squash

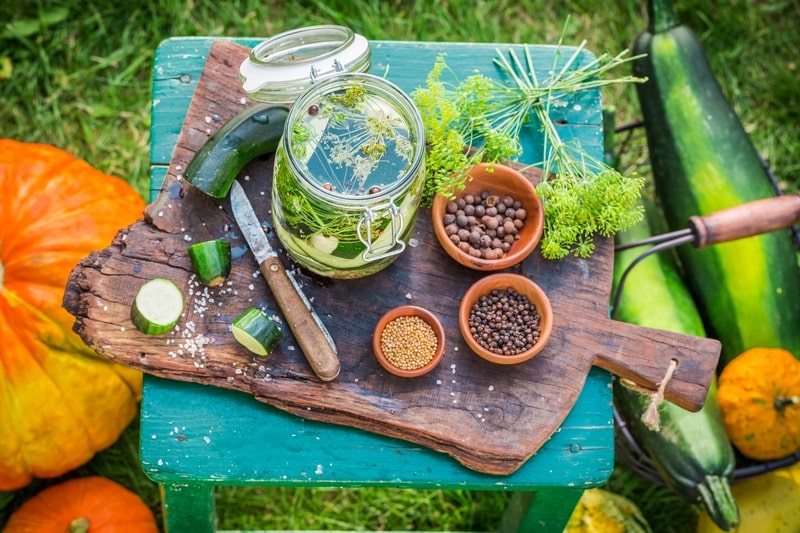
Now, after choosing a ripe, unblemished squash, you’ll need to prep it before you start filling the jars. To do this, you need to first wash the squash properly with clean water. Now, peel the skin and remove all the seeds inside it.
Then, cut the squash with a sharp knife into even-sized chunks of about 1 inch (2.5 cm) square. Fill a bowl with a mixture of vinegar and water in a ratio of 1:4 and wash the squash cubes in this. Drain.
3. Clean and Sanitize the Jars
The step of prepping the glass jars for canning is probably the most important part. This is because all your hard work can go to waste if you don’t clean and sterilize the jars properly. You need to first wash all the jars in hot soapy water. Rinse them in clean hot water.
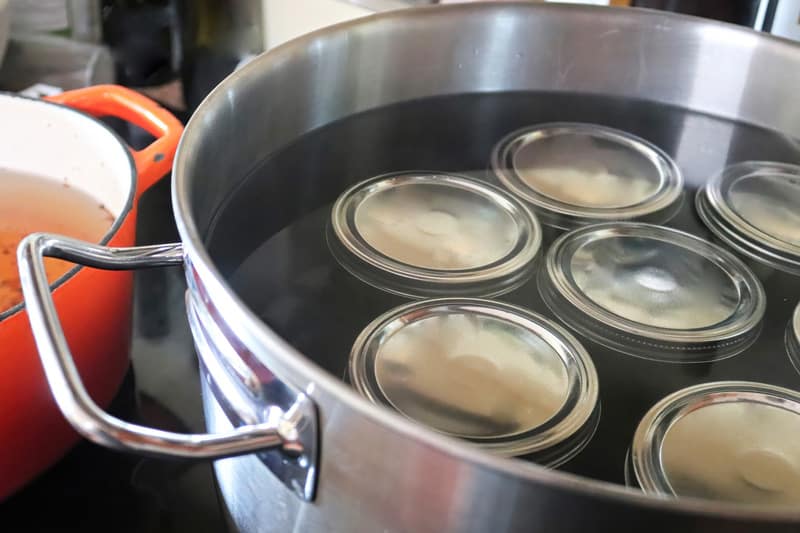
Then, using a large pot filled with water, heat it till boiling. Place all the canning jars and their lids into the boiling water and boil them for at least 10 minutes.
Boiling kills all kinds of microorganisms that may be on the lids and jars. Remove the lids and jars carefully from the water, trying not to touch and contaminate the inside.
4. Make Your Vinegar and Par-cook the Squash
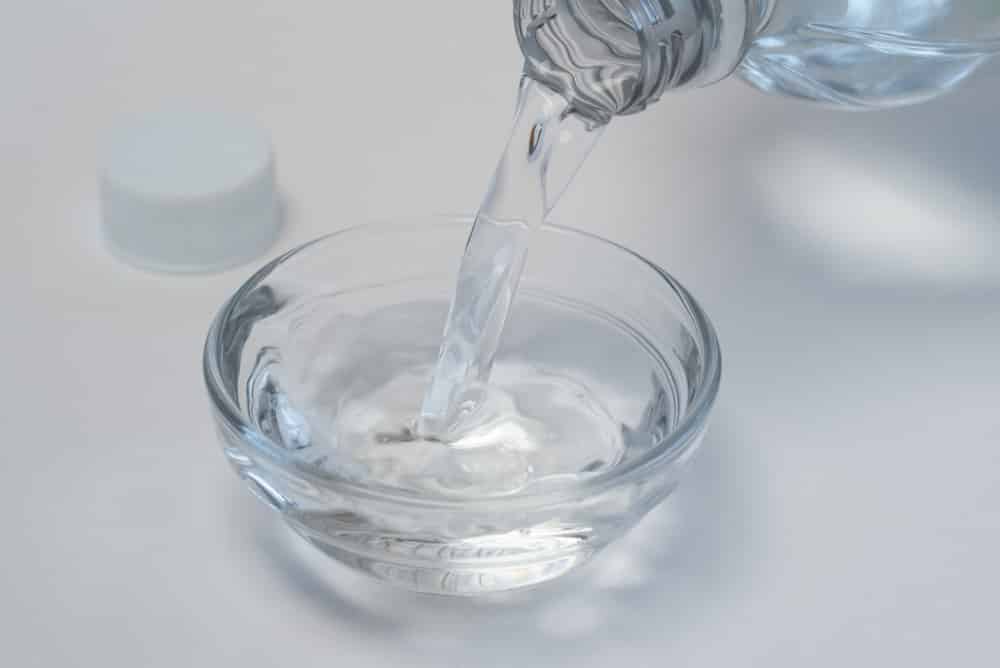
In a non-reactive saucepan, make up a solution of 4 tablespoons of apple cider vinegar, 3 ½ cups of water, and 3/4 of a tablespoon of canning (not iodized table) salt.
Put the squash cubes into the solution and par-cook for 5 minutes. You may need to double or triple your vinegar mixture depending on how much squash you are making.
With a slotted spoon, scoop the squash out of the vinegar into the jars. Fill them about ¾ full. Using a ladle, spoon hot vinegar mixture into the jars until the squash pieces are covered.
5. Seal the Jars and Process Them
The last part is to wipe the rims of the jars clean with a paper towel then close the jars tightly by screwing their lids on them. Make sure they’re tight enough to not let any water get inside.
Place a large pot filled with water on the heat and position a trivet stand in the center. Put all the jars inside the pot on the trivet and boil pint jars for 15 minutes and quart jars for 20 minutes. If you live in a place 1000 feet elevation, add on an extra 5 minutes.
After that, remove the hot jars carefully from the canner and leave them to cool. Check the jars for a good seal. You might hear a popping sound as the lids seal. Label and store your jars in a cool, dry place.
If you are looking for a SAFE method, try PRESSURE CANNING squash as per the videos below!