Garlic bread is a favorite treat to serve at barbecues, picnics, and lunch buffets. It’s also great with any kind of Italian pasta dish, especially those with a tomato base.
Many people make garlic bread the easy way by spreading garlic butter between slices of bread that have already been cooked, then wrapping the loaf in foil and baking it to melt the butter and crisp up the loaf.
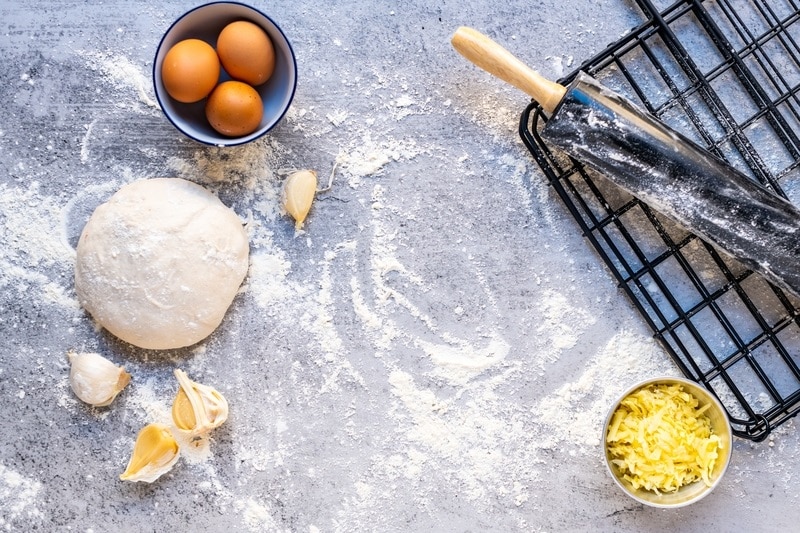
Another way to make garlic bread is to add garlic to the bread dough before baking the bread. However, some people are unsure about whether the garlic must be cooked first or if raw garlic can be kneaded into the dough.
Adding Raw Garlic to Bread Dough – Yes or No?
We’ll answer your question here and give you some tips on making the best garlic bread ever so read on!
Raw or Cooked Garlic
Whole finely chopped or crushed raw garlic can certainly be added to your bread dough before baking it with no harm done. However, raw garlic is very pungent.
The bread may have an overpowering garlic flavor if you use too much. If you’re going to do this, it’s probably best to use a maximum of four cloves, finely chopped.
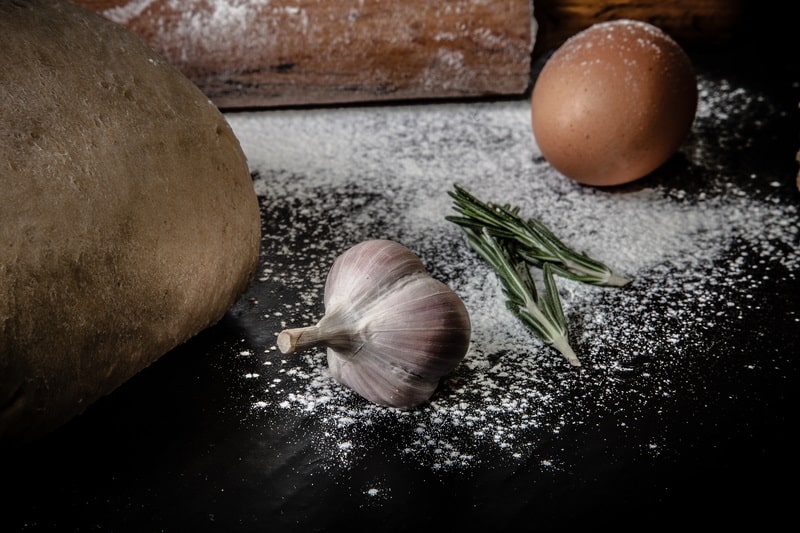
We think it’s far better to first roast the garlic as this brings out the natural sweetness and makes the flavor more delicate. You’d need to cut the entire top off a whole garlic bulb, drizzle it with olive oil and a sprinkle of salt, and roast it in the oven until soft.
Once it’s cool, squeeze the soft center out of the skin and mash it with a fork. This delicately flavored garlic paste can then be mixed through your bread dough before baking the bread. It is fine to use the whole bulb because the taste is more subdued after it has been roasted.
If making a garlic butter spread, it’s okay to use fresh garlic because after you’ve spread it on the bread, you’re going to put it into the oven to crisp the bread.
We’ve given you a recipe below for delicious, home-baked garlic and thyme bread that you’re sure to make over and over. You don’t need a special mixer or any particular breadmaking skills. This one is delicious dipped into an Italian tomato sauce!
Garlic and Thyme Pot Bread
Ingredients
- 1 roasted head of garlic, see instructions in the article
- 1 sachet instant dried yeast
- 1 teaspoon honey
- 1 ¼ cups lukewarm water
- 1 ½ teaspoons Himalayan salt
- 2 tablespoons fresh thyme leaves, picked off the stems
- 3 cups white bread flour, plus a little extra to dust
- 1 tablespoon olive oil
Instructions
- Mix the flour, yeast, salt, and thyme leaves in a big mixing bowl.
- In another bowl, mix the honey, water, and garlic paste.
- Add this to the flour mixture and mix well until you have a soft dough.
- If the dough is too stiff and floury, add a little more water.
- Knead the dough until it is smooth and elastic.
- Drizzle the dough ball with olive oil, coating it all over.
- Put it into a clean bowl, cover with a tea towel, and leave it to rise until doubled in size.
- This should take about 35-45 minutes.
- Lightly flour your work surface and tip the dough onto it.
- Pull each corner of the dough into the middle of the loaf one by one. Repeat about 5 times then turn the dough over and slide it towards yourself, shaping it into a round loaf.

- Flour a small bowl or proofing basket and put the loaf inside with the seam on the bottom.
- Cover it once again with the tea towel and allow it to rise for another half an hour.
- While this is happening, put a 5 ½ quart Dutch oven with its lid into your oven and heat it to 450˚F.
- Take the Dutch oven out, and remove the lid using oven gloves.
- Tip the bread into the Dutch oven, seam side up.
- Put the lid back on and put it into the oven.
- Cook for 30 minutes then take the lid off.
- Keep cooking with the lid off for another 15 minutes or so until the crust is browned.
- Remove the dutch oven from the oven and loosen the bread with a spatula.
- Carefully tip the bread onto a wire rack to cool.
- Allow it to cool for at least half an hour before cutting it.
- Serve warm with butter.