Water Per Cup Of Coffee Calculator
Calculate how much water to pour for coffee by brew method, desired cups, cup size, brew ratio, absorption loss, evaporation, and concentrate dilution.
☕ Water Planning Presets
Pick a real brewing situation, then adjust cup size, ratio, loss assumptions, and dilution to match your brewer.
⚖ Brew Water Details
Coffee water estimate
Your water estimate will appear here.
Water Breakdown
Ratio And Yield
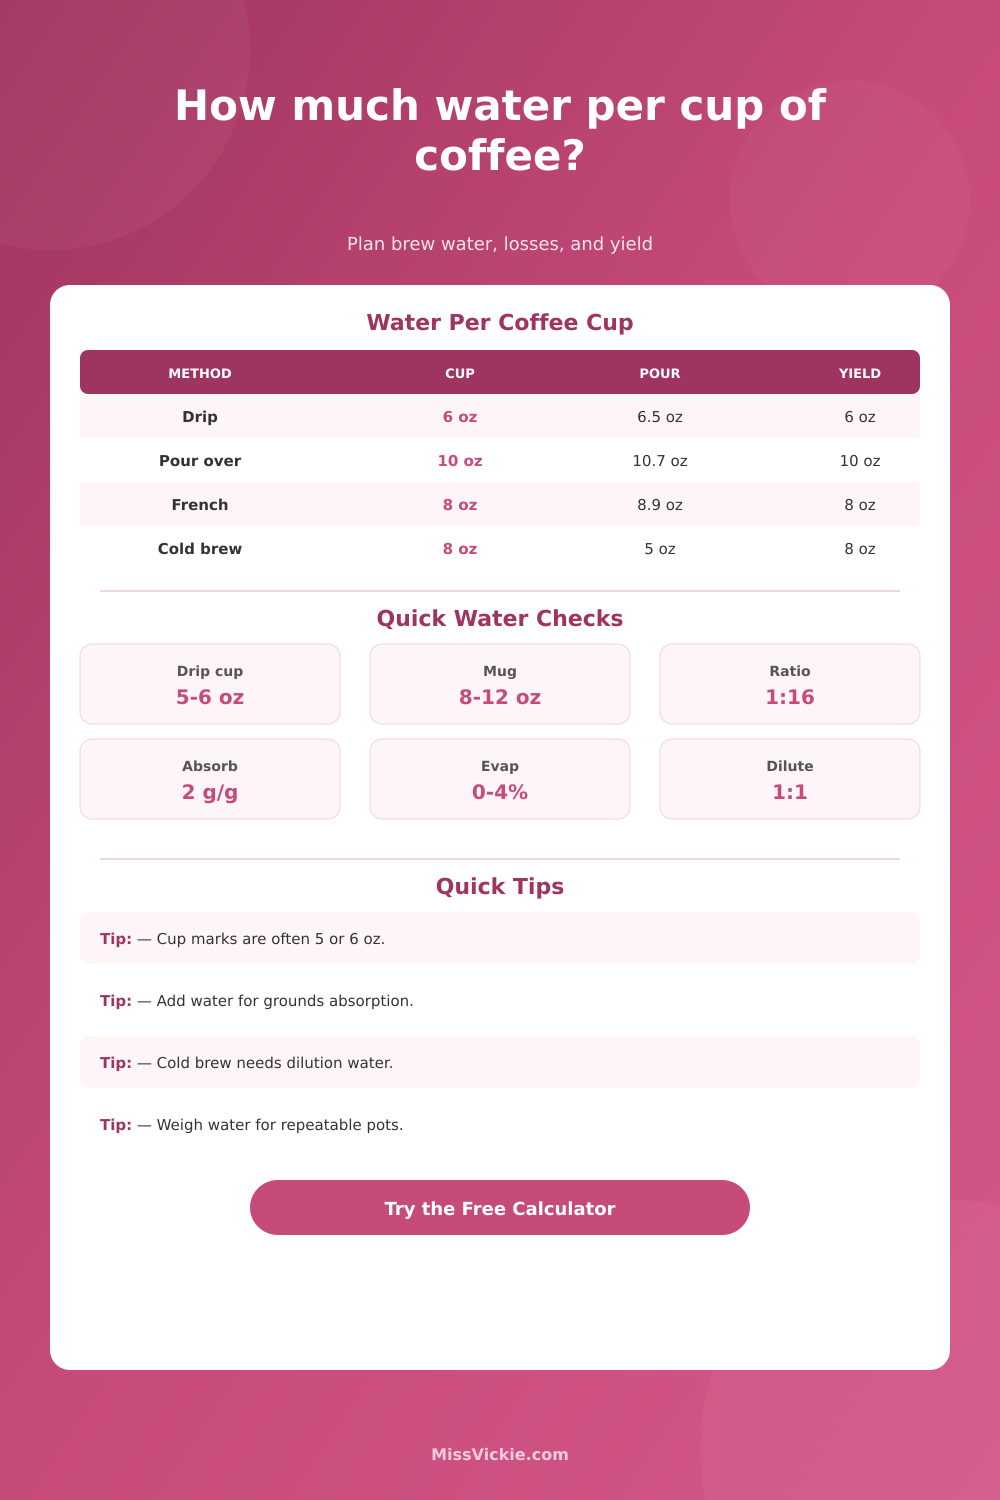
📏 Common Coffee Cup Water Sizes
📊 Water Per Cup Reference Tables
| Brew Method | Usual Cup Size | Starting Ratio | Typical Water Loss | Best Use |
|---|---|---|---|---|
| Drip coffee maker | 5 to 6 fl oz marks | 1:16 to 1:18 | Low evaporation, normal filter absorption | Use the brewer marks when filling the reservoir, then taste-check finished yield. |
| Pour over cone | 8 to 12 fl oz mugs | 1:15 to 1:17 | Moderate evaporation and paper filter absorption | Add a small allowance for water held in the bed and dripper. |
| French press | 6 to 8 fl oz servings | 1:14 to 1:16 | Higher retained liquid in coarse grounds | Leave some slurry behind if you want a cleaner final cup. |
| Cold brew concentrate | 8 to 12 fl oz served | 1:6 to 1:8 | Heavy absorption, no evaporation | Plan brew water and dilution water separately for final beverage yield. |
| AeroPress style brewer | 6 to 8 fl oz cup | 1:12 to 1:15 | Low absorption, small brewer capacity | Brew stronger, then bypass with hot water if the cup needs more volume. |
| Moka pot | 2 to 3 fl oz cups | 1:8 to 1:11 | Some water remains below the valve | Fill below the safety valve and use cup count as a small demitasse guide. |
| Finished Coffee Goal | Drip Water To Pour | Pour Over Water | French Press Water | Cold Brew Plus Dilution |
|---|---|---|---|---|
| 1 cup, 6 fl oz | About 6.5 fl oz | About 6.7 fl oz | About 6.8 fl oz | About 3.7 fl oz brew plus 2.3 fl oz water |
| 2 cups, 12 fl oz | About 13 fl oz | About 13.4 fl oz | About 13.7 fl oz | About 7.4 fl oz brew plus 4.6 fl oz water |
| 4 cups, 24 fl oz | About 26 fl oz | About 26.8 fl oz | About 27.4 fl oz | About 14.8 fl oz brew plus 9.2 fl oz water |
| 8 cups, 48 fl oz | About 52 fl oz | About 53.6 fl oz | About 54.8 fl oz | About 29.6 fl oz brew plus 18.4 fl oz water |
| 10 cups, 60 fl oz | About 65 fl oz | About 67 fl oz | About 68.5 fl oz | About 37 fl oz brew plus 23 fl oz water |
| 12 cups, 72 fl oz | About 78 fl oz | About 80.4 fl oz | About 82.2 fl oz | About 44.4 fl oz brew plus 27.6 fl oz water |
| Loss Type | Typical Range | What It Means | When To Increase | When To Reduce |
|---|---|---|---|---|
| Grounds absorption | 1.8 to 2.4 g water per g coffee | Liquid trapped in wet coffee grounds after brewing. | Cold brew, French press, coarse bed, thick slurry. | Metal filters, small batches, or pressed pucks. |
| Filter and dripper holdback | 0.5 to 2 fl oz per batch | Water left in paper, basket, or carafe path. | Large paper filters or wide flat-bottom brewers. | Reusable mesh filters or compact cone brewers. |
| Evaporation | 0 to 5 percent | Water lost as steam during hot brewing. | Open kettle pouring, percolator, long bloom time. | Closed drip machines and cold brew batches. |
| Dilution or bypass | 0 to 200 percent | Water added after brewing to reach drinking strength. | Cold brew, AeroPress, iced coffee, concentrate. | Straight drip, pour over, or French press service. |
| Ice melt | 10 to 25 percent | Ice water that becomes part of the finished drink. | Hot coffee poured directly over ice. | Coffee chilled before serving over ice. |
🍵 Final Beverage Yield Notes
The drink volume you want to serve after brewing and any dilution.
The water that touches coffee grounds before losses are subtracted.
Water retained by grounds and filters instead of reaching the cup.
Water, ice melt, or bypass water added after brewing for final strength.
💡 Water Measuring Tips
Coffee water estimates are starting points. Grinder retention, filter shape, pouring style, and brewer markings can shift the finished yield.
Top up your reservoir with water. This will be lost in the brewing process Not all the water you pour in actualy comes out: How strong (concentrated) or weak (dilute) your coffee are depends on how much water you use.
But what if you only want four cup? That doesn’t mean just measuring four regular cup-servings. Some water is lost to the filter, some is absorbed by the coffee grounds and some steams off into the air.
How Water Loss Changes Your Coffee
Know your loss and know your yield. Here’s how that works (though the calculator here do all the work for you). What are those variables? It helps to know:
• For certain methods (like a French press), you’re retaining more liquid in the grounds than others (like a drip machine).
• You’ll have some water left over in the paper filter from a pour-over cone.
• Cold brew is made as a concentrate that gets diluted later; it’s a different animal. Coarse grounds absorbs more water then fine grounds. Fine.
• If you use an open kettle, it will lose more steam than a closed kettle.
• Evaporation rates and absorption loss rates varies depending on what kind of equipment you’re using; the tool requests those, too.
All of these figures describes the gap between the coffee you’ve drunk and water you’ve poured.
One other thing: People tend to overlook brew ratio. That’s the amount of water compared to the amount of coffee used (e.g., the ratio of one part coffee to 16 parts water). Typically it’s one part coffee to 15 or 18 parts water, depending on what sort of drink you’re making.
Do you want something light? Then maybe use a one-to-eighteen ratio. Do you want a stronger cup? Try a one-to-fifteen ratio. With the calculator, you can adjust this ratio right on the page. Once you do so, the calculator figures out the amount of water required to produce the coffee you need to fill the mugs. It accounts for the amount of water lost along the way.
Guessing about coffee strength is no longer necessary.
The other confusing factor is cup size. There are “cups” on most coffee makers’ water reservoirs. And it doesn’t mean a 8 ounce cup. Generally it means five or six. So if you have standard mugs and you want to fill them up, you has to understand that the six-ounce mark is less than what goes into your mug.
Setting your cup size ties the manufacturer’s marking back to your own taste. That way you can account for refilling or pouring into something like a thermos as well. Sometimes you’ll want to make more so the last cup stays warm.
Dilution is important if you are a fan of cold brews. When you brew cold coffee, you’re brewing what amounts to a syrup. Then you take that syrup and pour over ice and water to turn it into something drinkable.
What’s cool about this calculator is that it divides the water used for brewing from the water used for diluting. Otherwise you may end up underbrewing your concentrate, which will be thin tasting no matter how much water you add at the end.
How much water goes in the jar, and how much do you add later? It explains all of that and makes clear what’s happening so you aren’t surprised when you open the lid and see there isn’t as much liquid inside as you expected.
The point of coffee brewing is consistency. When you get it dialed in to how you enjoy your coffee then you’d like to keep doing that same thing. The calculator gives you a picture of what those settings are. How much coffee it thinks you should put in, roughly how many grams of ground coffee you’ll require, and then how much coffee the resulting brew contains. It makes making coffee again and again more intuitive.
Making great coffee doesn’t have to be chemistry. All you really need is an understanding of how coffee extraction works and some basic physics.
There’s no getting around the fact that ground coffee will absorb some water. The steam will always rise. The filter will restrict some of it. If you don’t account for that you can’t control what comes out.
Put in the numbers, drink the coffee, tweak accordingly. Fill up the cup with what you like. You should of known about the loss.