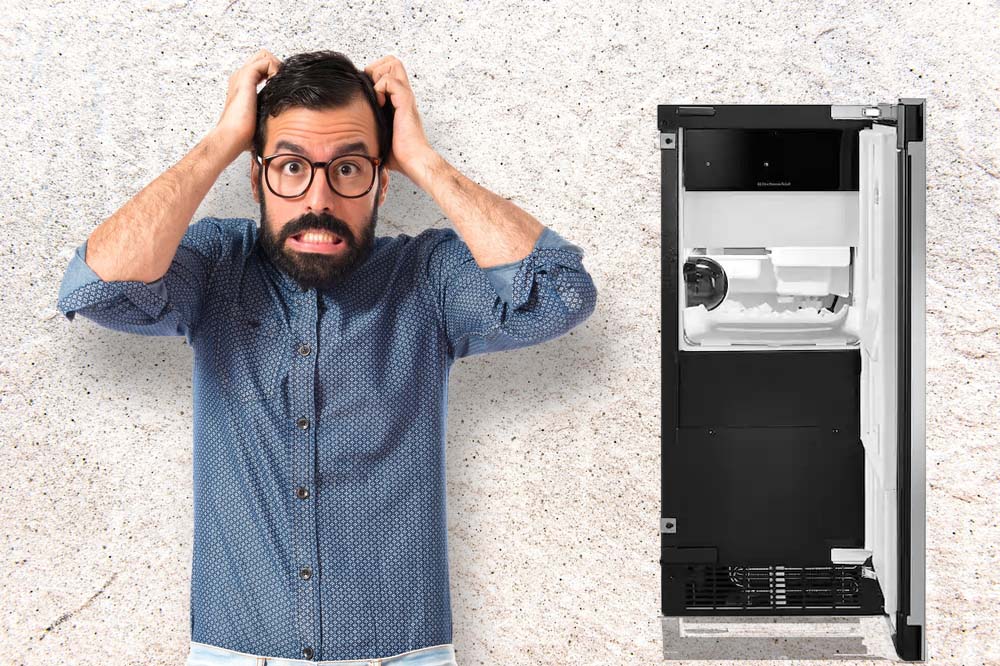
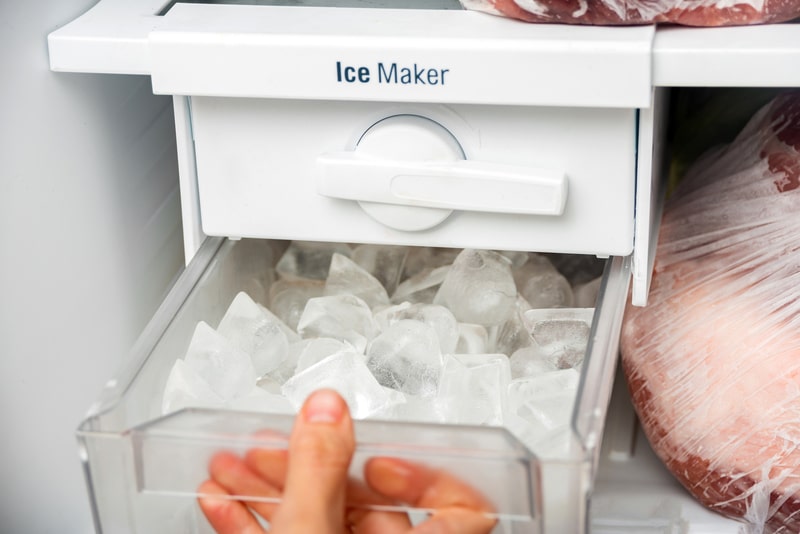
The KitchenAid undercounter ice makers are designed with clear ice technology that promises clean and contaminant-free ice. It’s a great way of freeing up the freezer space, as you can install it separately.
In addition, these are weather-resistance ice makers, which means that they can be installed on the patio and a reversible door promises flexible installation. However, if the undercounter ice maker has stopped making ice, there are a few solutions that can be tried.
How To Fix KitchenAid Undercounter Ice Maker Not Making Ice?
- Power Connection
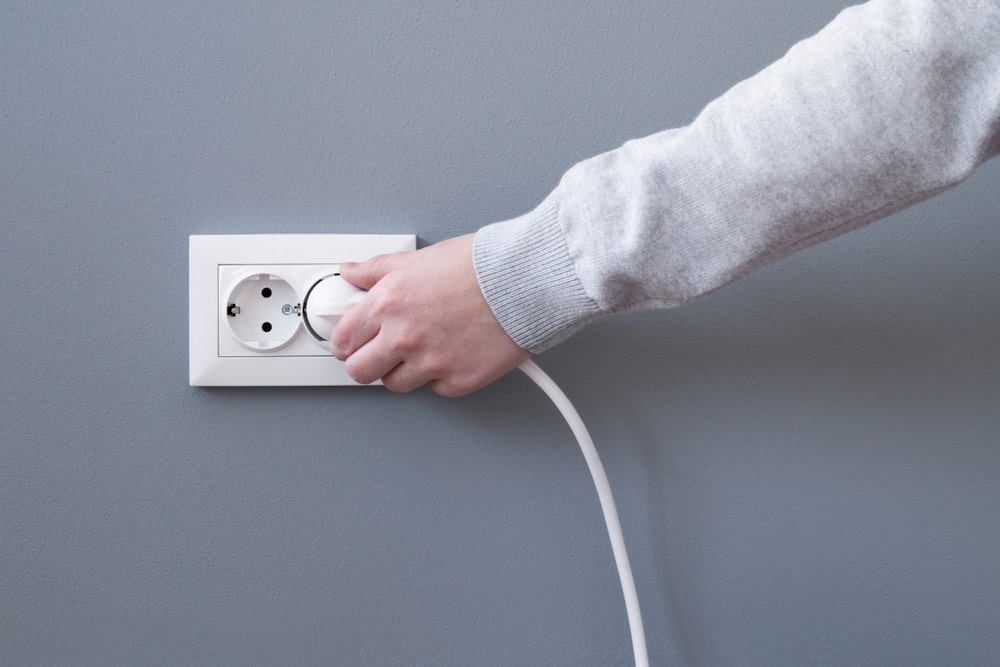
If an ice maker is not making ice, you’ve to ensure that the unit has been turned on. Therefore, you will need to check the power cord and make sure it’s plugged into the wall socket.
And yes, the power button must be in the “on” position for an ice maker to produce ice. In case the power cord is plugged in, check the cycle control knob and make sure it’s turned on.
- Condenser
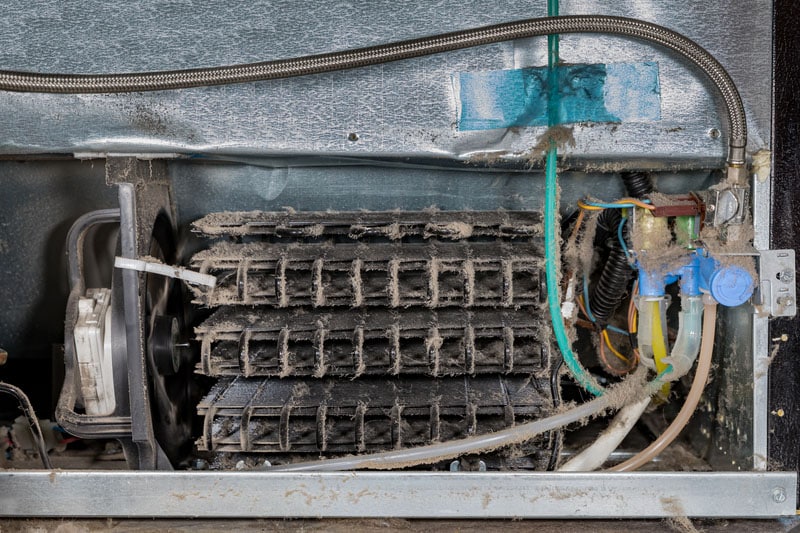
A condenser is one of the most important parts of the ice maker as it’s responsible for cooling down the refrigerant vapors coming from the compressors and converting the vapors into liquid. The liquid is supplied to the evaporator, where it expands and transforms water into ice.
However, when a condenser is unable to cool the refrigerant properly, the compressor won’t produce ice. Usually, the condenser fails to cool down the refrigerant when it’s dirty. That’s because it can pull in airborne contaminants and dust particles.
For this purpose, we recommend that you check for dirt between the condenser’s fins, and if there is dust, you’ve to hire a professional. That’s because fins have to be cleaned with a specialized cleaner and CO2 tanks.
- Elevation
If you are living somewhere with an elevation of 2000 feet or higher above sea level, your ice maker won’t be able to produce ice unless you recalibrate the ice thickness thermostat and bin thermostat.
Unfortunately, it’s not possible to recalibrate these thermostats on your own, which is why we recommend calling the dealer or an authorized electrician.
- Room Temperature
Room temperature plays an important role in the operations of an ice maker. The room temperature must be 13 degrees Celsius for your ice maker to function properly.
That’s because if the temperature is any lower, the ice maker’s thermostat will sense the cold room temperature and automatically turn off even if the drawer hasn’t been filled to maximum capacity. So, install the KitchenAid ice maker in a place where 13 degrees Celsius temperature can be maintained.
- Water & Ice Filter
KitchenAid undercounter ice maker is designed with clean ice technology that utilizes multiple filters to make sure clean water is supplied to your ice maker. Over time, the filter can get clogged with impurities that are extracted from water.
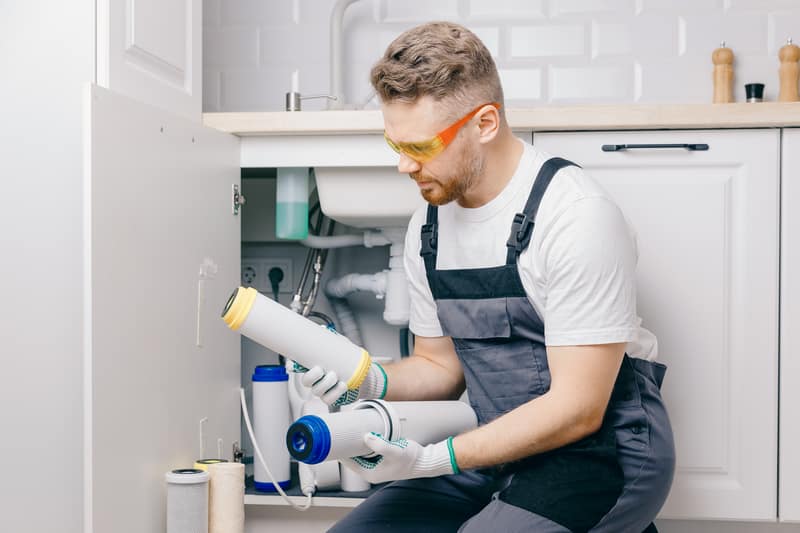
A clogged filter will negatively impact the water flow into the unit, which restricts the ice production process. So, inspect the filter and replace it if it’s clogged or dirty. To prevent this issue, it’s better to replace the ice and water filter after every four months, especially if you use it regularly.
- Water Fill Tubes
An ice maker is designed with a fill cup and tube on the back, and if there is a layer of ice all over these components, it won’t be able to produce ice.
This is because it creates a blockage in the tube, which prevents water from flowing into the fill cup. For this reason, we recommend that you turn off your ice maker and melt the ice that’s covering the tube and fill the cup.
Once the frosting is cleared, take out the outlet tube that connects the fill valve and ice maker, and re-plug it tightly. On the other hand, if the water fill tube is damaged, it must be replaced.
- Control Arm
Another solution is to check if the control arm is in the off or up position because that position can stop ice production. The solution is to move the control arm in the down or on position. In case your ice maker has a digital touch panel, you should reset the power.
To reset the power, you will have to seal all the electrical connections, turn off the water supply valve, and disconnect the power cord. Then, disconnect the quick-release plug and reconnect it after a few seconds.
Lastly, just turn on the ice maker, lower the control arm, and wait ten seconds – the ice maker needs a few seconds to resume the ice production.
- Water Inlet Valve
An ice maker needs water to produce ice, and the water inlet valve supplies this water. So, any blockage in the valve will hinder the flow of water, hence ice production issues.
To fix this issue, you have to turn off the ice maker and remove the unit’s water tubing to look for debris or dirt buildup – it’s common for the water tubing to get clogged. If there is some grime, you have to clean it to ensure the free flow of water into the unit.
Secondly, you’ve to check the water shutoff valve and make sure it is free of debris. In case there is ice, you have to let the ice melt before you turn on the unit. On the other hand, if the inlet valve is damaged, you have to get it replaced.
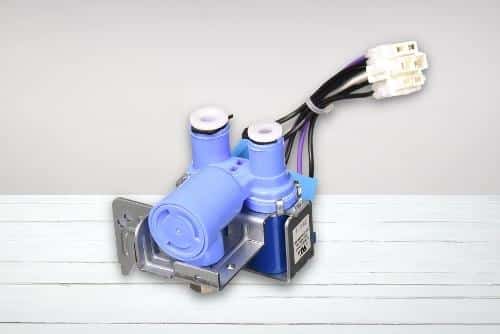
Lastly, make sure that the water inlet valve is receiving power signals. Turn off your ice maker, cut off the water supply, and take off the back panel. Then, trace the water tube from the unit to the valve, and you will see a solenoid – the solenoid is responsible for turning on the water flow.
So, use a multimeter to check the solenoid’s continuity. If there is zero continuity, the solenoid should be replaced to make sure it sends current to the water inlet valve.
- Water Line
A water line in an ice maker supplies water from the main line to the ice maker. So, if your ice maker is still not producing ice, there are chances that the water line is damaged, leaked, or clogged. In some cases, a damaged water line will lead to an automated shutoff of the unit as well.
For this reason, you will have to inspect the water line and replace it if it’s damaged or leaked. However, if the line is clogged, you have to clear the clogging.
Furthermore, if the water line’s connectors are loose, tighten them up to make sure the water supply is consistent (a tight connector prevents water leakage).
- Dispenser

KitchenAid undercounter ice maker comes with a dispenser that dispenses the ice cubes into the ice drawer. So, if you aren’t getting ice cubes in the ice drawer, there are chances that the dispenser is clogged or blocked.
To fix the dispenser-related issue, you have to take out the ice maker and see if there are blocked ice cubes. You can use the plastic knife to crush and release the ice cubes.
However, if you don’t want to use the knife, you can also turn off the ice maker for a few hours to let the ice cubes defrost on their own.
- Water Dosage
Water dosage is adjusted to increase or decrease the size of ice cubes. However, if the ice maker is not producing ice at all, the water dosage might be set to zero.
To adjust the water dosage, you have to take off the ice maker’s cover, and you will see a plus and minus indicator with a spring and screw assembly. Then, screw out the assembly (in the direction of the plus sign), and the water dosage will be increased. As a result, ice production will continue.
The Bottom Line
The solutions in this article will help resume ice production, but you should hire a professional if any component has to be repaired or replaced. Also, if the ice maker is under warranty, call the customer support team for a warranty claim.