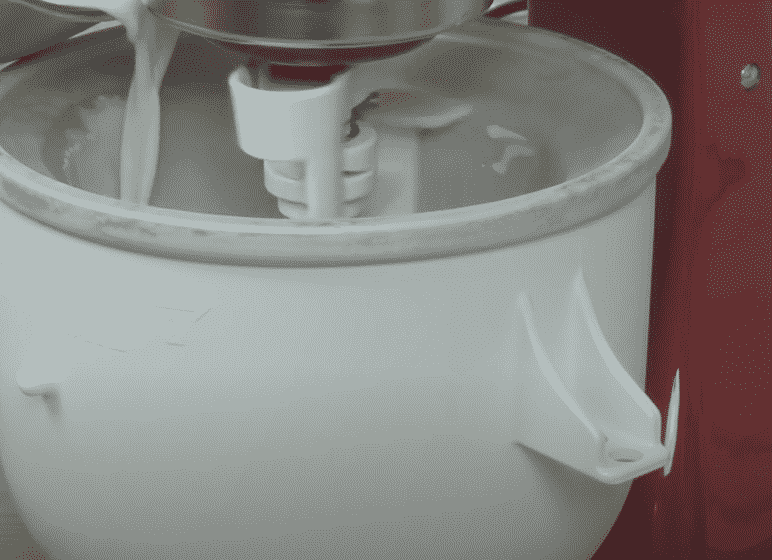
Your KitchenAid ice maker can be a handy gadget for so many times, but there can be certain possibilities that can make your KitchenAid ice maker fail in making ice. One of the common problems that happen with KitchenAid ice makers is that they fail to fill water.
There can be various reasons that are causing this problem. A few of the most common reasons are failure of the water inlet valve, Low water pressure from the house water supply, or the door switch.
How To Fix KitchenAid Ice Maker Not Filling With Water?
1. Water Inlet Valve
Water inlet valves are valves that are controlled electrically to open the water supply to the dispenser or ice maker. In case of a faulty water inlet valve, the water will not be allowed to flow through. There can be insufficient pressure which also doesn’t allow the water to flow. As a result of having no water, there will be no ice as well.
To make sure that the water inlet valves are working fine you must check that the pressure is at least 20 PSI. You can also check the power that is supplied to the water inlet valve by using a multimeter. In case of having both the things appropriate and working on-point, you may have to replace the water inlet valve.
2. Low Pressure From The House Supply
According to the above-mentioned statement, your ice maker cannot work until it gets a supply of at least 20 PSI water pressure.
3. Door Switch
The Ice and water dispenser turns off when the door is open because these appliances have door switches. But if the door or KitchenAid ice maker gets faulty it can turn off your KitchenAid ice maker. You can use a multimeter to check if the door switch is working properly or not.
Steps To Troubleshoot Blockage In Line
There are a few things that are required for these troubleshooting steps and it can be done easily.
- A ‘cheater’ power plug is required. It is a wall plug along with alligator clips at the end of each wire.
- A ¼ inch pipe wrench
- A tool or utensil to carry the water if you remove the ice maker
- Unplug Your KitchenAid ice maker from the power outlet.
- Remove screws and locate the water inlet valve.
- Pull the water inlet valve out by removing two screws.
- Get an appropriate solenoid for your KitchenAid water inlet valve
- Now take the cheater power plug and make secure connections. Make sure you apply some preventive tapes around it.
- If you hear the Operation in the Solenoid, unplug the Cheater cord. Check if water comes out of the inlet or not.
- If water doesn’t come out then There’s a blockage and you can easily clean that water blockage now.
Hopefully, this blog helped you in repairing or troubleshooting your KitchenAid ice maker problem.