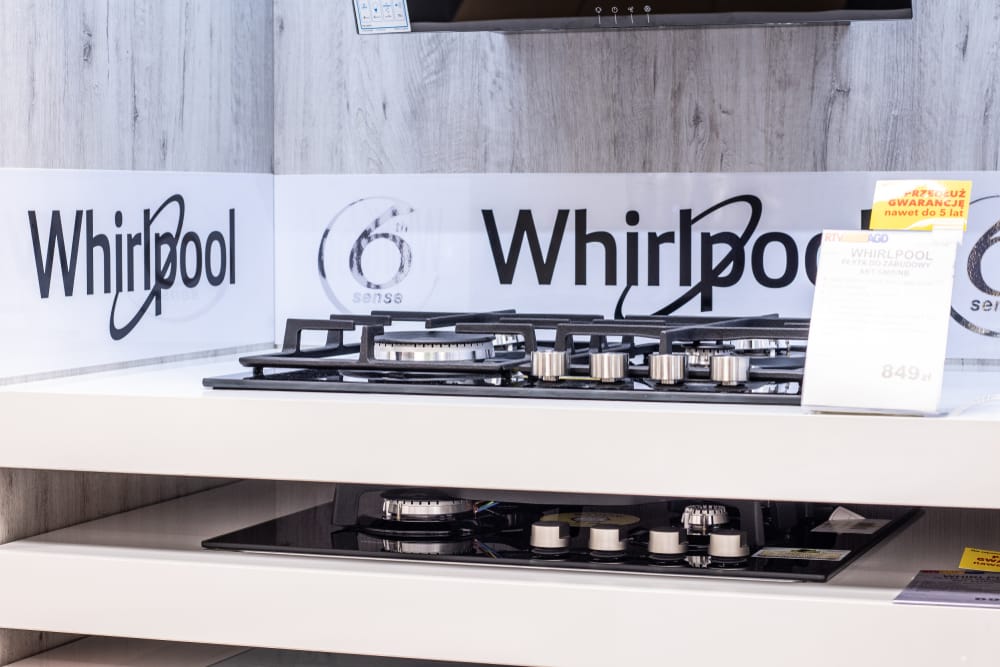
Whirlpool is a reliable brand name for kitchen appliances, and their gas stoves are one of the best in the market. The gas stoves are designed with SpeedHeat burners that generate more heat for faster boiling and searing.
In addition, the AccuSimmer feature in the burners helps lower the temperature for preparing soups and sauces.
However, many first-time users don’t know how to adjust the flame on a gas stove, so let’s see how you can control and change the flame!
How To Adjust The Flame On a Whirlpool Gas Stove
It’s important for the users to adjust the flame according to the recipe you have to prepare on the stove.
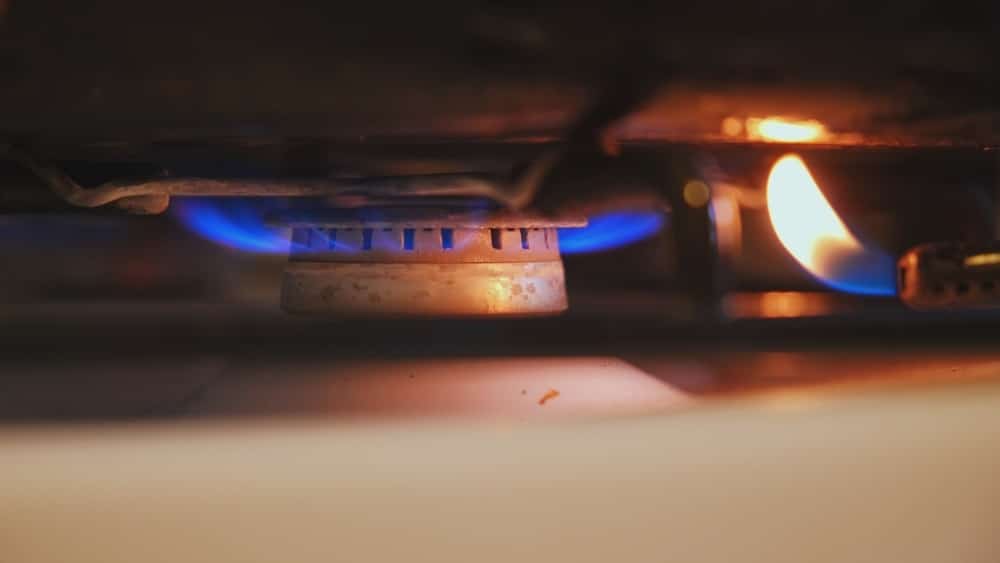
For this purpose, you need to adjust the height of your stove’s top burner flames. The low burner flame must be flue and have a height of 0.64cm. In case you are using LP gas, the flame will have a yellow tip.
1. Adjusting The Standard Burner
In case you have to adjust the standard burner on the gas stove, you must regulate the adjustment screw in the valve stem’s center – the valve stem is installed right below the control knob.
2. Adjusting The Low Flame
In case you have to adjust the low flame, you have to follow these steps;
- Light up the first burner and select the lowest possible setting
- Take out the control knob. For this purpose, you must use pliers to hold the knob stem and turn the screw with the help of a flat-blade screwdriver until the desired flame size is achieved. Keep in mind that turning a screw in the clockwise direction will increase the size of the flame, while counterclockwise movement will reduce the flame’s size
- Now, you have to replace your stove’s control knob and test the flame by adjusting the control knob from a low setting to a high setting. It’s recommended that you check the flame’s size at every setting
- Repeat the same steps for every burner
3. Adjusting The Double Burner
Some gas stoves by Whirlpool have been designed with double burners. So, if you have double burners, follow these steps;
- Light any burner on the stove and adjust them to the lowest setting to make sure the outer, as well as inner burners are lit up properly
- Take out the control knob
- Use a 3mm flat-blade screwdriver to rotate the slotted screw. You have to rotate the screw in the clockwise direction to increase the size of the flame, while counterclockwise rotation will reduce the size of the flame
- Now, replace the stove’s control knob
- Lastly, just test the flame’s size by rotating the control knob from the low to a high position and check the flame at every position
The Flame Is Not Responding To The Settings?
If the flames aren’t changing according to the adjustment of the screw, we recommend that you clean the burners. It’s common for the burners to get clogged with grease and debris with regular cooking.
So, make sure the burners are clean to get the right size of flame. In case the burner’s ports are clogged, you should use a thin wire, a straight pin, or a needle to clear it up.
Secondly, you should check the burner base and cap to make sure they are positioned properly. The burner base must be seated properly on the base to ensure proper lighting.
The Bottom Line
On a concluding note, adjusting the flame on a Whirlpool gas stove is easy, as you only need a screwdriver to adjust the screw.
However, if you are using propane gas, it’s recommended that you get the stove converted to ensure proper working.
