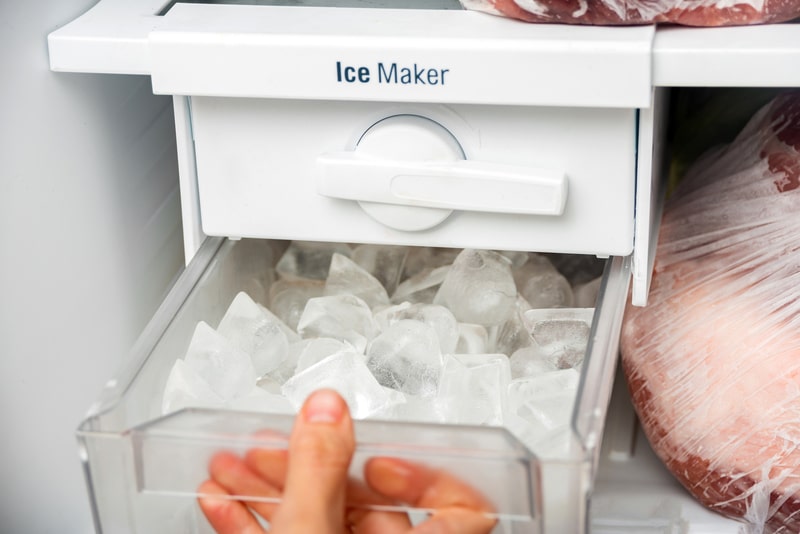
An ice maker is a great electric appliance for people who consume more ice as an ice maker produces ice quickly and stores it. Hisense is a well-known brand that has added an ice maker in their fridge freezer units, so you can make a large amount of ice at home for events and parties.
Hisense Fridge Freezer Ice Maker Not Working
However, if you need ice but Hisense ice maker has stopped working, we are sharing a few solutions that can help you out!
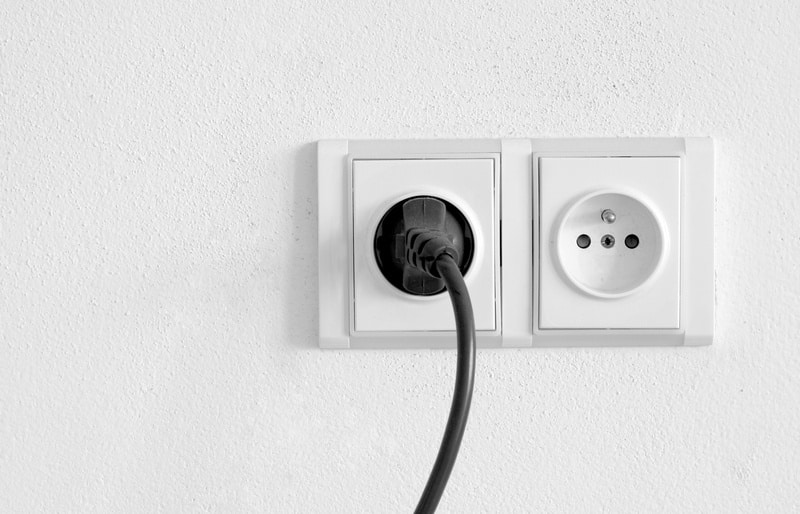
- Power Source
First of all, you must check the power source and make sure that your ice maker is turned on. You can check this from the unit’s digital control panel or the power it on through the on/off switch installed in ice maker compartment.
Once ice maker’s power switch is turned on, it will start producing ice. On the contrary, if your ice maker is already turned on but it’s not producing ice, consider the below-mentioned solutions.
- Water Flow
If Hisense ice maker has stopped working, you have to consider the water flow. Any damage, clogging, or leak in the water line can result in an automated shut-off of your ice maker. The first step is to inspect the water supply tubing for blockages and leaks.
If there are any loose connections, you should use a wrench to tighten them up. In addition, you must repair the cracks and broken seals in the water line to ensure sufficient flow of water into the unit (consistent water flow is important to operate an ice maker).
On the other hand, if the water line is clogged, it’s likely that the water has frozen in it and the only solution is to shut off the unit to let the ice melt. In case some connectors or valves need to be replaced, you should hire a professional repair service.

The water filter is an important part of ice maker as it helps filter out the dirt and other particulates that can make the ice dirty. However, the Hisense ice maker tends to stop working when the water filter is dirty and needs to be replaced.
Ideally, you should replace the water filter every six months. Some common symptoms of dirty water filters include slow ice production and bad smell. Hisense ice maker is actually designed to stop ice production and dispensing process when the water filter needs to be replaced.
Changing the water filter is quite convenient as you only need to twist the filter to remove it. It’s recommended that you consult the user manual to determine which water filter you’ve to use. You can also read the water filter’s installation steps from the manual.
- Water Dosage
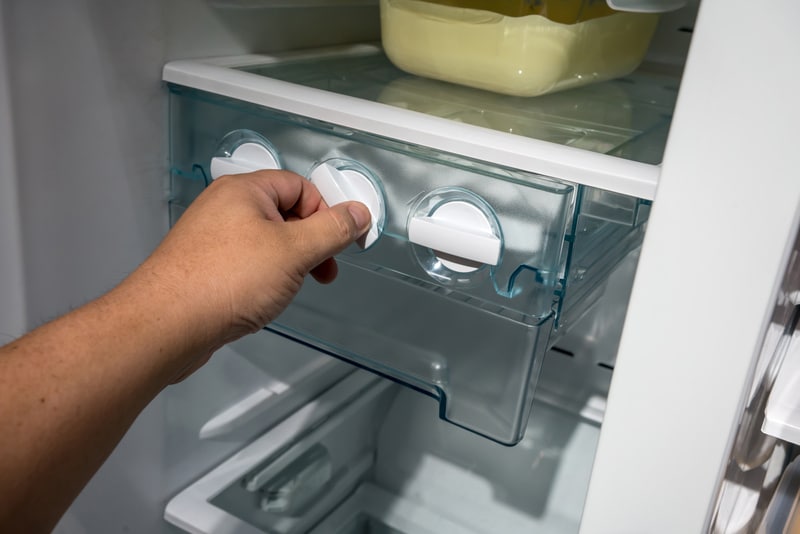
Thirdly, you must check the water dosage. For this purpose, you’ve to remove the cover and access the plus/minus indicator – the indicator also has a spring and screw assembly.
In case your ice maker is not producing ice, you have to screw the assembly towards the “plus” sign and the water dosage will be increased. As a result, ice production will be optimized.
- Thermostat
Another thing you’ve to check is the thermostat. An ice maker won’t work if the thermostat is damaged because it is responsible for regulating the temperature of ice maker. So, when the thermostat breaks down, the cool air won’t be produced in your ice maker, which results in ice-making issues.
The solution is to access the thermostat and check its continuity – you can use a multimeter for this purpose. If there is no continuity in the thermostat, you have to get it replaced.
- Ejector Assembly

The ejector assembly’s performance can directly impact the operations of your ice maker. The ejector is responsible for pulling out ice from the ice bin and directing it to the chute. So, if the Hisense ice maker has an ejector, it’s likely that the ejector assembly is damaged.
For this reason, you’ve to access the chute and make sure it’s not blocked by the frost layer or ice. In case of any blockages, you have to remove them (you can use a blow-dryer in a warm setting to melt the ice or frost layer).
In most cases, clearing the chute blockages resolves the issue. However, if it doesn’t, you have to inspect the ejector assembly’s motor and flap for continuity. If there is no continuity, you should get them repaired by an electrician.
- Water Inlet Valve
Another culprit behind ice maker issues is the water inlet valve – the valve connects the water inlet pipe to the water supply and controls the flow of water. The water inlet valve regulates the amount of water and feeds water to your ice maker.
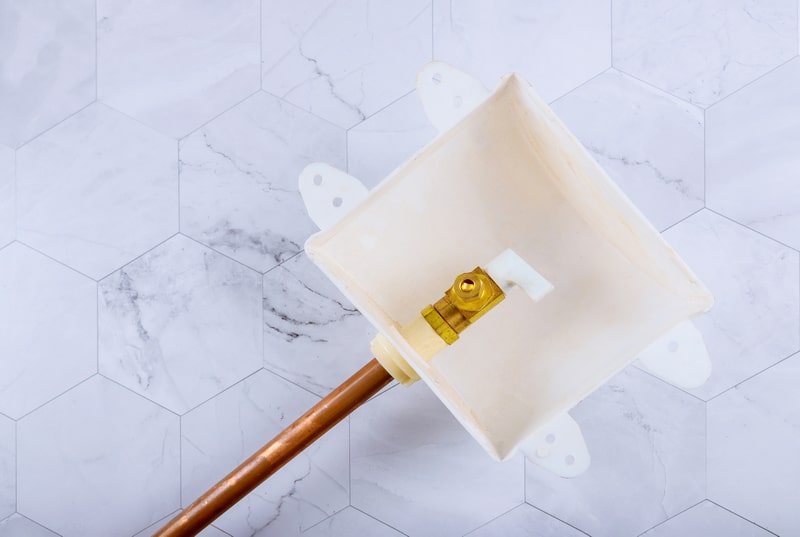
So, if the valve is damaged or loose, the water flow will be impacted and your ice maker won’t be able to produce ice. You should replace the water inlet valve if it’s damaged.
- Water Pressure
Sufficient water pressure is essential for the ice maker to work. Usually, the issue happens when the water pressure is less than 20PSI because it’s not strong enough to feed sufficient water amount into the unit.
So, make sure the water pressure is a minimum of 20PSI or higher. For this purpose, you should check the water supply and make sure the water inlet valve can support this water pressure.
- Temperature
In case the ice maker is not able to keep up with the ice production capacity or is not producing ice at all, it’s likely that the temperature of the freezer or refrigerator is too high.
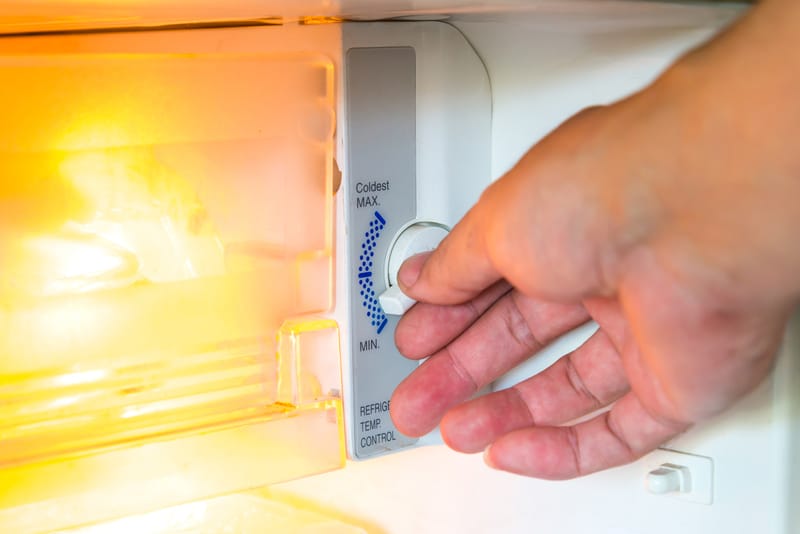
For the ice maker to work properly, make sure that the refrigerator’s temperature ranges from 0 degrees Celsius to 4 degrees Celsius while the freezer should be set to -18 degrees Celsius. You can optimize the temperature through the thermostat switch.
- Control Arm
The mispositioned control arm can also result in an ice maker issue. It is responsible for gauging the ice levels in the ice bin and pauses the ice production once the ice bin is filled to the maximum capacity. However, when the control arm is mispositioned, it can halt the ice production process.
For this reason, you’ve to ensure that the control arm is set in the “on” position. On the other hand, if the arm is loose, you should tighten it up. However, if the control arm is damaged or broken, you should get it replaced by a professional.
- Auger Motor
The auger motor in the Hisense unit is responsible for stirring and dispensing ice into the ice bucket. The auger motor is located within the assembly, particularly behind the freezer wall.
The frozen auger motor won’t be able to operate and the ice cubes won’t be pushed forward to the chute. For this reason, we recommend that you access the auger motor and defrost it.
However, defrosting the motor can be challenging and the melting moisture can damage the motor. For this reason, it’s recommended that you contact a professional to help you fix the auger motor.
- Fill Valve
The fill valve is an important part of the ice maker. Whenever the icemaker needs ice, its switch will close the electrical circuit and energizes the water valve. In addition, it allows the water to flow through the pipes and into the ice tray.
So, if the fill valve is misaligned, the water flow will be restricted, hence no ice production. For this reason, we recommend that you locate the fill valve and make sure it’s aligned. In addition, the fill cup should be aligned below the valve’s spigot.
The Bottom Line
Hisense fridge freezer’s ice maker performs pretty well. Just like other ice makers, Hisense ice maker is also prone to some issues but the solutions in this article should help you resume ice production.
However, if the unit is under warranty, you can contact the Hisense customer team at 1-888-935-8880.