Deep Fry Tilapia Time Calculator
Estimate deep fry timing for fragile tilapia fillets using thin fillet thickness, fillet count, flour, cornmeal, crumb, or batter coating, oil temperature, starting temperature, 145°F target, batch crowding, taco or platter service, flip handling, and drain time.
🐟Tilapia Fry Presets
Choose a common tilapia setup, then adjust thickness and fryer behavior. Tilapia cooks faster and flakes more easily than cod or catfish, so the calculator treats flipping and crowding as timing risks.
⚖Fillet And Fryer Inputs
Tilapia Fry Plan
Calculated timing will appear here.
Timing Breakdown
📌Tilapia Quick Benchmarks
📊Tilapia Fry Reference Tables
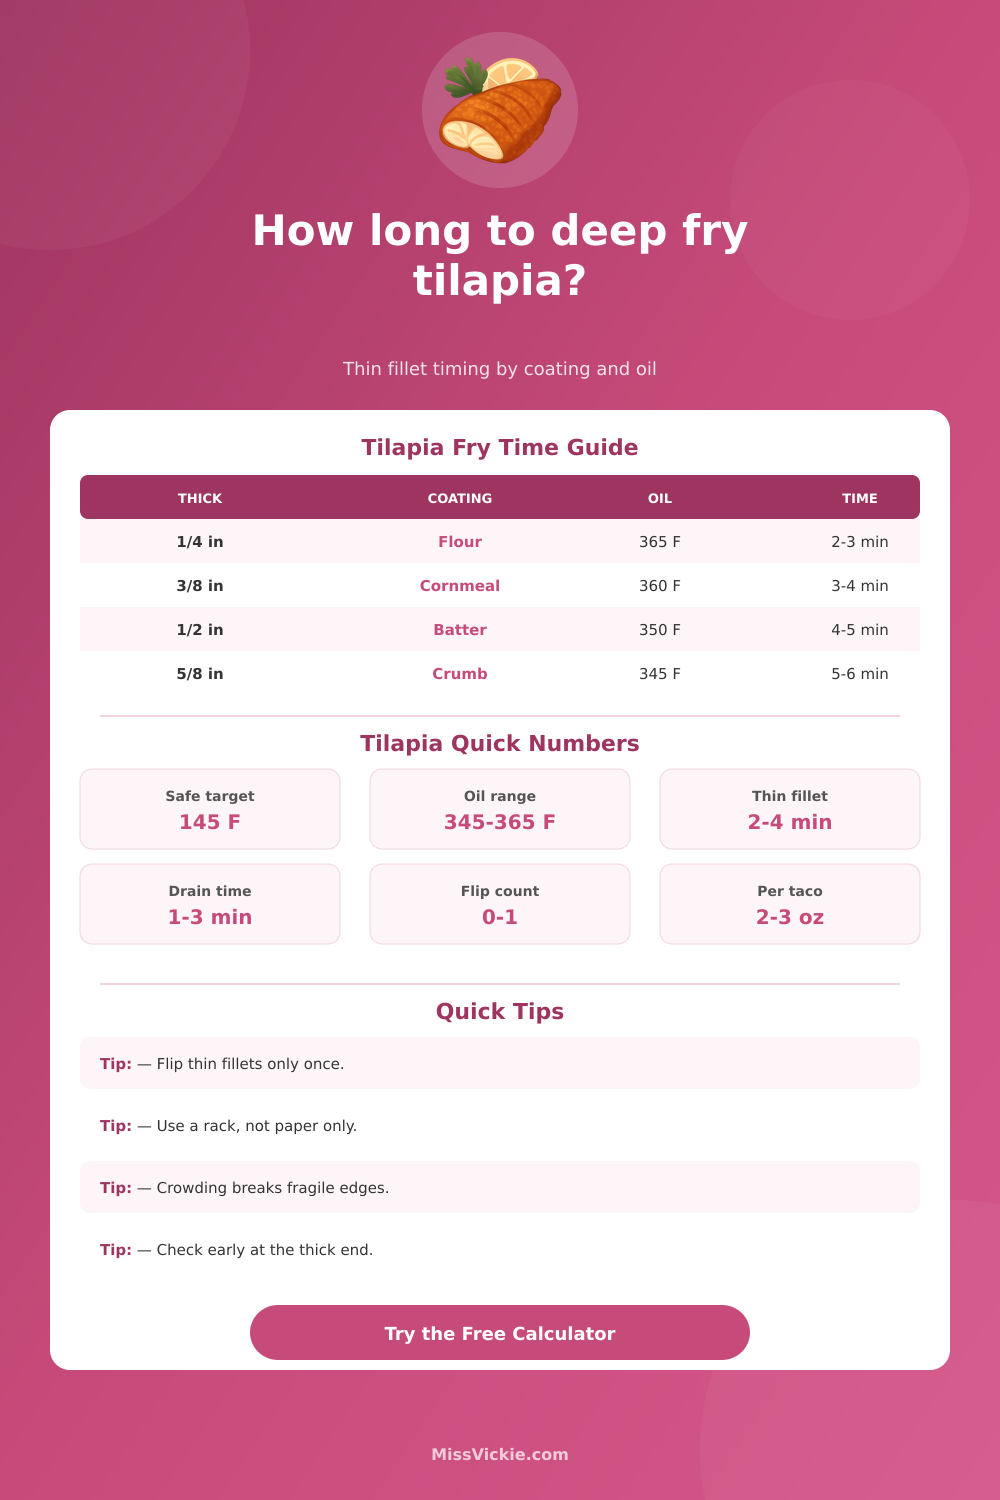
| Tilapia Thickness | Best Piece Style | Oil Temperature | Estimated Time | Check Cue |
|---|---|---|---|---|
| 1/4 inch / 0.6 cm | Tail pieces or taco strips | 360 to 365°F | 2 to 3 minutes | Edges curl and flesh turns opaque. |
| 3/8 inch / 1 cm | Average thin fillet | 355 to 365°F | 3 to 4 minutes | Golden coating with a flaky center. |
| 1/2 inch / 1.3 cm | Center-cut fillet | 350 to 360°F | 4 to 5 minutes | Probe thick end before removing. |
| 5/8 inch / 1.6 cm | Large platter fillet | 345 to 355°F | 5 to 6 minutes | Color may finish before the center. |
| Coating | Time Effect | Tilapia Advantage | Handling Risk | Best Oil |
|---|---|---|---|---|
| Bare seasoned | Fastest | Clean fish flavor | Very fragile surface | 360 to 365°F |
| Light flour | Baseline | Thin crisp shell | Can rub off if turned often | 355 to 365°F |
| Fine cornmeal | Adds a little time | Better structure for tacos | Edges can chip | 350 to 360°F |
| Thin batter | Moderate extra time | Protects delicate flakes | Sticks if crowded early | 345 to 355°F |
| Batch Crowding | Oil Drop | Time Change | Breakage Risk | Better Move |
|---|---|---|---|---|
| Roomy single layer | 8 to 14°F | Shortest | Low | Leave space between fillets. |
| Normal single layer | 15 to 24°F | Slightly longer | Moderate | Wait for oil recovery. |
| Tight edges touching | 25 to 36°F | Noticeably longer | High | Use fewer pieces per batch. |
| Crowded basket | 38 to 55°F | Unreliable | Very high | Split the batch before frying. |
| Service Style | Piece Size | Drain Time | Hold Limit | Tilapia Note |
|---|---|---|---|---|
| Fish tacos | Strips or halves | 1 to 2 minutes | Serve fast | Smaller pieces crisp quickly and fit tortillas. |
| Whole fillet platter | Intact fillets | 2 to 3 minutes | 5 to 8 minutes | Use a wide spatula to avoid cracking. |
| Sandwich fillets | Trimmed rectangles | 2 minutes | 4 to 6 minutes | Light batter helps pieces stay together. |
| Buffet tray | Small fillets | 3 minutes | Short warm hold | Tilapia softens faster than catfish. |
🔍Fish Fry Comparison Grid
Thin, lean, and delicate. Time is driven by thickness and gentle handling.
Thicker flakes and larger loin pieces usually need a longer cook window.
Denser fillets and cornmeal crust tolerate more turning than tilapia.
Protects fragile fillets but delays temperature cues inside the coating.
💡Tilapia Frying Notes
Food safety note: use a reliable instant-read thermometer and cook fin fish to 145°F / 63°C, or until opaque and flaky. This calculator is a planning guide, not a substitute for checking the thickest piece.
Frying white fish is nerve-racking; if you don’t do it just right the fillets will be too delicate and fall apart or they’ll get all greasy. Tilapia‘s tender white meat break up on contact and dries out quickly. It takes careful handling and precise timing to get it right. If you’re off by a half second here or there you go from a juicy mouthful of flake to a piece of dry rubber.
But what about when you consider all those variables? How do oil temperature and coating type impacts cook time at a certain fillet thickness? Fear not. The calculator take care of it for you, as seen in the example above. All you have to do is plug in your oil temp, fillet thickness, and type of coating, and let the calculator do its thing. From then on, you know exactly how much time has passed without having to guess how your factors works together.
How to Fry Tilapia Perfectly
Most people cook visually by relying on visual cues (e.g., golden brown crusting), but that is a dangerous game when working with tilapia. The fish browns before the center become fully cooked; if you use a thick batter, it’ll appear done, but the interior will still be raw. In this case, color is a late sign of being done.
“The thing everyone does wrong when they start getting into thicknesses is that regular fillets are tapered from the tail to the middle. So if you assume an average thickness then the middle will undercook while the outside edges go to mush. That’s why you need to measure thickest part. That will give you the overall cook window, as it is the last section to hit the target temp. Instead of assuming you have one thick piece of fish, the tool lets you plug in the actual measurement where the meat gets thicker. It also considers whether it was a cold fish or a fish brought to room temperature. If it is cold, the oil is going to cool down significantly creating thermal shock and make the batter run.”
It all depends on your coating selection: A heavy beer batter insulates and protects the delicate flesh but slows down the heat transfer within. Flour-based batters require less time different than their battered counterparts, but give you leeway in the surface-burning department. Cornmeal has some structure to it, but soaks up liquid fast, making exact timing necessary to avoid soggy results. The calculator accounts for that, and ensures that you’re cooking a thin-coated fillet just as long as you cook a heavily battered one, without overcooking it.
This is one of those rules that divides good frying from bad frying. It happens each and every time. Don’t put too many furnitures into the basket. That’s why it’s called “frying” instead of “boiling.” Because if they’re touching while in the oil, they’ll stick together, form a cold zone, and the temperature will plummet. Trapped fish won’t let the oil circulate and cook evenly. This results in uneven cooking and a greasy finish. Give each piece plenty of room for the heat to get to all sides. And if you’ve got to do it in batches, make sure the oil has recovered completely between loads.
When the timer goes off, remove the fish promptly and drain onto a wire cooling rack, not paper towels; paper retains the steam against the underside of the fillet, which makes the exterior less crisp. Let it cool a little more, just long enough for the carryover cooking to finish before you dry the meat out completely. What you want is perfectly opaque, but not yet dry. It should flake easily when poked and come clean off the bone, but it shouldn’t fall apart. You should of used a rack. Handle your fish gently and treat the heat with respect. It will pay you back well. You’re going to feel like you ate something prepared in a moddern restaurant kitchen.