Deep Fry Chicken Breast Time Calculator
Estimate deep frying time for chicken breasts using thickness, whole breast versus cutlet, breading, oil temperature, starting temperature, dry brine or marinade, batch crowding, pounding, rest time, carryover, and a 165°F finish.
Choose a breast-specific scenario, then adjust the exact thickness, coating, oil, batch size, start temperature, and rest. This calculator is for chicken breast only, not tenders, nuggets, thighs, legs, or wings.
Breast fry plan
Use an instant-read thermometer and verify the thickest center reaches 165°F.
Timing Breakdown
Food Safety And Texture
Measure the thickest center, not the crust.
Thin cutlets can overcook in one extra minute.
Lower for thick or stuffed breasts.
Carryover finishes and juices settle.
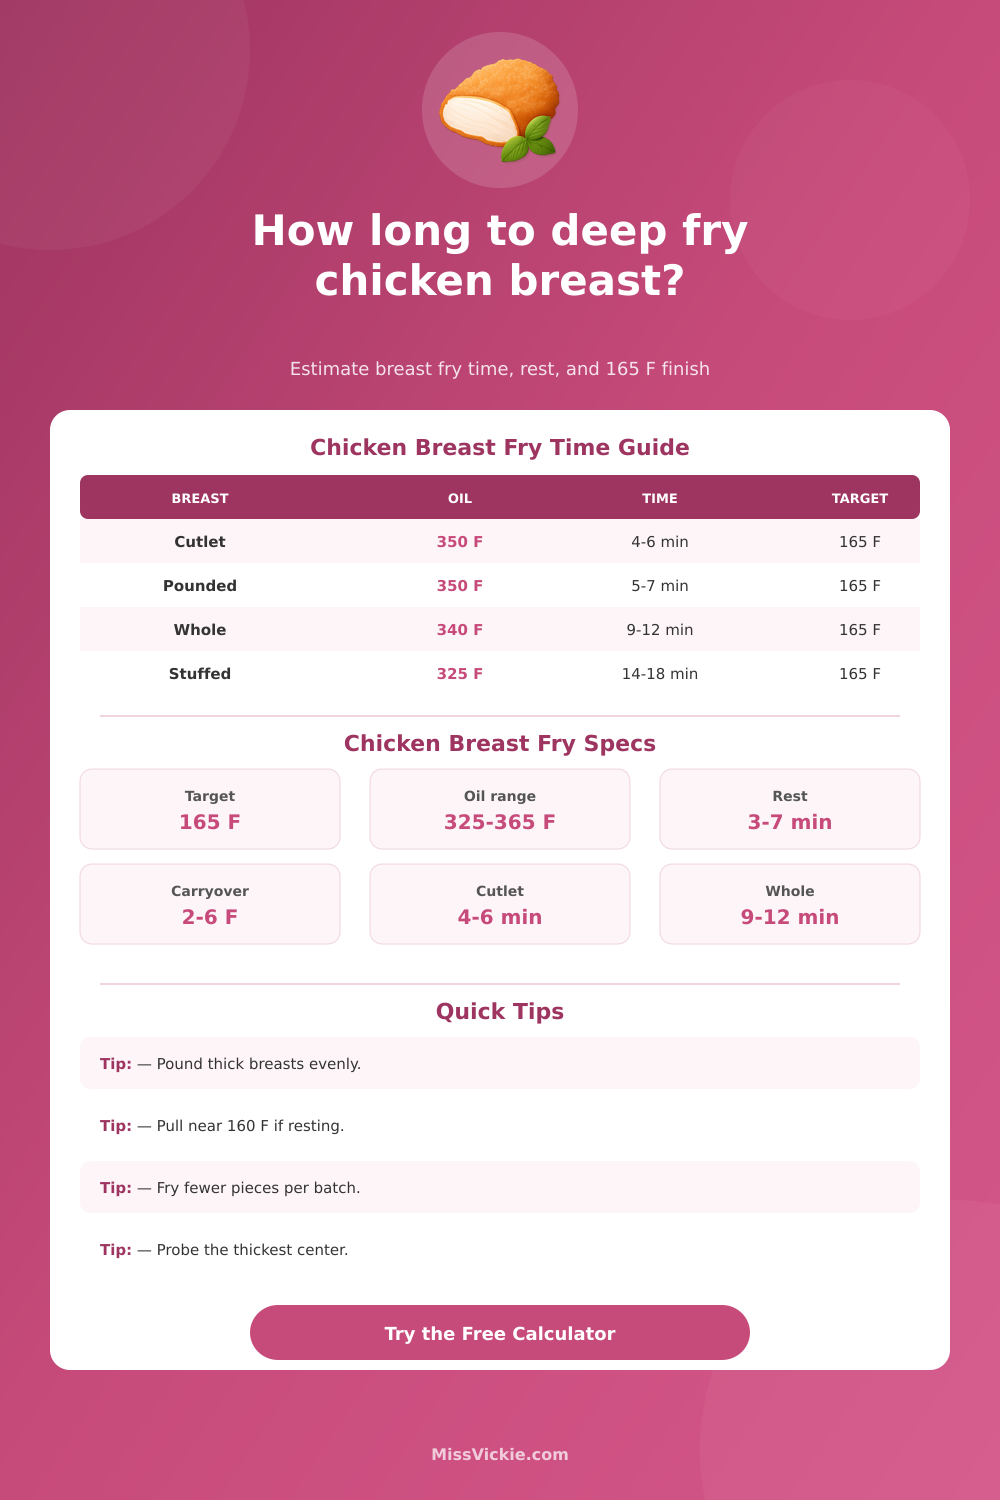
| Breast form | Typical thickness | Oil temperature | Estimated fry time | Best use |
|---|---|---|---|---|
| Thin sliced cutlet | 0.35 to 0.50 in | 350 to 365°F | 3.5 to 5.5 min | Sandwiches and quick plates |
| Pounded breast cutlet | 0.50 to 0.75 in | 345 to 360°F | 5 to 7 min | Even cooking and low dry risk |
| Whole boneless breast | 1.00 to 1.50 in | 335 to 350°F | 8 to 13 min | Juicy center with careful pull temp |
| Bone-in split breast | 1.25 to 1.80 in | 325 to 340°F | 13 to 18 min | Slower, gentler cooking near bone |
| Stuffed or rolled breast | 1.40 to 2.00 in | 320 to 335°F | 15 to 22 min | Requires thermometer checks in filling zone |
| Input change | Timing effect | Juiciness effect | What to watch | Calculator factor |
|---|---|---|---|---|
| Thickness increases | Large time increase | Center stays safer from drying | Crust may brown before center finishes | Core driver |
| Pounding thinner | Shorter, more even fry | Lower center lag but less buffer | Pull promptly at target | Effective thickness |
| Heavy breading | Adds crisping time | Protects surface moisture | Oil temp drop and dark spots | Coating factor |
| Cold start | Adds center-cook time | Raises dry-edge risk | Use lower oil for thick pieces | Start factor |
| Crowded basket | Adds recovery time | Can make coating greasy | Pieces should not touch | Batch factor |
| Preparation | Flavor effect | Moisture effect | Splatter risk | Timing note |
|---|---|---|---|---|
| Plain seasoned | Clean chicken flavor | Neutral | Low if dry | Baseline timing |
| Dry brine | Seasoned through surface | Improves juiciness | Low after air drying | Slightly faster browning |
| Wet marinade | Deeper aromatics | Can protect lean meat | Medium unless drained | Adds small center lag |
| Buttermilk soak | Tangy fried-chicken profile | Good with flour crust | Medium if dripping | Adds coating time |
| Injected breast | Strong internal seasoning | High but uneven | Higher from pockets | Probe several spots |
| Oil temperature | Best breast form | Color speed | Dryness risk | Use when |
|---|---|---|---|---|
| 320 to 330°F | Stuffed or bone-in split | Slow | Low center overshoot, longer exposure | Thick pieces need time |
| 335 to 345°F | Whole boneless breasts | Moderate | Balanced | Best all-purpose thick breast zone |
| 350 to 360°F | Cutlets and pounded pieces | Fast | Medium if thick | Quick crisp coating |
| 365 to 375°F | Very thin cutlets only | Very fast | High | Brief finishing or extra crunch |
Thick center needs lower oil and a thermometer. Best when pulled before overshooting.
Fastest breast form. Great for crisp sandwiches, but the dry window is narrow.
Most even shape. Good balance of crisp crust and moist center.
Slowest and highest-risk option. Probe the thickest filling-side center.
Food safety note: deep fried chicken breast should reach 165°F in the thickest center. This calculator estimates timing and pull strategy; always confirm with an instant-read thermometer.
What if you throw some chicken breasts in the pan and realize that after just a few moments they’re already deep-crisp-brown on top, even though your timer says “12 minutes”? Uh-oh. That’s generally the signal that the interior has reached the point of no return. It has toughened up and is drying out beneath its charred surface. Your culprit here isn’t likely the oil itself (unless it’s super-old and rancid), nor the temperature (though more on that below). You’ve got an issue of geometry.
As we all know, a chicken breast doesn’t really come in a straight line; there’s a skinny part (“the tail”) and a fatter part (“the thickest part”). The problem is that thickness vary within a single piece, making it hard to cook evenly. The calculator addresses this: it gives you a target range, based off the physics, of exactly when the middle of any given piece becomes safe, before the exterior turns leathery black. It factors in thickness, coating weight, and even how crowded your fryer basket is. These are variables most home cooks don’t consider until it was already too late.
Why Chicken Breasts Burn Outside
Weight isn’t what determines cooking time. Thickness is. Pounding something flat decreases its overall thickness, even if it’s heavy. Pound it enough, and a dense piece of meat will cook quicker then an otherwise lighter piece of meat that hasn’t been pounded out. Why? Because it’s all about how far heat has to penetrate. You have to get from outside to inside. That’s why pounding is such a big deal. It’s not just about making it tender, it’s about creating consistency in the temperature. So when they set a preset for say, pounded cutlets, or even thin scallopini cuts, the time estimate gets reduced. Why? Because there’s less meat to go through.
And why do stuffed breasts need longer, and why are they cooked with lower temperatures of oil? The stuffing insulates the meat, which slows down heat transfer even more. Cook your stuffed breast too hot, and the breading burns before center thaws the cheese or spinach inside.
Another big factor is the initial temperature of the meat. When you pull out a piece of chicken (for example) from the far reaches of the fridge, it’s introducing some form of temperature shock which initially stalls the cooking process. That cold center require more time and work from the oil to get it up to speed. Often that results in overcooking the outer edges while the center catches up. Allowing the meat to sit on the counter for 20ish minutes helps bridge that gap. Reducing the temperature difference between inner and outer allows for a more even cook throughout the meat. Whether you’ve got ice cold chicken or a bit more room temperature, the tool knows when to adjust its output.
The addition of breading complicates matters, because breading both flavors and insulates. The protective buttermilk shell cushions the lean meat from the hot pan surface, preventing the outside from becoming too done while keeping the interior moist. But that shell requires some time to crisp. Double-dredging will result in a thicker layer that requires more time in the frying oil to reach that crunch. And the longer it stays there, the closer it gets to pushing the internal temperature past safe limits. To get a good dark breading on the outside, you must weigh this against the potential for the interior to become overcooked and dry. The calculator factors that in, along with thickness. A battered breast gives you more buffer but requires watching. A bare breast cooks faster but dries out faster.
The maximum internal temperature isn’t negotiable: It must be 165 degrees F for safety’s sake. But there’s such a thing as “carryover” cooking, which means you’ll probably want to remove the bird a couple degrees shy of that. Residual heat will keep rising as the bird rests on a rack, pushing those last two or three degrees into safety territory, and redistributing its juices in the process. Remove the chicken a few degrees before the thermometer hits 165 degrees, or it will overshoot during the rest and end up being dry. Resting is part of the cooking process. Your handy-dandy tool takes rest time into account to provide a realistic total clock time.
Cooking chicken breasts isn’t really a matter of time so much as variables: How thick are they? (pound them) What temperature is the oil? (manage that heat) Are they still wet from water? That’s where the tool comes in. It takes your information and gives you an estimate based on that. Ultimately your nose and eyes need to confirm things along the way. Pay attention when you hear the sizzle get quieter, that’s moisture evaporating. Watch for the color to turn a golden amber, rather than waiting until it goes past that. Let the estimates be a clue, then rely on the instant-read at the thickest part. Once you get used to the dance between heat and thickness, the panic will go away. You would of guessed anymore, you’ll cook.