Using a pressure cooker is a traditional way of canning many foods to preserve them for later use. A pressure cooker provides us with instant benefits through which we may save a lot of time. Is canning vegetable soup without a pressure cooker possible?
And is it safe? Continue reading to learn more about canning vegetable soup without a pressure cooker!
What is Canning?
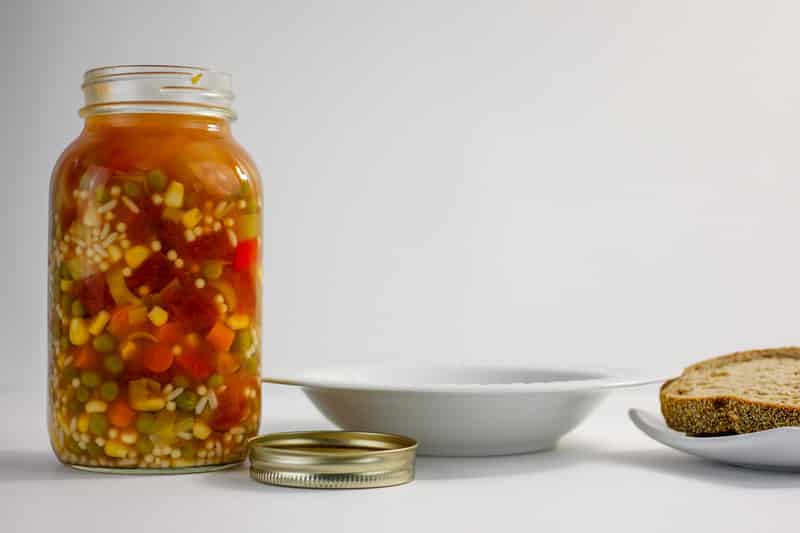
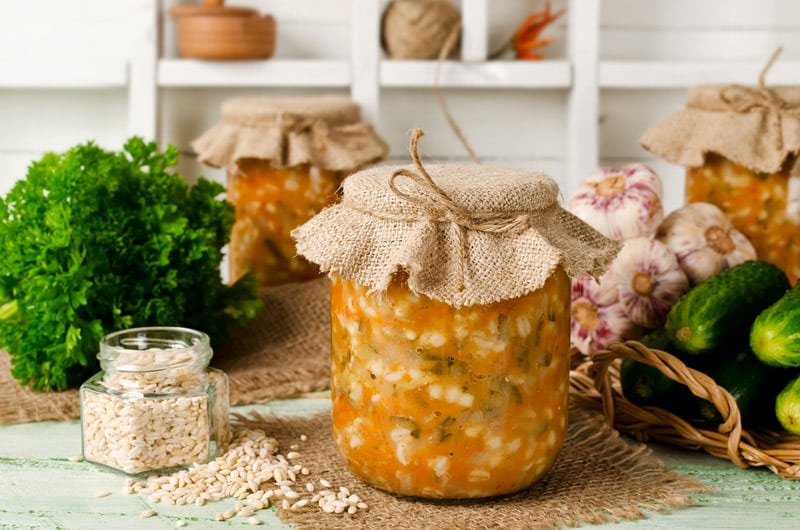
Home canning is a way of preserving food. This method has been used since the days before refrigerators. Despite the name, “canning” does not always involve the use of cans. Home cooks use glass preserving jars.
A jar that contains food is covered with a cloth or loose lid and is then boiled for a given period of time to cook and sterilize the food.
Canning Vegetable Soup Without a Pressure Cooker
Warning: Pressure canning is more effective at killing the botulism potential. The water bath canning soup mentioned below is a traditional method and NOT a scientifically approved method. Try at your own risk and use it for acidic foods only!
Using a pressure cooker needs extra care which is why some people opt to not use one. They may have heard of the risks of the pressure pot exploding. Although this is no longer much of a risk for modern electronic pressure cookers, some of us don’t own a pressure cooker.
That is why today we are going to learn about canning vegetable soup without a pressure cooker.
1. Prepare your vegetable soup as per the recipe. Cook it until it is done.
2. Gather all the things needed:
- Preserving jars and their lids
- The oven is heated to 160-180˚C
- A large canning pot with a rack to keep the jars off the bottom
- A small ladle to fill the jars
- A long-handled spoon to remove air bubbles
- Clean cloth to wipe the jars
- Labels
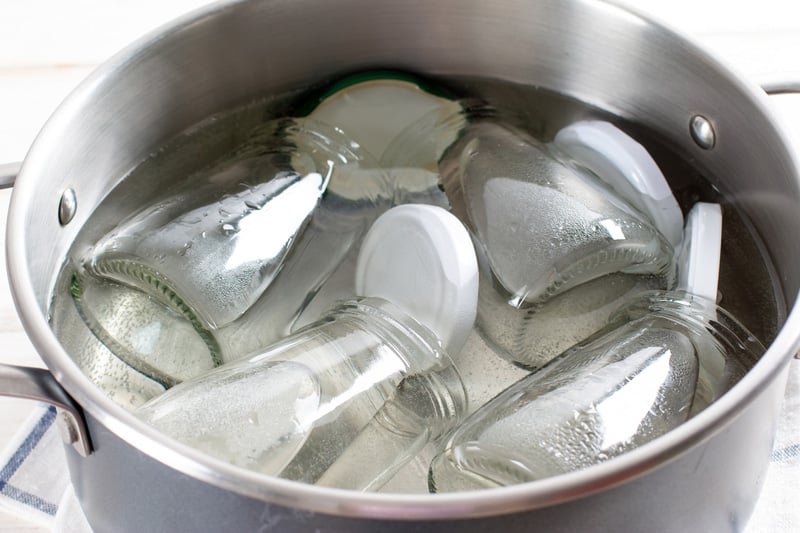
3. First wash the jars, lids, and seals with hot soapy water. Rinse.
4. Sterilize the jars by putting them into the oven for 15 minutes. Sterilize the lids, seals, small ladle, and spoon by boiling them in water in a small pot on the stovetop. Leave the jars in the oven until ready to fill. Drain the lids and seals. Cover with a cloth to keep them clean.
4. Take your canning pot and fill it 2/3 full with clean water. Put the rack at the bottom. Put the pot onto the stove ready to receive the filled jars.
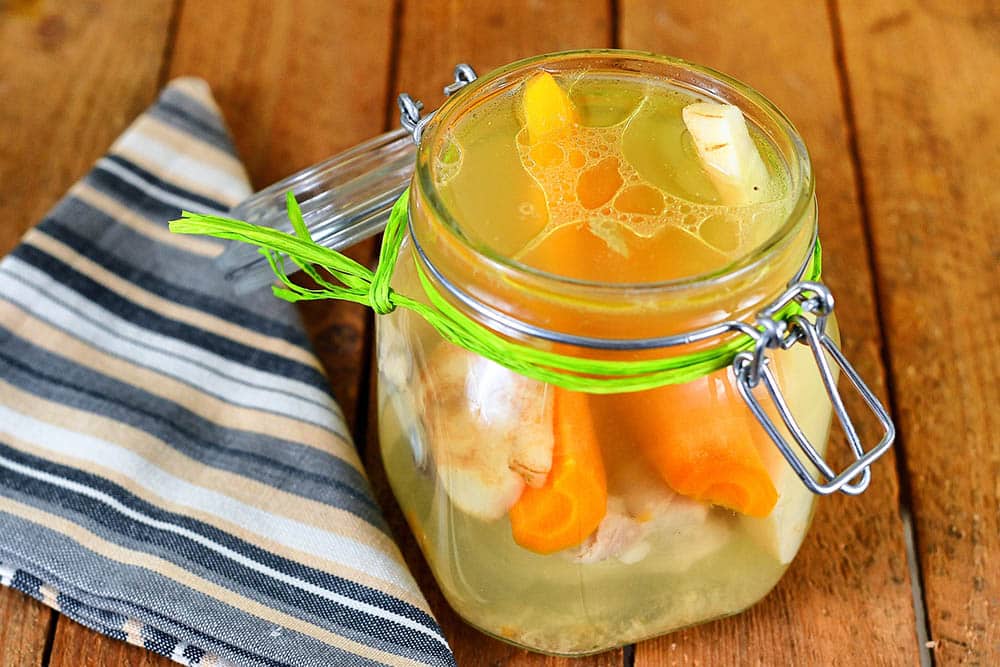
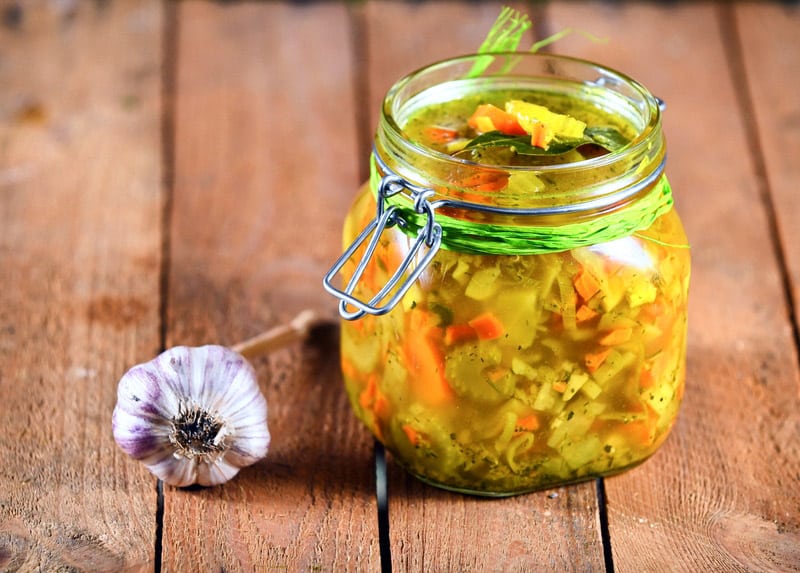
5. Take out one of the jars from the oven. Remove just one jar at a time so that the others stay warm and sterile. Pour the freshly prepared hot soup into the hot jar, leaving a half-inch headspace for expansion. Stir it carefully with the spoon so that the air bubbles are released. Wipe around the rim with the cloth to remove any traces of soup. This ensures a better seal. Put the lid and seal on loosely and put the jar into the canning pot.
6. Fill the other jars one at a time in the same way.
Place all the soup-filled jars inside the pot on the rack. Try not to overload the pot. Keep the jars apart from each other – they should not touch. Rather do two batches than overcrowd the pot. Now, cover your canning pot with the lid and bring it to a boil. Boil for about 60 minutes, depending on your recipe and the size of the jars. Start timing after the water has come to a boil. Keep covered with a lid while boiling and top up with more boiling water from the kettle if necessary.
7. After proper boiling, remove all the jars and dry them with a towel. Allow cooling then check for a good seal on the lids.
8. Label the jars with the contents and date before storing them in a cool, dry place.

If you are looking for a guaranteed SAFE method, try PRESSURE CANNING soup as per the videos below!