You may be wondering how to can fresh tuna safely at home. It’s so tempting when there’s a good special offer on at the fish market… Such canning should be done without using a pressure cooker but by using a pressure canner instead.
In fact, a pressure canner is deemed safer as it reaches high enough temperatures to kill the botulism potential in non-acidic foods.
While home canning is a simple method of preserving your favorite food items for later use if it’s not done correctly and safely the process is fraught with dangers.
In this article, we’ll point you to a better method of canning tuna without a pressure cooker, but rather by using the safe way of preserving with a pressure canner.
Warning: Pressure canning is more effective to kill the botulism potential. Water bath canning tuna is NOT a scientifically approved method. Try at your own risk!
Warning: Pressure canning in a pressure canner is more effective to kill the botulism potential than a pressure cooker. Oven canned tuna is NOT a scientifically approved method. Try at your own risk!
Why is a Pressure Canner Safer Than a Pressure Cooker for Canning Tuna?
Because tuna is a low acid food (pH of 4.6 and below), it is easy for botulism bacteria to multiply in it. An appliance that reaches 240 degrees Fahrenheit is needed to kill the bacteria and their spores. The USDA recommends not using electric pressure cookers for canning, but why?
Well, research done at the Utah State University Extension backs this up. Their studies showed that electric pressure cookers don’t consistently hit the high temperatures needed to can low acid foods safely at certain altitudes. However, pressure canners do.
Canning Tuna Without Pressure Cooker
Please be safe and use the correct appliance. So, you’ve read the red warnings and have your pressure canner ready for action. Follow out simple instructions for delicious, safe, home-canned oil-packed tuna. Here’s how to make six half-pint jars of home-canned tuna.
You’ll Need:
- 2.5 pounds of fresh, boned, skinned tuna
- 3 teaspoons kosher/canning salt (do not use iodized table salt)
- Olive oil to cover
You Do:
- Boil your clean canning jars, lids, and bands in clean water for ten minutes. Remove them from the water with tongs and put them upside-down on a clean kitchen towel.
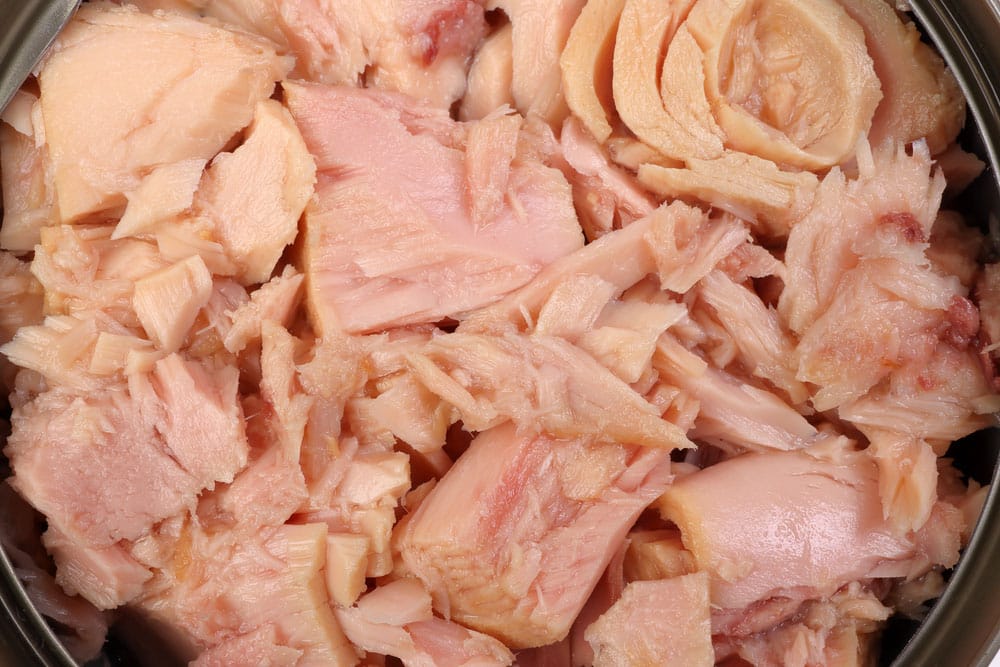
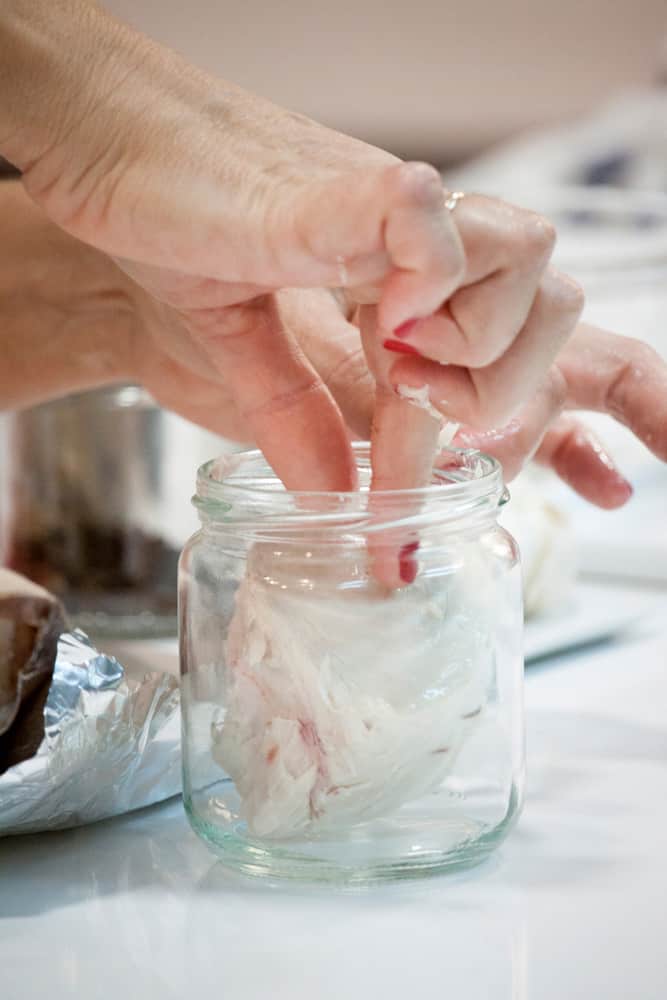
- Wash your pieces of fish and cut off the dark blood line. Discard this along with any connective tissue, skin, or bone.
- Using a sharp chef’s knife, cut the fish into chunks measuring about 2 ½ by 3 inches.
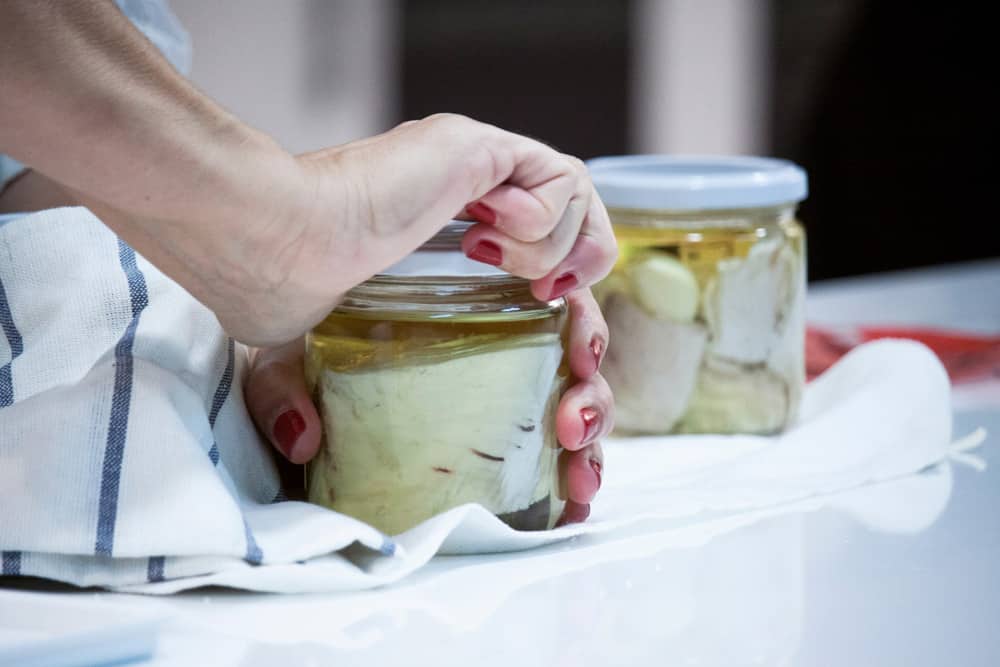
- Pack the chunks into the jars. Leave about an inch of headspace. Fill in the gaps at the sides of the jars with smaller scraps of fish.
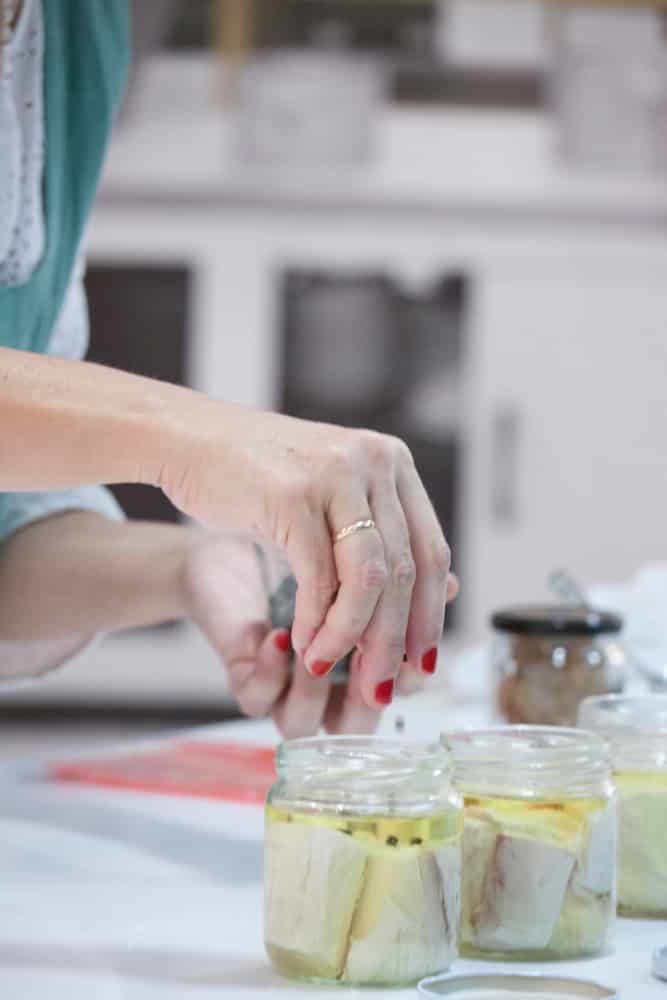
- Add half a teaspoon of salt to each jar.
- Pour olive oil into each jar to cover the fish. Leave three-quarters of an inch of headspace.
- Insert a knife between the edge of the jar and the fish. Wiggle it to expel any air pockets.
- Clean the jar rims with a hot, clean, wet dishcloth.
- Put the lids and metal bands on.
- Place the rack into the bottom of your pressure canner. This is important as the jars must not sit directly on the bottom of the pot.
- Put the jars on top of the rack, positioning them so that they do not touch one another.
- Add enough boiling water from your kettle to make three inches of water inside the canner around the jars.
- Put the canner lid on and lock it securely.
- Take the pressure regulator cap off the steam vent.
- Heat the canner over a high flame until steam is coming out of the vent. Allow it to steam like this for 10 minutes. This releases most of the air from inside the canner.
- Replace the pressure regulator cap carefully and allow the pressure to come up to 11 lbs before you begin timing.
- Time an hour and forty minutes of processing time. You can adjust the flame to keep the pressure at 11 lbs. If pressure drops below this, cease timing, bring the pressure back up, and then continue timing.
- Switch the flame off and leave the pot until the pressure returns to zero. This usually takes half an hour or more.
- Take the pressure gauge off and wait a couple of minutes before removing the lid.
- Use tongs or a jar lifter to take the jars out of the canner.
- Leave the jars on the kitchen counter to cool for 12 hours.
- Wipe the jars down with a vinegar-soaked cloth to remove any grease.
- Check the seals by removing the bands and making sure the lids are tight. If the jar opens, put it in the fridge and use it within a day or two.
- Label the jars with the contents, date of canning, and best before date (it will be safe for up to a year).
- Store in a cool, dry, dark place.
Conclusion
We hope you enjoy your delicious, safe, home-canned tuna. Please remember, that water baths and pressure cookers are not safe for canning low acid foods like tuna, but pressure canners are. Stay safe!