Meat is an important part of the majority of households, particularly so for hunters. However, sometimes you just run out of freezer space.
This can be a problem if there’s a great special on meat at your local supermarket or if you’re a hunter and come back with a big carcass. What to do? Canning is a good option but many people think that you need to have a pressure cooker to do so.
That’s not strictly true. Although pressure canning is the safest option, we provide information here on how to preserve your deer meat by canning without a pressure cooker and canner.
Canning Deer Meat Without Pressure Cooker
Water Bath Canner
Water bath canners have been long used to can deer and other meat. However, they don’t clear up the bacteria completely, which is why pressure cookers are preferred.
A pressure cooker sterilizes the meat and the jars completely – better than any other home canning method.
This is because only a pressure cooker can reach high enough temperatures to kill all bacteria and their spores. Bacteria are odorless and invisible, so there’s no practical way of knowing when they’re all gone.
Just follow the steps below for safe, easy water bath canning.
- Prepare your canning jars by washing them thoroughly with hot soapy water, rinsing them, then running them through your dishwasher’s hottest cycle. If you don’t have a dishwasher, the jars can be sterilized in a 180˚C oven for 15 minutes. Make sure you sterilize the lids too.
- Take the meat pieces and cut down the excess fat and dark areas. Discard these.
- Remove any bones and keep them for making stock.
- Use a clean cloth to dry the meat.
- Cut it down into bite-sized pieces so it can be packed into canning jars.
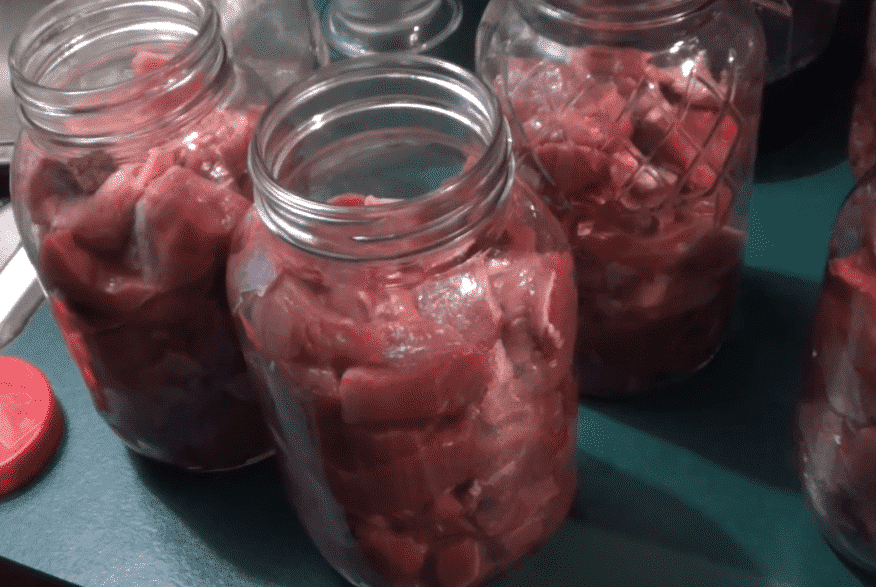
- Pack the meat pieces into the jars while the jars are still warm.
- Fill the jars three-quarters full or to within half an inch of the top with the meat cubes. Pack it in tightly.
- Now, add some celery leaves, chopped onions and garlic, and half a teaspoon of salt into the jar. Do not add any extra fluid such as water.
- Put on the lids and seal them up through the rings. (This is the last sterilization and canning step.)
While canning the deer meat without a pressure cooker through the water bath canning method, keep the following things in mind:
- Lightly season or brown the meat over high heat.
- There shouldn’t be extra liquid when packing raw meat.
Cooking Deer Meat For Canning Without a Pressure Cooker
Warning: Pressure canning is more effective at killing the botulism potential. The water bath canning of deer meat mentioned below is a traditional method and NOT a scientifically approved method. Try at your own risk!
You need to cook the meat for canning thoroughly. While cooking, you need to use vinegar and tomatoes because they are acidic in nature. The acidity will help preserve the meat. For this method, follow the below-mentioned steps.
- Cook the meat as per your liking. For instance, first, sear it in a little hot oil to brown it and add flavor. Then add chopped tomatoes, vinegar, salt, and sugar plus herbs or seasonings per your taste. Stew this all together until the meat is tender. Use two teaspoons of salt for every quart.
- Take the hot jars and put the cooked meat into the hot jar. (If the jars are cold, they will crack when you add the hot meat)
- Put on the sanitized lids after filling three-quarters of the jar with cooked meat. It is important to leave a little headspace and not fill the jars completely. The contents will expand when heated in the water bath.
- Now, take the water bath canner filled with hot water and put the jar into it. The jars should be covered with water.
- Once the canner starts boiling, let the jars simmer in it for three hours
- After three hours, remove the jar from the canner and put them on a towel
- Cover the jars with another towel.
- The popping sound of the lid signals that a proper seal has been made and the jars are safe to store.
- Label the jars with the contents and the date of canning.
- Store the jars in a cool, dry place for proper preservation.