Blanching Asparagus Time Calculator
Estimate asparagus blanching time from spear thickness, bunch weight, trim length, water volume, salt level, fresh or frozen starting point, altitude, target texture, ice bath ratio, and serving or storage goal.
🌱Asparagus blanching presets
Choose a common asparagus prep, then adjust the bunch weight, spear thickness, trim, water, salt, altitude, texture, and ice bath.
⚖Units
🫘Spears, weight, and trimming
💧Water, salt, altitude, and ice bath
Blanching estimate
Blanching breakdown
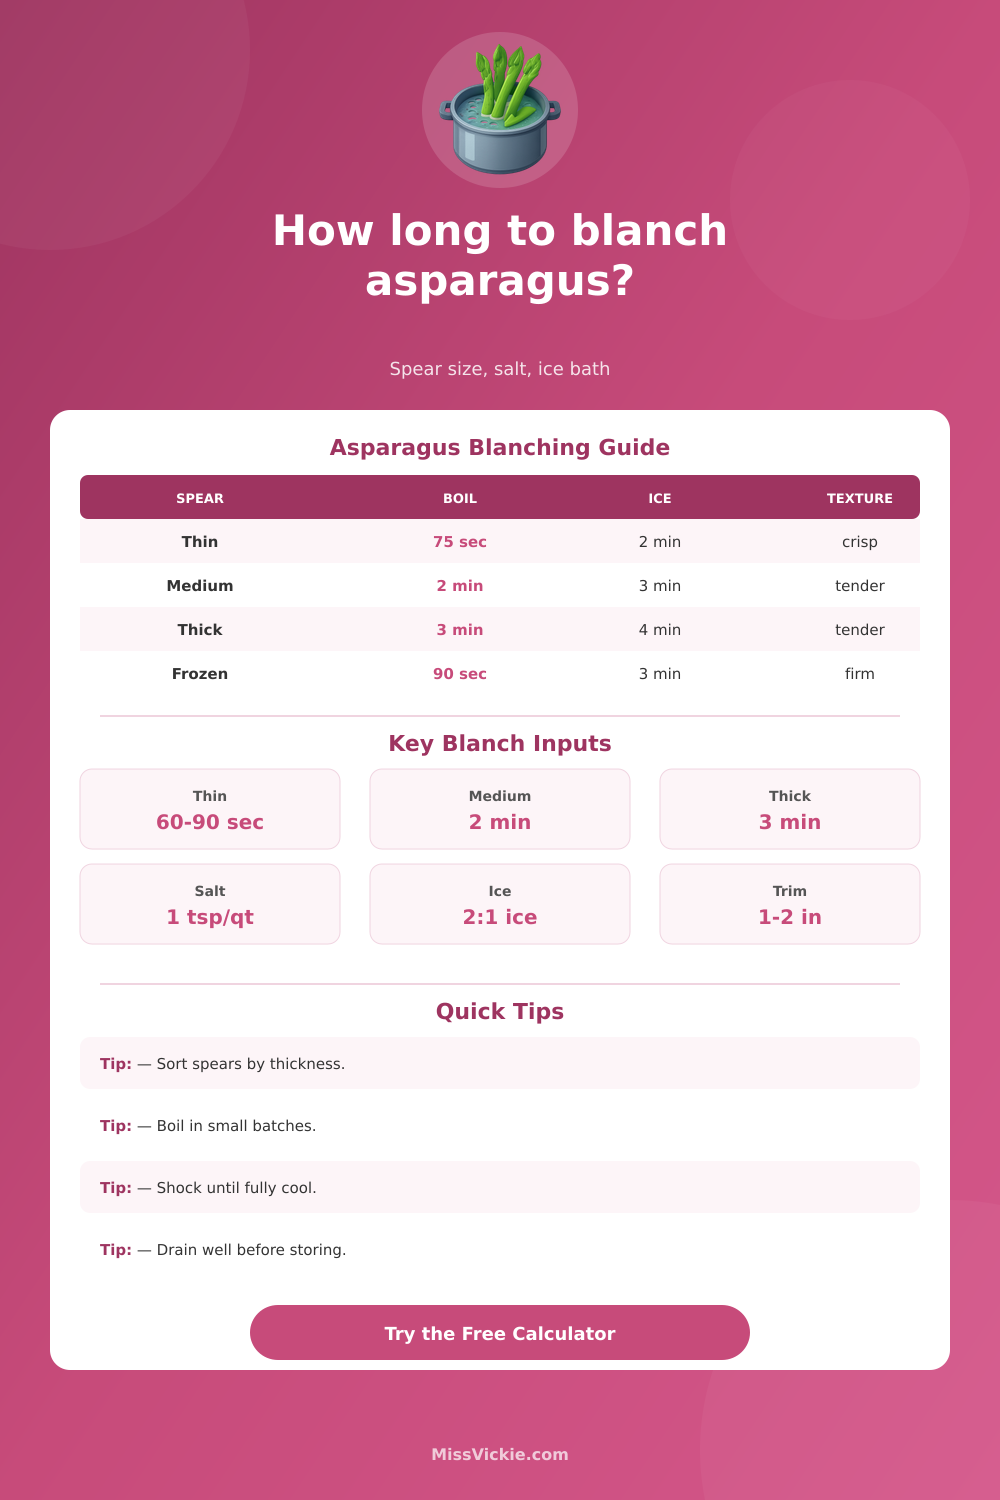
Sort by thickness for the most even blanch.
📋Asparagus timing quick cards
Pencil-thin spears only need a short dip before shocking.
Medium spears are the baseline for crisp-tender blanching.
Thick and jumbo spears need more time through the core.
More ice than water stops carryover cooking fastest.
🕒Blanching time by spear thickness
| Spear thickness | Fresh boil time | Frozen boil time | Best use |
|---|---|---|---|
| Pencil-thin, under 1/4 inch | 45 to 75 seconds | 60 to 90 seconds | Cold salads, quick sides, pasta garnish |
| Thin, about 1/4 inch | 75 to 105 seconds | 75 to 120 seconds | Bright green platters and vinaigrette dishes |
| Medium, about 3/8 inch | 2 to 2 1/2 minutes | 90 seconds to 2 minutes | Everyday side dishes and meal prep |
| Thick, about 1/2 inch | 3 to 3 1/2 minutes | 2 to 2 1/2 minutes | Warm sides, grilling finish, composed salads |
| Jumbo, 5/8 inch or larger | 3 1/2 to 4 1/2 minutes | 2 1/2 to 3 minutes | Soft spears, roasting finish, chilled platter |
🥣Water, salt, and batch reference
| Asparagus load | Minimum water | Standard salt | Batch note |
|---|---|---|---|
| 1/2 pound fresh spears | 2 quarts | 2 teaspoons | Small saucepan or shallow skillet is enough |
| 1 pound fresh spears | 4 quarts | 4 teaspoons | Use a wide pot so spears fit without bending |
| 2 pounds fresh spears | 6 to 8 quarts | 2 to 2 2/3 tablespoons | Split into two batches for better boil recovery |
| 3 pounds or more | 10 quarts or more | 3 tablespoons or more | Batch by thickness and keep the ice bath refreshed |
❄Ice bath and storage reference
| Goal | Boil target | Ice bath | Drain and hold |
|---|---|---|---|
| Serve hot now | Tender, still bright | Skip or 30 seconds | Drain, season, serve immediately |
| Cold salad or platter | Crisp-tender | 2 to 4 minutes | Pat dry so dressing clings well |
| Meal prep | Firm-tender | 3 to 5 minutes | Dry well and refrigerate loosely covered |
| Freezer prep | Firm blanch | 4 to 6 minutes | Drain very dry before bagging |
| Finish by sauteing or grilling | Extra firm | 2 to 3 minutes | Oil lightly after drying the spears |
💡Blanching notes
Sort first: If a bunch mixes pencil-thin and thick spears, blanch them in separate batches so tips stay bright while stalks get tender.
Start timing after recovery: For large batches, begin the main timer when the pot returns to a lively boil, not the moment asparagus is added.
Shock thoroughly: Cold spears should feel cool at the center before draining; warm centers keep cooking and soften during storage.
Dry before storing: Excess water dilutes dressing and shortens refrigerated quality, so drain on towels before packing or serving cold.
Asparagus: Blanching appears easy, until the resulting spears is limp, or still raw through middle. What’s the difference? Snap versus mush comes down to a few interacting factors that work in surprising ways. Primarily, thicker spear will require more time; secondly, so will those that start out colder. You also need to consider how much water you use and what you do with it once it is out of pot.
Enter those factors into the calculator (above), which will crunch the numbers for you, eliminating guesswork that typically results in underdone stalks, or overcooked tips. So how do they work? Why should you care about these inputs? In practice? A thin spear reaches cooked-through in less than a minute; a fat one takes almost three times longer before its core are tender enough to eat. Multiply that difference by the fact that sometimes the asparagus will be frozen and other times fresh from fridge. Now it is not just a question of thickness.
How To Blanch Asparagus Perfectly
Adding salt to the pot seasons the spears rapidly while retaining their vivid color. However, if you use too little water, the water doesn’t boil as high. This lengthens the cooking process because you have too many spear on your hands. Then factor in altitude, which affects boiling point: An identical clock tick means sea-level asparagus is soft while mountain-grown version is still barely done.
Instead of thinking of each adjustment as a separate knob to turn, the tool consider everything simultaneously. Similarly, little decisions make big impacts in ice bath time. The bigger impact of the stronger chill is that it effectively halts the cooking process right away, stopping the spears from softening more on counter. If you are planning to use cold meal prep containers or make salad, you want to stop any residual cooking effect before it can weakens your spears. You’ll be rewarded with a slightly different texture when you pluck them out of water, and the calculator turns those outcomes into useful times. Not vague ranges.
Cut format and batch size is all connected, but many cooks neglect them. A wide pot of whole spears heats evenly, while a tied bundle do not. Two-inch pieces cook so rapidly it’s mainly a matter of avoiding overcooking. Splitting one big bunch into several smaller ones will help maintain water temperature, and reduce the time to recover between batches. Paying attention to details like this turns decent results into consistently good ones, regardless of the day or the bunch.
Now we have everything we need to know how long to let it boil and when to start testing. We also know when to take each individual spear out. How do you do this? Test thickest spear at the suggested boiling time. You can pull the others out earlier if they are thinner, which keeps whole batch evenly boiled. And finally, how do you know if it’s salty enough or how much you will get from this? You just put in inputs and see output. That way you aren’t guessing and eyeballing at the end. These results is combined to make a plan rather than a hope.
But after getting a handle on these variables (thickness, starting temp, water volume, post cook chill), it’s no longer a timing puzzle at all. It becomes more of a do-this-step-and-then-repeat-it sort of thing. And the calculator just simplifies that process for whatever time in the day you want to make this on any particular Tuesday evening or weekend meal prep day, you could of used it. Actually, it’s better than guesswork.