Have you been thinking about canning your green beans but are worried about not having the proper tools to do so, such as a pressure canner? Don’t despair!
You can use other methods to can any green beans without having access to a pressure canner. Below are the steps you should take to can your green beans and preserve them for future use.
Warning: Pressure canning is the most effective way of killing the botulism potential in preserved foods.
Water bath canning green beans is a traditional method and not a scientifically approved method. Try at your own risk!
The only way to preserve green beans if you don’t have a pressure canner is to cover them in a pickling liquid containing vinegar.
Canning Your Green Beans without A Pressure Canner?
1. Wash the Green Beans
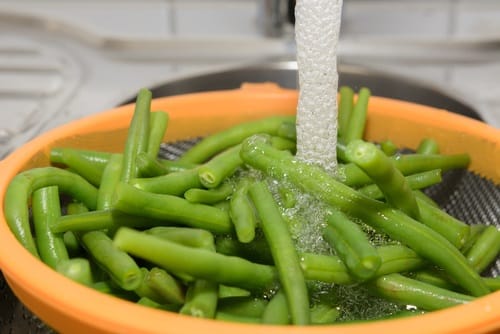
The first step to canning green beans, whether using a pressure canner or not, is to wash the green beans in cold water thoroughly. Soak them for a couple of minutes in the water first to loosen any dirt.
Next, swish them around in the water, then rinse in another batch of clean cold water. Drain them well.
2. Cut or Snap Your Beans
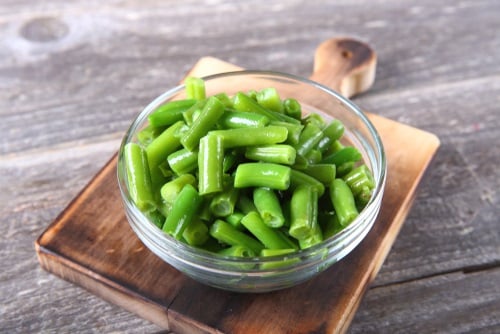
From there, you will need to “top and tail” the beans. This means that both ends are cut off.
After that, you need to snap or chop your beans to the size that you want them to be, or you can leave them long and jar length. Again, it is up to your preference. Most people enjoy them about one inch long.
3. Salt Your Jars
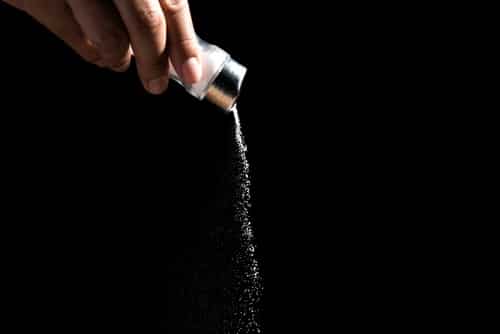
Before adding the green beans to your jars, wash the jars in hot soapy water and rinse them well. Now it’s time to add salt to them.
Generally, you should add half a teaspoon to each pint-sized jar or one teaspoon for a quart-sized jar. While this step is optional, it is recommended. Do not use iodized salt – sea salt is best.
4. Choose Whether to Use a Hot or Cold Pack
There are generally two different ways to can your beans: hot or cold packing. While some prefer to use the hot packing method, others swear by the cold packing method. These will be explained further below.
5. If You Choose to Hot Pack
To use the hot packing method, you must first begin by boiling your beans in a pot of hot water for five minutes. From there, drain the water and place your beans into your prepared jars.
6. If you Choose to Cold Pack
You must fill your jars to the rim with the raw beans to use the cold packing method.
7. Cover the Beans in Your Jar in a Pickling Mixture
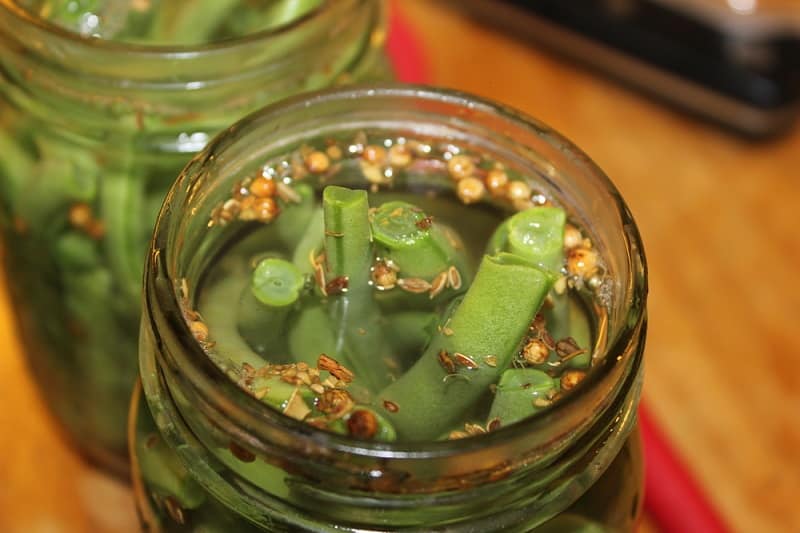
At this step, if you were using a pressure canner, you would normally place boiling water into the jars before placing them into the pressure canner.
However, since you are preserving them without a pressure canner, you must pickle your green beans beforehand. Beans are a non-acidic food; therefore, they need the acidity of vinegar to keep them from going bad.
To make the mixture, find a recipe for a pickling liquid that contains vinegar, water, and pickling salt and pour the mixture over the beans. Some recipes include spices like curry powder for flavor.
8. Release Any Trapped Air
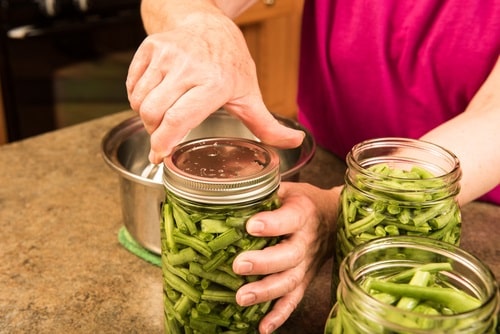
Press on the beans with the back of a spoon or tap the jar on the table to release any air bubbles that may be trapped in the jar. This will help to extend the beans’ shelf life even more.
9. Clean Your Jar Rims
Before placing the lids on your jars, ensure that the rims are clean and don’t have any residue on them by wiping them down with a spotlessly clean cloth.
10. Place Cans in Water Bath
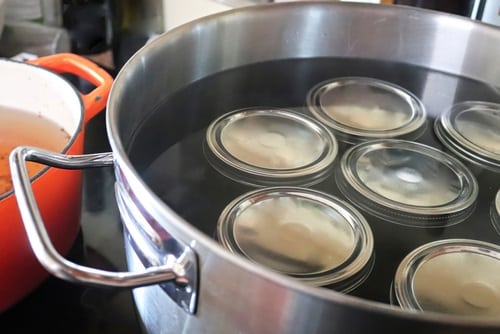
After sealing your jars, place them in a heating bath for the recommended amount of time, based on the size and quantity of your jars. This can take as little as five minutes in hot water.
11. Let Cool and Store
Once your jars are done cooking in the water bath, take them out to cool and store them to enjoy later!
If you are looking for a SAFER method, try PRESSURE CANNING green beans as per the videos below!
I hope that anyone who reads this doesn’t miss the fact that you can use a hot water bath ONLY with pickled green beans.
Do the beans have a pickled flavor if you use the hot water method without a pressure canner?