
And speaking of a mini Crockpot: It’s incredibly easy to cook white rice in one of these babies, and if you have some basic staples that you’re trying to keep on hand, a little appliance like this make them easy to handle.
You don’t need complicated timers. You must measure carefuly since the ratio matter. Once you get the hang off the process, it’s really easy and it will work well.
Measuring Water and Ratio
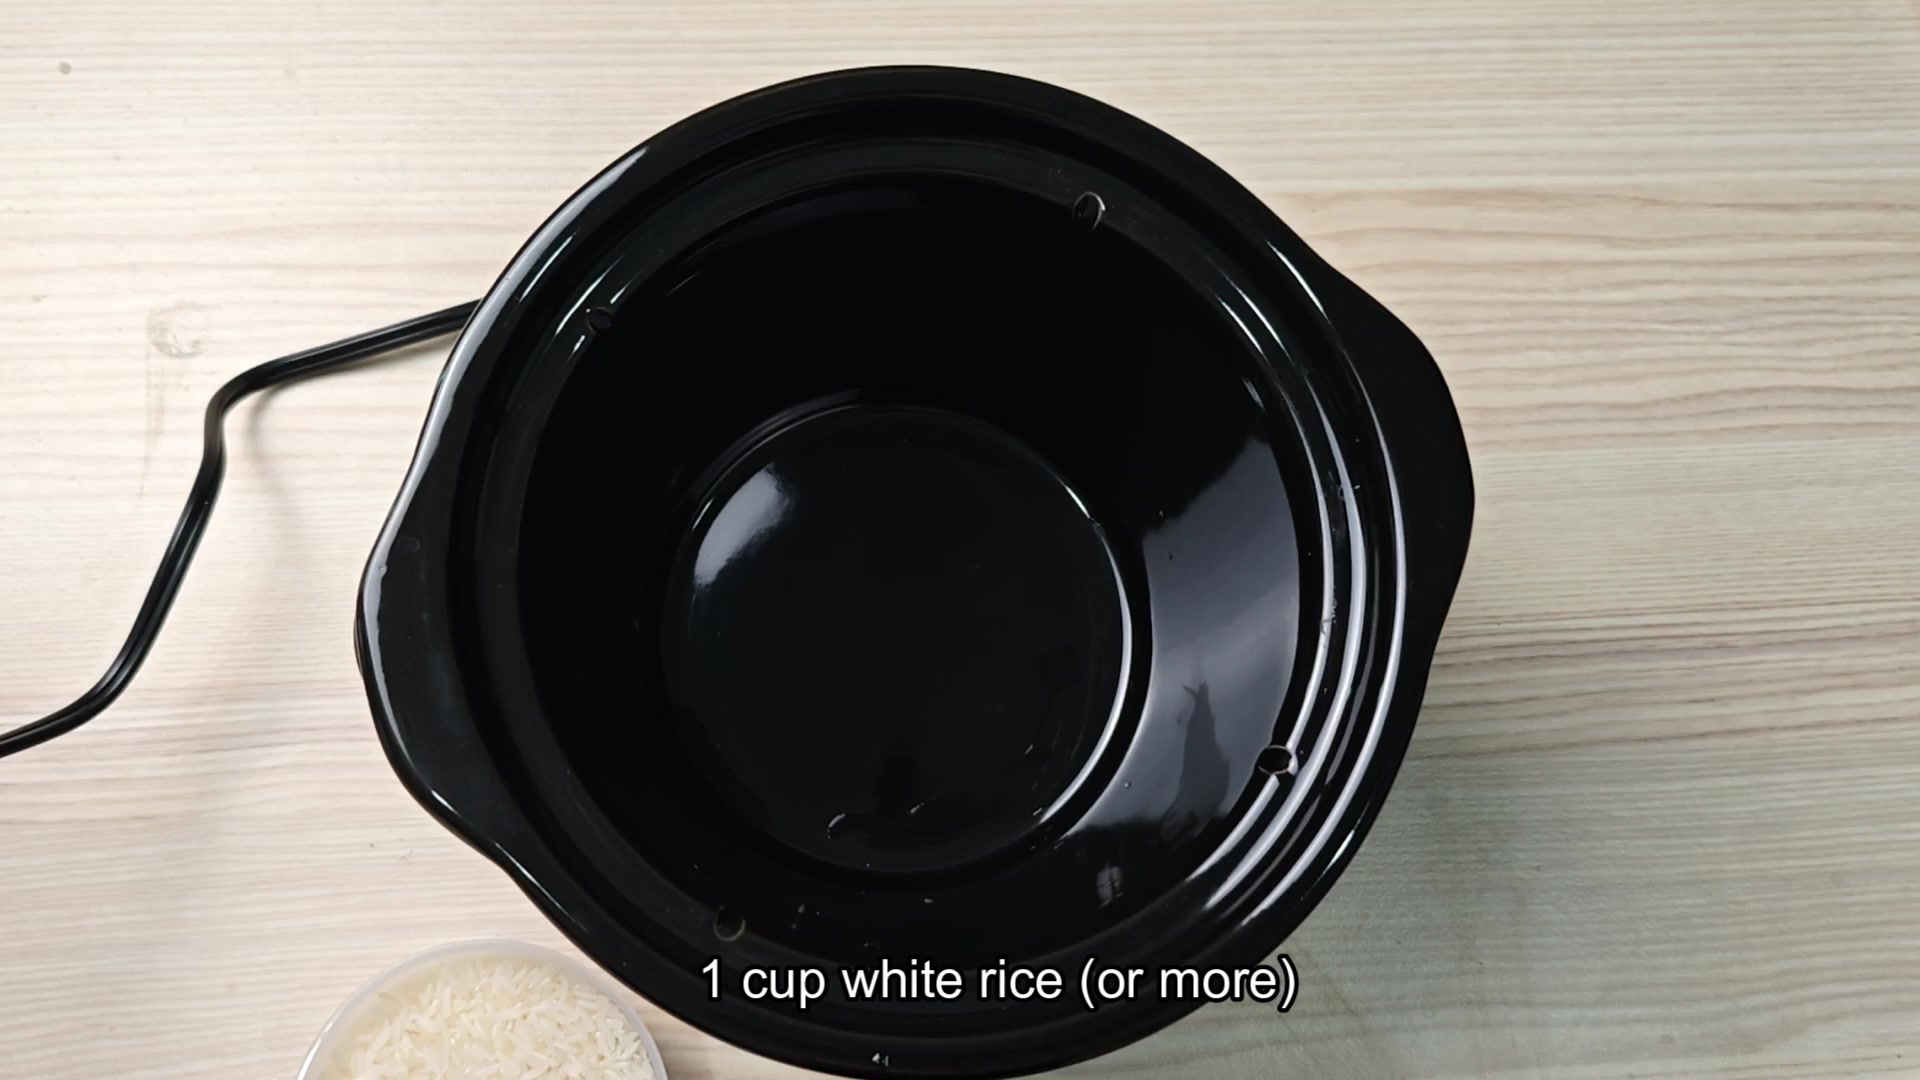
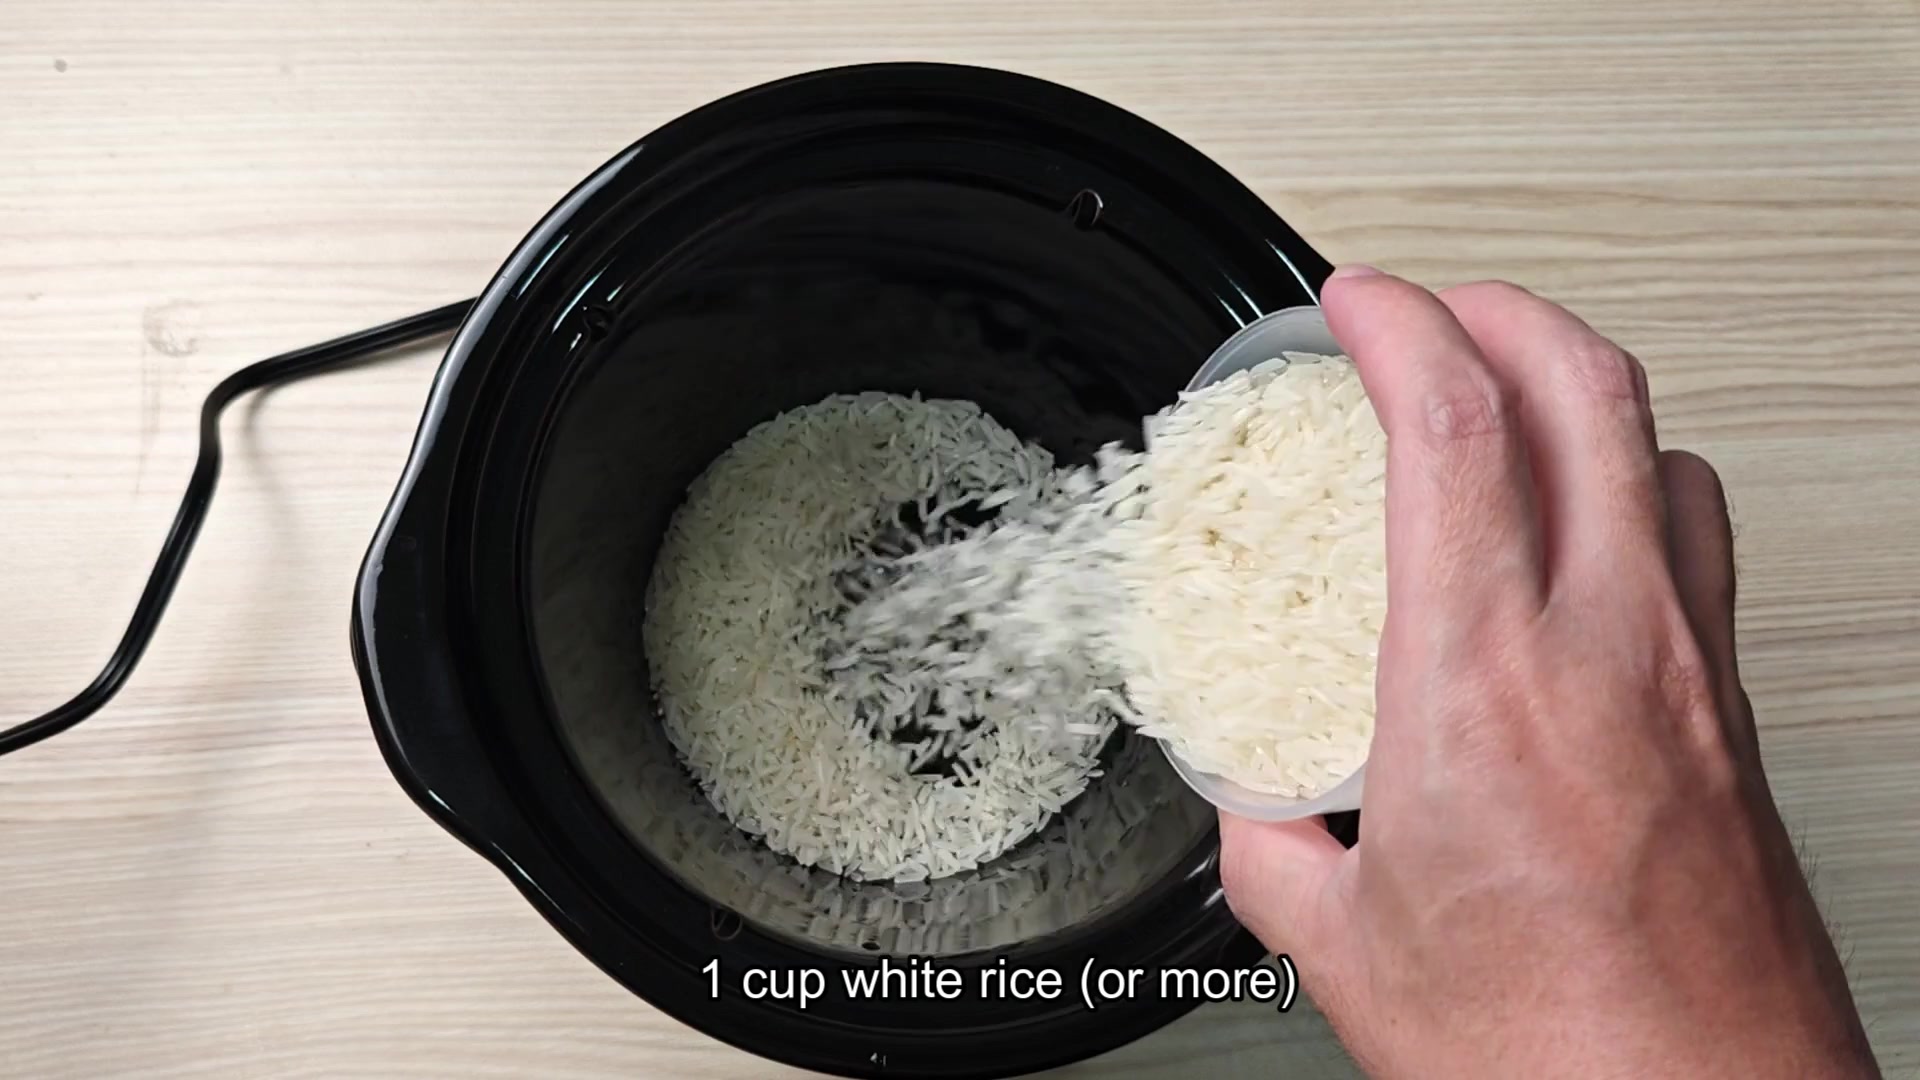
First thing’s first: Add your rice! Since you don’t want to make too much at once (at least not until you’ve tested it), pour in a single cup of dry white rice. If you’re feeling ambitious, add extra but one cup will do just fine for your initial experiment. The grains settles easily across the black ceramic interior, making it a good starting point.
The key here is to rinse the rice next. Put it in the sink, pour on cold running water, and swirl contents of the pot around until the water clears.
What’s that doing? It’s removing some of the excess starch, which will make a big difference in final result. Because you don’t want the rice to be all gooey and sticky, do it well. A minute or two of your time now will keep grains separate in the final product.
After washing your rice, drain the water and refill with fresh water. Measure out carefuly, as it’s important that the rice cooks slowly in your crock pot with just the right amount of liquid.
You’ll need roughly a 1 to 1.5 ratio of water to rice for slow cooked rice (meaning each cup of rice should get 1-1/2 cups of water). So if you have one cup of rice, use one and a half cups of water. If you don’t measure correctly here, you’re either going to end up with crunchy, hard center rice…or super soft mushy rice.
Once you know how much water your rice requires, cover the mini Crockpot with glass lid. Make sure it fits snugly on the rim. There must not be any air gap between the lid and crock, as this lets the water boil off to fast and the rice will burn. Let it do its thing!
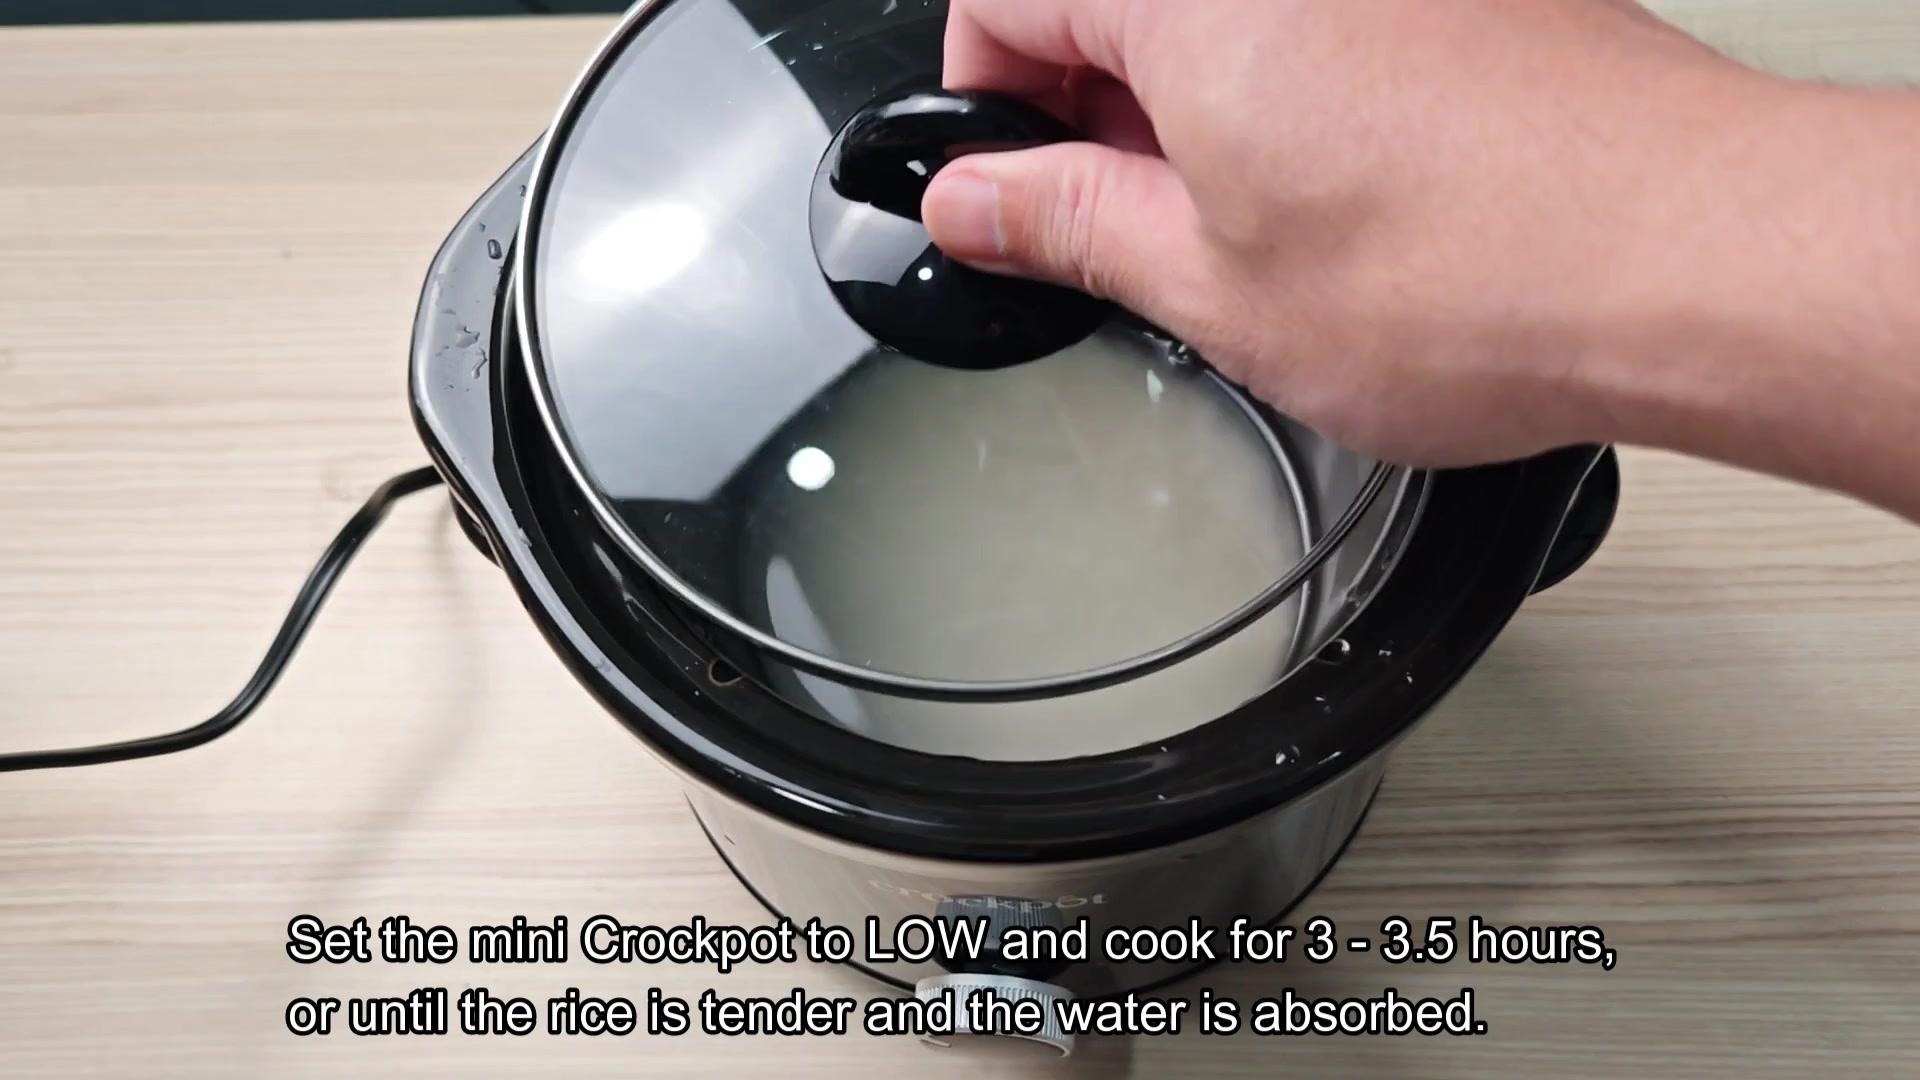
I think if you set it to High, the bottom layer will probably start to burn by the time the top layer of grains is done cooking. With this machine, it’s best to let it cook gently at low heat for a long amount of time, so set it to Low.
And leave it alone, approximately three and a half hours seems good for this amount. You have to be patient; checking too soon mean disrupting it.
Time’s up! Open the lid to see how it went. Steam rushes out as soon as you open it and the smell fills your nostrils, ahh, that fresh-cooked-rice smell.
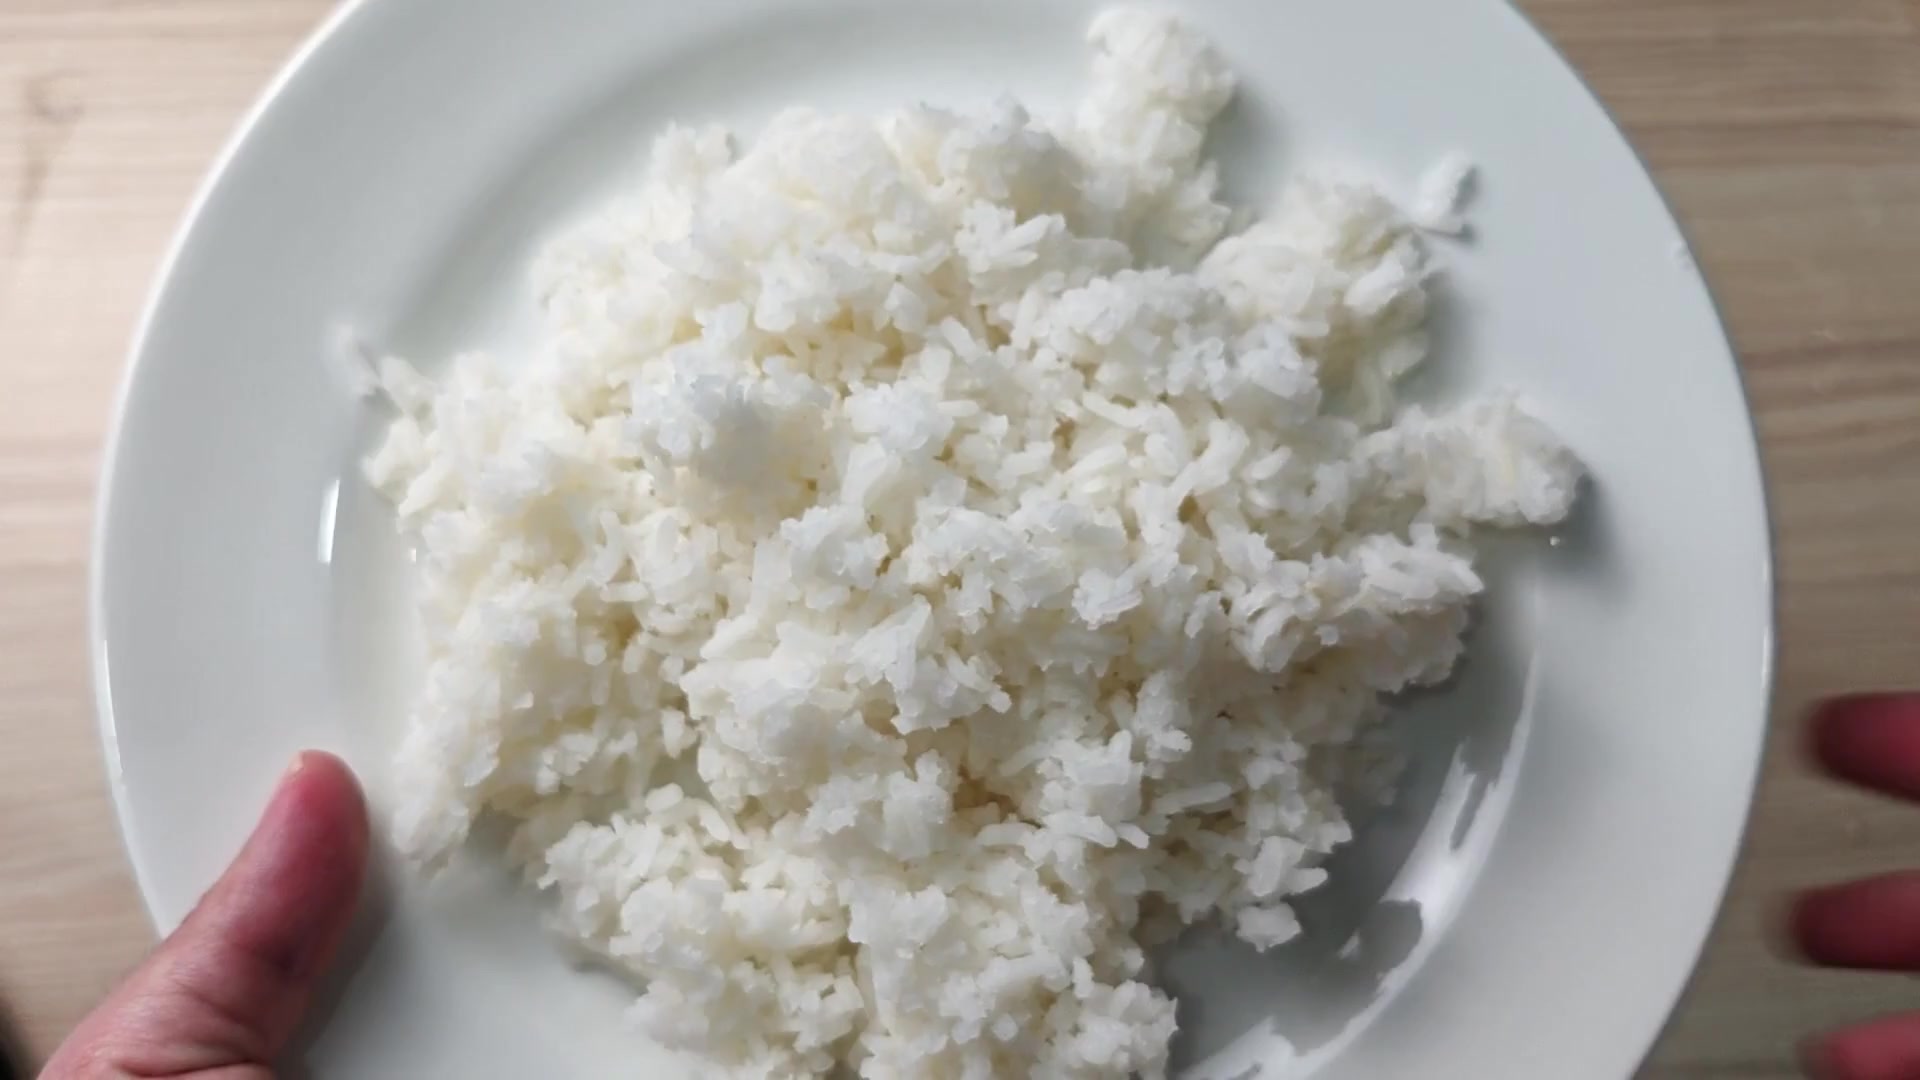
You’ll notice that the rice is separated and plump; this means it has completely absorb all the water. If you’ve done everything right, there shouldn’t be any drying out, and what comes out will be consistenly good-looking.
To see what’s left, turn it out on a plate and serve immediately. A cup of dry white rice triples in volume when cooked. This means you end up with much more then you started with.
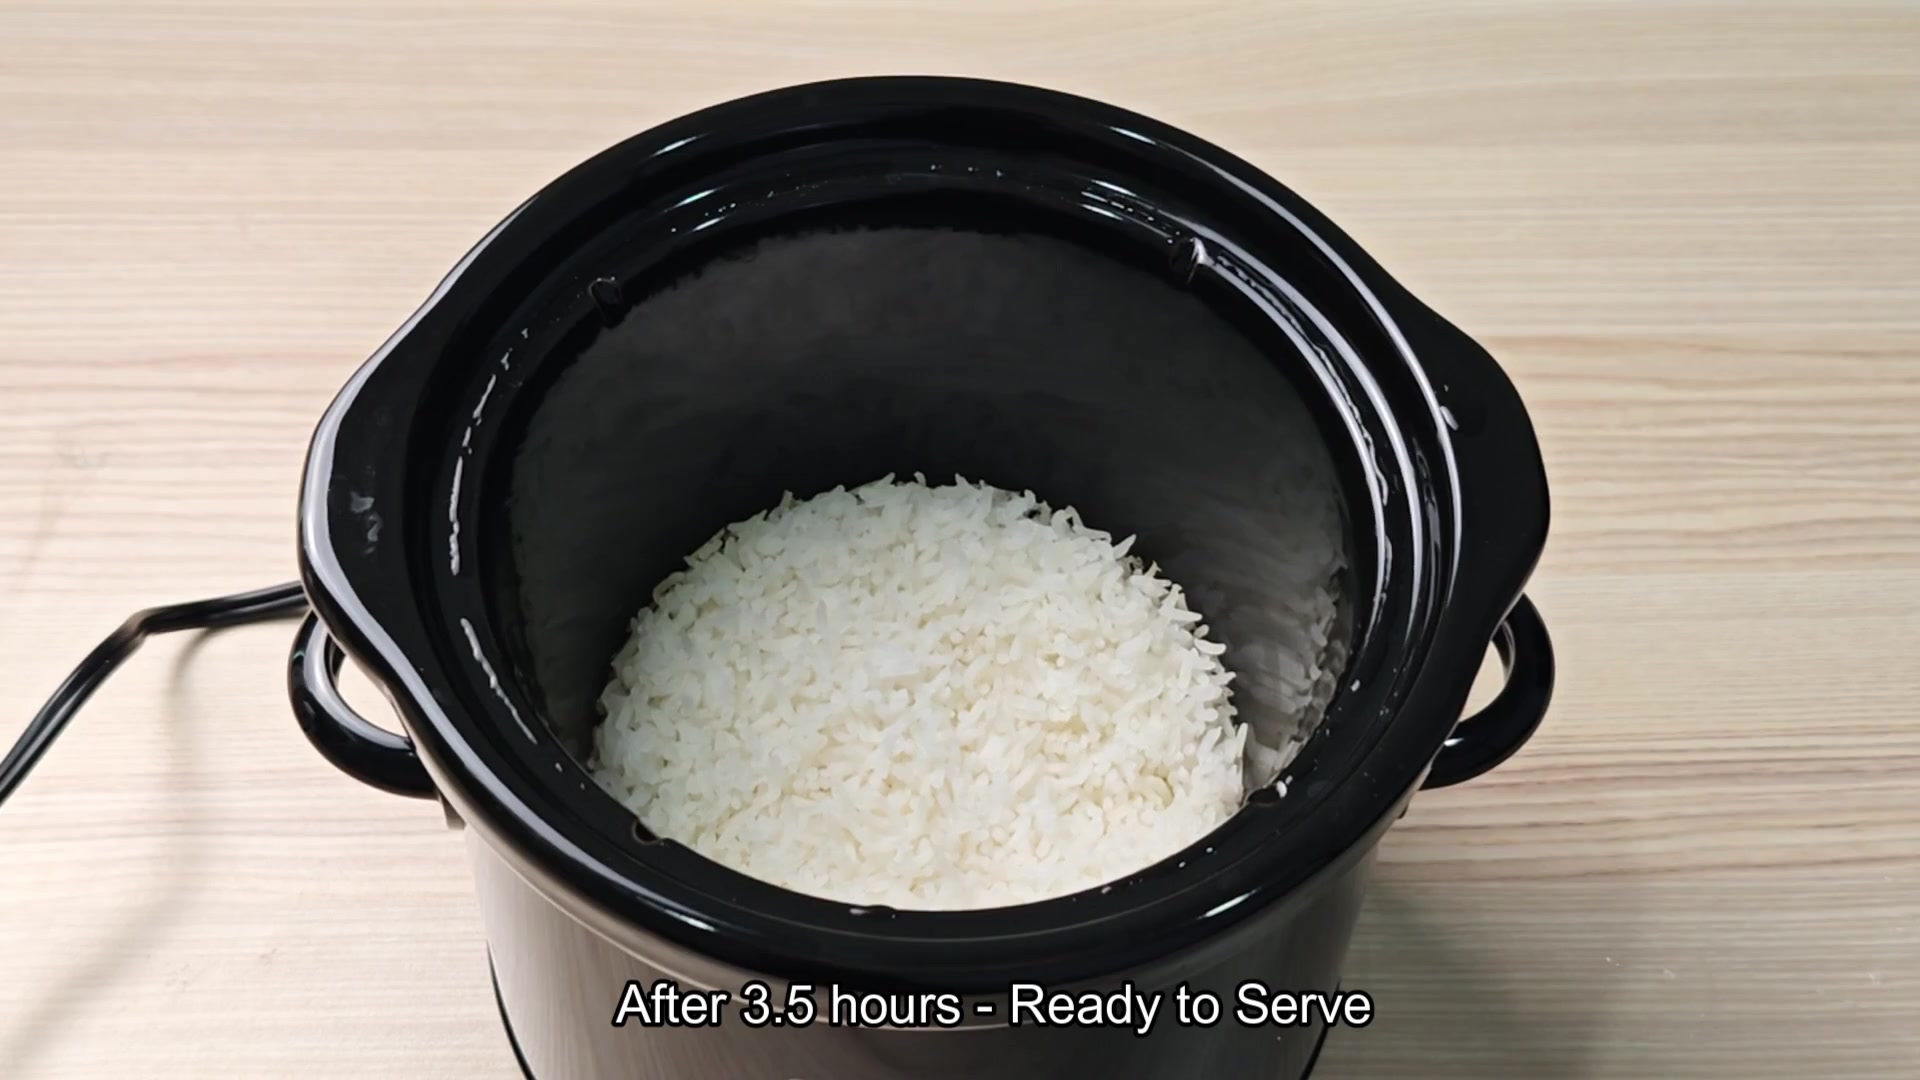
In other words, it’ll make a decent side dish for two people, which is a pretty good use of the tiny pot. If you do it this way, you should of been quite pleased with the result.
For those of you who don’t have rice cooker already, this is a good way to cook rice. It’s hands off (set it and forget it) and doesn’t take up any precious stove real estate in your kitchen.
Once you have figured out how much water to use the first time, there is no more guessing, so you get good rice every time. Cooks rice reliably.