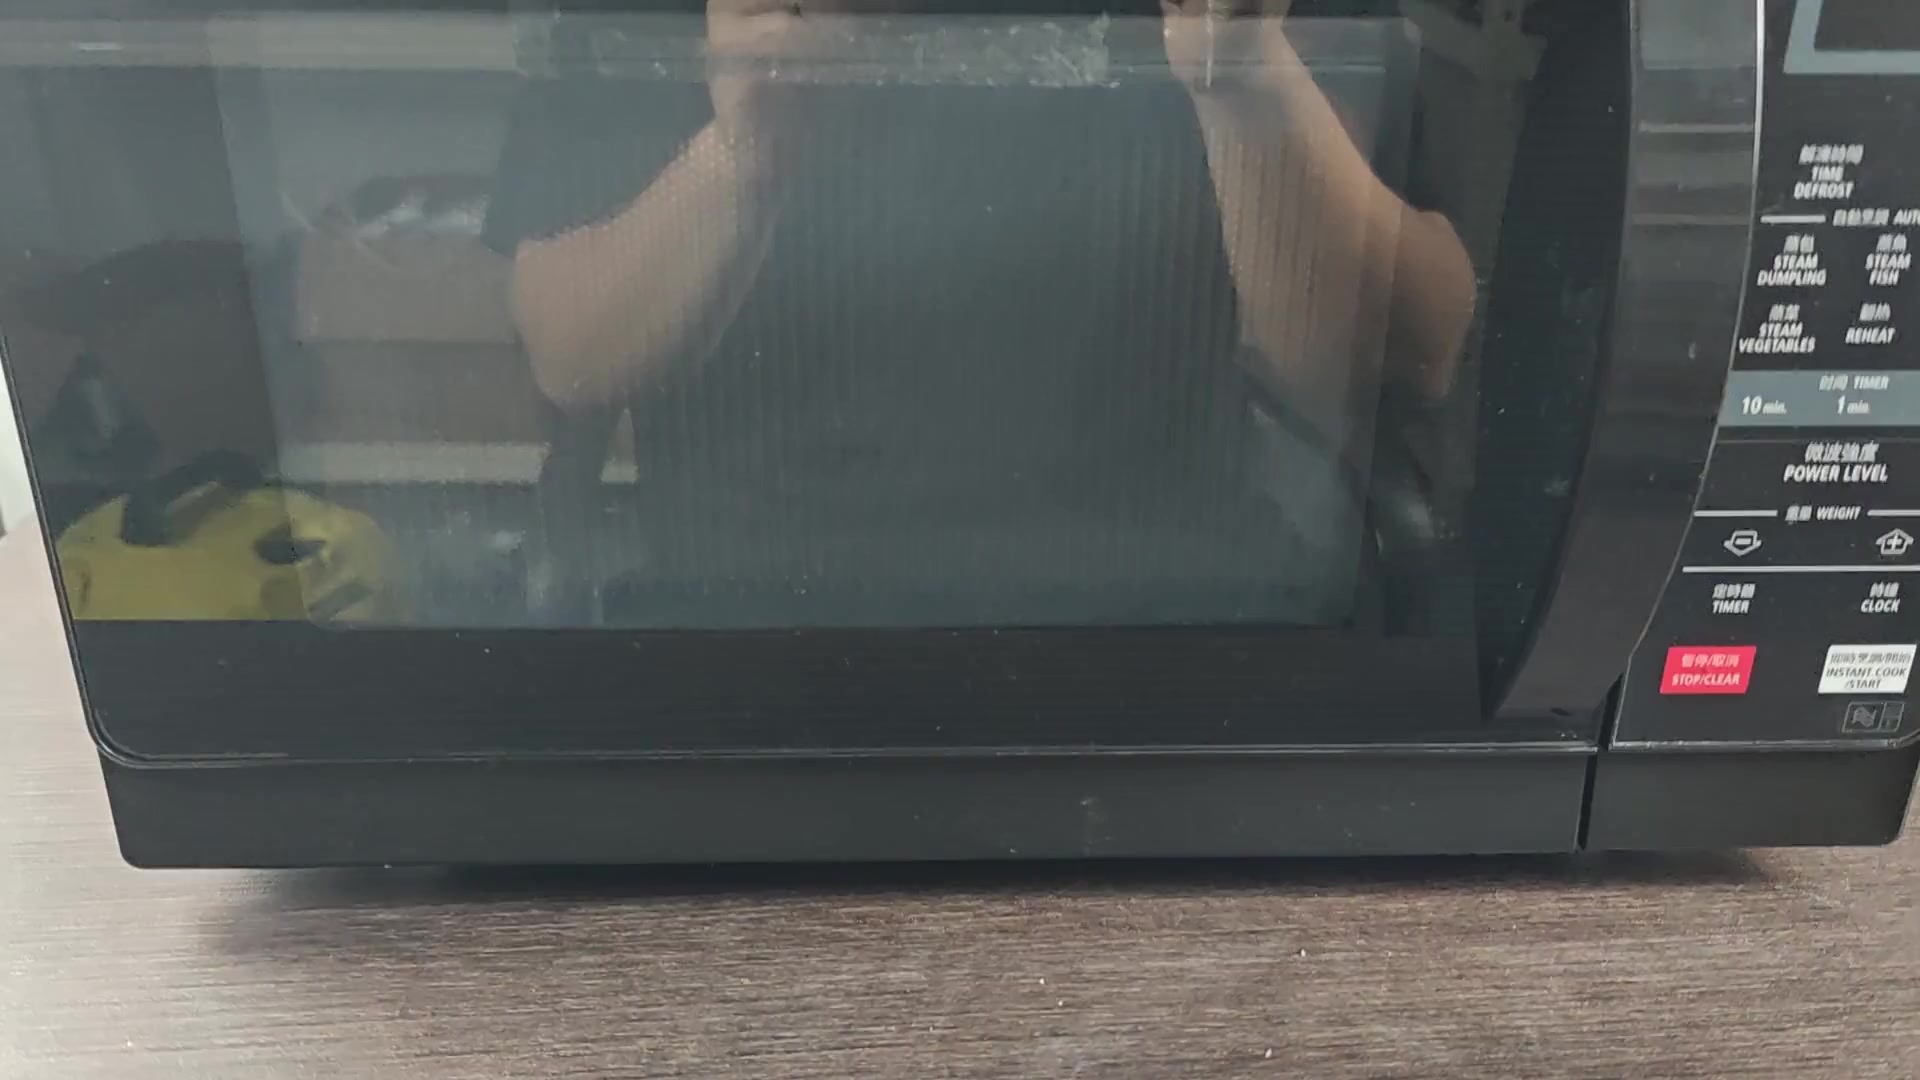
Before performing any repairs on your Sharp microwave, it’s extremely important that you pull it out of the wall outlet right away. That’s because these are high-voltage devices that presents great danger and skipping this warning is simply not an option.
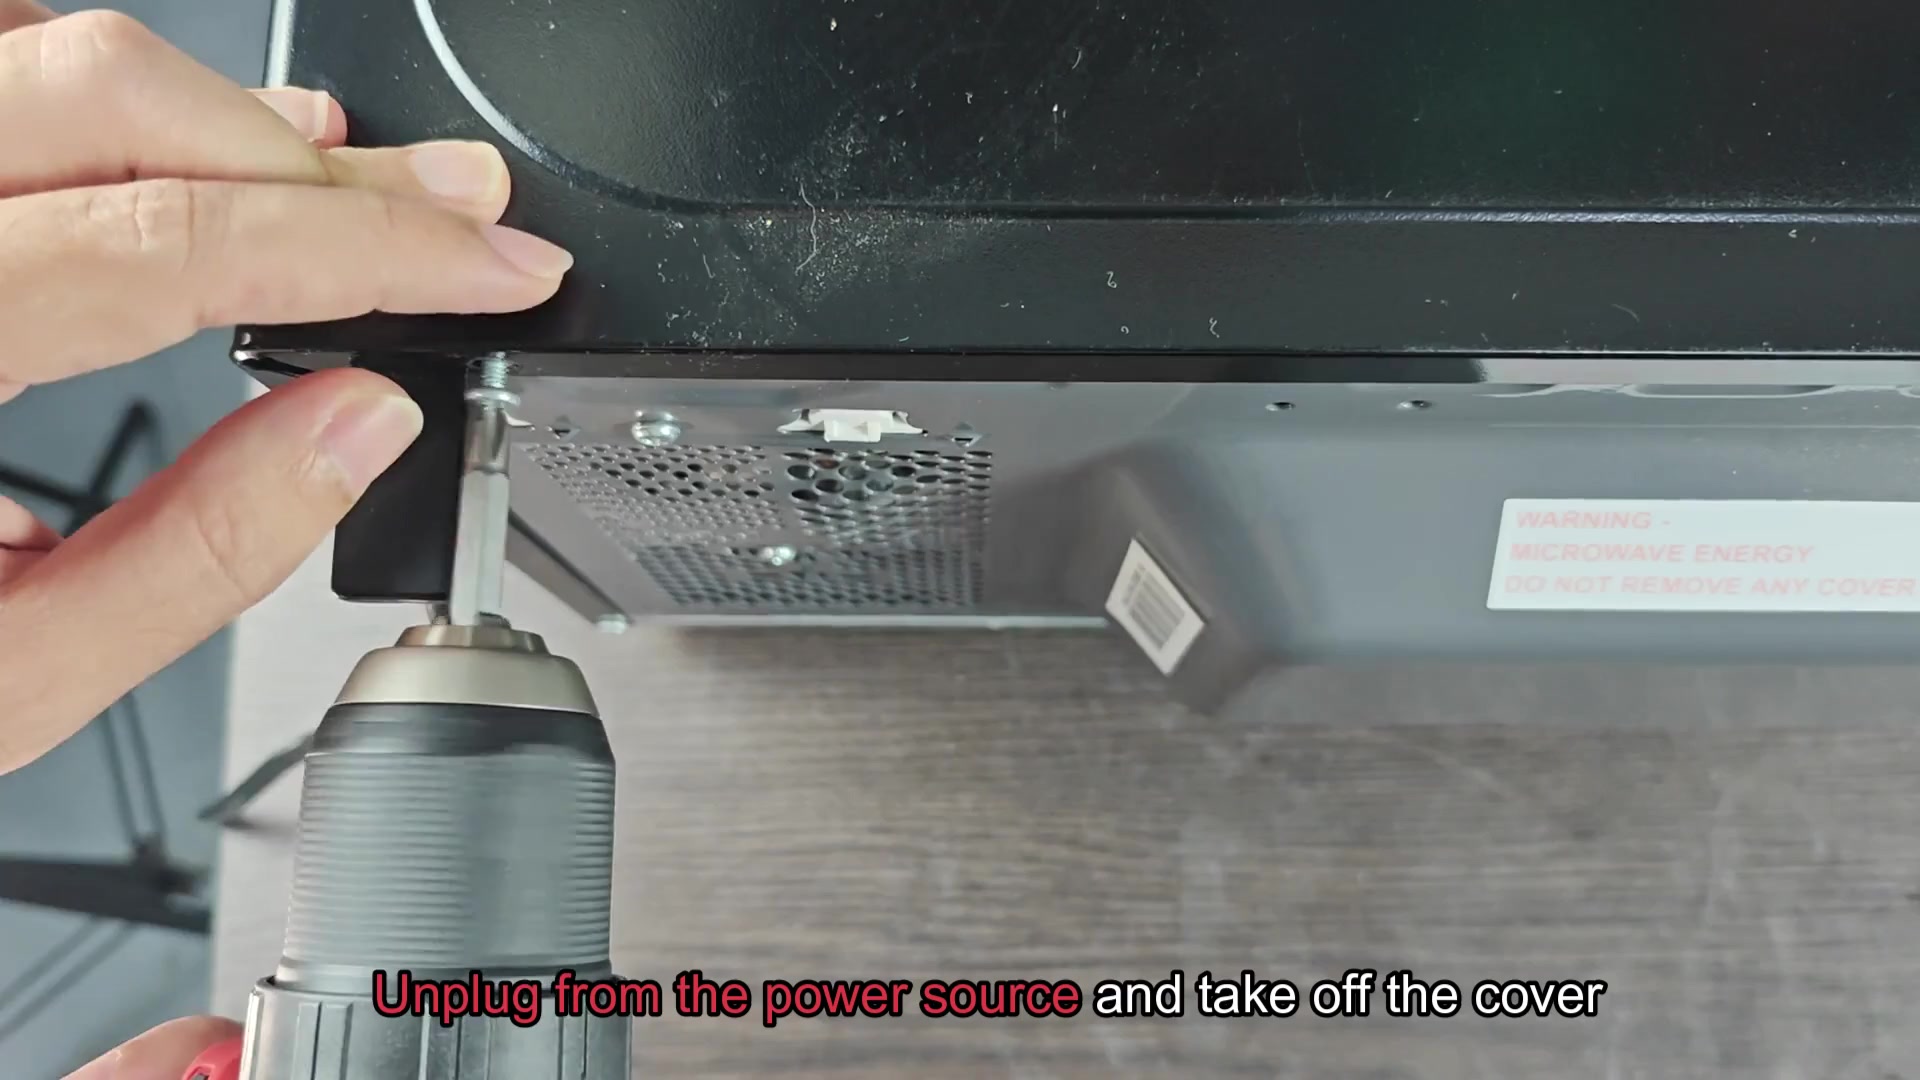
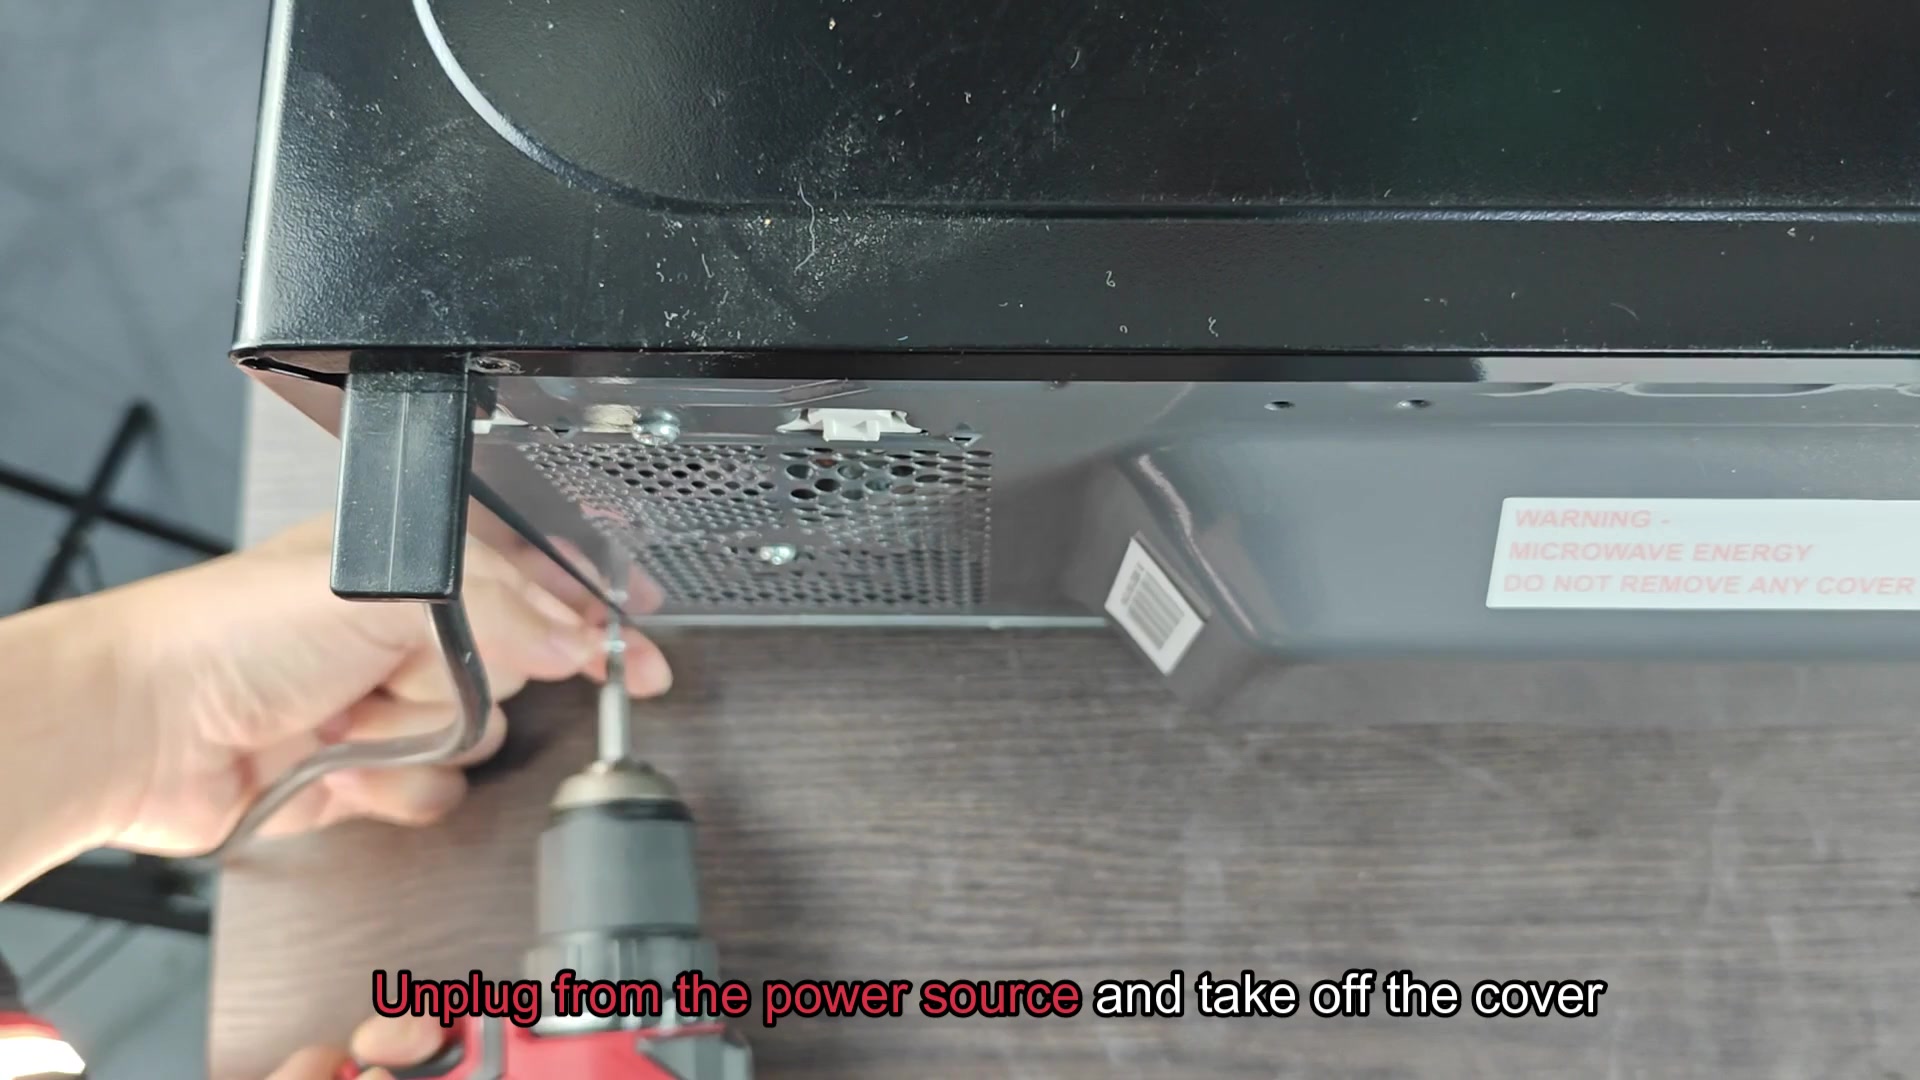
After that, using a cordless drill make disassembling the unit even faster by allowing you to unscrew external cover. The outer metal vented panel will easily peel off and reveal all sorts of module and wiring.
Understanding Microwave Bulb Specifications
But I warn you: don’t take off the lid while the microwave is turned on. It uses really, really high voltages inside magnetron. This is not something you want to play around with when microwave are on.
This is a DIY project; you just need to find the light bulb and replace it. Spend some time looking over insides. There’s a fair amount to see but the real bulb housing is tucked against a couple of wire harness in a back corner. Don’t miss it, you’ll pass by a bunch of other electrical connectors until you finally spy it.
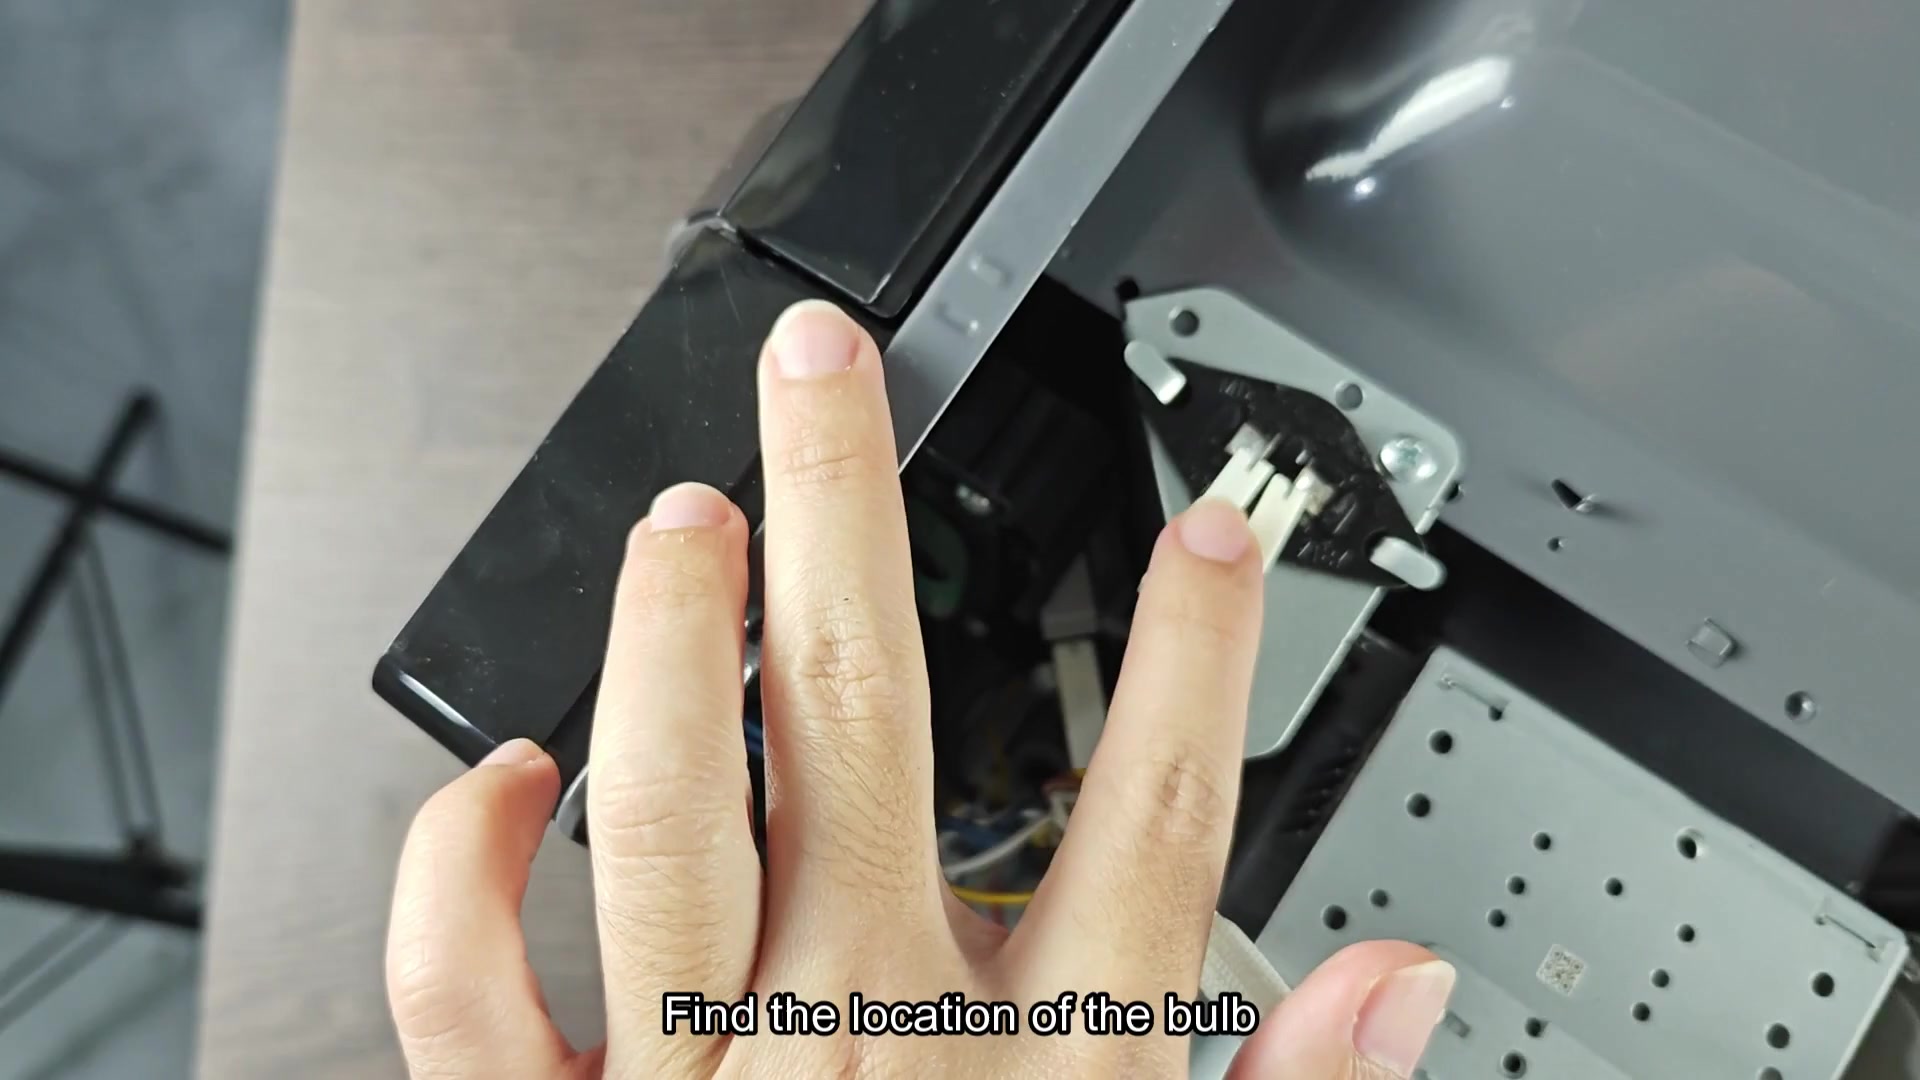
These aren’t your average home light bulbs. Unlike most bulbs, you can’t simply turn them anticlockwise to unscrew them from the base. It’s something that could of initially feel quite strange, instead there’s a clever connector system that use a specific bulb build design without a screw-in base for the bulb itself.
Essentially it’s a clear glass bulb stuck in a dark base with a metal bracket holding it all together firmly in position. Have a good look at where things connects before you start dismantling it.
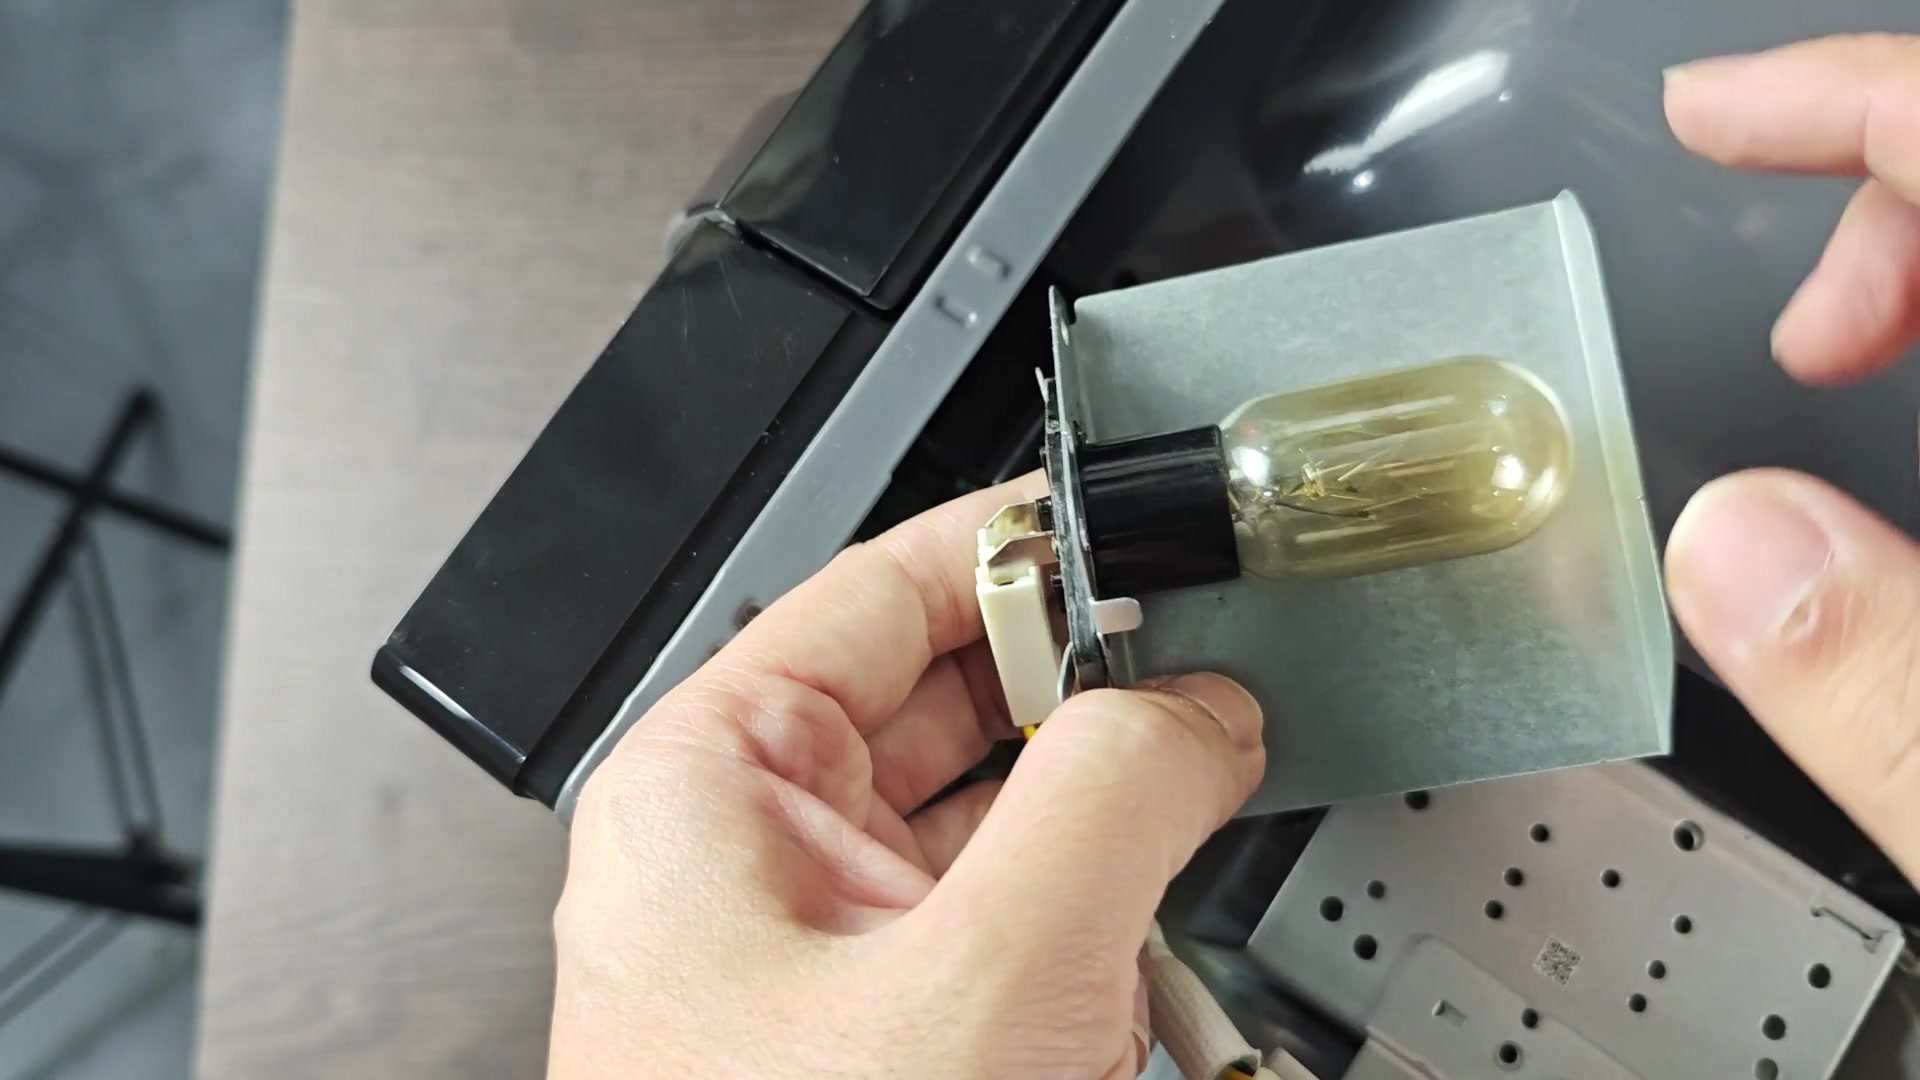
To remove the bulb, simply unplug white connector that is attached directly to socket area. Next, be careful to wiggle gray part of mounting piece with your fingers to get bulb off. It is pretty brittle and can snap in half easy if you’re not careful.
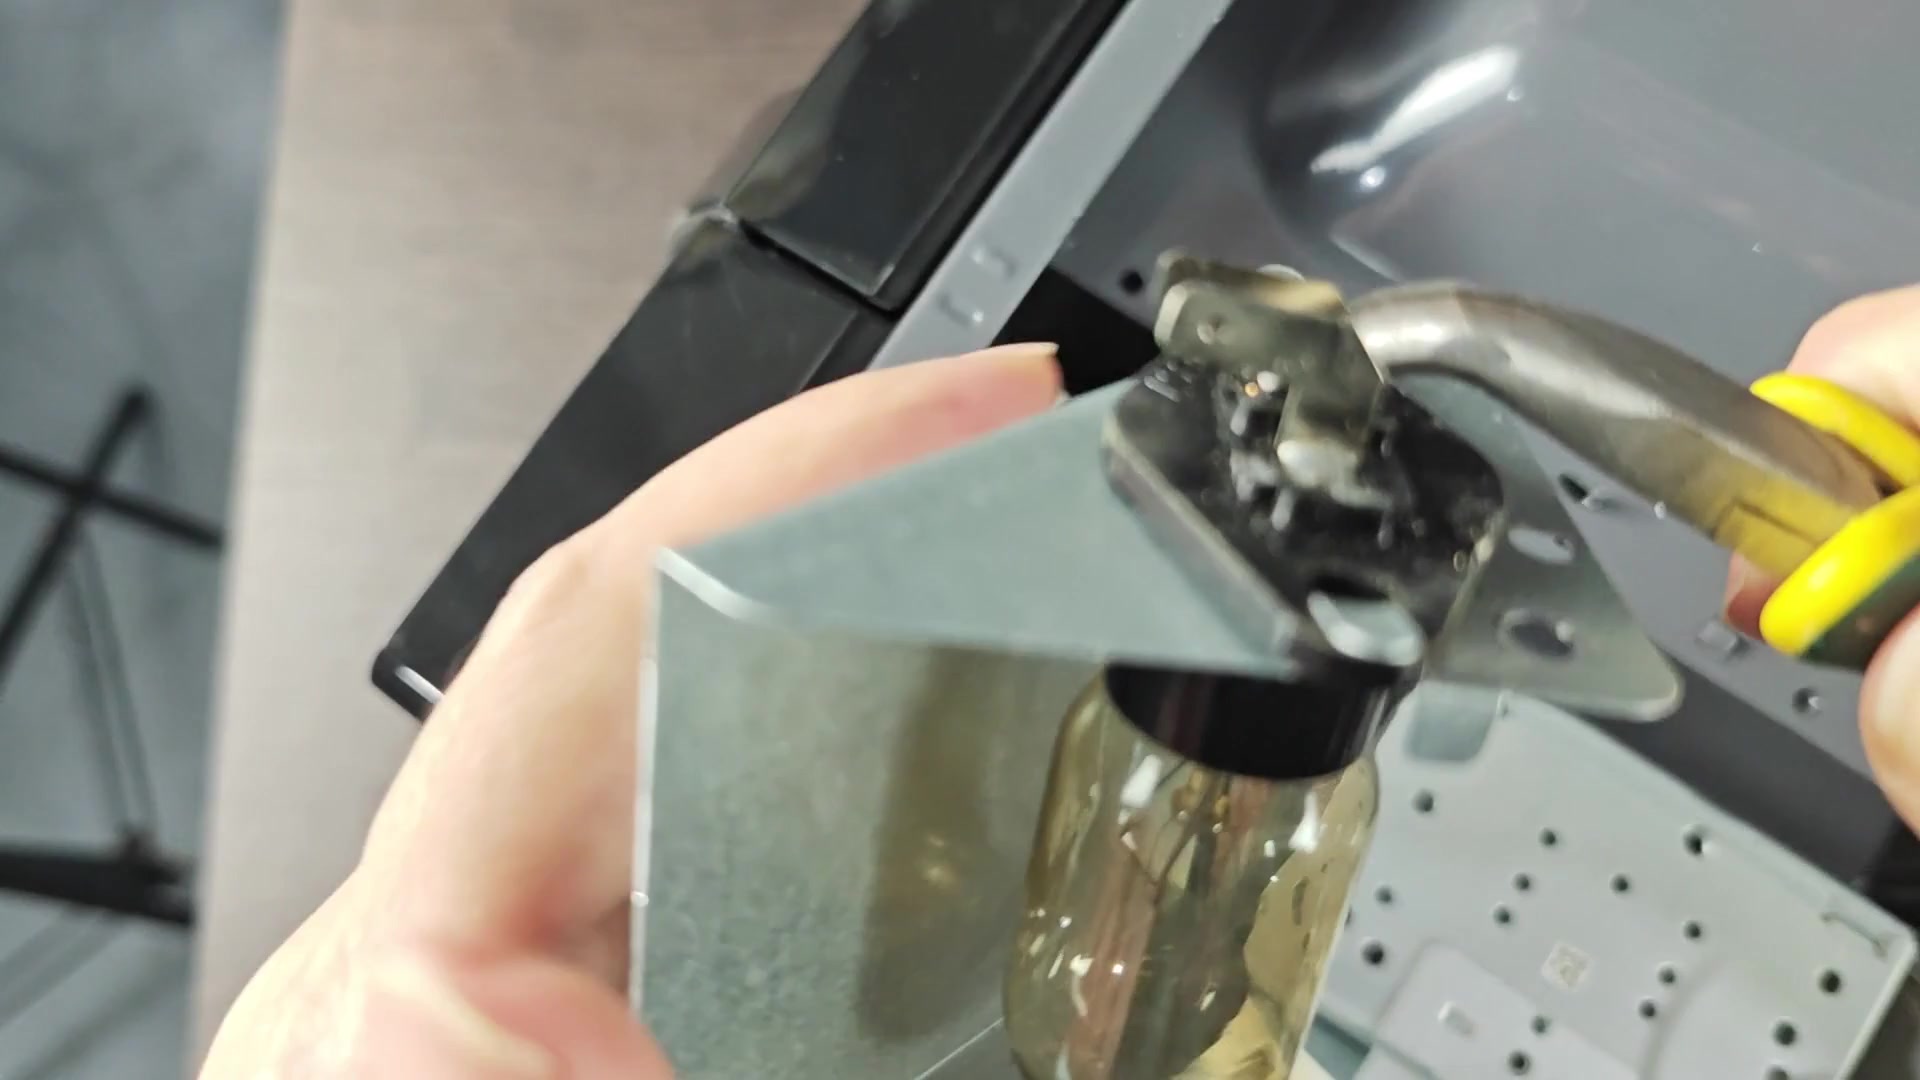
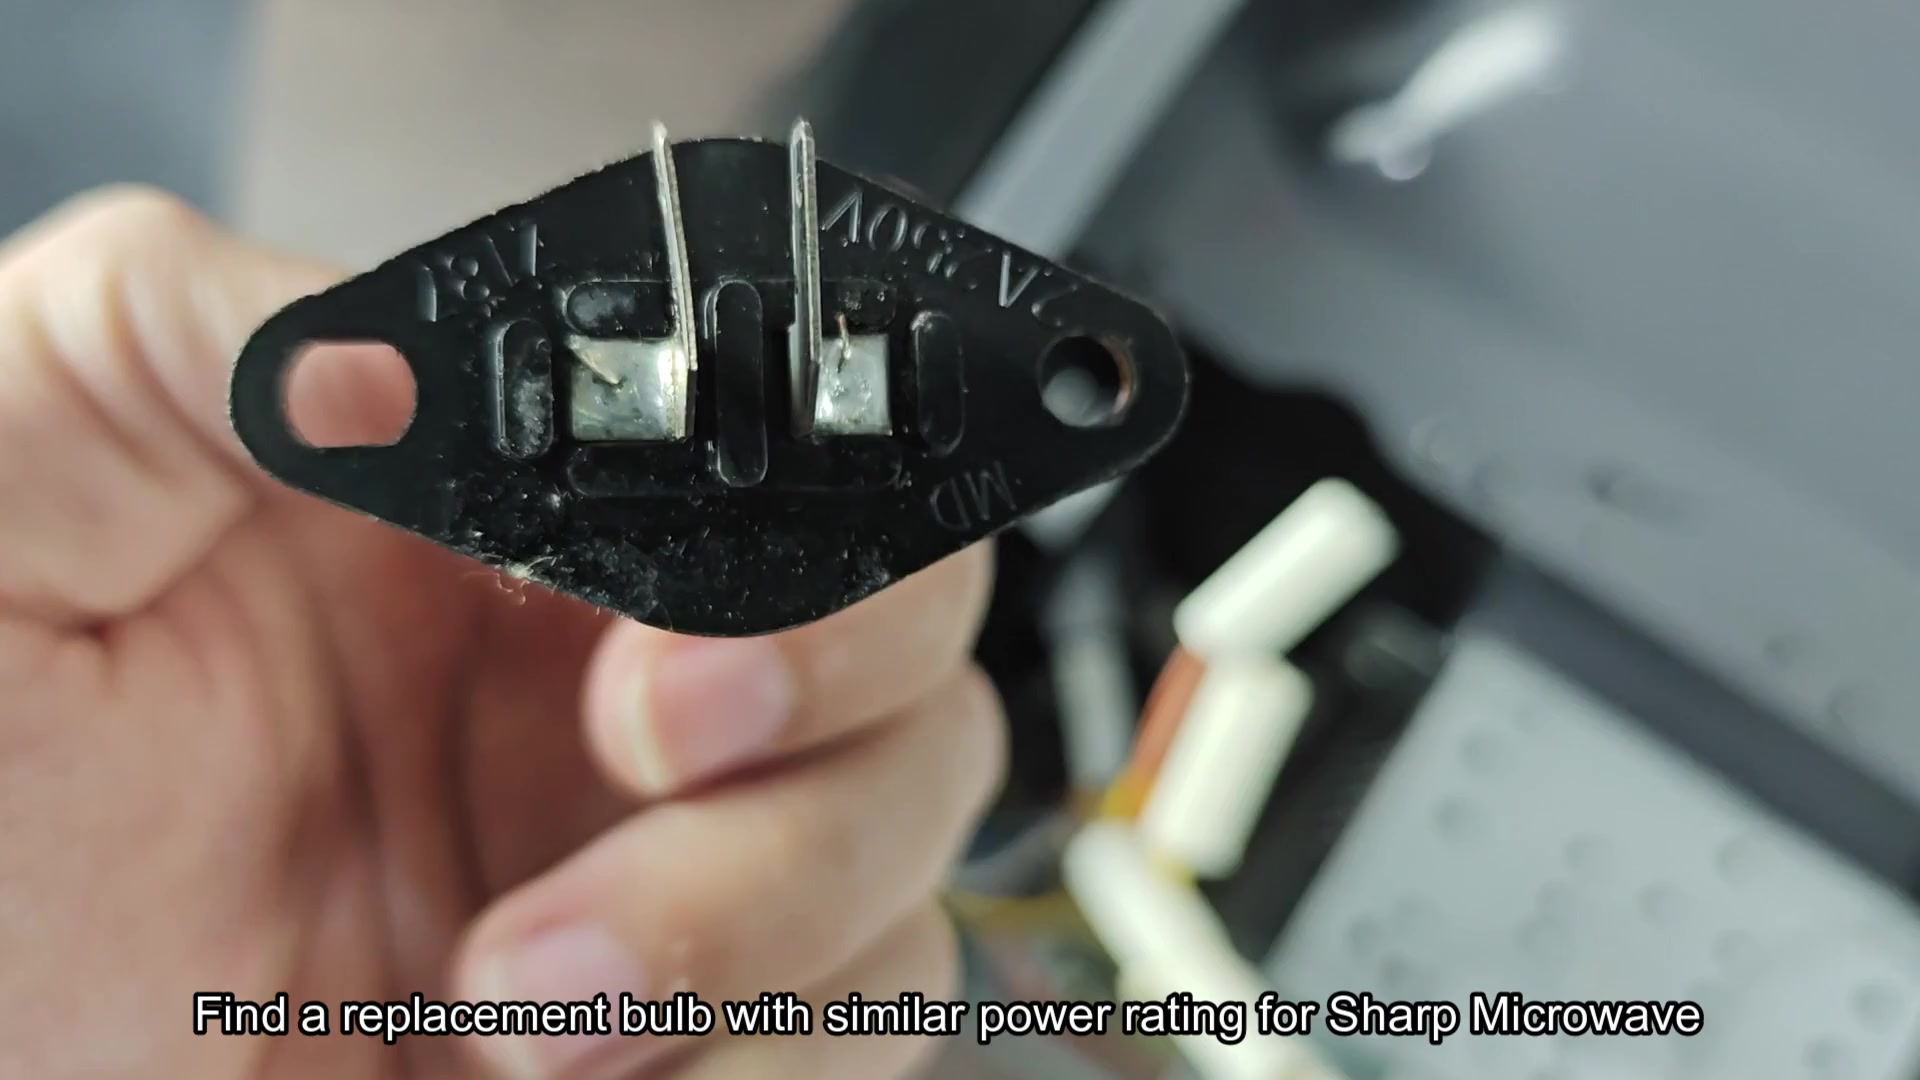
The bulb has terminals and glass that must be removed carefuly to avoid breaking them. Patience is key at this stage. Once the bulb is off, take a look at where sockets are marked on the black mounting plate.
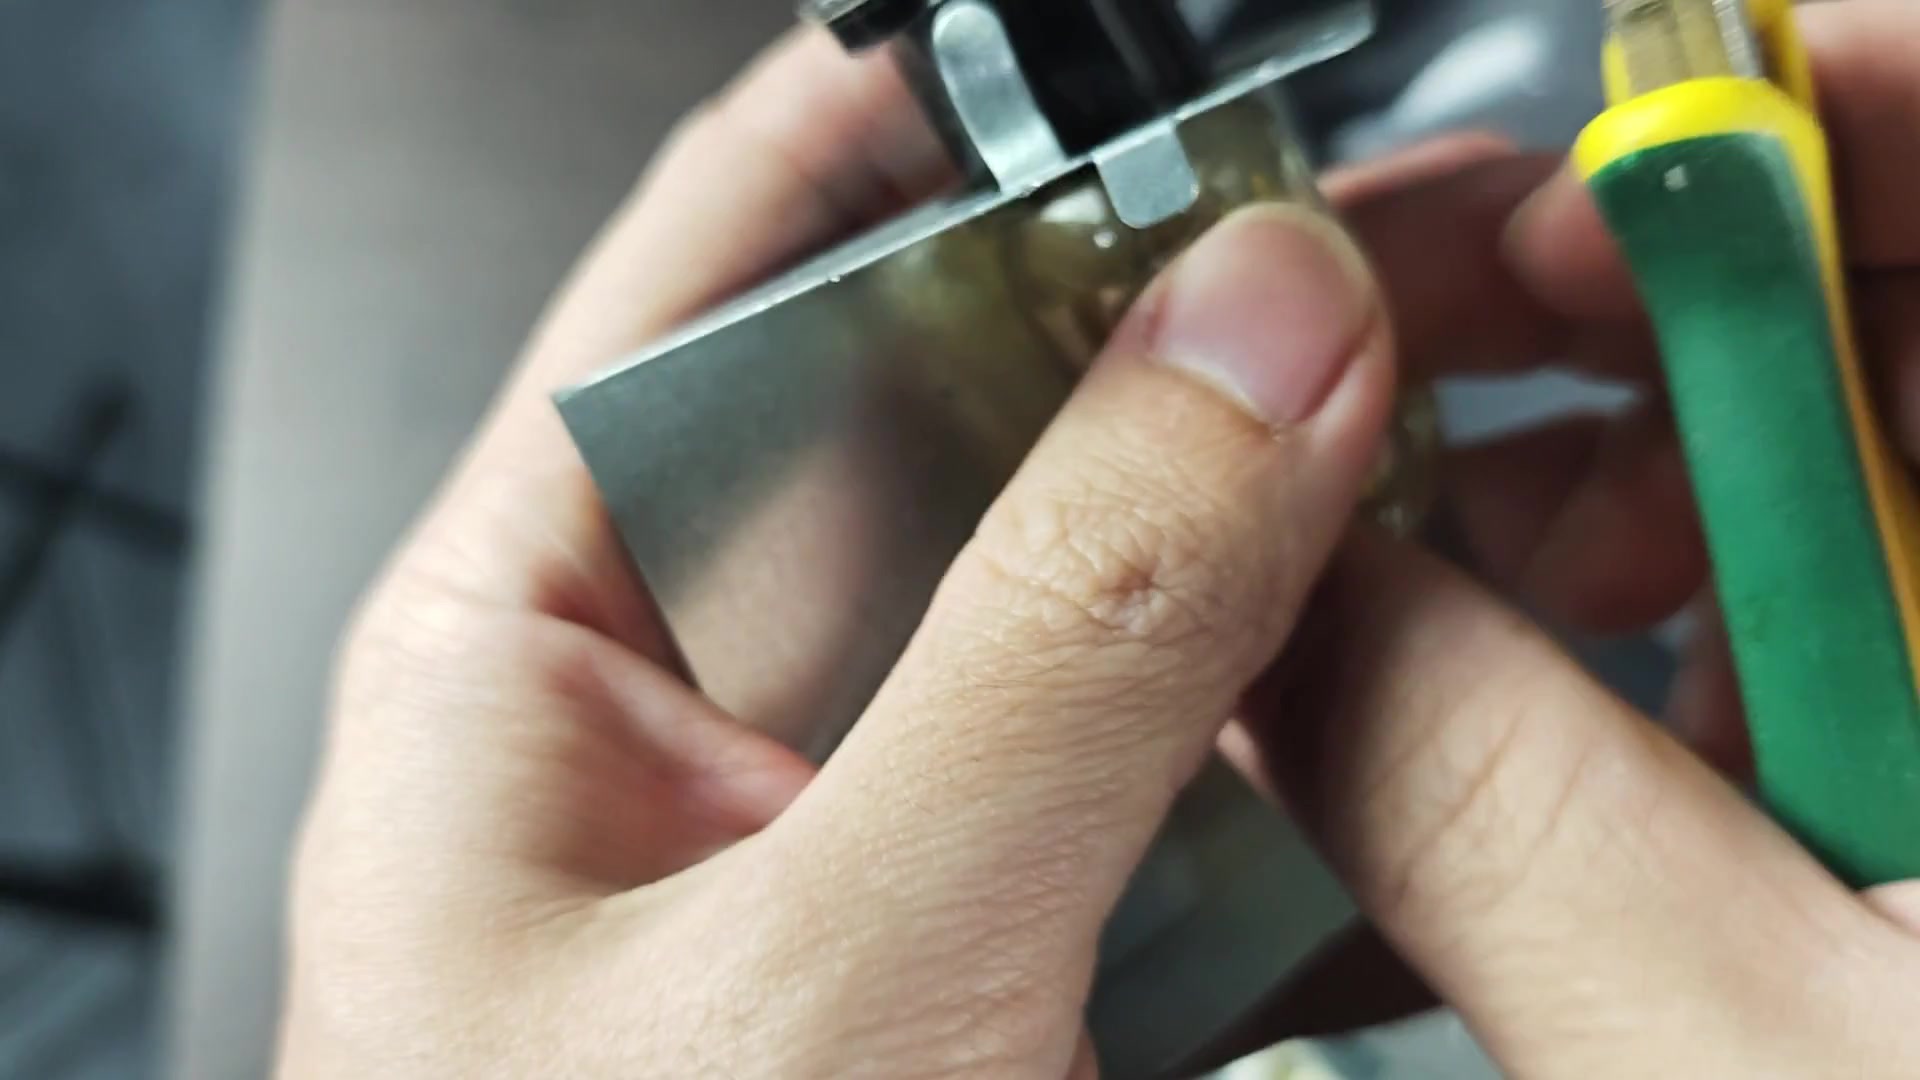
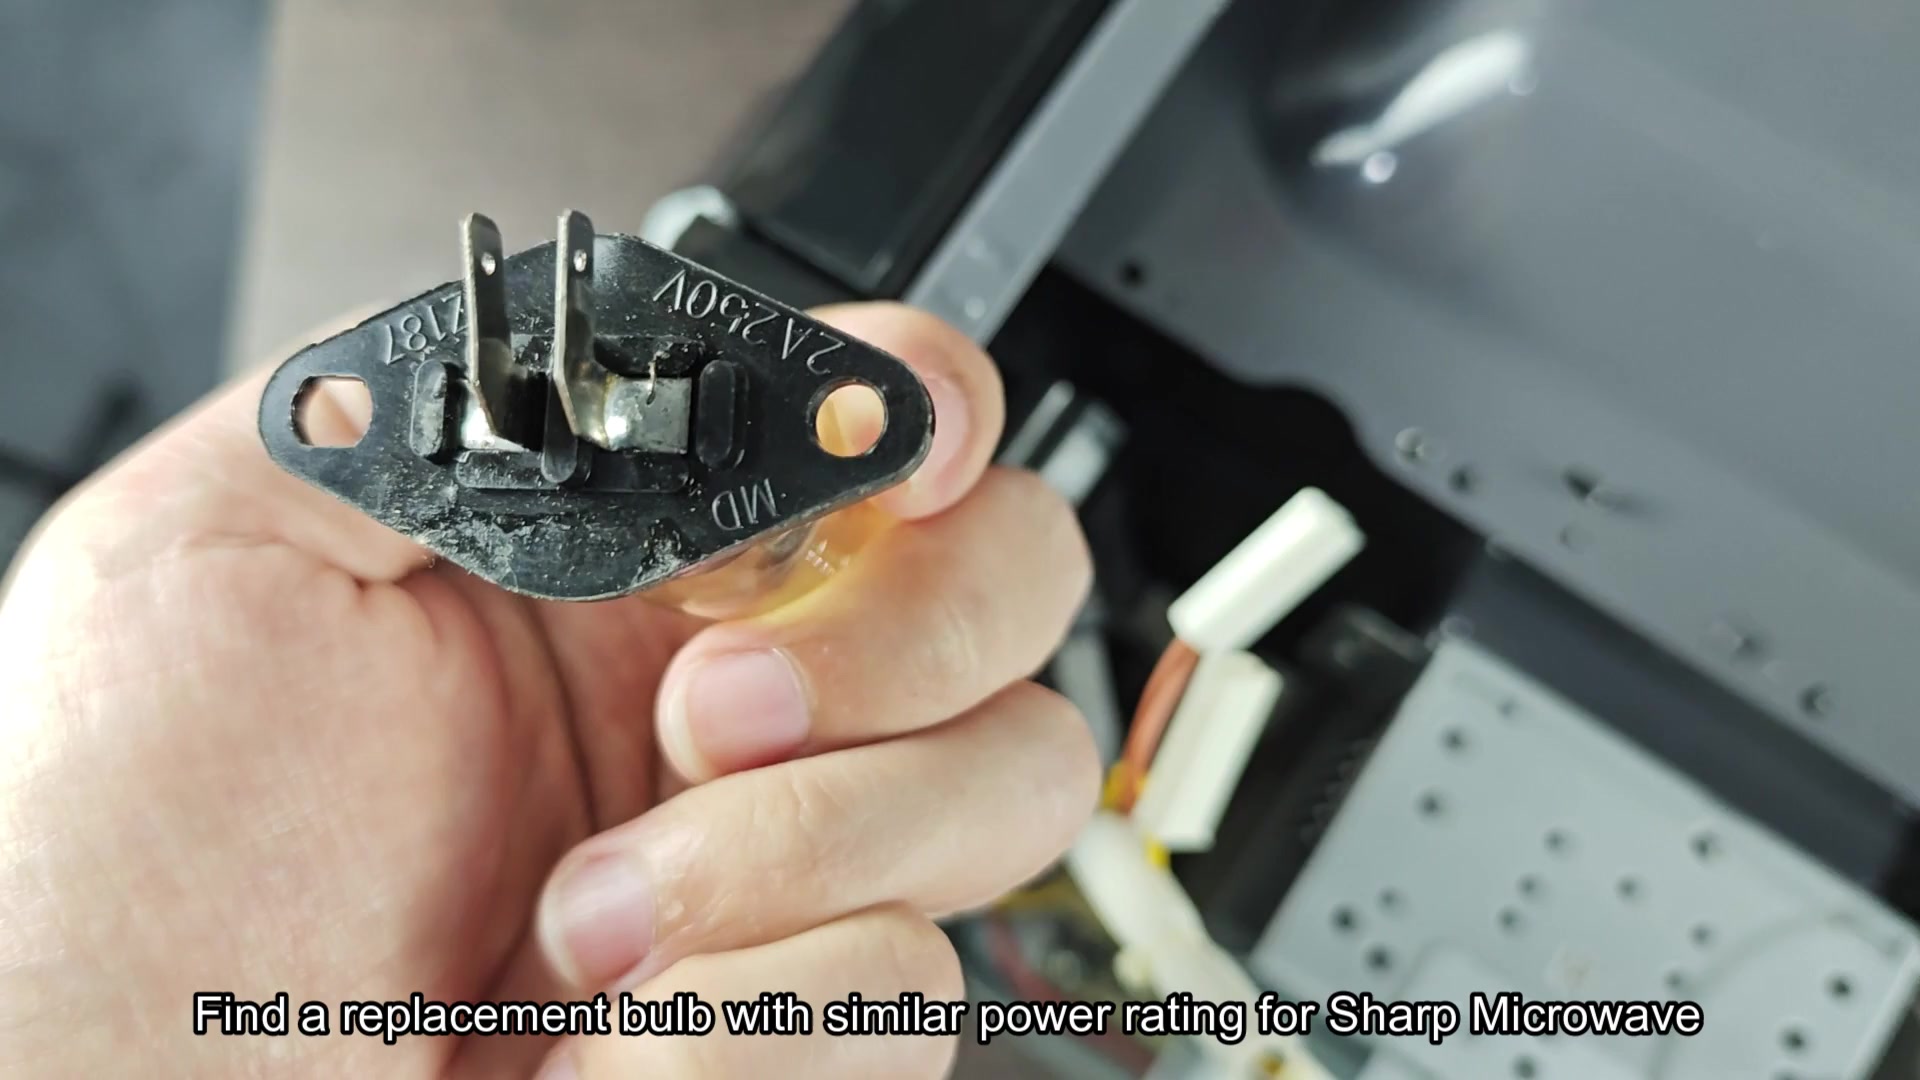
Note that your regular bulbs won’t work here, there is a special holder that mounts them in place (the word “MD” and number “V:250” are embossed into the plate). Microwave replacement bulbs exists specifically for these units; normal bulbs don’t come with right mounting hardware. Look for one that matches original specs closely; finding an exact match may require some shopping around online.
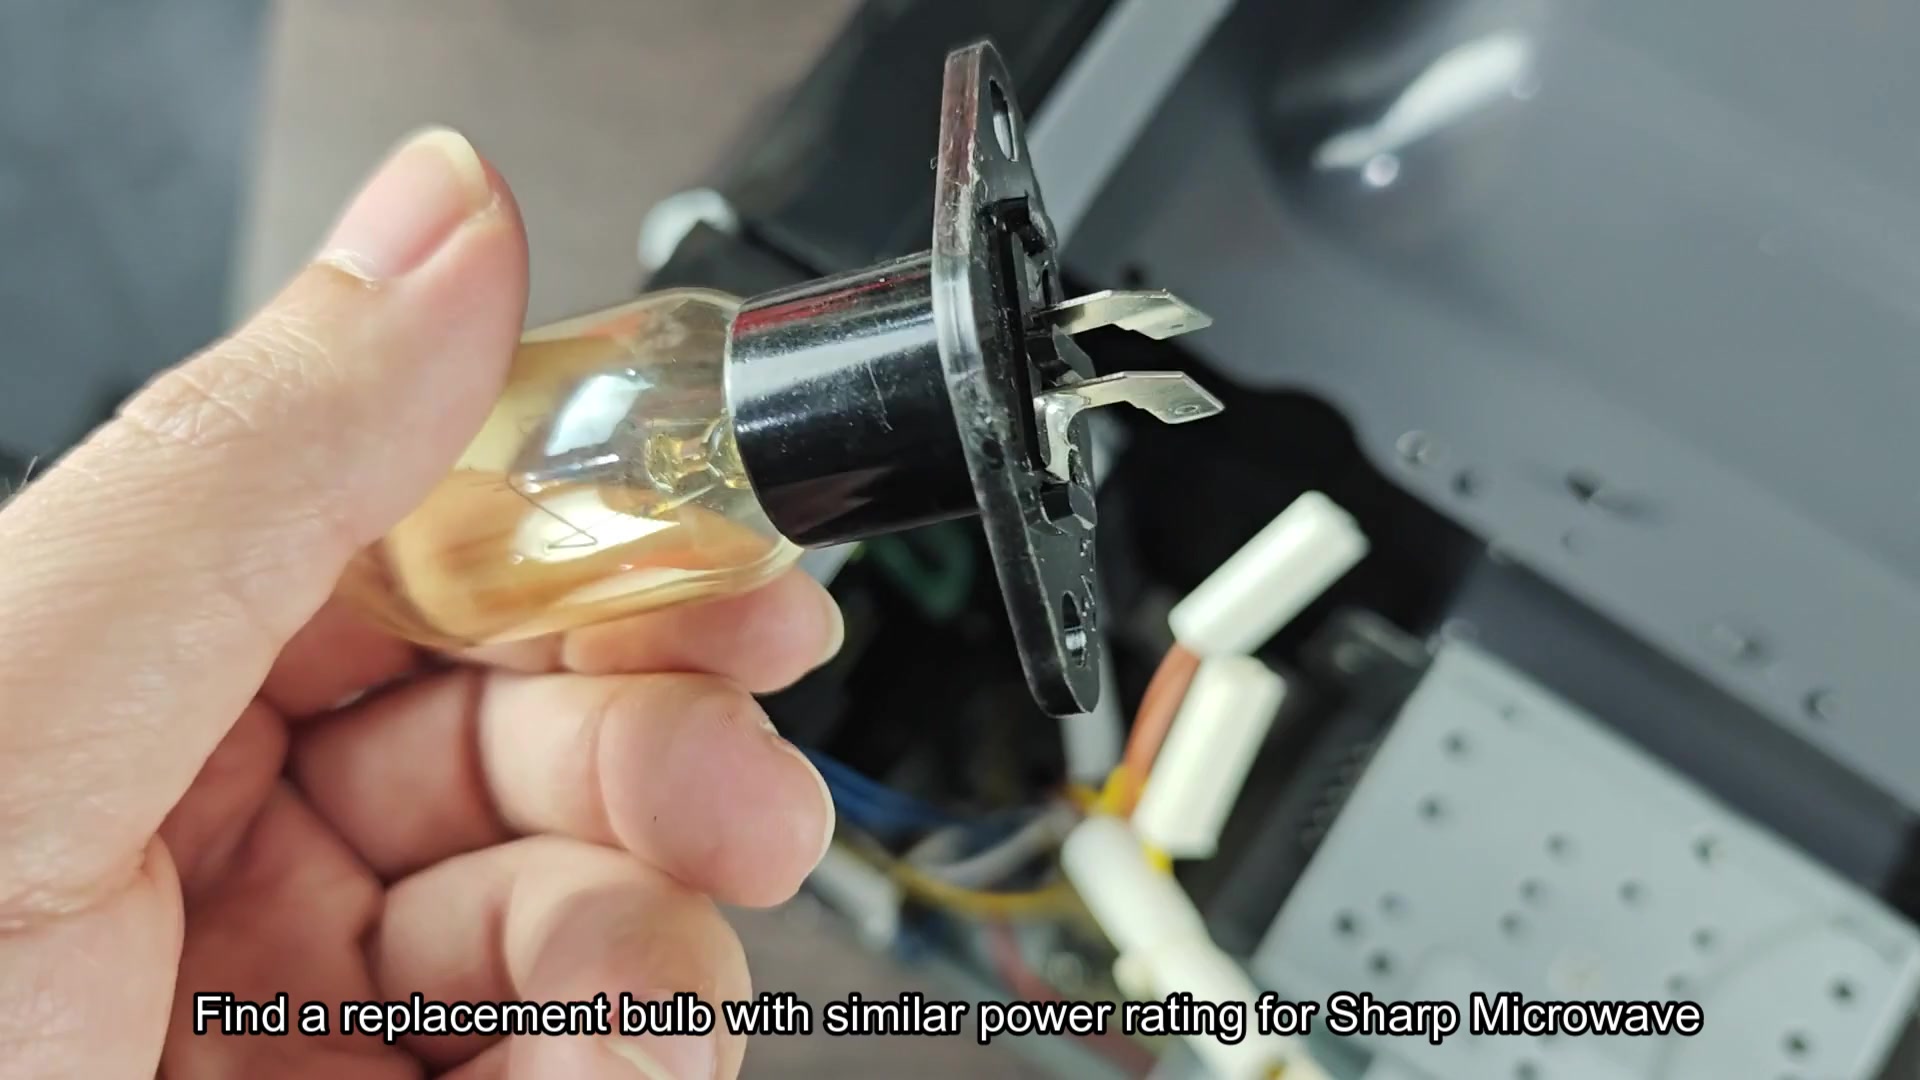
Once you have new bulb in hand, make sure to check voltage rating before starting installation again. It has the correct two-prong terminal design and fits right into existing socket plate. There is no need for fussing here either because everything lines up and go on smoothly.
Put it all back together following removal instructions backwards. No fancy tools needed for re-assembly.