
Changing the lightbulb on your Samsung Microwave isn’t complicated, but you do have to open up the thing, so safety first: Unplug the microwave. That’s right, turn off all power to whatever you’re messing with. Just in case.
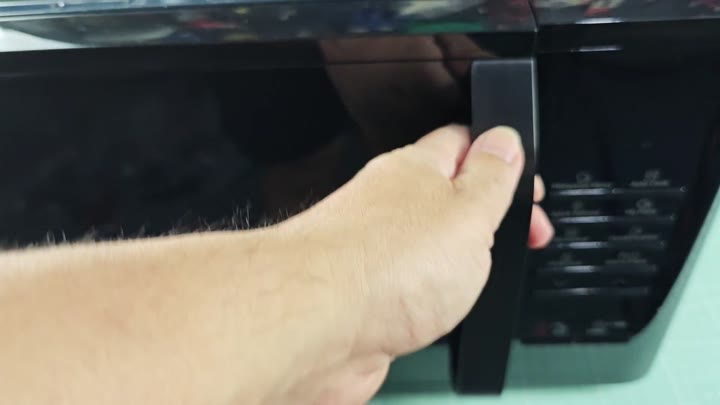
After that, just take the outside shell off the microwave. Be careful, this take a bit of time to get loose because there is some clips that hold it on. It’ll come off fine if you’re gentle.
Replacing The Light Bulb
Replacing a dead bulb in a Samsung microwave requires opening the unit, but it is not a difficult task.
Once the outside casing is off, we can see what’s inside. It might seem confusing, but typically locating the wiring leading to the light bulb isn’t too bad.
Carefully remove the electrical leads from whatever is connected directly to the bulb socket. Don’t try to force anything as it will likely break a tab or two on a plastic connector. Just wiggle connectors that is snug until they let go gently.
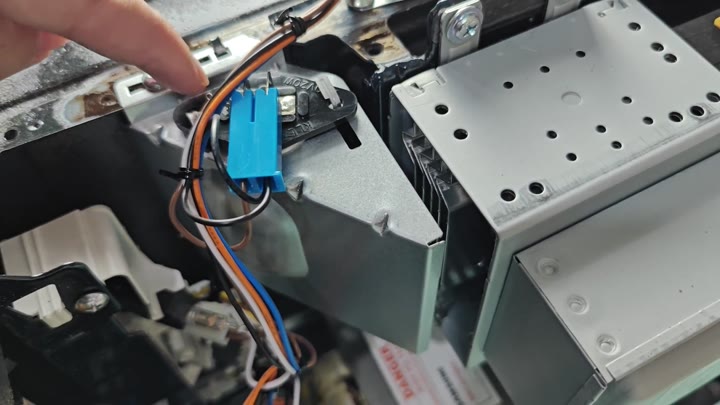
After freeing the wires you can remove the old bulb. Simply pull the burnt-out bulb out of its housing. It will be hanging there loosely. Then, pull it off.
If your bulb was stuck in place, it might of damaged the socket and required some more pulling power. Carefully slip the new bulb into the socket until it locks in place. It’s snug and that’s about all there is to it. Don’t rush things at this stage or you’ll make a mess of the job.
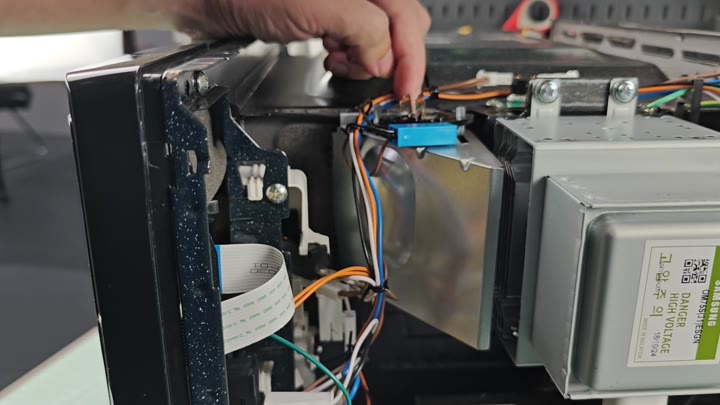
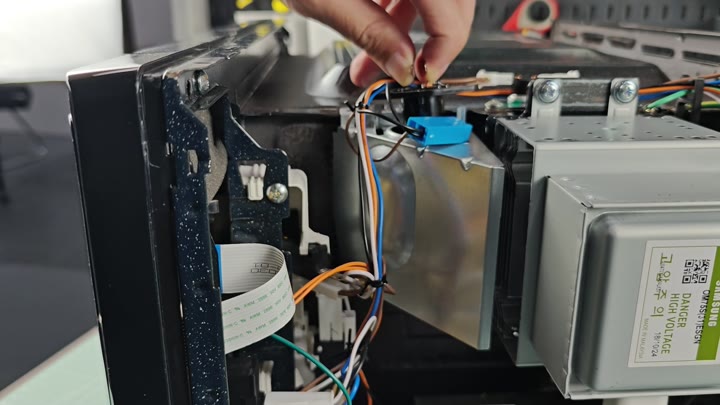
Next comes reassembling it. Connect all of your wiring back to the new bulb socket, then make sure everything is connected properly. Make certain there aren’t any bare wires showing so the circuit close properly and the light functions.
When you’re certain the wiring is good, slip the outer cover over the body of the microwave.
The last part of this process mechanically is snapping the cover back on. Just make sure all the clips are lined up right, then push down. When you do, it should snap down with a good sound that tells you it is in place.
Now you want to go around and feel for anything that rattles or doesn’t seem tight. Then just run your finger around the edges to make sure they are all flush. The microwave will look exactly like it did before.
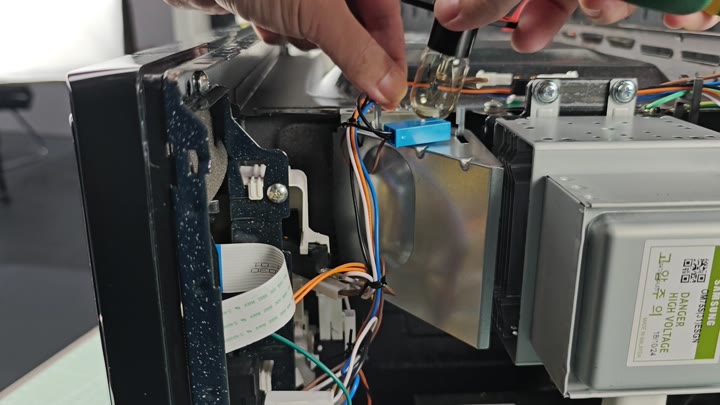
And here it is, all fixed up.
So, you plug the microwave back in to make sure everything worked. Then you turn the thing on and hope the new bulb lights up and….yay! It does. It works beautifuly.
Your microwave is now functioning again, and all in under 20 minutes start to finish. You don’t need to call someone out, and no special tools is required for this project. Just use some patience and common sense caution, and the light is good as new.
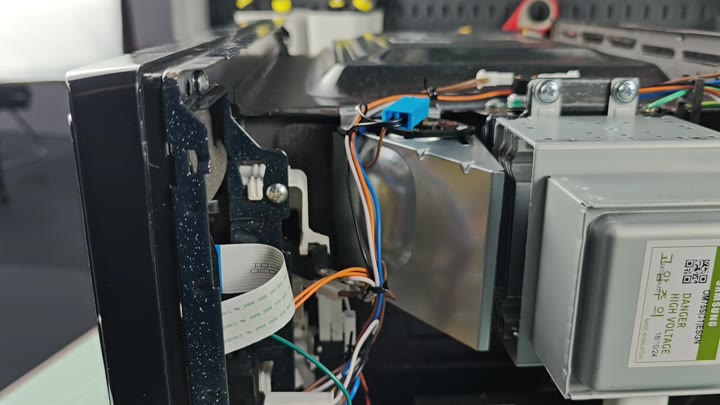
It’s simple. No tricks, no complicated processes. Just open it up, remove parts, replace parts, close it back up.
Because you’re not rushing anything, you’re confident that you’re doing everything correctly. A big mistake people make is rushing an electronics repair; a slower pace helps them avoid mistakes. The microwave is ready for use again.