The Panasonic microwave has a range of timing options that let you be more precise about your cooking, and each one requires a certain sequence of buttons. While the interface seems straightforward at a glance, it takes some care to get right. Take the time to experiment with delay start, standing time, and timer functions so you know what they do in real life. They’ll help you keep things on track while you’re not watching.
The timer is pretty simple. The timer function only turns on when you are ready, and it doesn’t activate microwave power.
Setting the timer and stand time
To start the timer countdown, press the Timer/Clock button, select your time, and then press the Start/Set button. And instantly your display will change as you watch parts move. No lag time. Nothing confusing about setting up this feature at all.
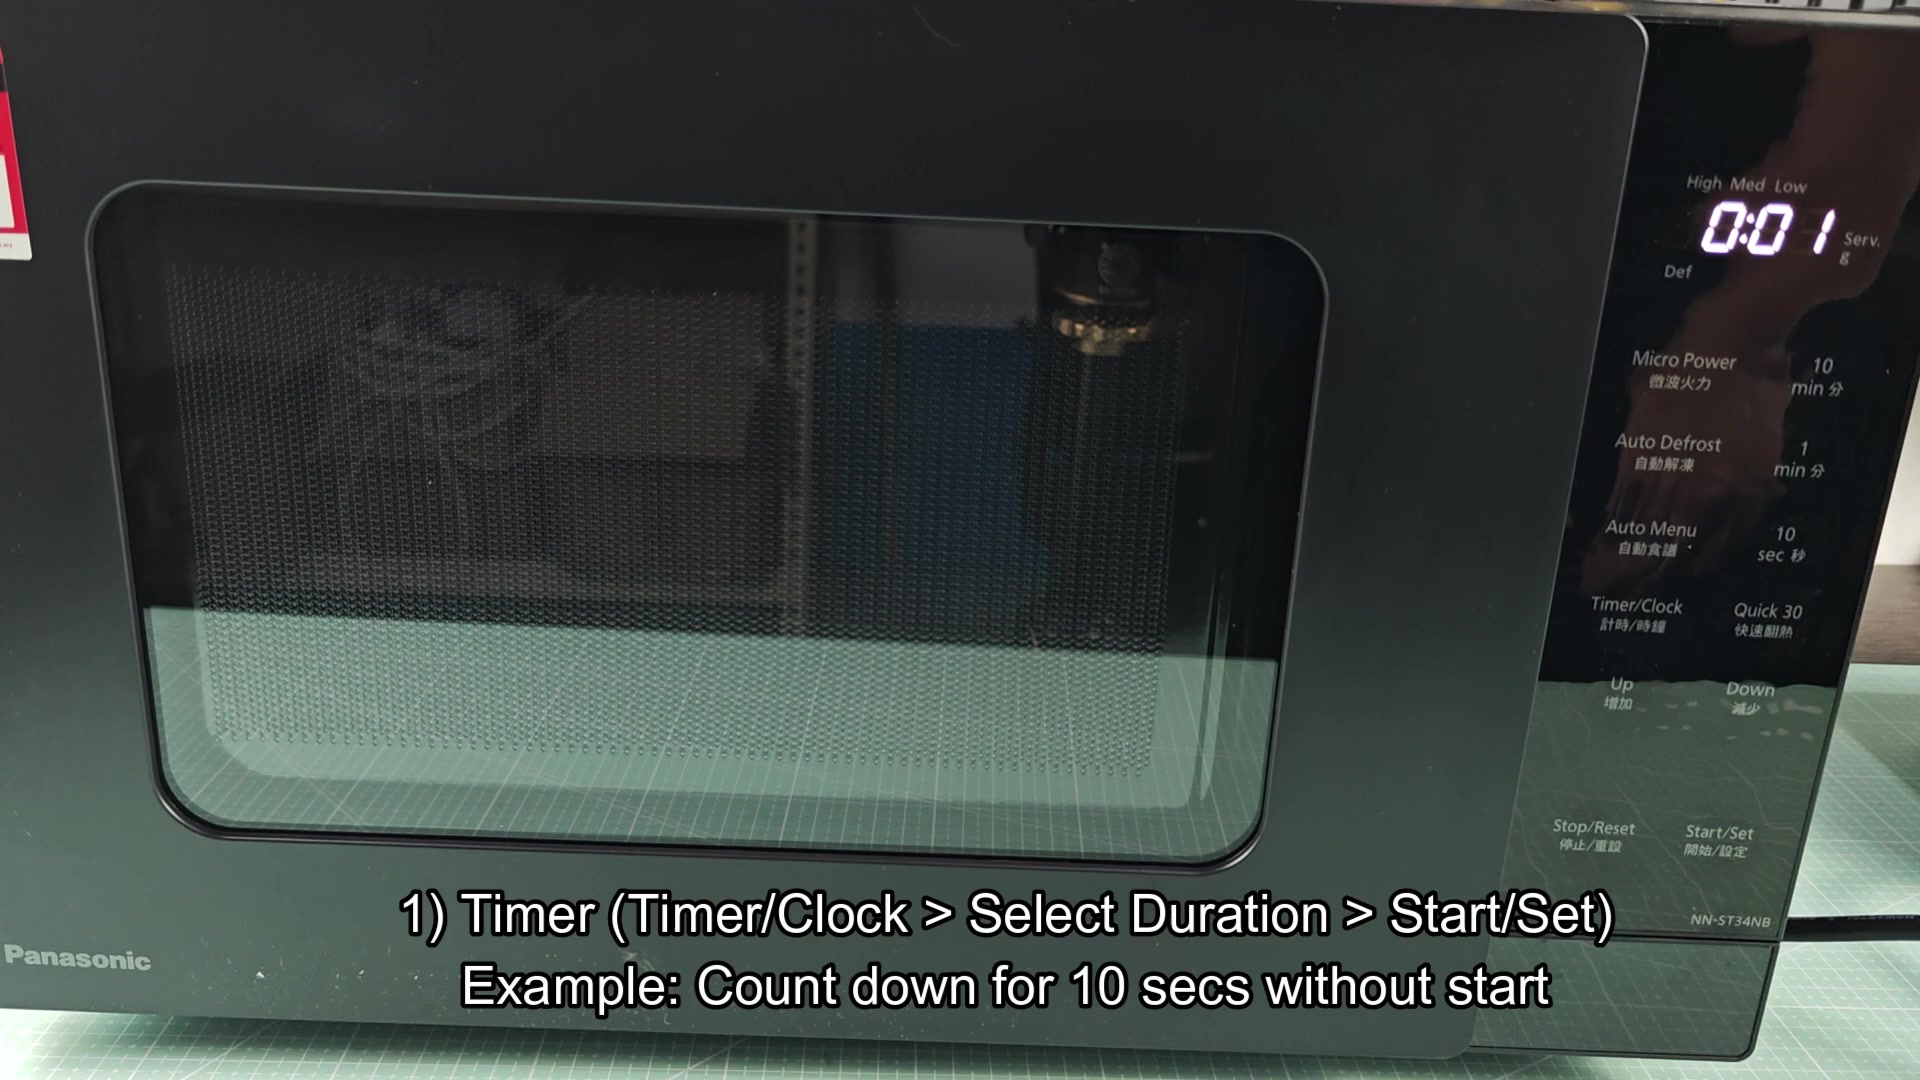
This works well if you need a fast countdown. It is useful for things like boiling water on stovetop instead of using the microwave. It’s separate from your cooking cycles and won’t activate the heating element.
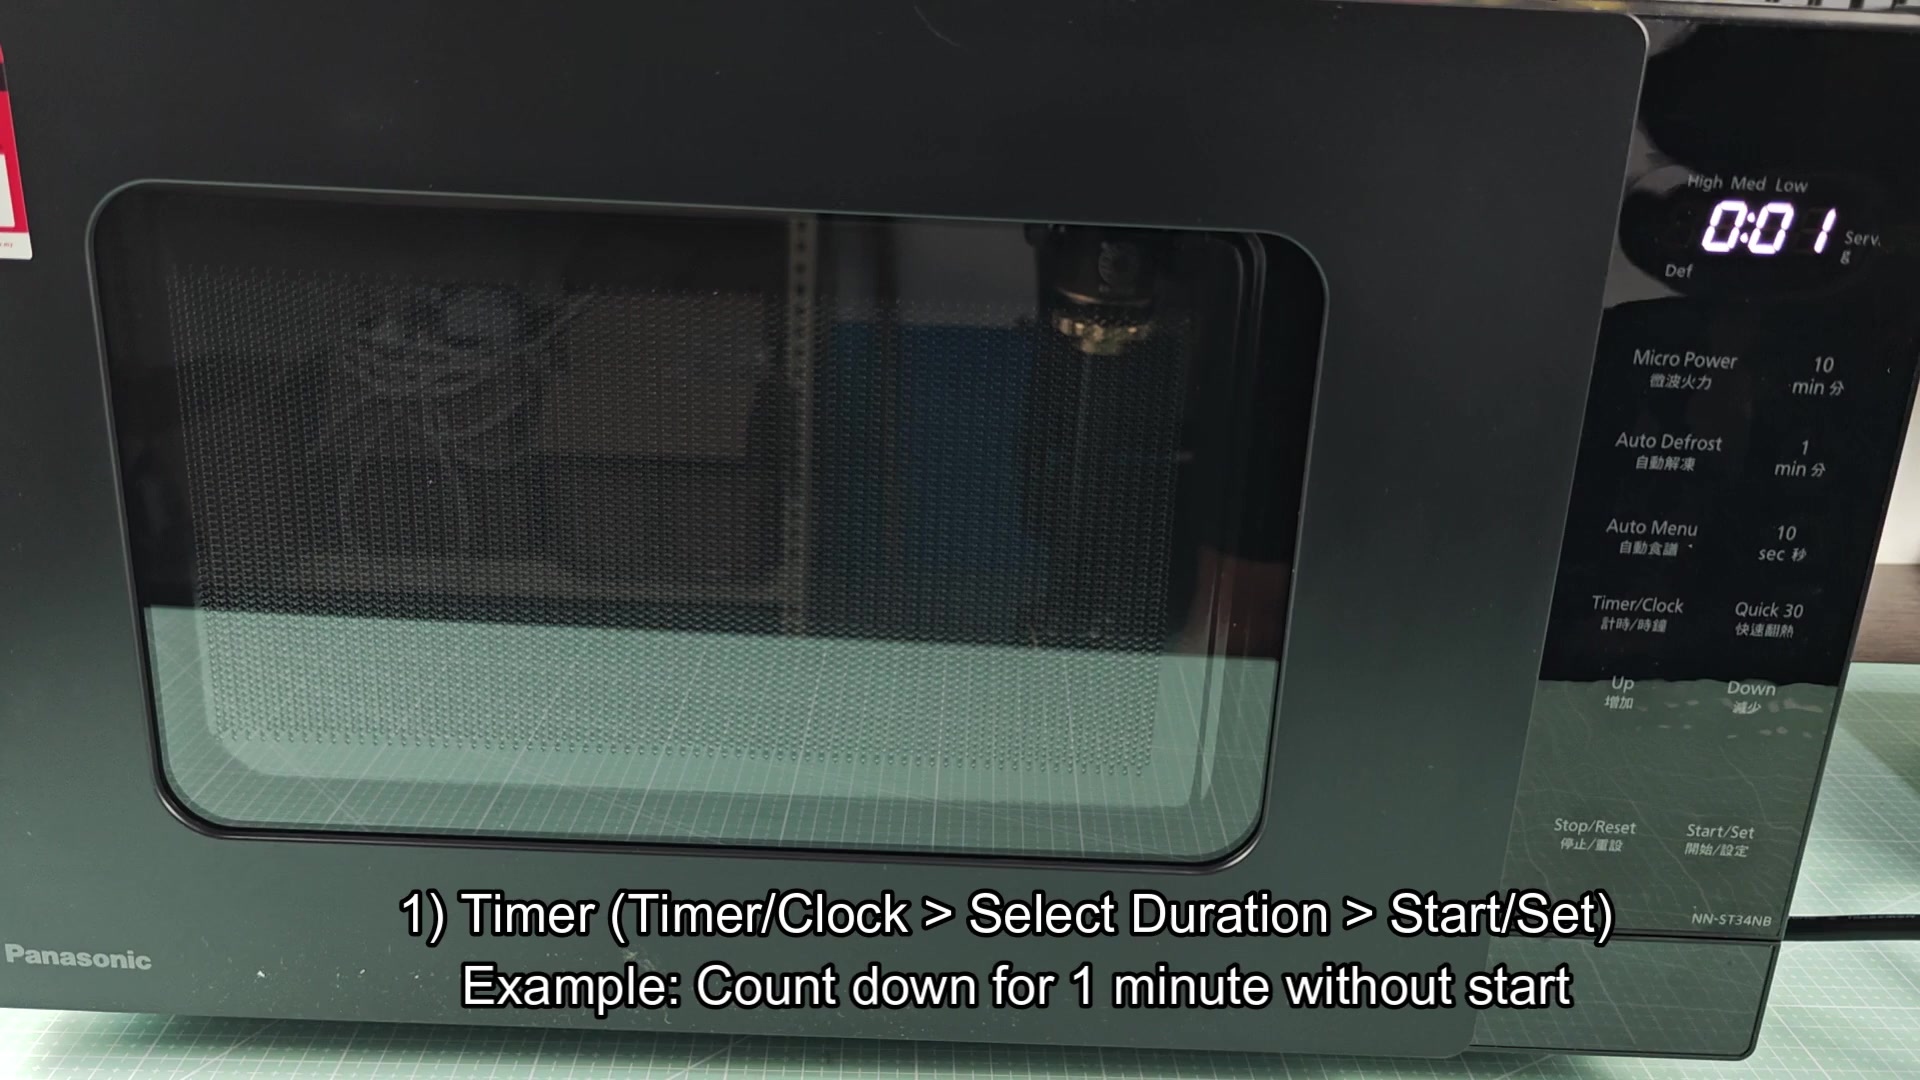
To set it, you have to be careful on the keypad, because you have to enter the digits sequentially. As you enter each number, the display shows it’s been entered and accepted. So you don’t get into trouble until you commit.
If you want to set it for a minute while testing, it will show the number nicely on the right-hand side of the panel. Then all you do is press Set/Start and it locks it in and starts counting backward from there. It’s very straightforward, very simple. No need to hold other buttons. Just press and go. Easy to do.
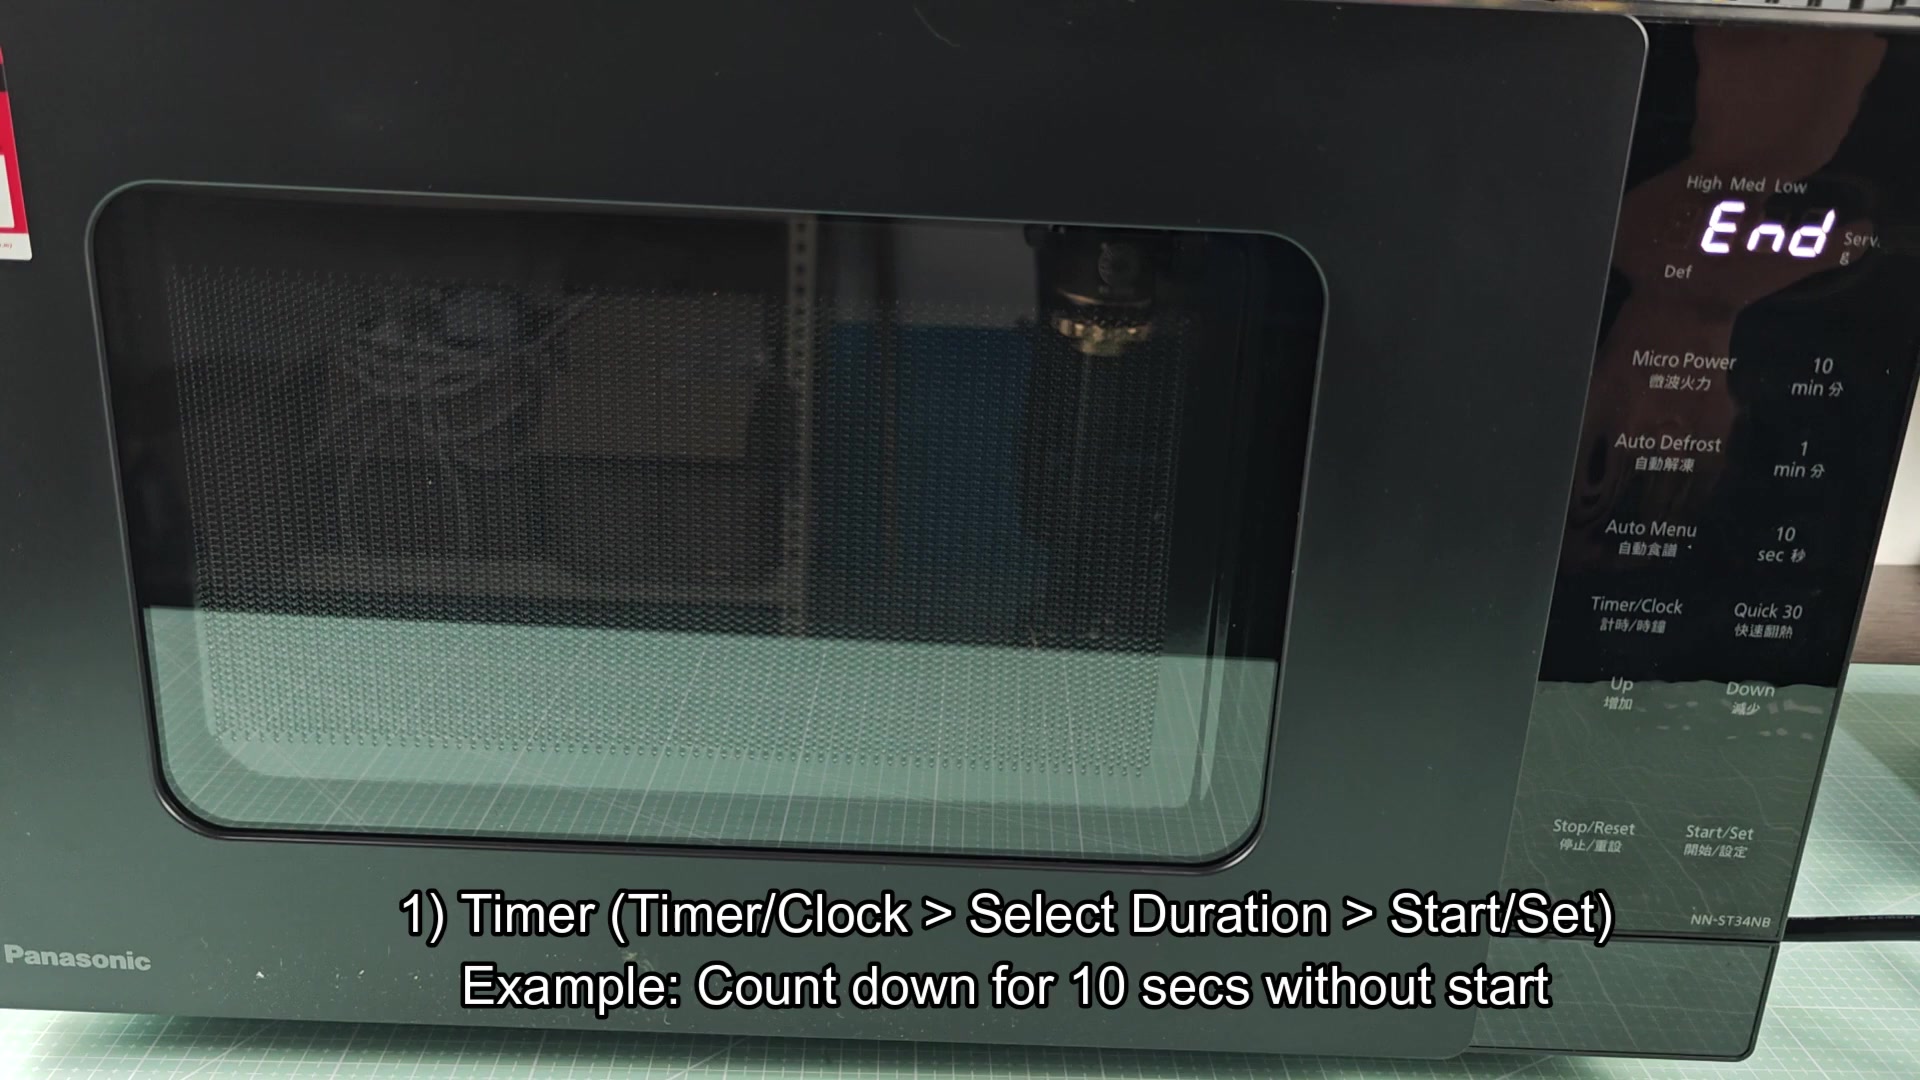
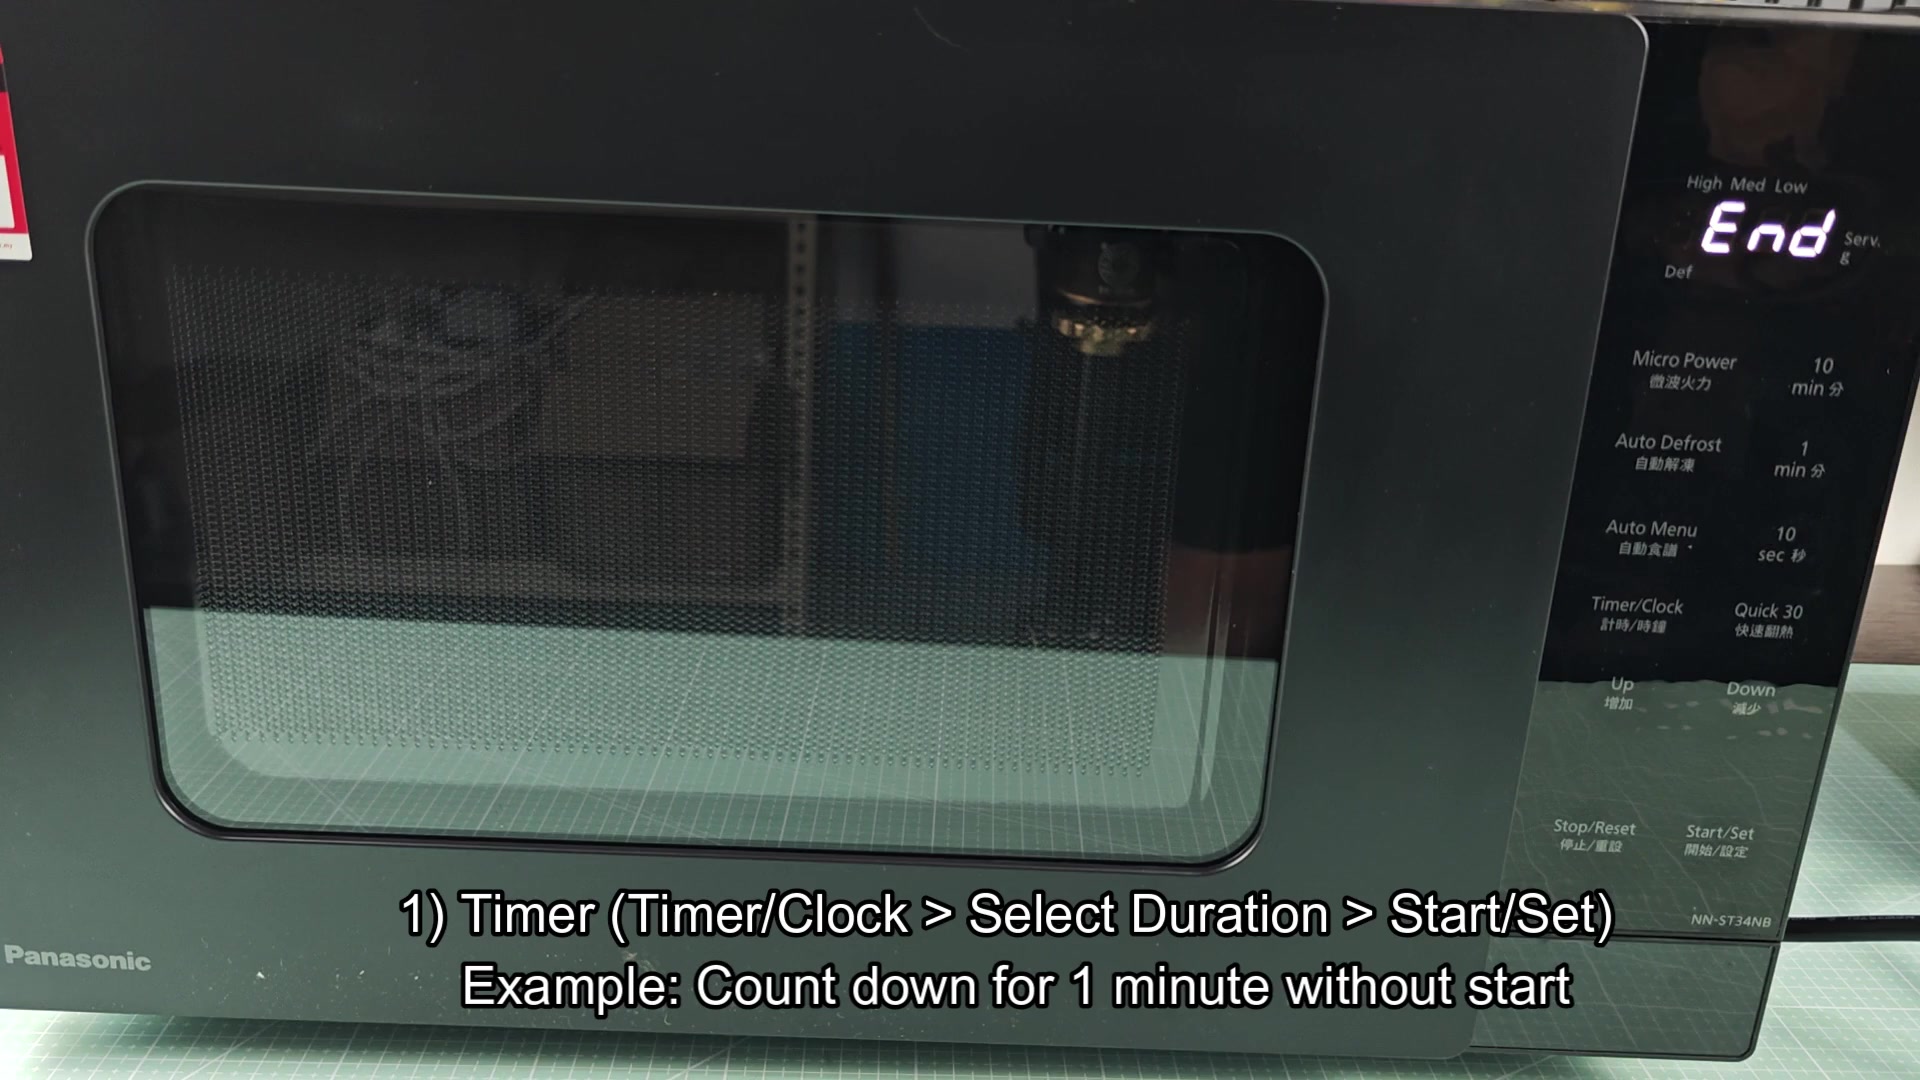
When that time passes, the screen displays the word “End” indicating the end of the countdown cycle. There is no audible alarm or beep in this setting; there is just a silent indication on the screen.
That’s quiet and low-key which may be good if you don’t care about an alarm going off every minute. Afterward, the screen returns to its standby status and waits for the next entry. It is simple and efficient.
But here’s where the stand time comes in: It is useful for letting food settle before you eat it. How does it work? How does it work?
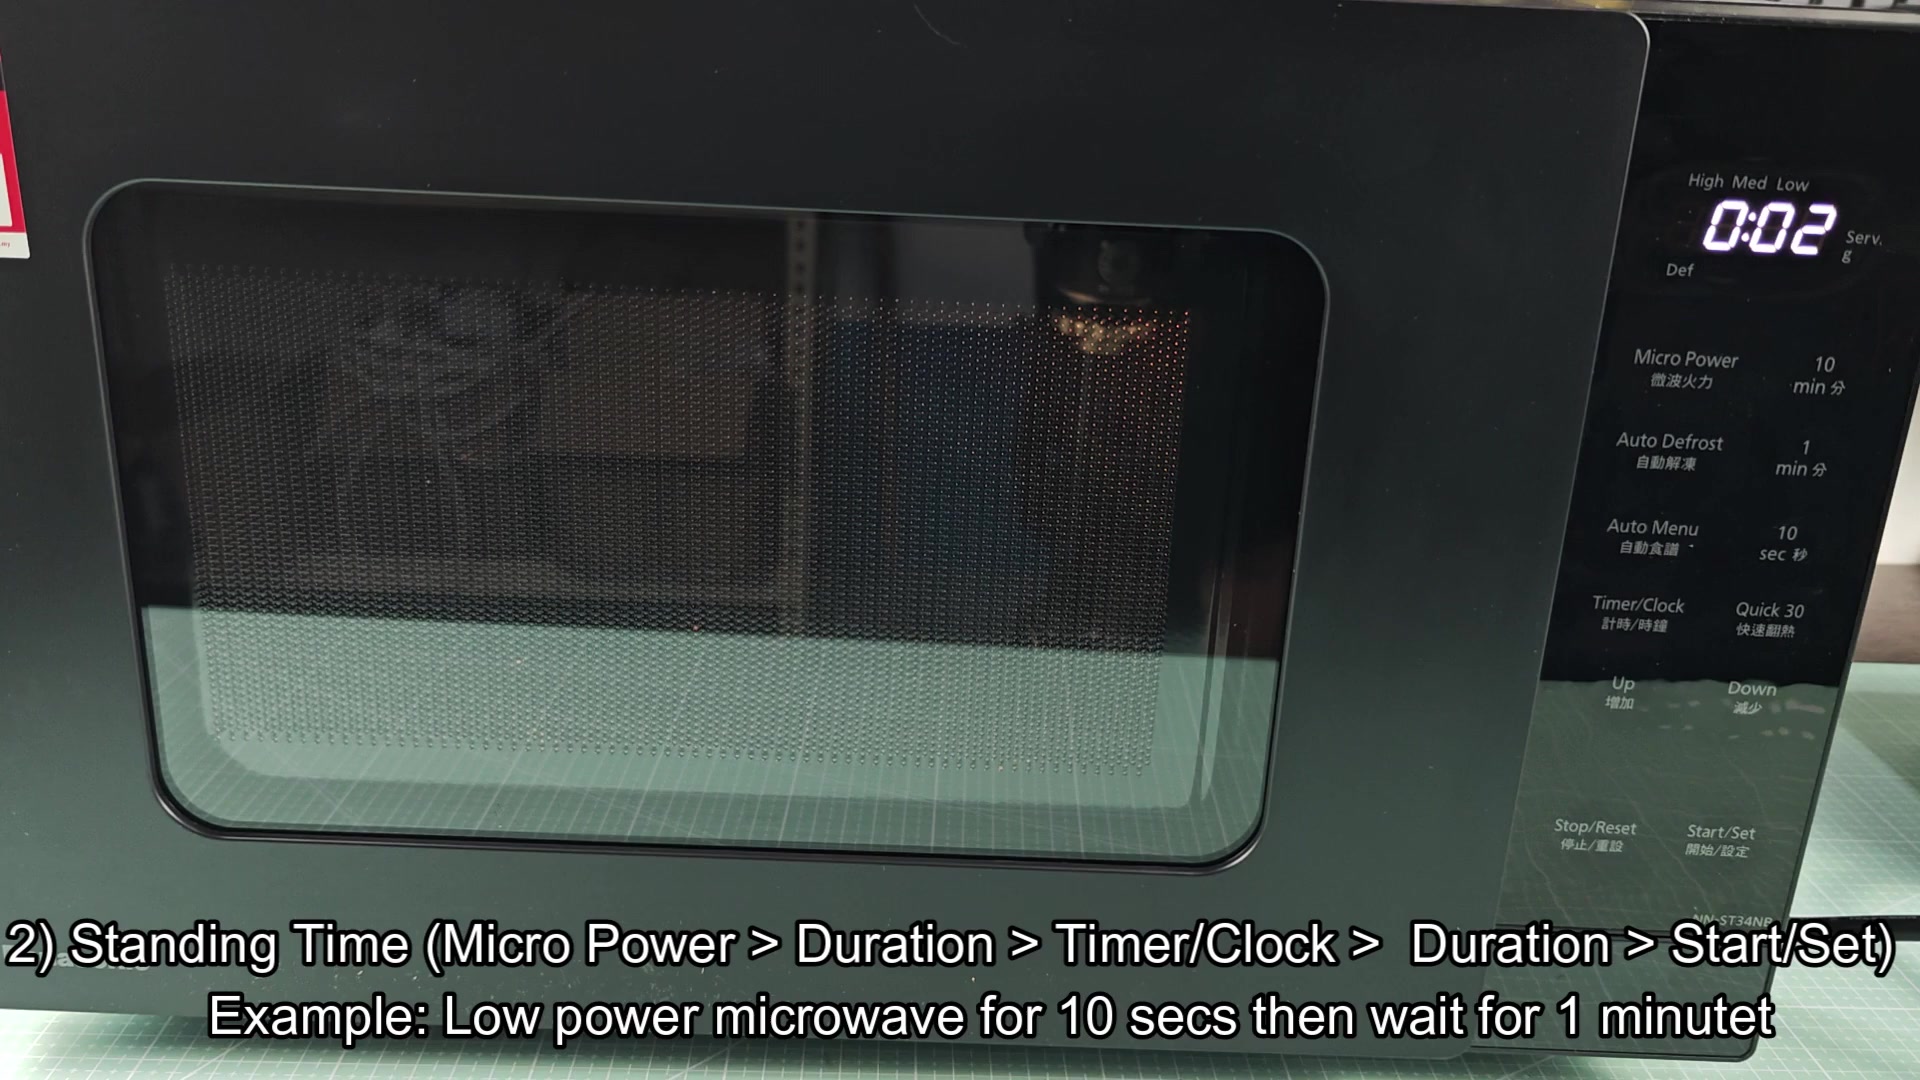
First you press Micro Power, followed by setting the cook time. Then you press Time/Clock again, which begins the standing time process. Set how long you want your food to stand. Lastly, press Start/Set to begin the cooking and standing times back-to-back. Try it out for ten seconds on low and add a one-minute wait period. It seems like a reasonable process once you’ve gotten used to it; but it requires an additional couple of steps over traditional cooking.
After cooking is finished, it displays how much time is left until it stops and rises up. The countdown here is different than the original cook time and this is clearly visible on the display, so no more wondering if it’s heating up or just sitting there counting down to rest.
Because the power light goes out when you’re in the resting stage, it eliminates any confusion over whether it’s still hot or not. The only thing that continues is the timer, which adds a sense of reassurance. There’ll be no surprises with it overheating as you wait for it to complete its cycle.
At the end of the standing period, you see End once more on the screen, indicating that the whole process is done and dusted.
This process includes both cook time plus standing time. There’s a nice flow between states; it doesn’t get interrupted or give any error messages throughout the test. Makes sense, since it saves mental work to have an automatic rest period included. No need to keep checking the clock as your meal sits idle. The device just takes care of it all.
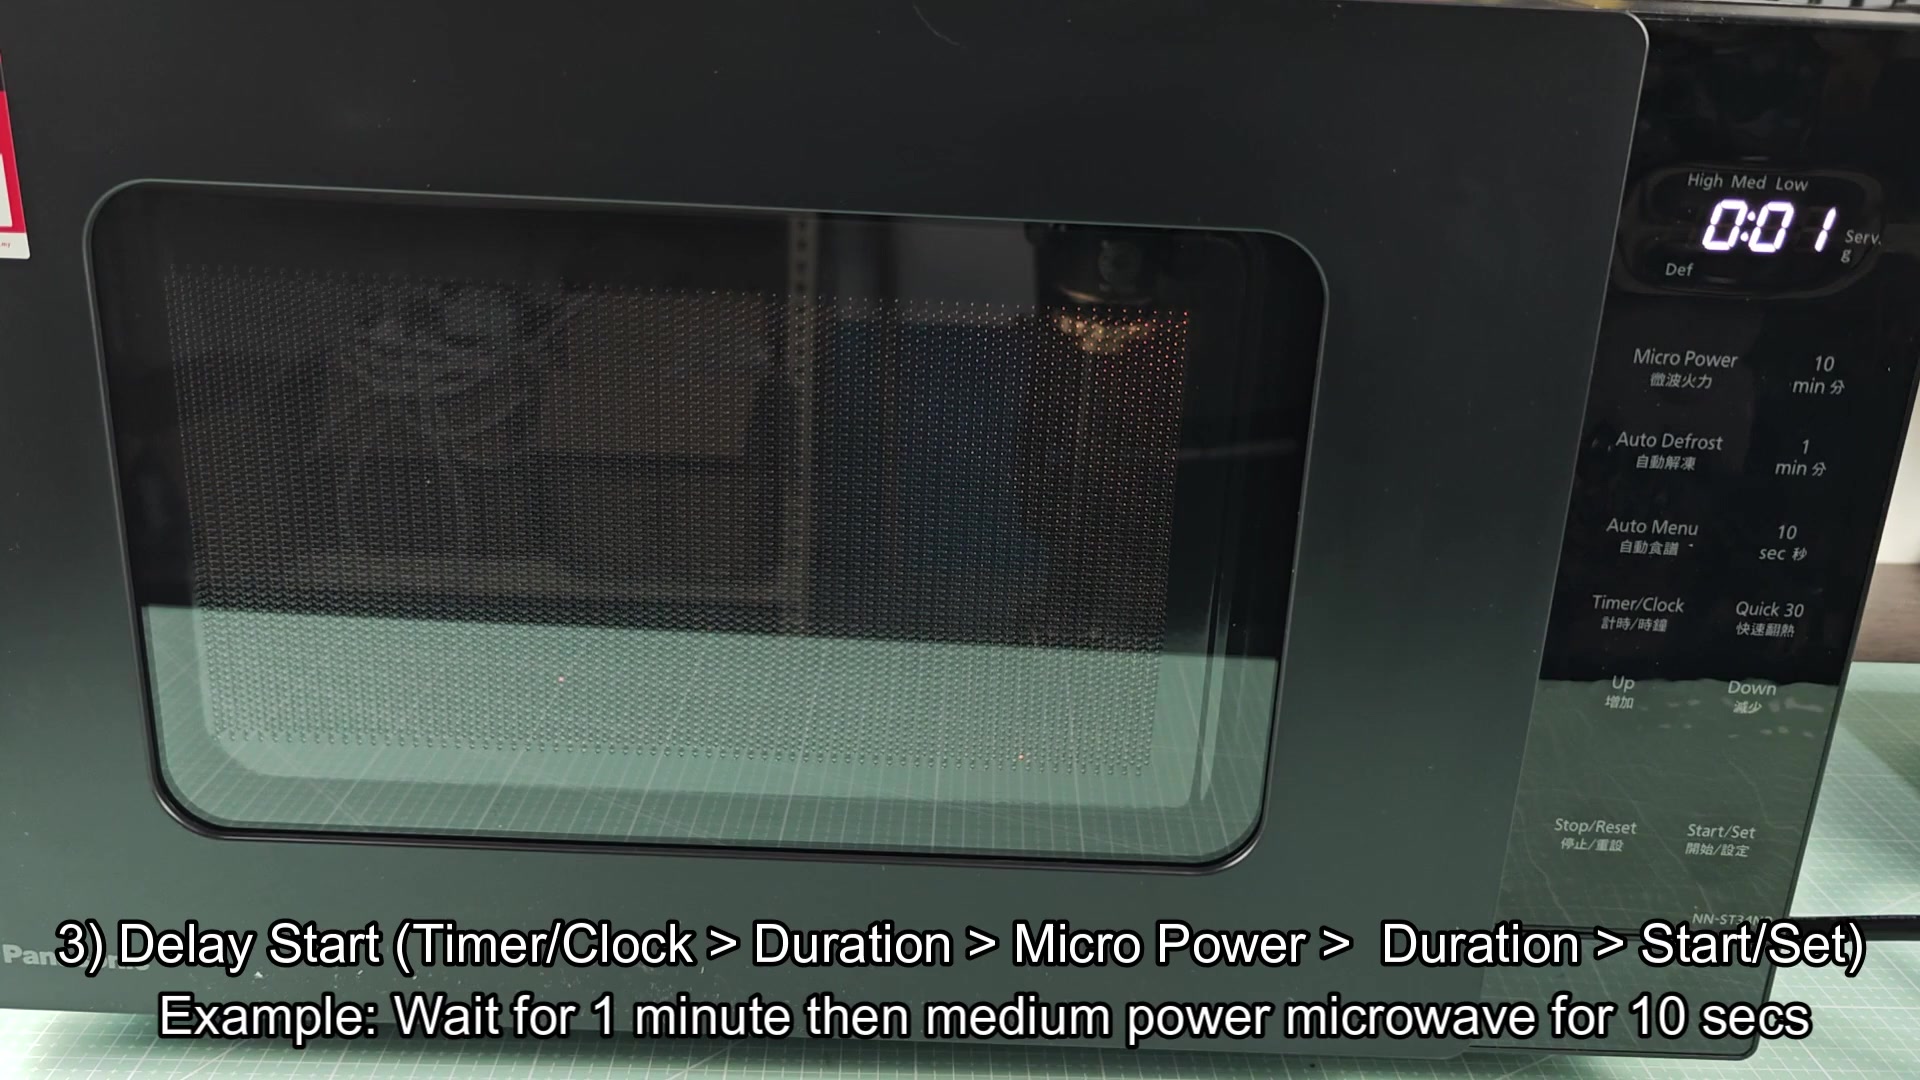
The other feature, which I’ve just looked at now, is the Delay Start option, where you put on something to cook later. So say you want a meal to be prepared later today, you’d push Time/Clock first, then specify how long to delay. Then Push Micro Power. Then specify how long you want to cook. Then finally hit Set/Start to set the schedule.
And yes, you can make it wait just a minute before it starts, but it takes some care punching buttons or you’ll mess up the stages. Not as fast as an instant zap, but it does work properly.
First you see the delay time countdown on the display. After a full minute, nothing happens in the cavity even as the timer continues to count down. And when cooking starts, there’s no indication on the front except for the changing numbers, it just magically turns itself over to that phase of cooking.
Just check it out when ready to get started, and rest assured it won’t miss a beat. It is very accurate and that extra set-up time is well worth it.
When it’s time to cook, the light on the power level comes on and displays what it was set to (in this case, Medium). Alongside that it will display how long it has left to cook. You’ll know right away how it’s going.
It heats for 10 seconds following the delay, then runs the whole sequence as you programmed it to. No screwing around with it. It does EXACTLY what you want it to do. This gives you confidence in knowing your schedule worked out. It’s not a gimmick.
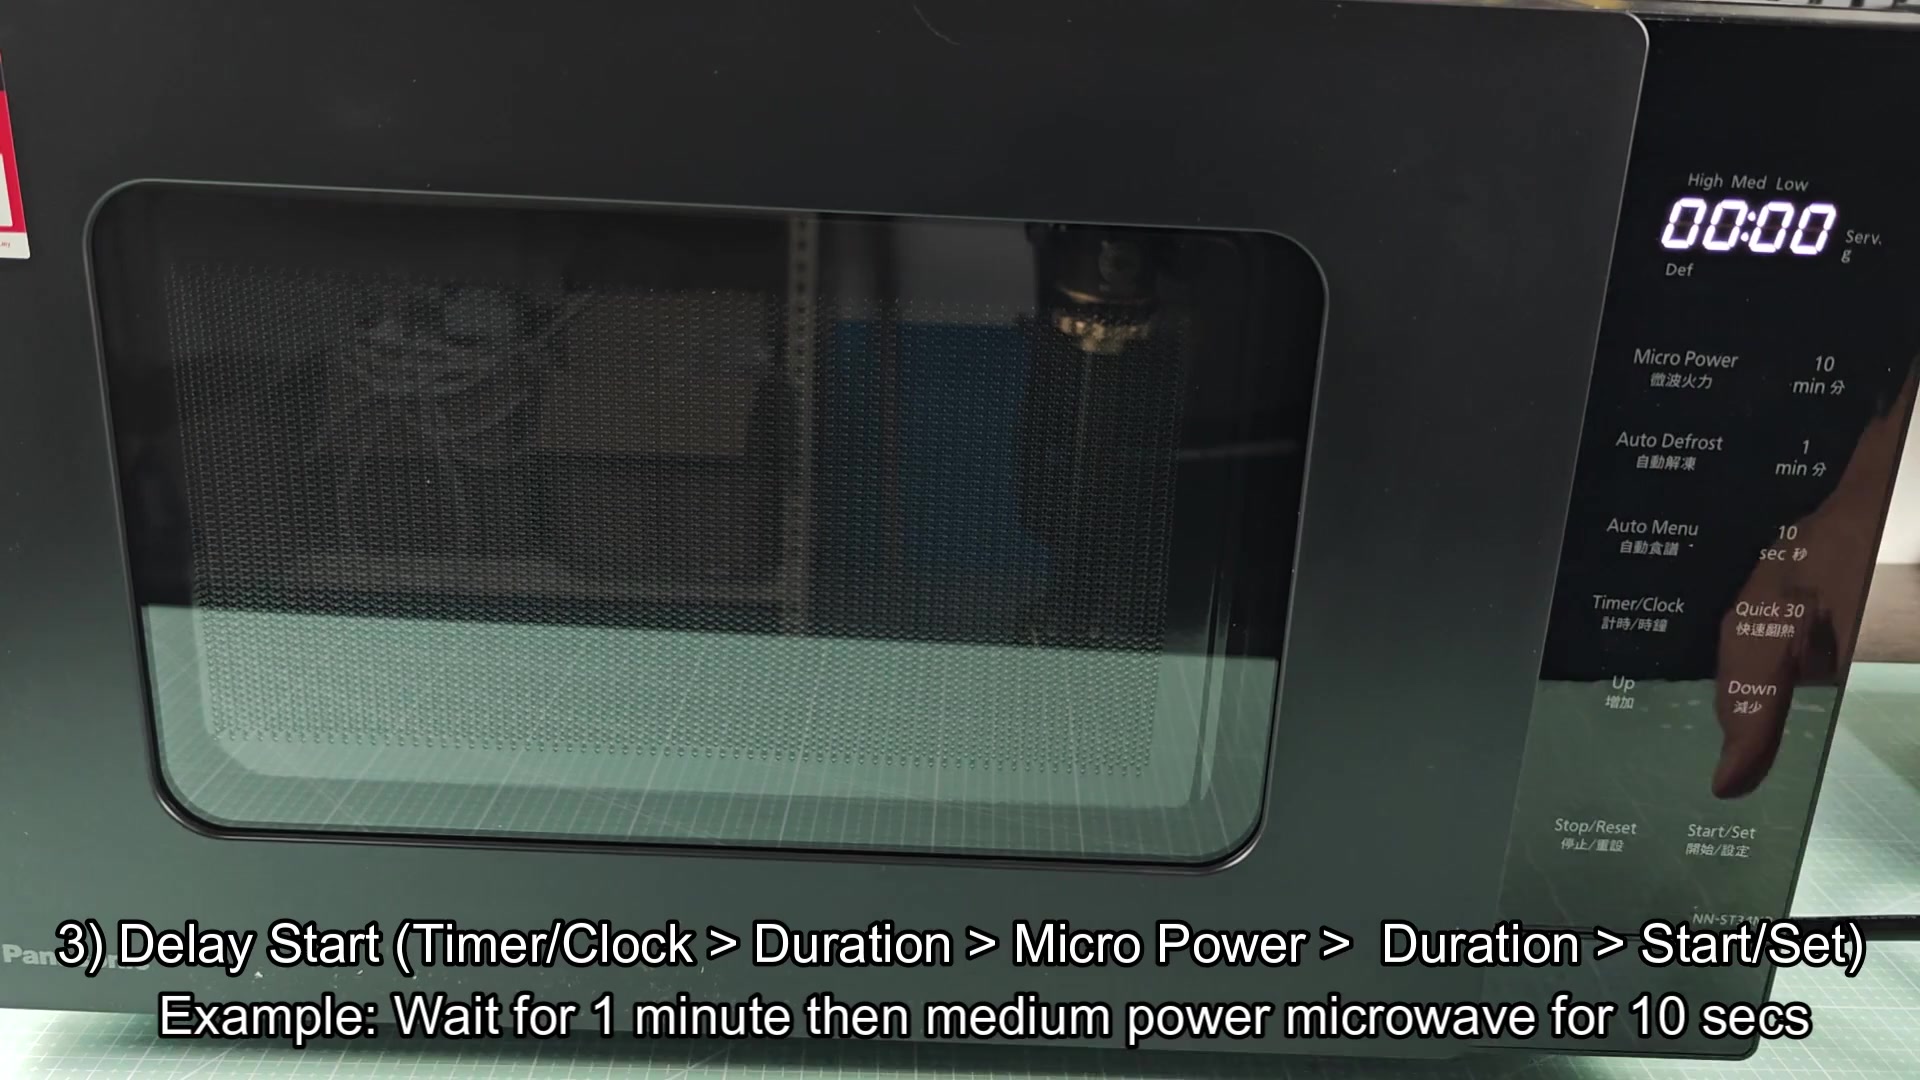
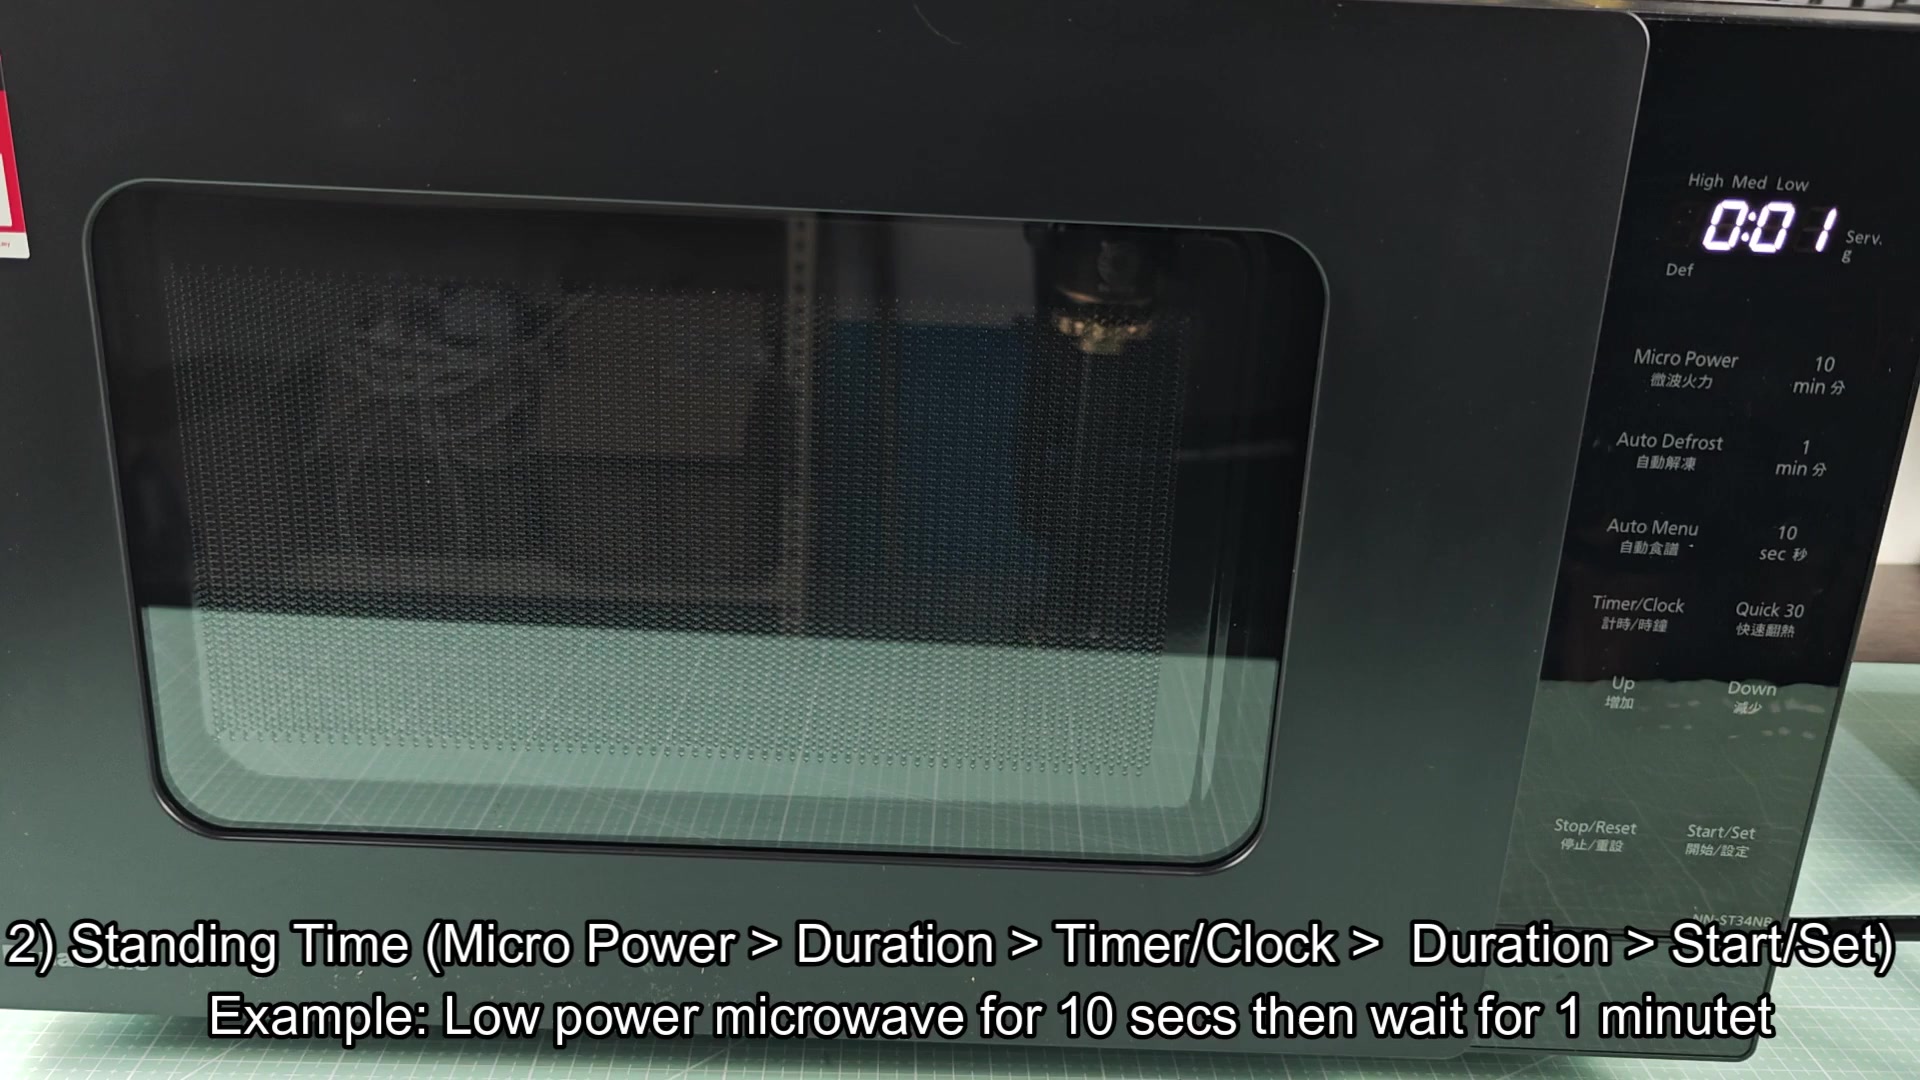
The screen will update quickly as the last few seconds count down, and you’ll see that there’s a single second remaining before it reaches the end. When it does reach zero, it really seems like the whole thing is over and you don’t need to do anything else manually from this moment forward.
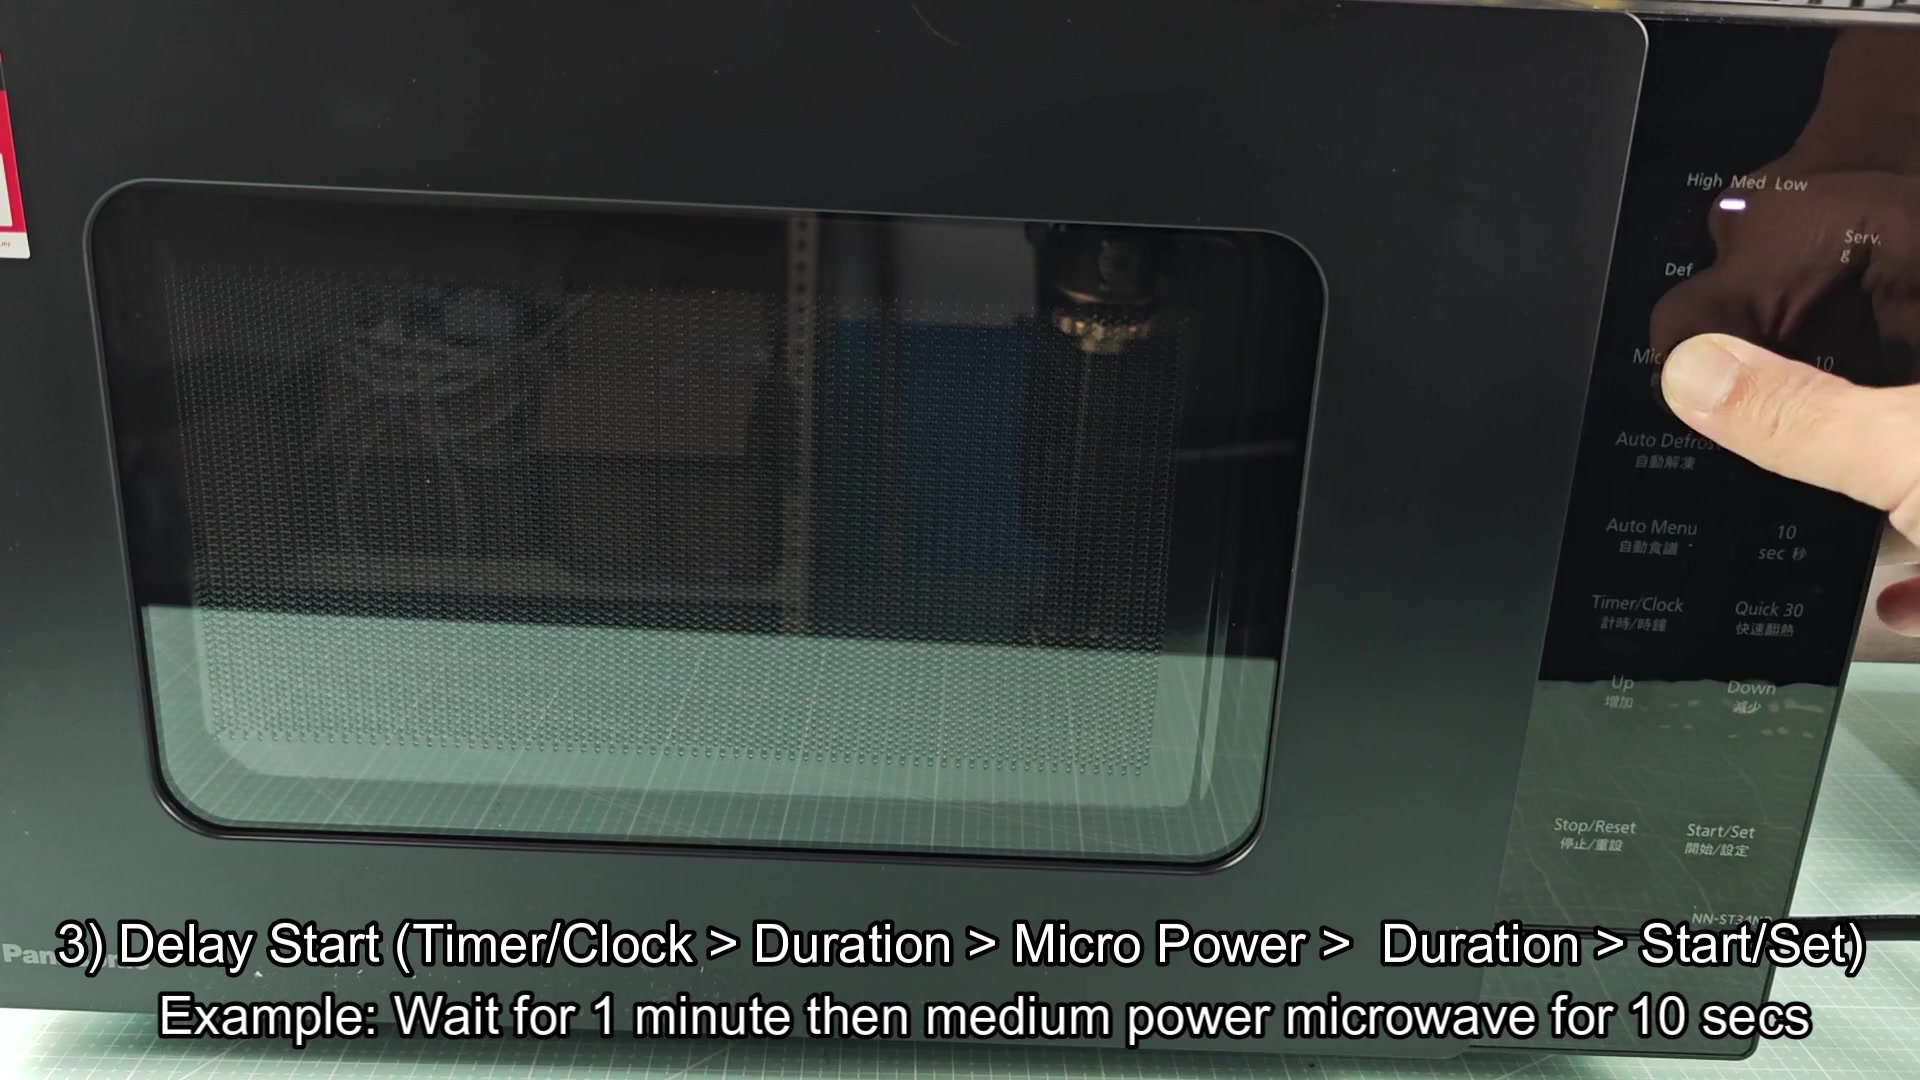
That’s a huge help if you’re trying to multitask while waiting for your food to warm up. After setting it up, the machine handles the time for you so you can get on with whatever you were doing.
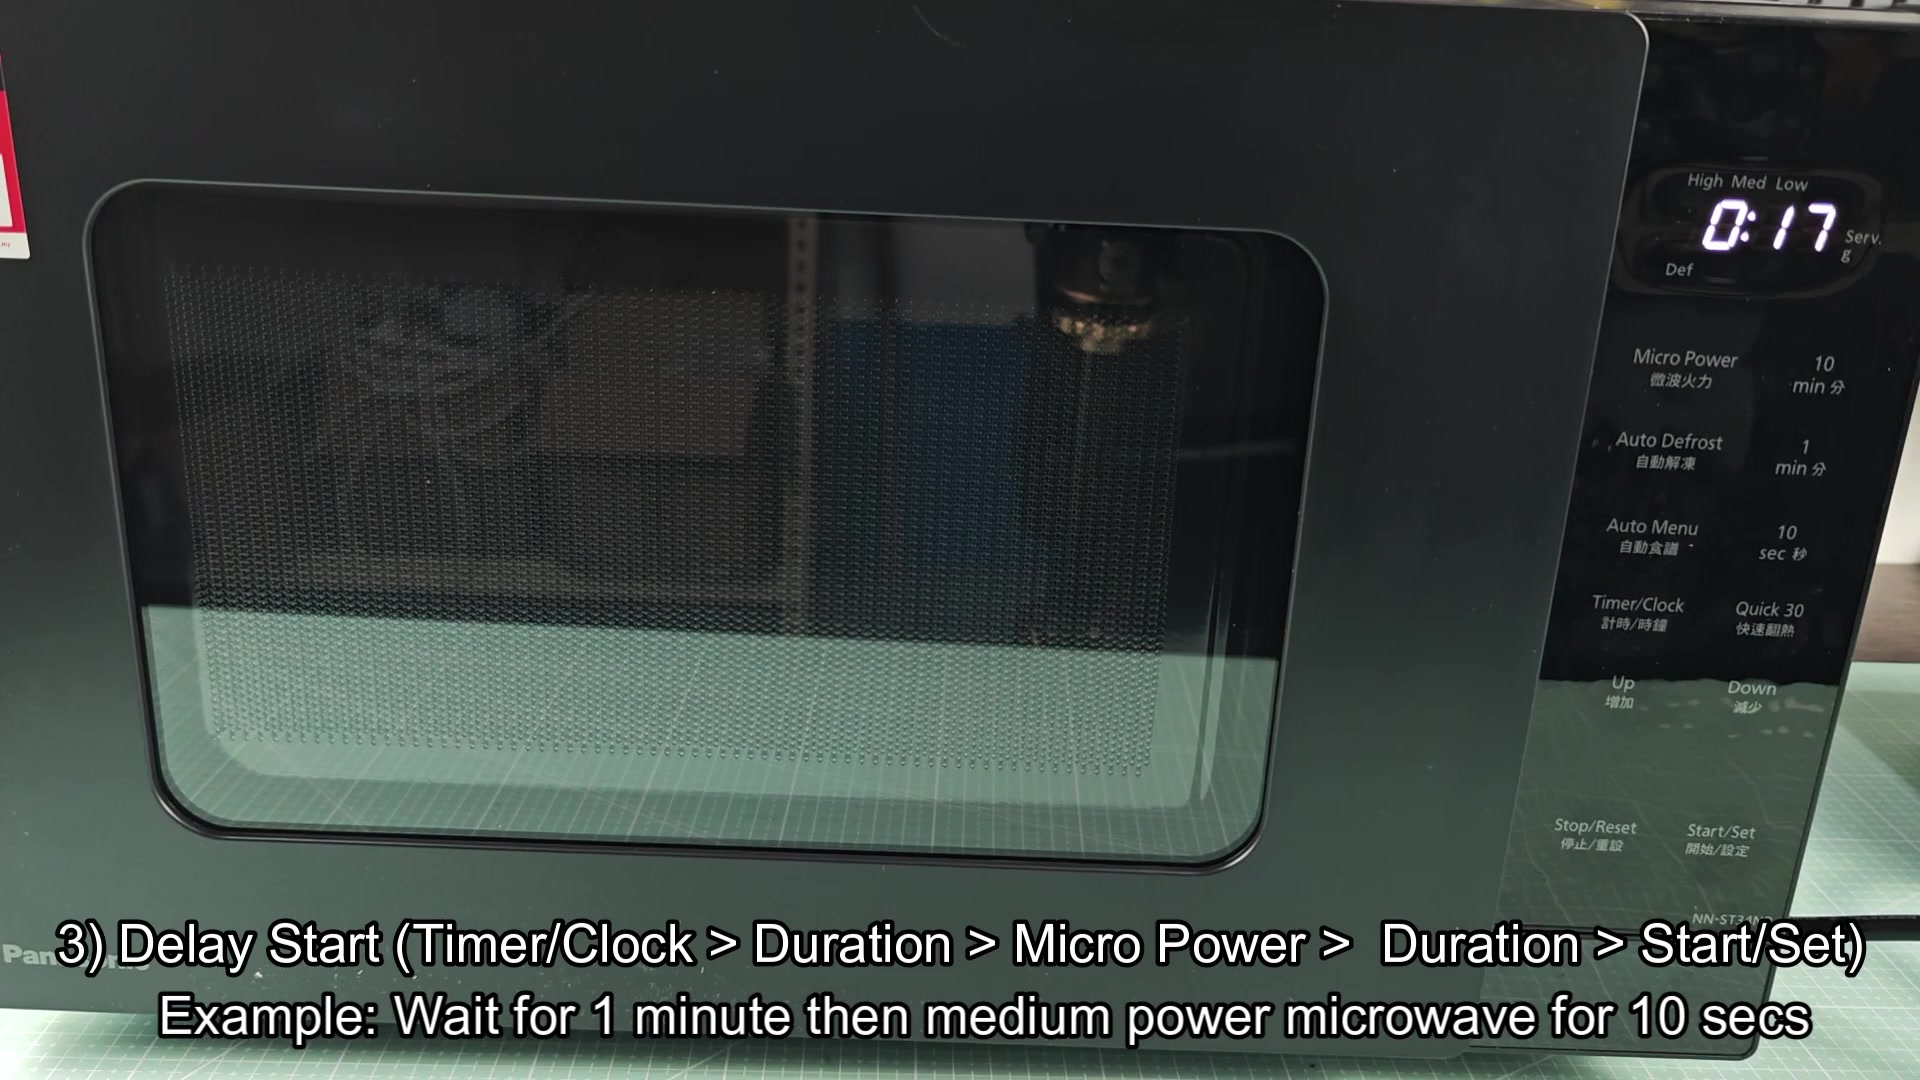
Once you turn off the heat, the indicator light dims out again and the display reverts back to displaying End. This is another final assurance that it has completed its task.
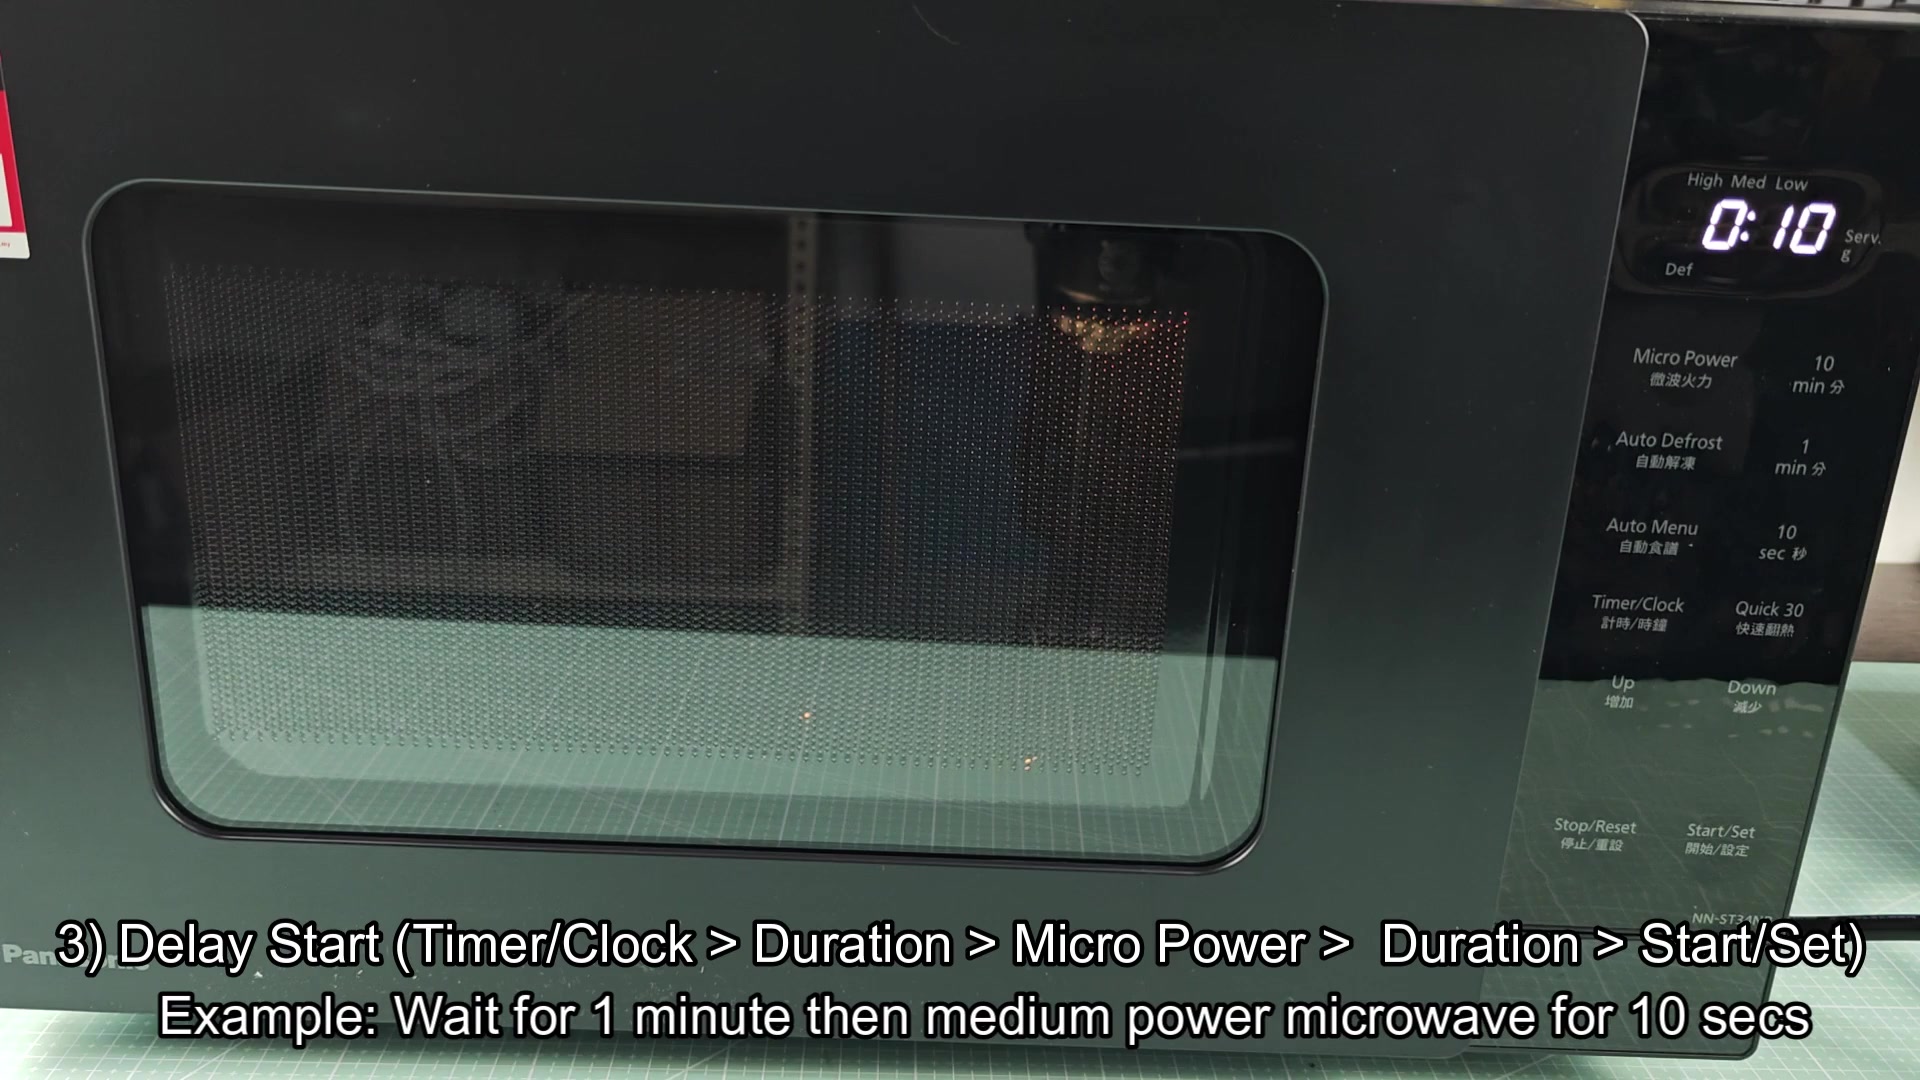
Open it up to verify if you like; there’s no burnt anything in there, right? The delay start function worked well in testing and everything appears fine. It is a great feature if you’re planning ahead, and it works smoothly with the rest of your cooking process.