
Using one zone at a time
The Ninja Foodi Dual Zone Air Fryer has two basket, but you won’t always use both. Sometimes, you just want to make something for yourself. How easy is it to use one basket or one side of this air fryer? Simple, don’t overcomplicate it. Choose your zone and get going.
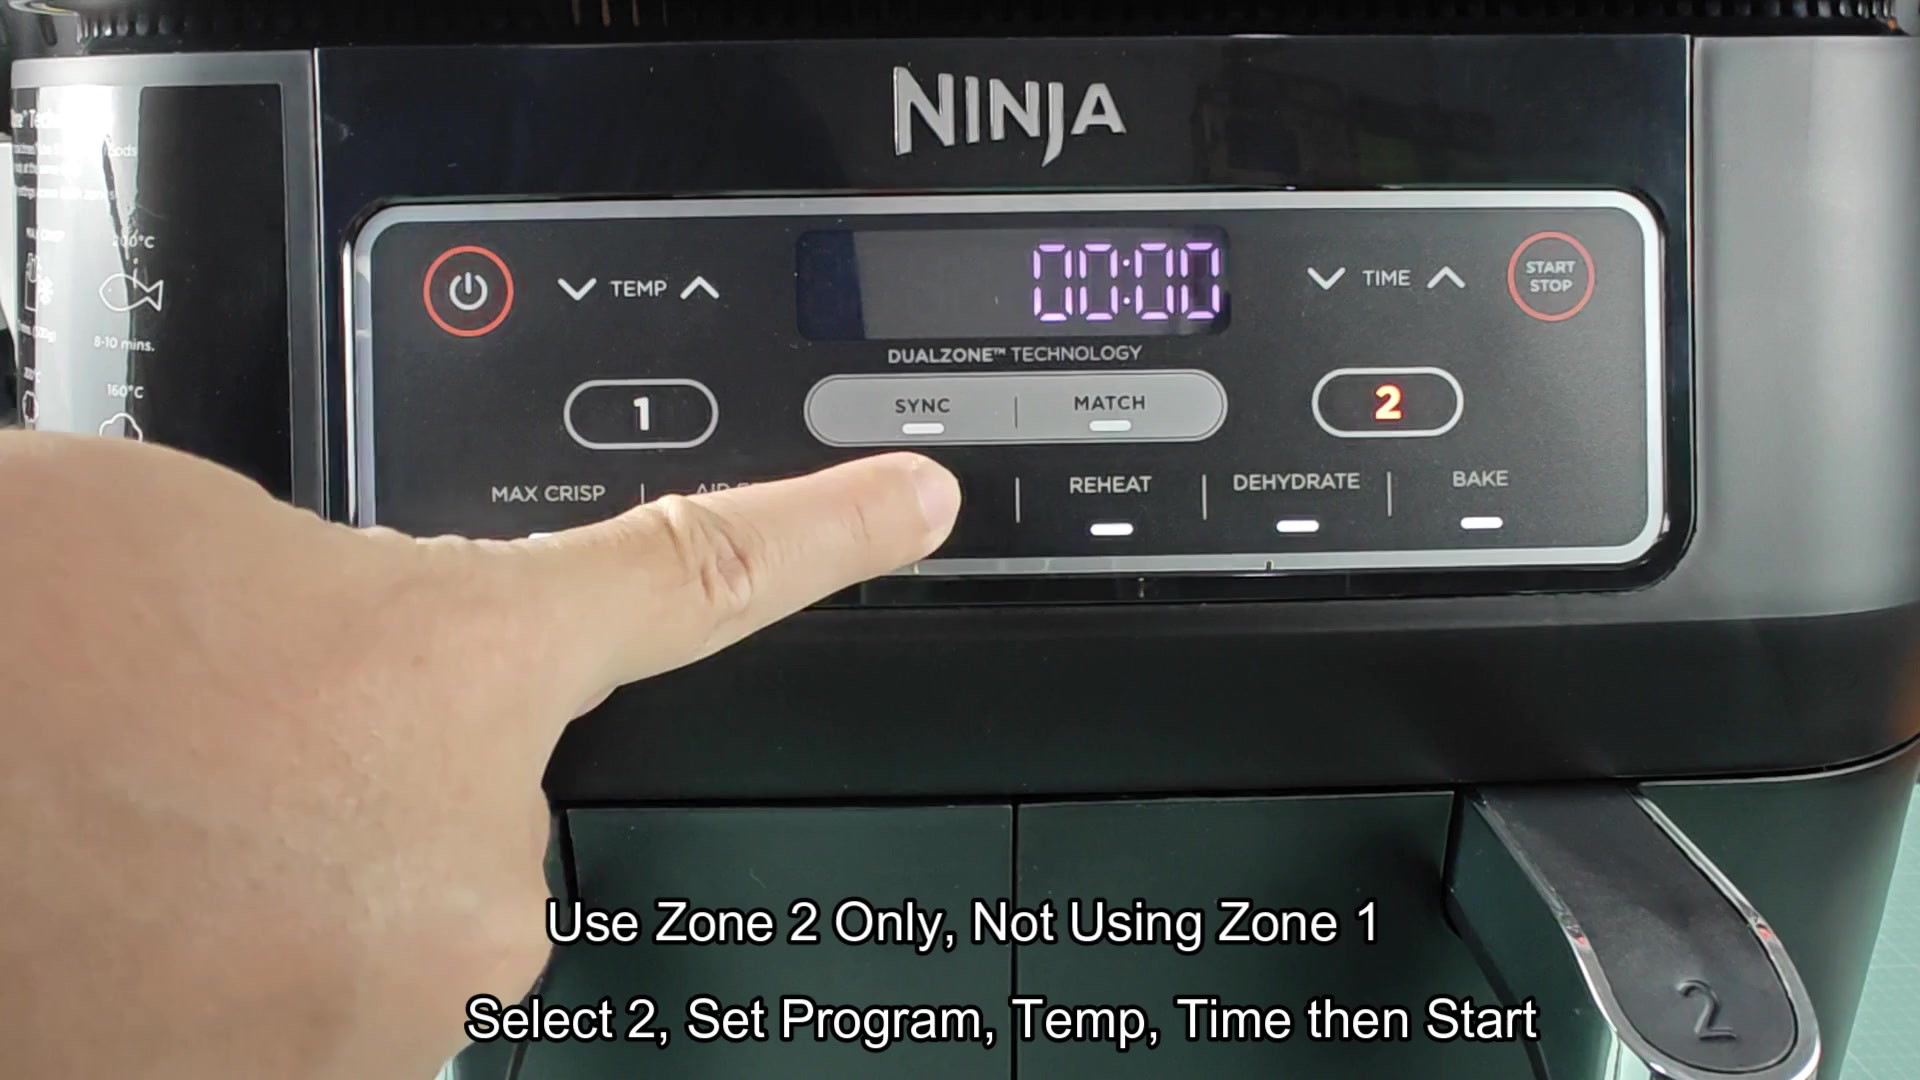
If you’d like to start from the left side (Zone 1), simply press the 1 button to turn it on and the display will light up expecting input. Next, choose your cooking program (bake, roast, air fry, etc.). Next, use the temp controls to adjust the temperature. Use the time buttons to set the time and wait for the screen to show the desird countdown timer.
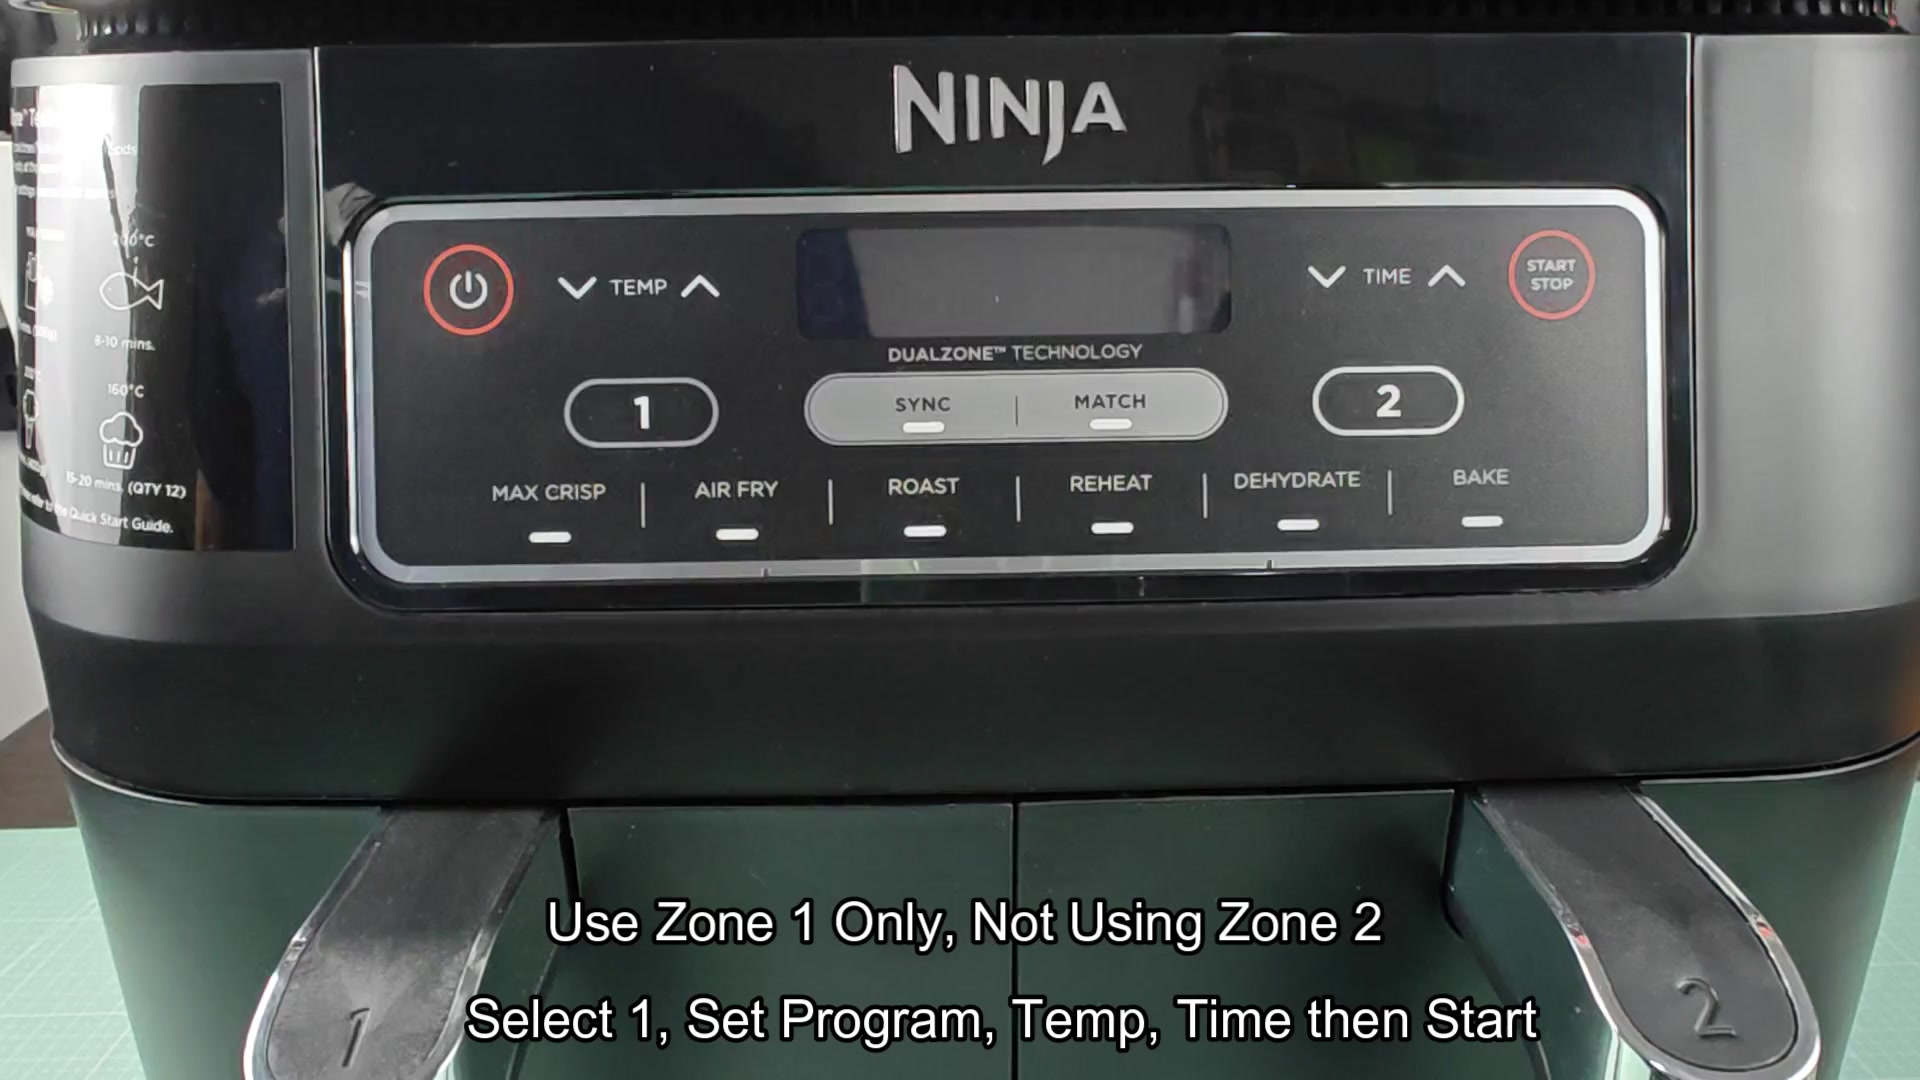
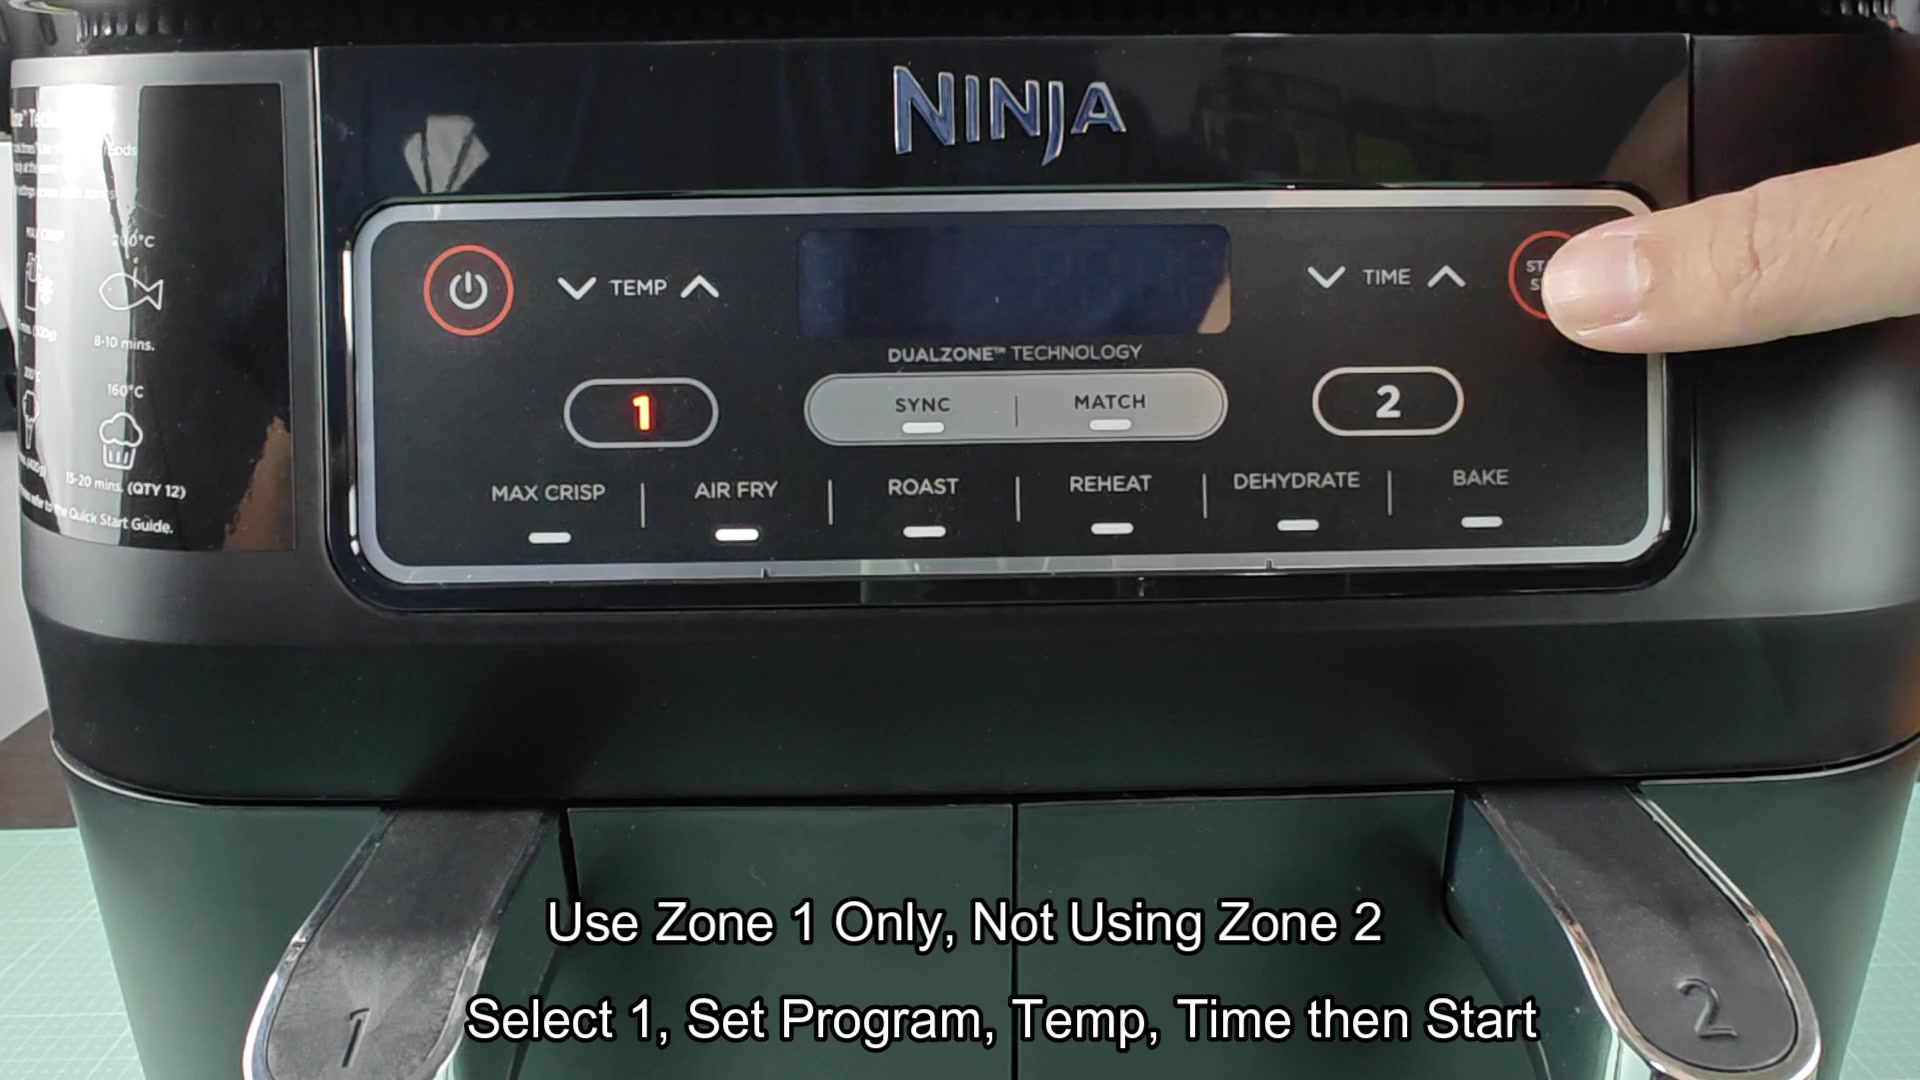
When ready, hit Start and away it goes. Zone 1 starts its cooking cycle right then and there. Nothing are happening in Zone 2 so it’s not wasting any energy (the zone remains dark and inactive).
Simplifying single-zone operations
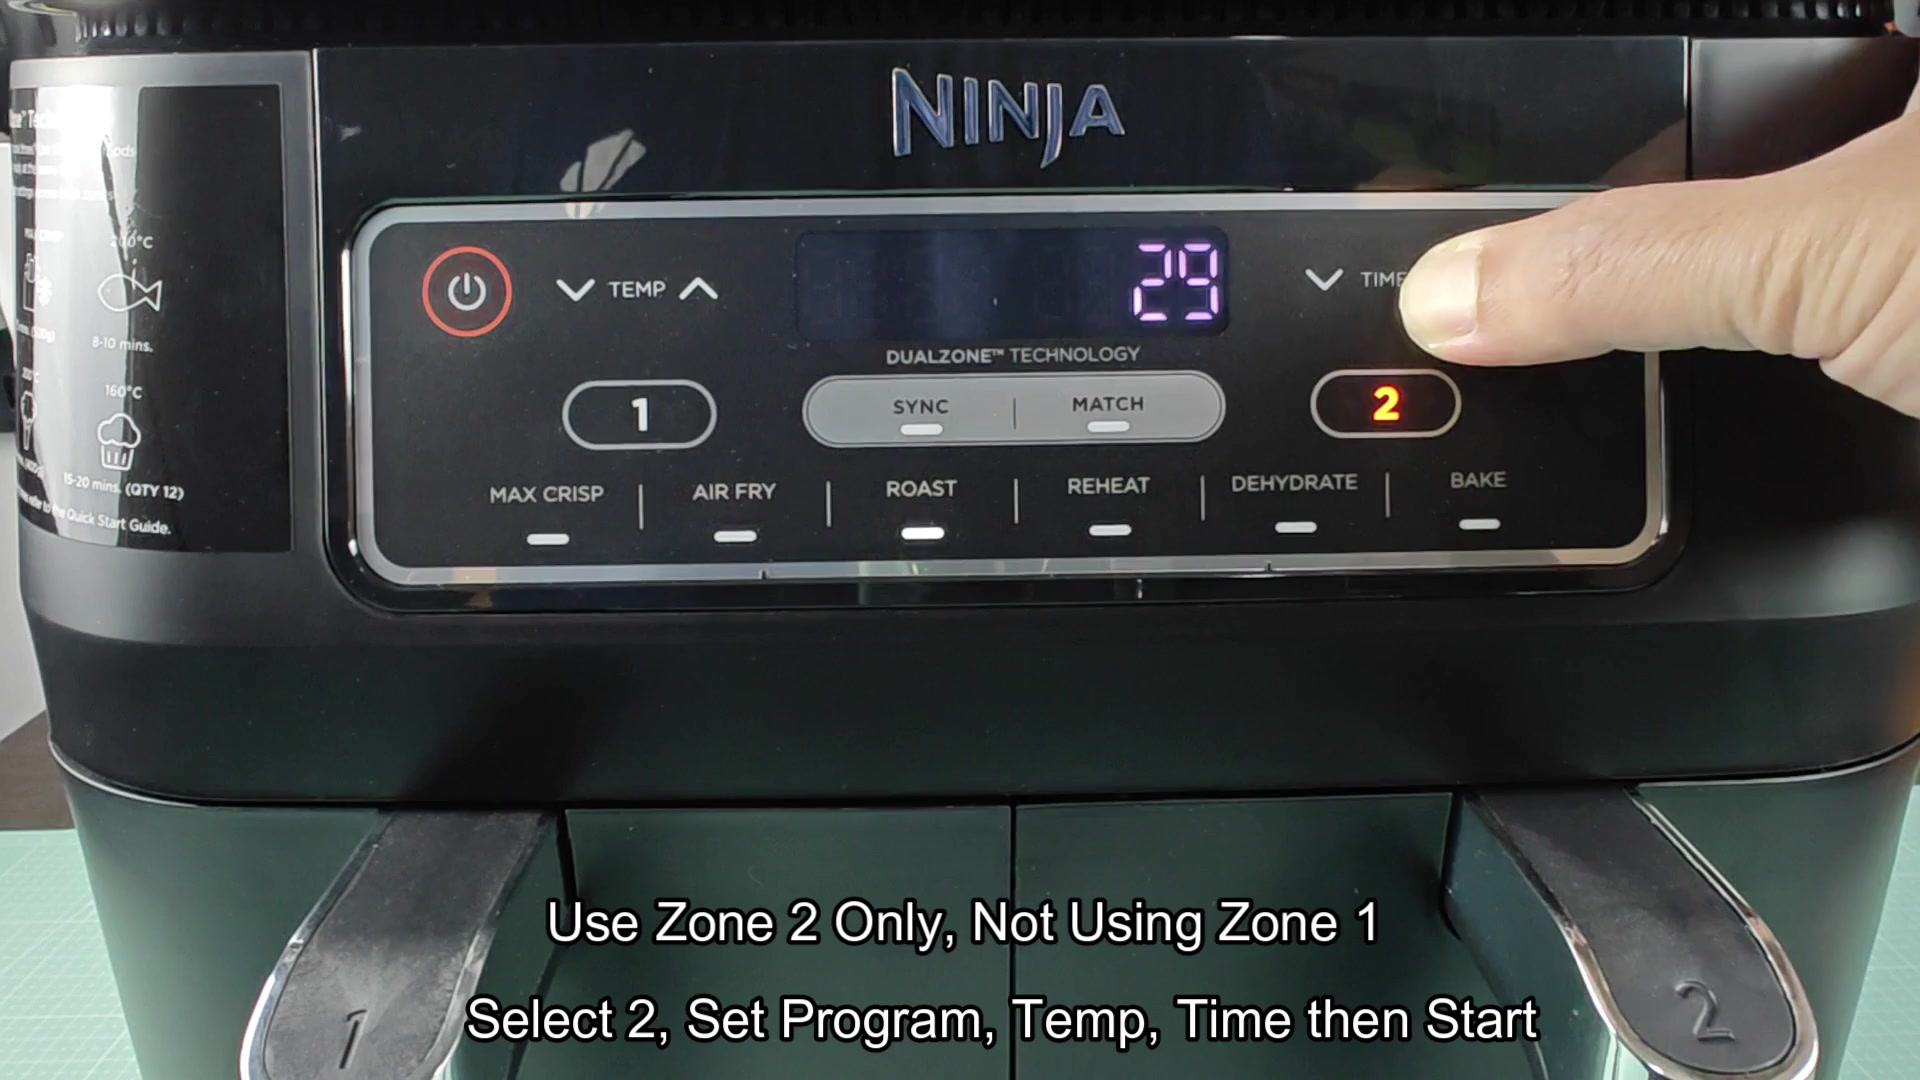
The same applies to the other side. You might like Zone 2; just hit button 2 and that’s where the action happens, the right side of the panel will light up and the left side remain silent. It all gets very simple and lets you keep cooking in a single basket at any given time.
Want to cook at 190 degrees Celsius? Use the temp controls and you’ll see the display update immediately showing the new heat setting. Everything is smooth and respond quickly.
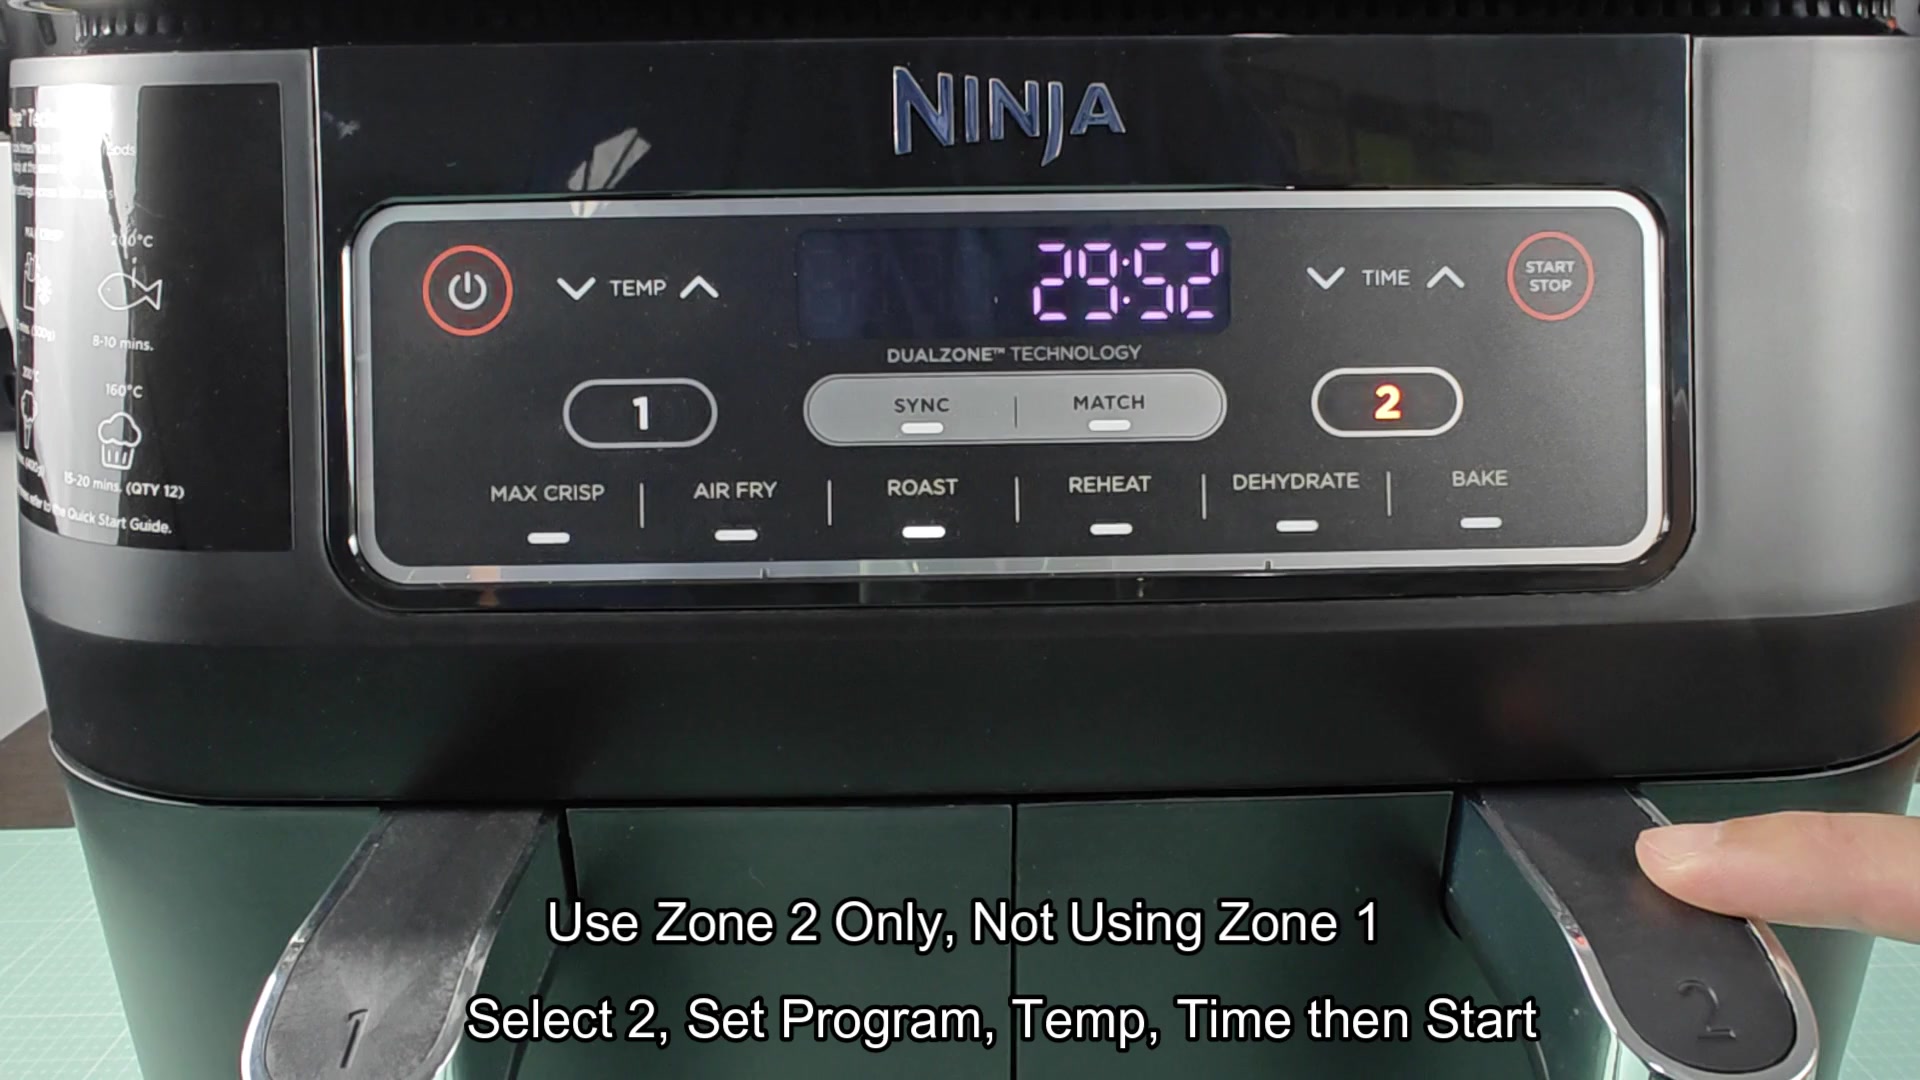
Then set the clock in Zone 2 (by turning the right-hand set of time controls to 30 minutes). This displays easy at a glance on the screen, showing “30:00.” Press Start once more; off it goes, counting down. Everything else on the board turns dark, leaving only Zone 2 lit up and ready to go. It is perfectly functional as a single zone.
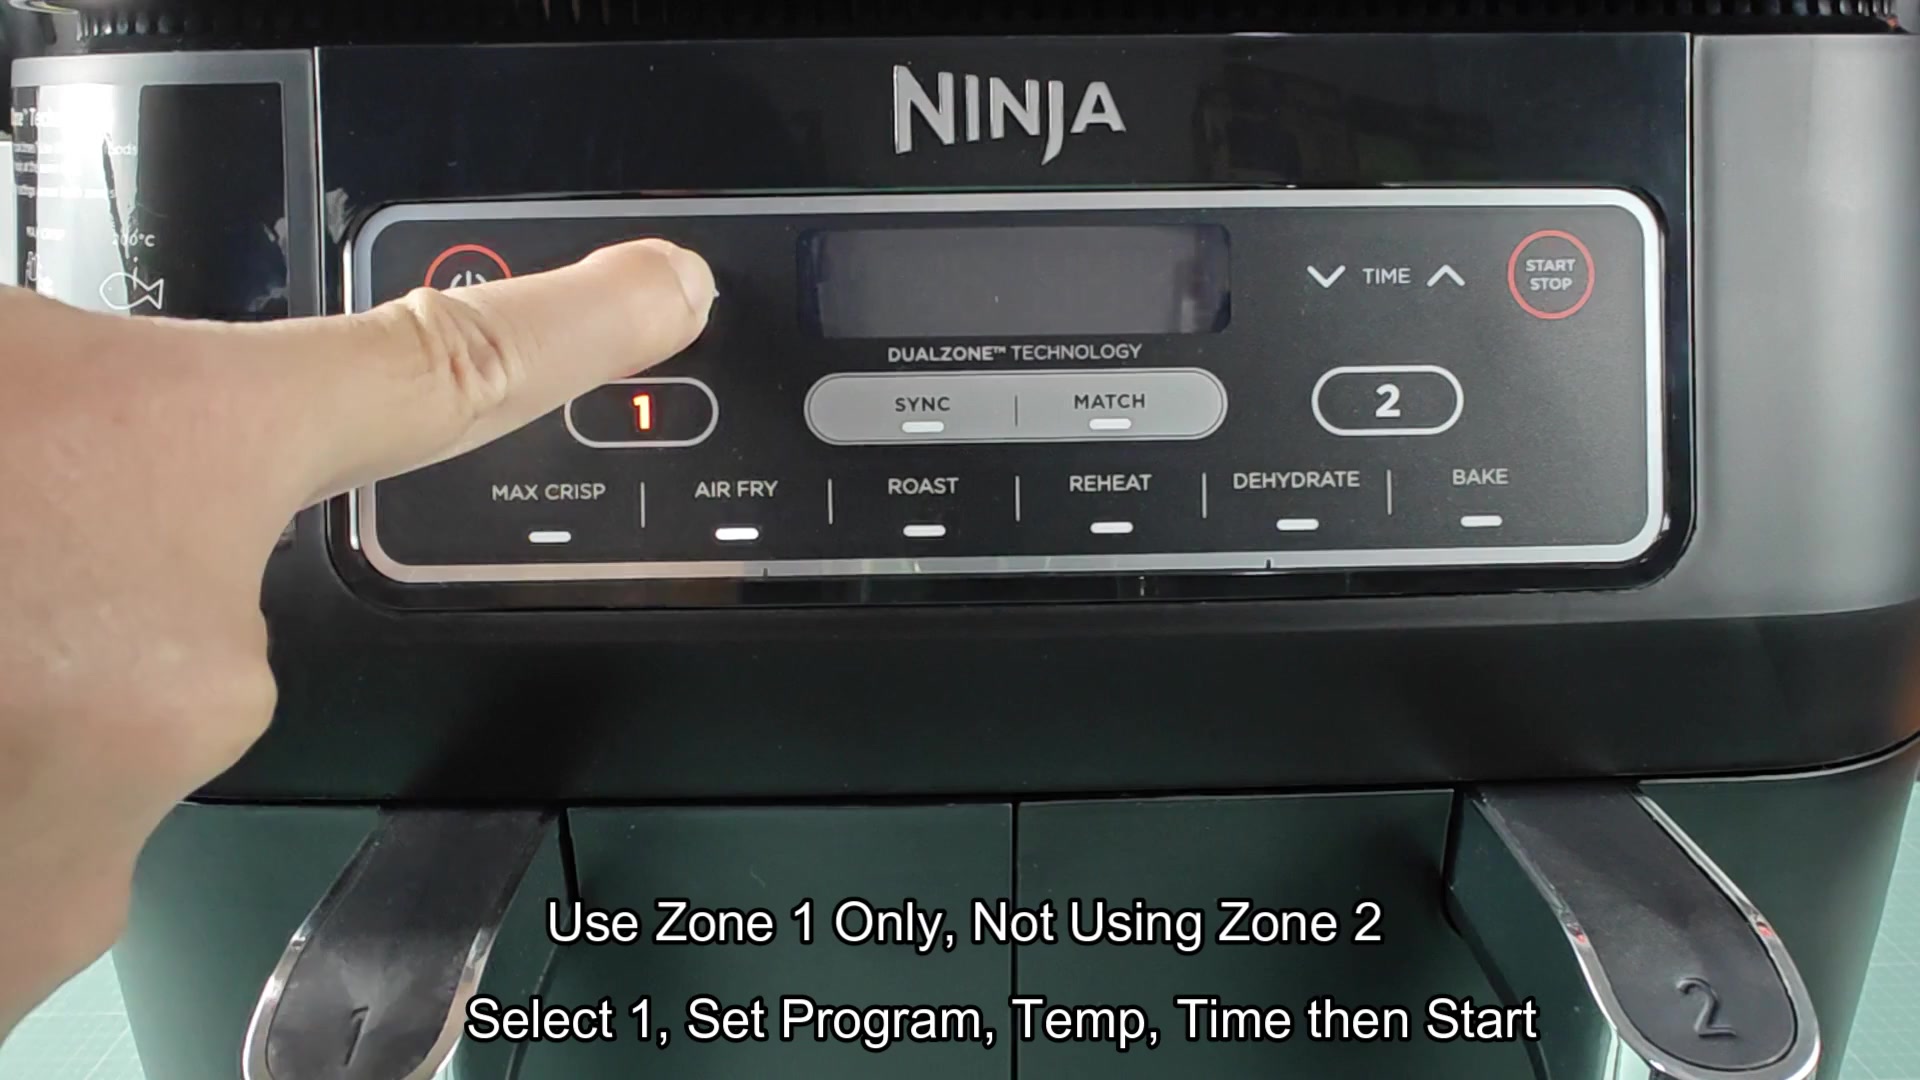
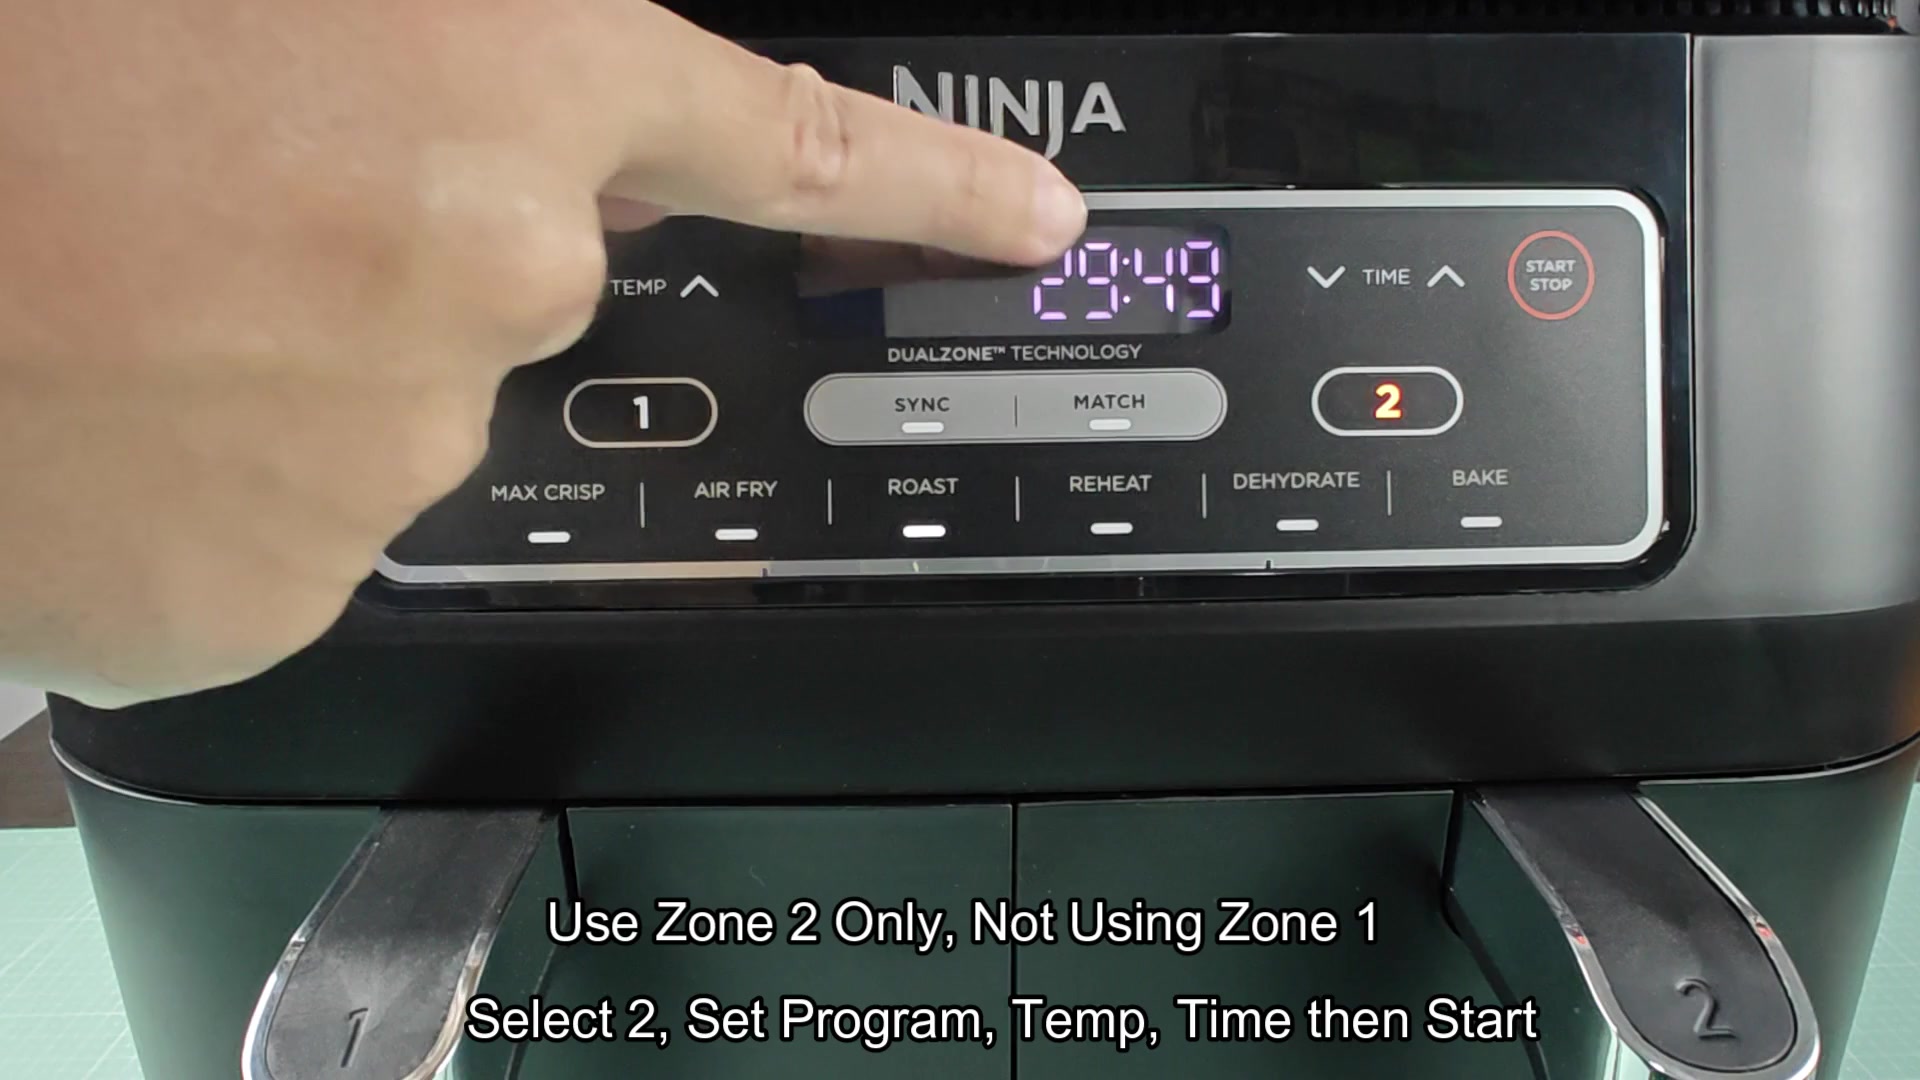
Note that there are no additional buttons. When operating in one zone, avoid pressing Match or Sync; they’re reserved for dual-zone cooking. Pressing them now confuse the system. Keep it simple with standard controls for single-basket only.
Single-side cooking also means less work. Hungry for some fries? Reheating a leftover burger? Fill a single tray, one basket handles it perfect while the other stays clean and idle.
There’s nothing complicated here, either. Pick one (left or right), dial in your desired temp, turn it on, and you’re good to go. You don’t need to learn a different system for each zone; it’s the same throughout, so everything are easy to understand.
And though I know many will think they has to use both sides; that’s not the case whatsoever. Cooking in only one zone is totally fine, equally effective than cooking with two.
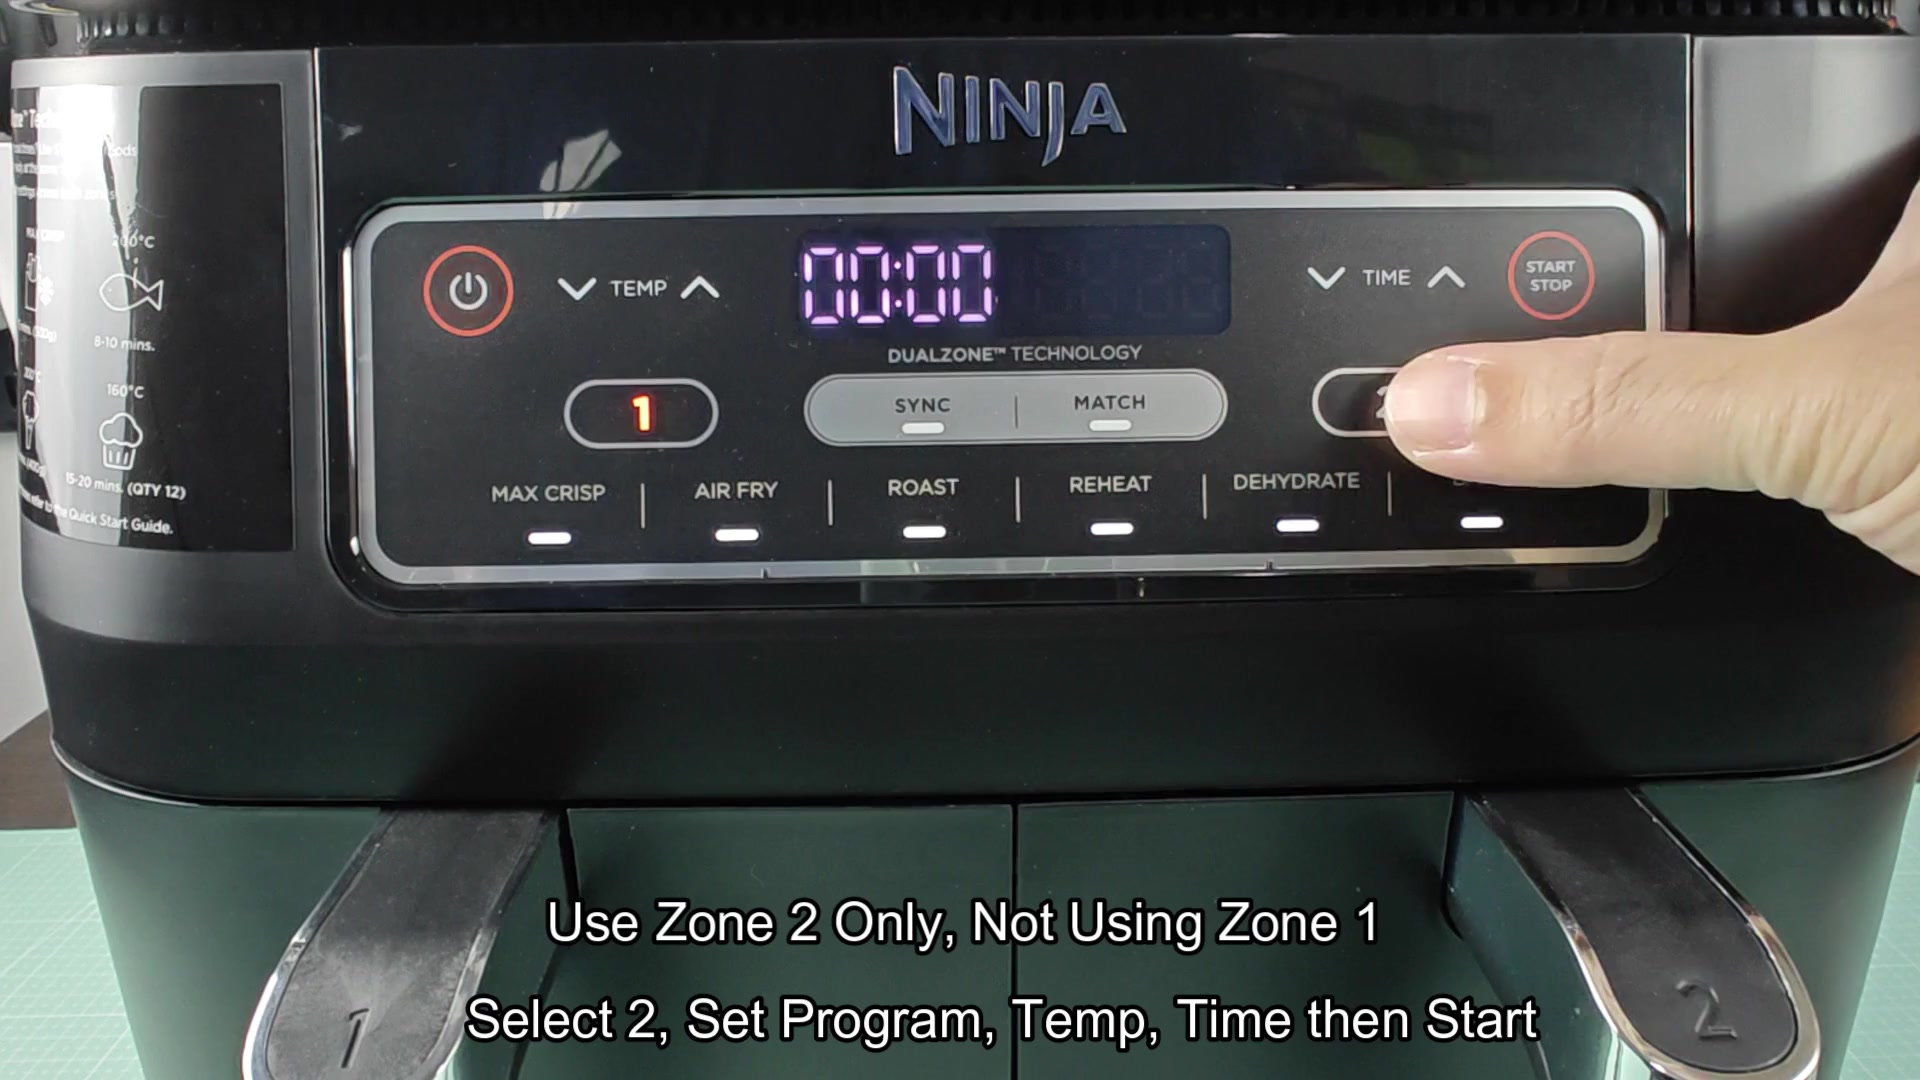
Touching buttons registers immediately. It gets the time and temperature correct. There are no hiccups in Zone 1 operation. Zone 2 is the same, appearing clear and responsive on screen as well. Processing of commands does not appear to have any delay, making switching between zones seem smooth. The unit handles single-zone input easy, so you don’t run into problems during this test.
The dual zone is overall a nice option that provides flexibility. Cook what you need on one side or the other. Or both. It’s flexible, and it also makes cooking smaller amounts a lot more doable.
So instead of having to make two full batches if you’re only feeding yourself, you simply choose a zone, add food to a tray, and go. That cuts down on waste a lot. And leftovers aren’t nearly as big a problem anymore.
Afterward, I love how simple it is. So many appliances intimidate us by being too complicated. Not this appliance! It’s not intimidating whatsoever. You feel comfortabley using it right away. You get amazing results without much fuss in a few basic steps.
Bottom line: single-zone cooking is possible. It’s easy to operate: just push the zone button, dial in some settings, and go. You should of seen how simple this was!