
To see if your Ninja Foodi air fryer is working properly you can run a diagnostic test on it. Occasinaly the touch board gets wonky and running a diagnostic is a good idea. Before you cook something you want to be certain all sensor and buttons is functional. It is easy and quick to do.
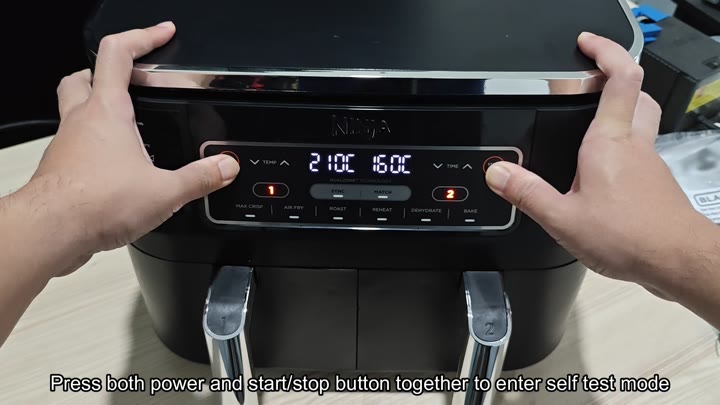
It’s a tool-less job.
How to Run the Test
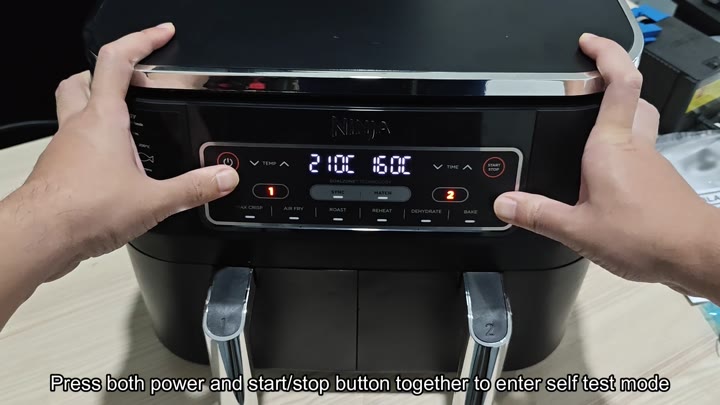
First, let’s go over a few things. Find the power button on the control panel. With your thumb, push the power button down firmly while simultaneously pushing the start-stop button. Doing these steps at the same time will starts the self-diagnostic mode.
Once you’ve given the command, the display screen will instantly change. Both of the temperature read-outs for zone one and two is no longer present. Now the unit are ready to be tested.
With that, the screen refreshes and displays a row of threes. Then another row appears. The time and temp are set to 3333 3333.
Yep, it’s self-testing the air fryer now. Pressing on, you stare at the lights as they settles down. The interface remains responsive here, why in the world would you hurry?
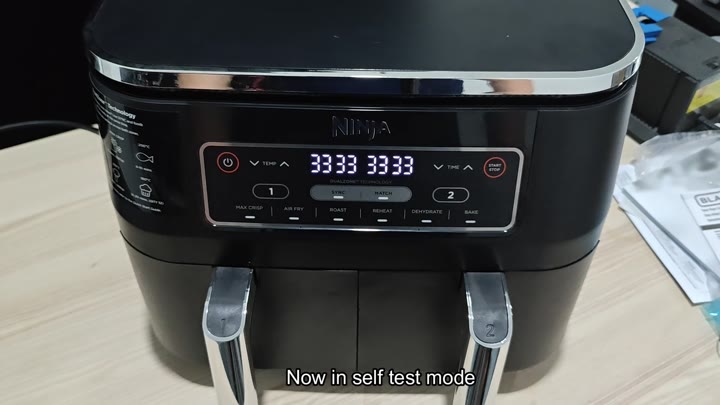
You just wait for the lights to stabilize.
And then you sit back and wait.
Then, you start pressing buttons on the control panel one at a time. Press the Bake, Dehydrate, Reheat, Roast, Air Fry, and Max Crisp buttons in sequence. Note that they all responds visually on the screen. Each should light up when pressed. If not, it’s possible the button are bad. Work your way around them methodically.
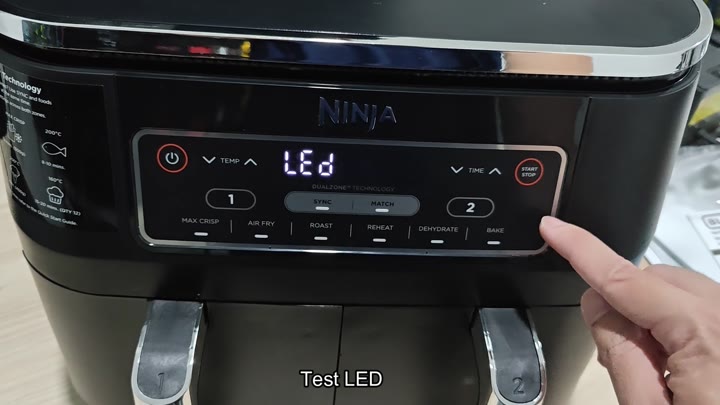
Next up: the LED indicators. Once more, push those buttons and confirm that they’re on! When testing this function, the display read LED. It’s important for everything visible to be in working order; bad lighting is confusing and makes cooking hard.
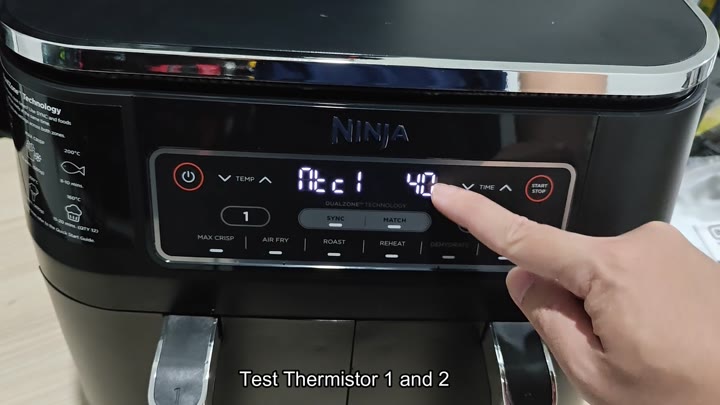
Next, you test the internal temperature sensors, which is called thermistors. For Thermistor 1 and Thermistor 2, you start the test. On the screen, it reads “Fnc1” then shows you 40. That means it’s running the test on the first sensor.
Next, it will display the second sensor. Safety depends on accurate temperature readouts. You’ll watch until it finish its cycle.
The diagnostic mode concludes with a series of hardware tests. An eight-digit code appears on screen, such as 12345678. This eight-digit code represent the final status and confirms if any errors were detected during the self-test.
Did it find any errors? Or did it confirm that everything checks out? As long as the code aligns with what you expect, then it’s probably okay. Just in case, write down this code.
You can run this self-test. This gives you confidence in your appliance. All of the checks takes very little time. You know exactly what isn’t working. You would of not had to guess if it’s your controls. Just run through the button sequence, look at the display and go.