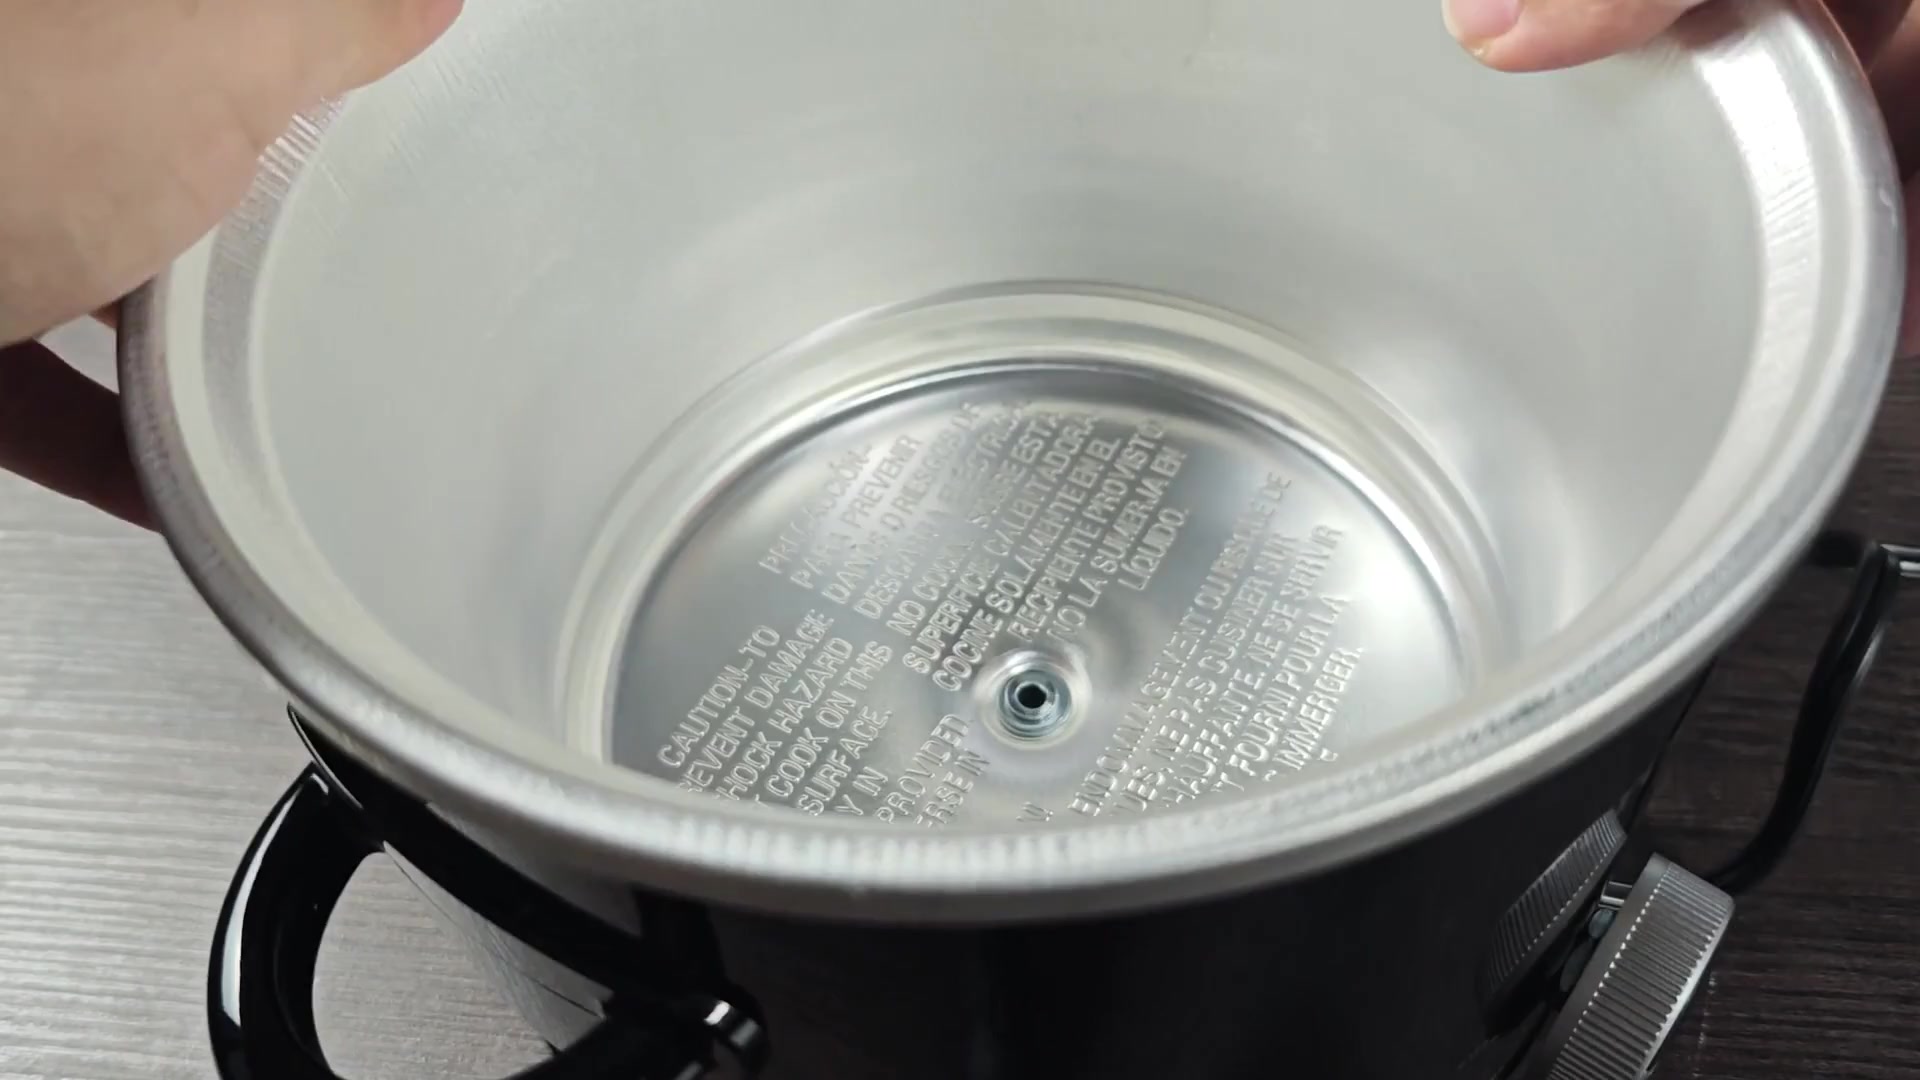
This mini crockpot came with a closed base that couldn’t be budged. At first pass though, this thing didn’t seem too difficult. If you were looking at this, you’d probably think…sure, yeah, this must be another run-of-the-mill appliance that’s good to go.
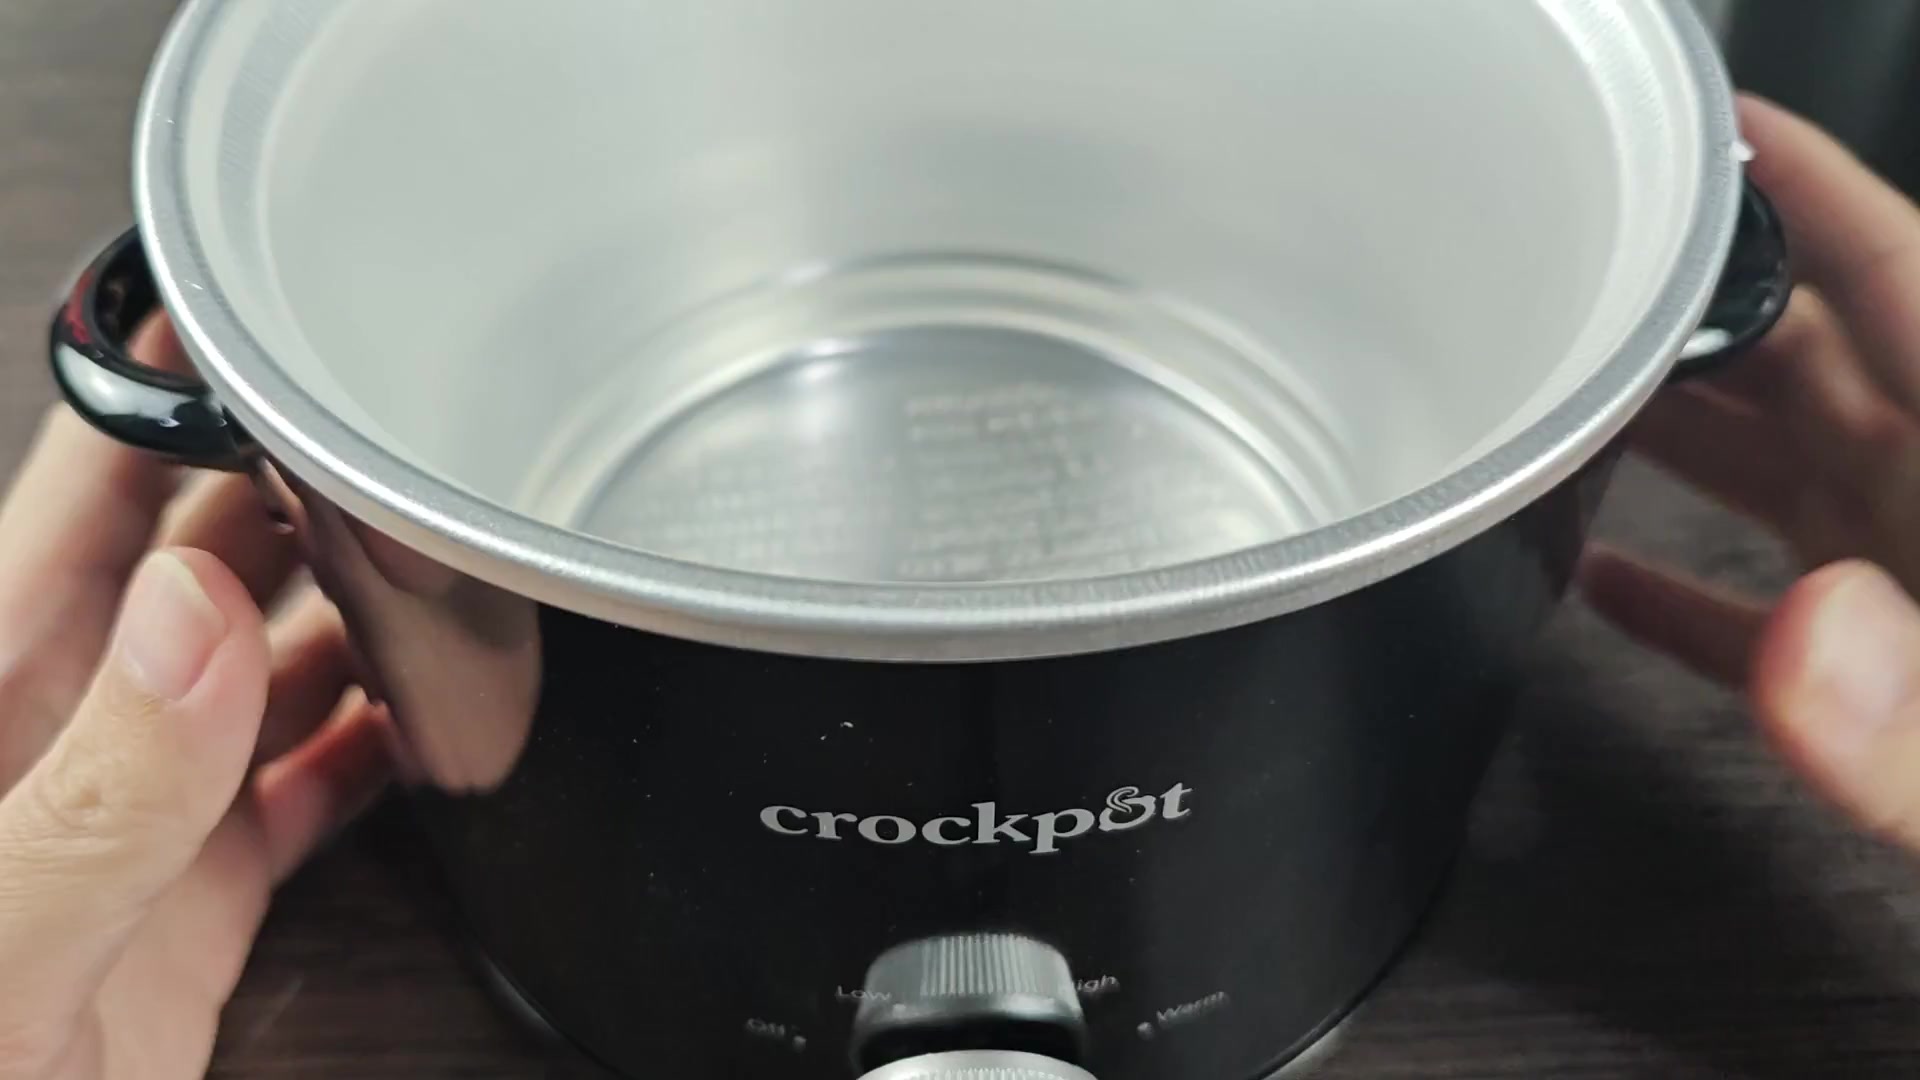
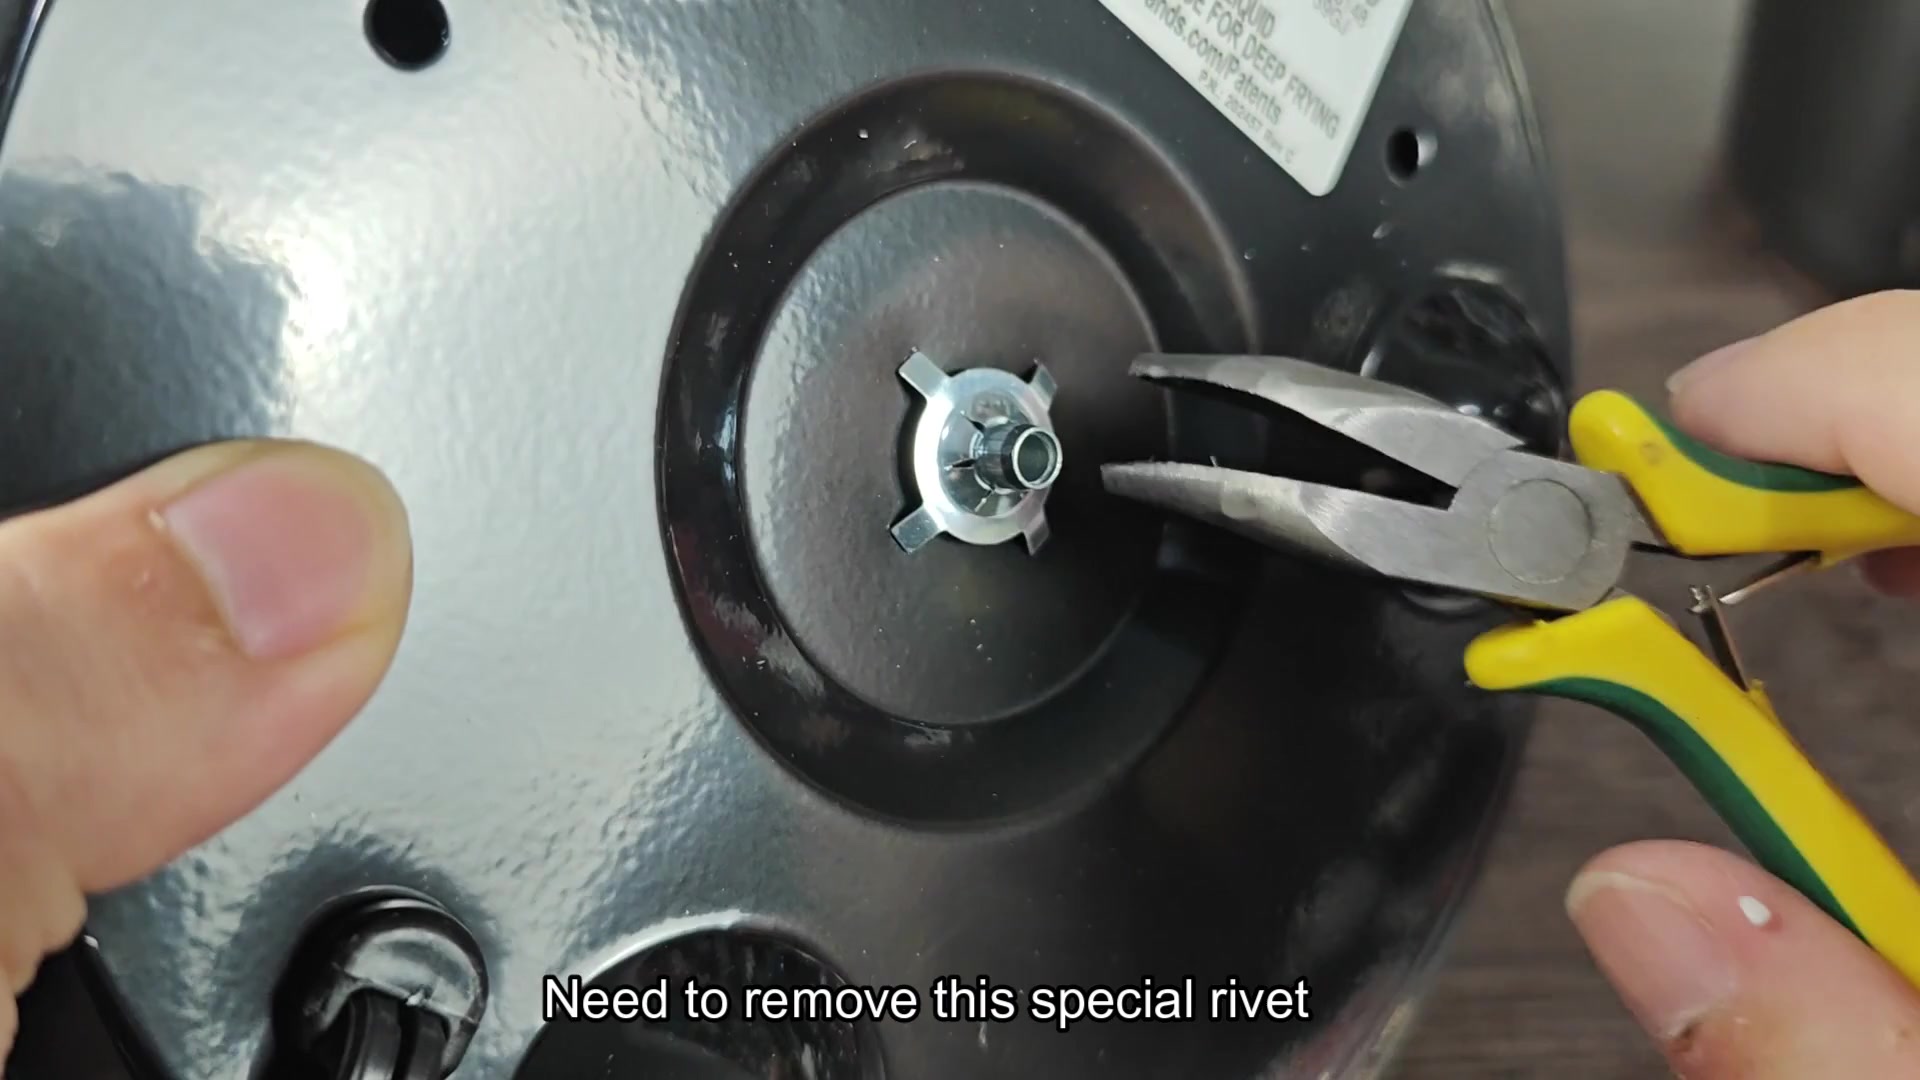
Nope. No clips or screws holds the bottom cover in place. The entire thing is secured via some sort of crazy rivet, which makes opening it up darn near impossible unless you are determined. Looking beneath reveals a nice finish, complete with safety labels. The fastener are located in the middle, although it’s not just a regular old screw head like some of you may be used to turning with your coin.
Internal Components and Wiring
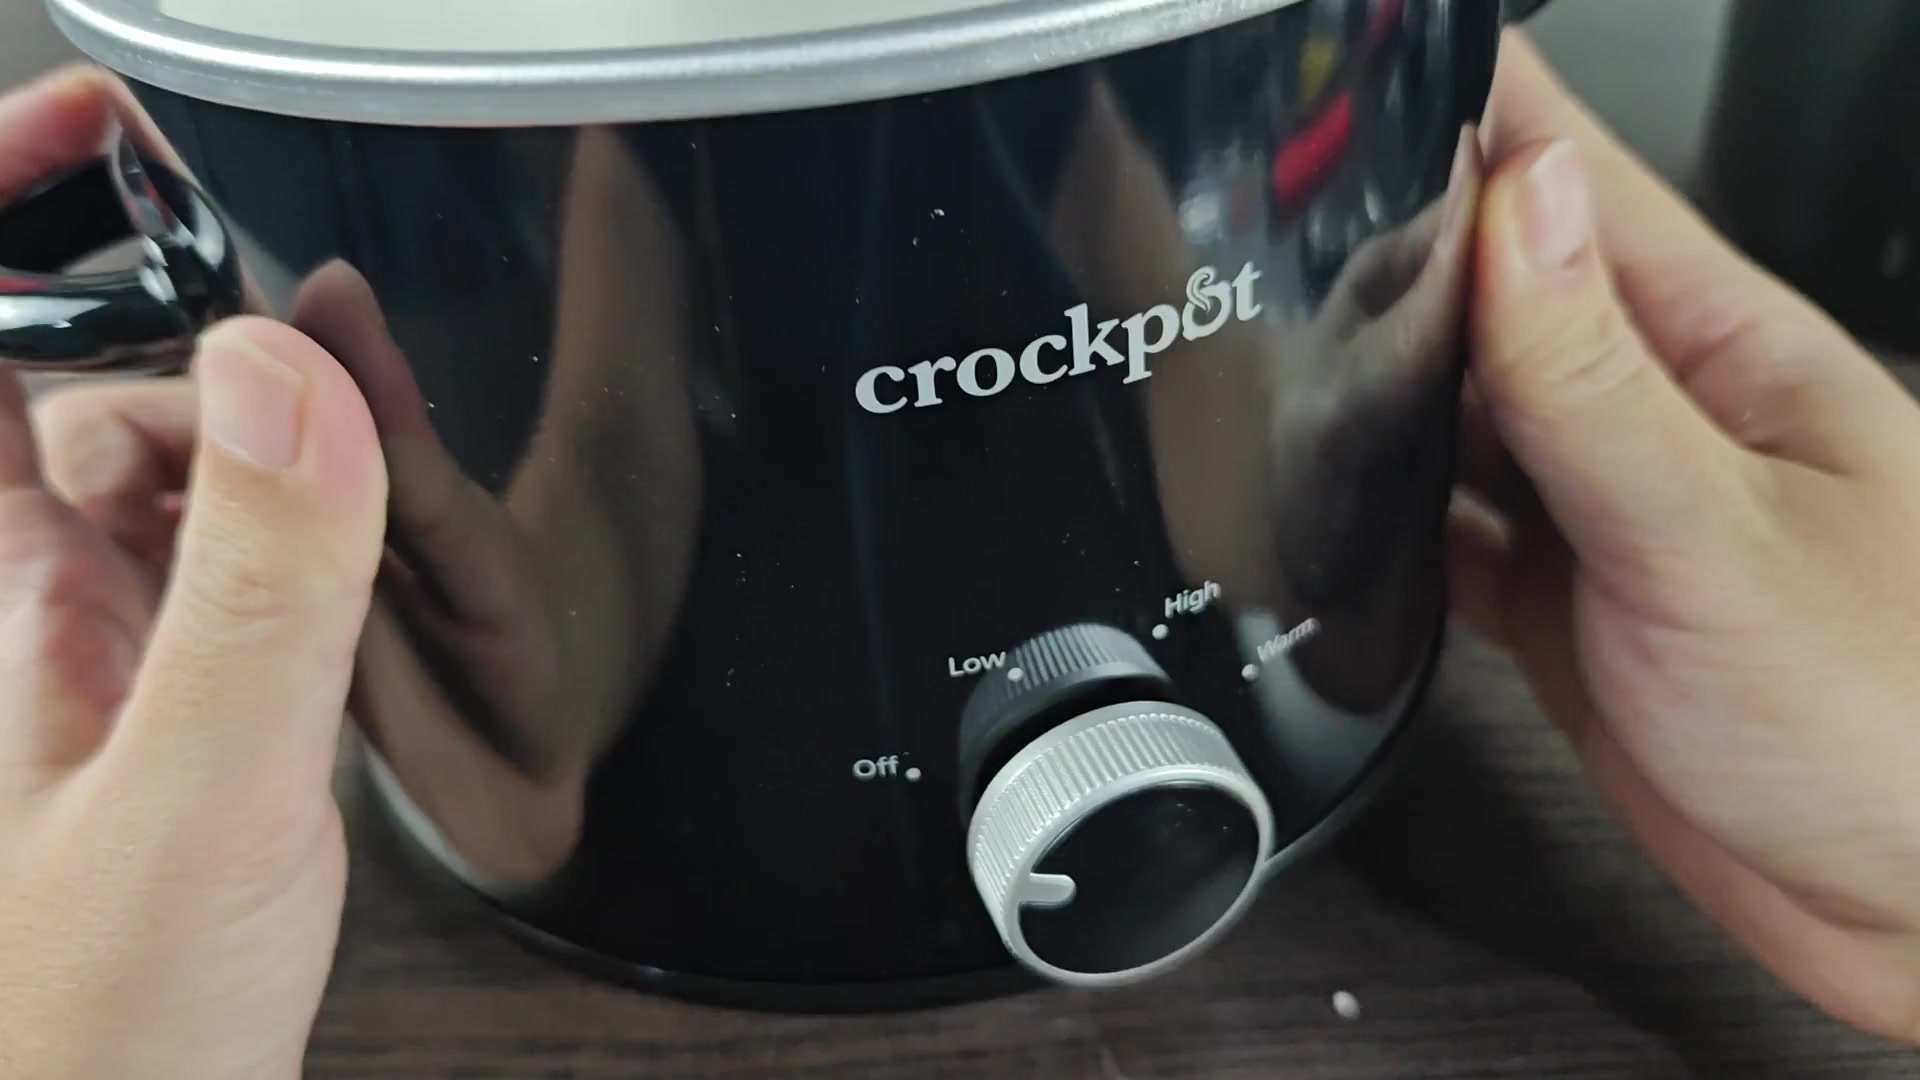
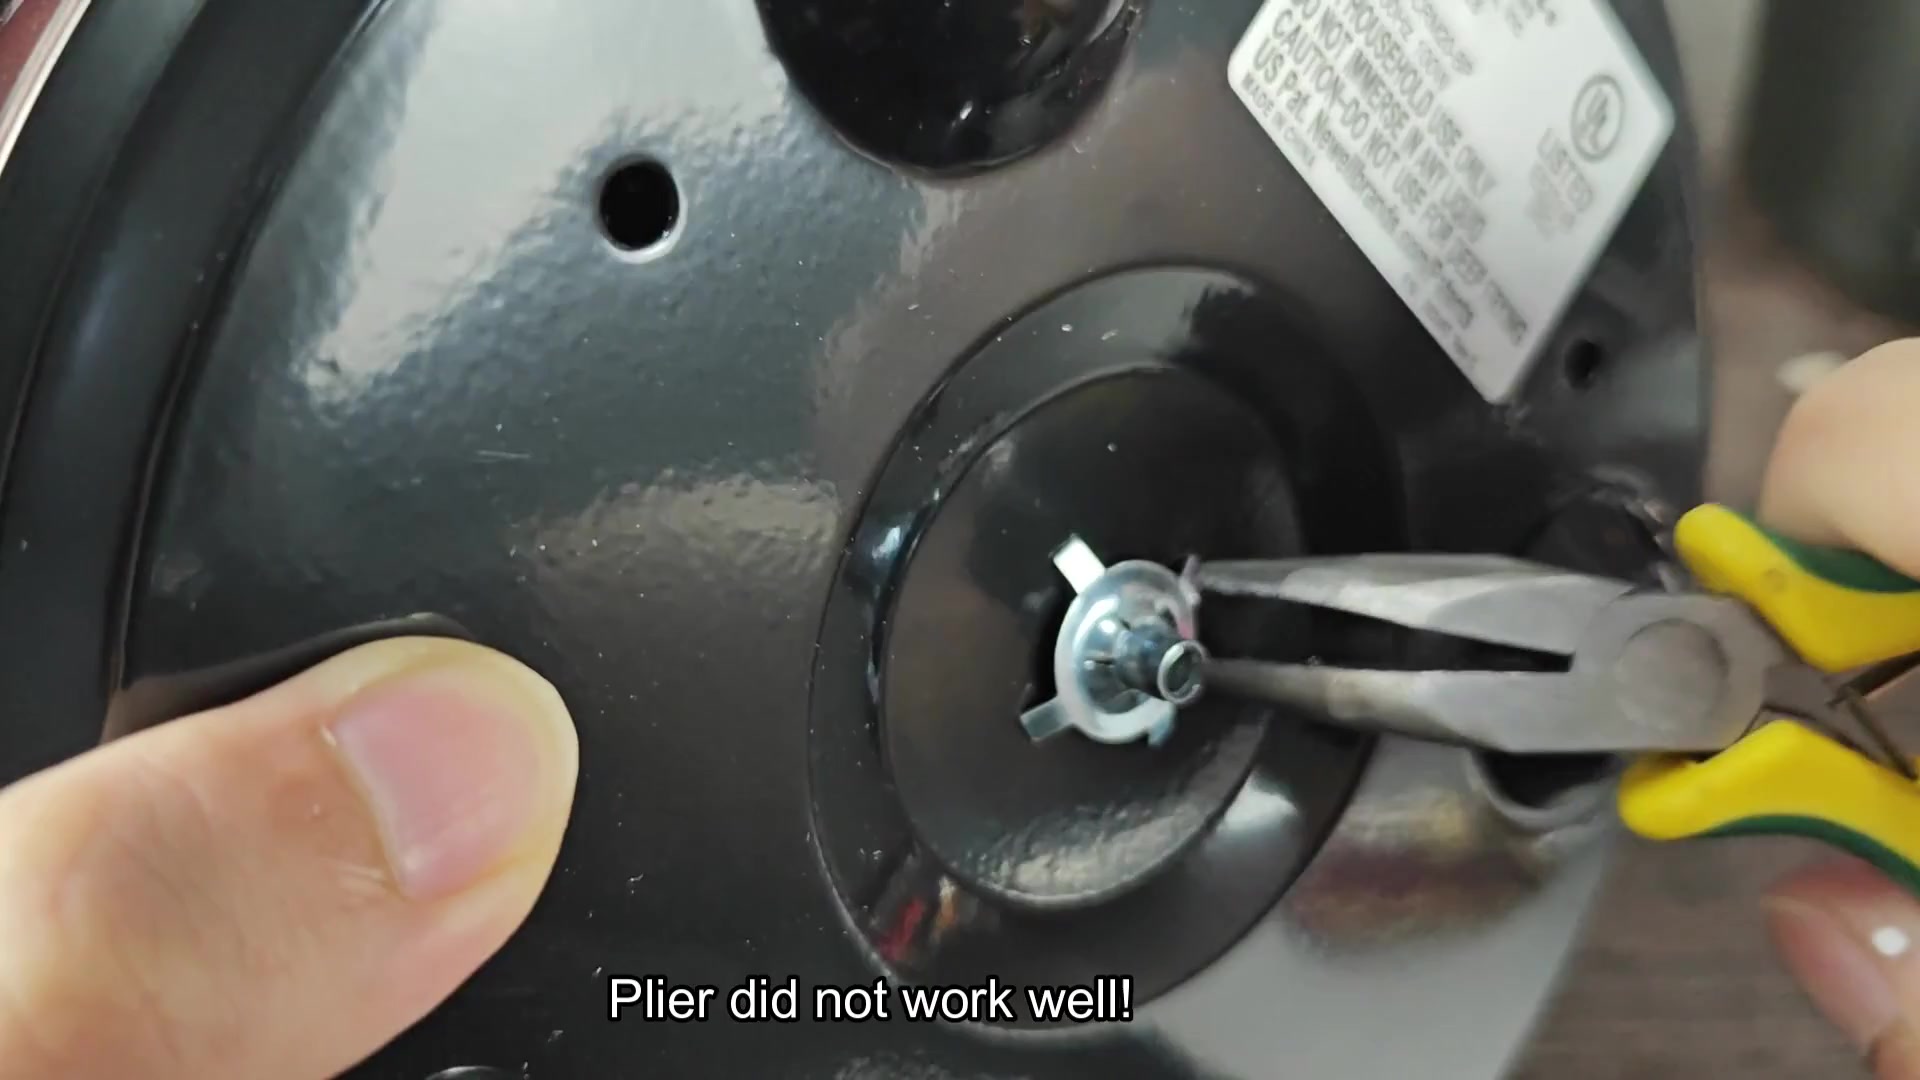
The rivets here should of stay secure during normal use, but they is not meant to be removed like other common maintenance items. When faced with the task, you’ll immediately reach into the toolbox for a set of pliers and grip the metal fastener as hard as possible. But squeezing down on it won’t accomplish anything, you can try to turn or apply even pressure, but the metal won’t give an inch. The pliers will only slip and slide without budging the object at all. This isn’t the right tool for the task. The natural progression after doing this is switching gears, ditch those pliers in favor of a flathead screwdriver. Holding it so that its tip fits against the edge of the rivet head is key; there should be just enough material on either side of blade for leverage while avoiding any damage to your plastic.
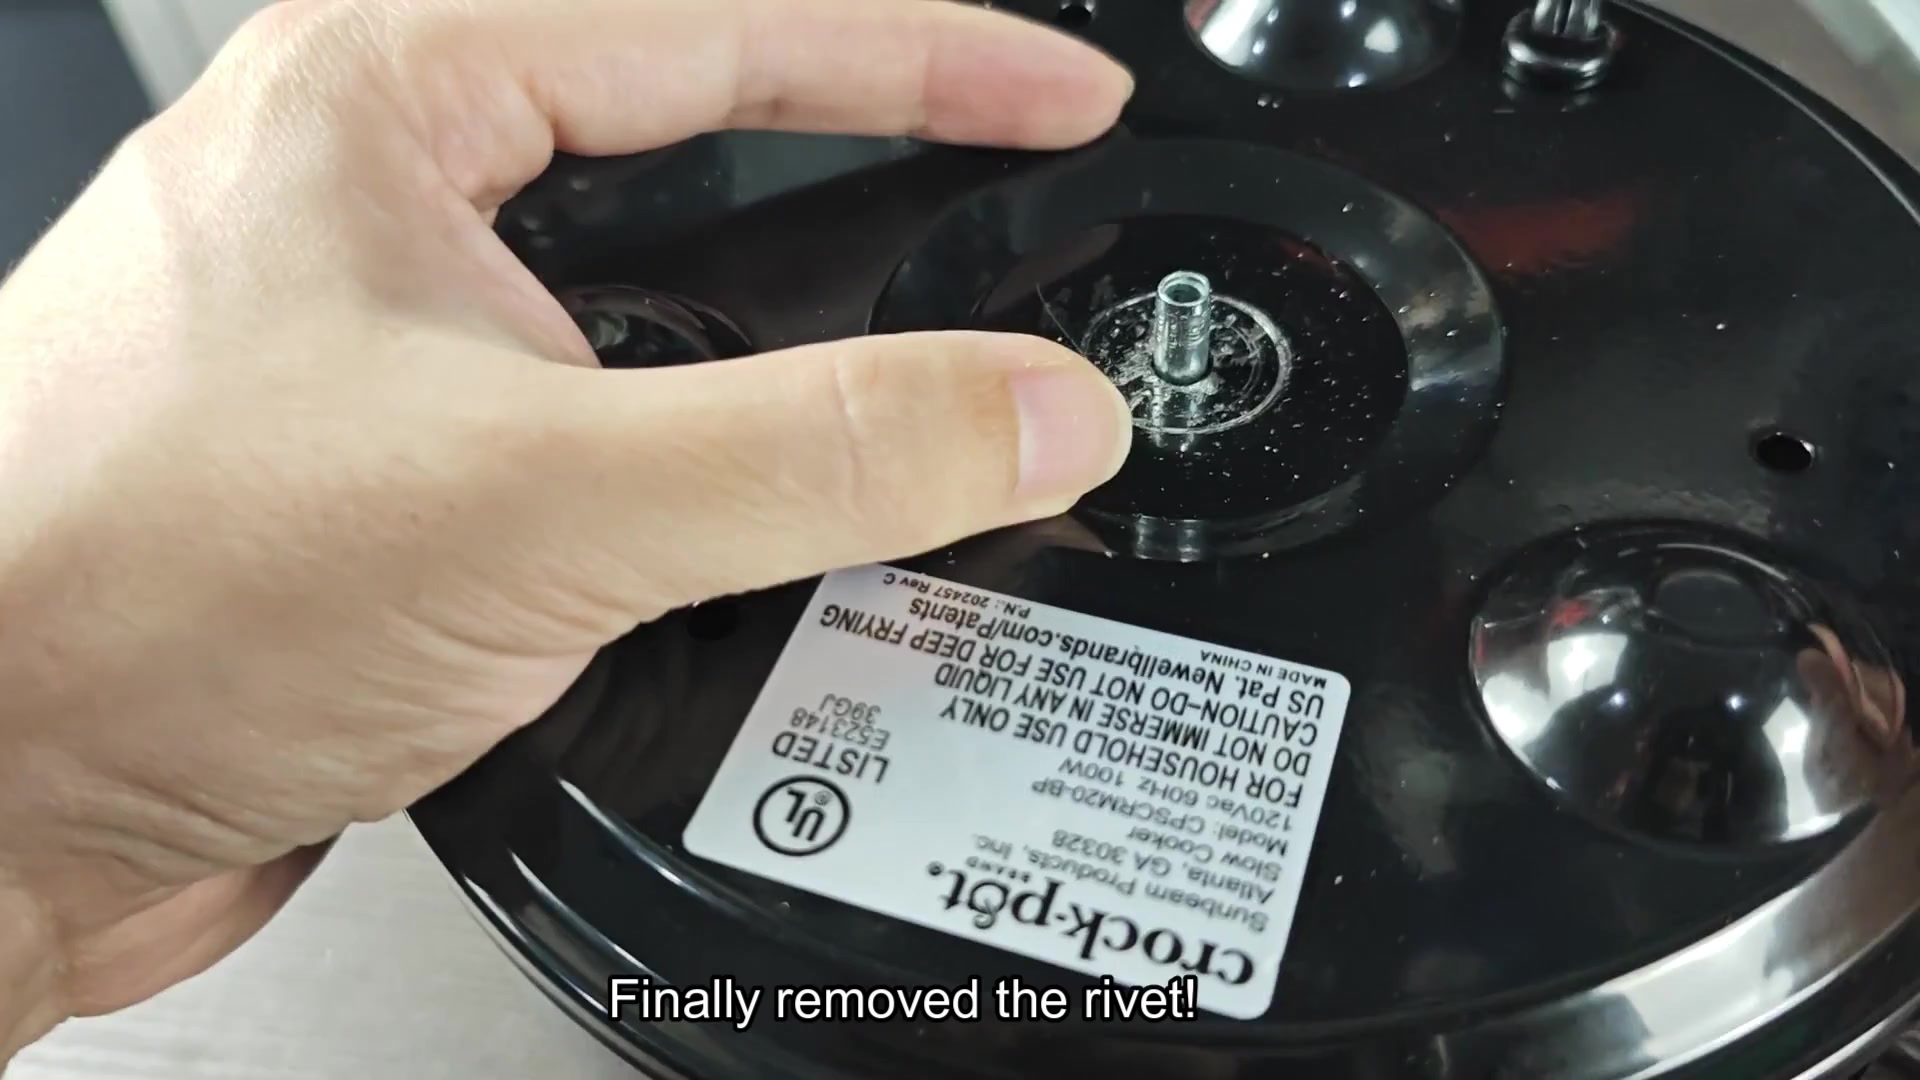
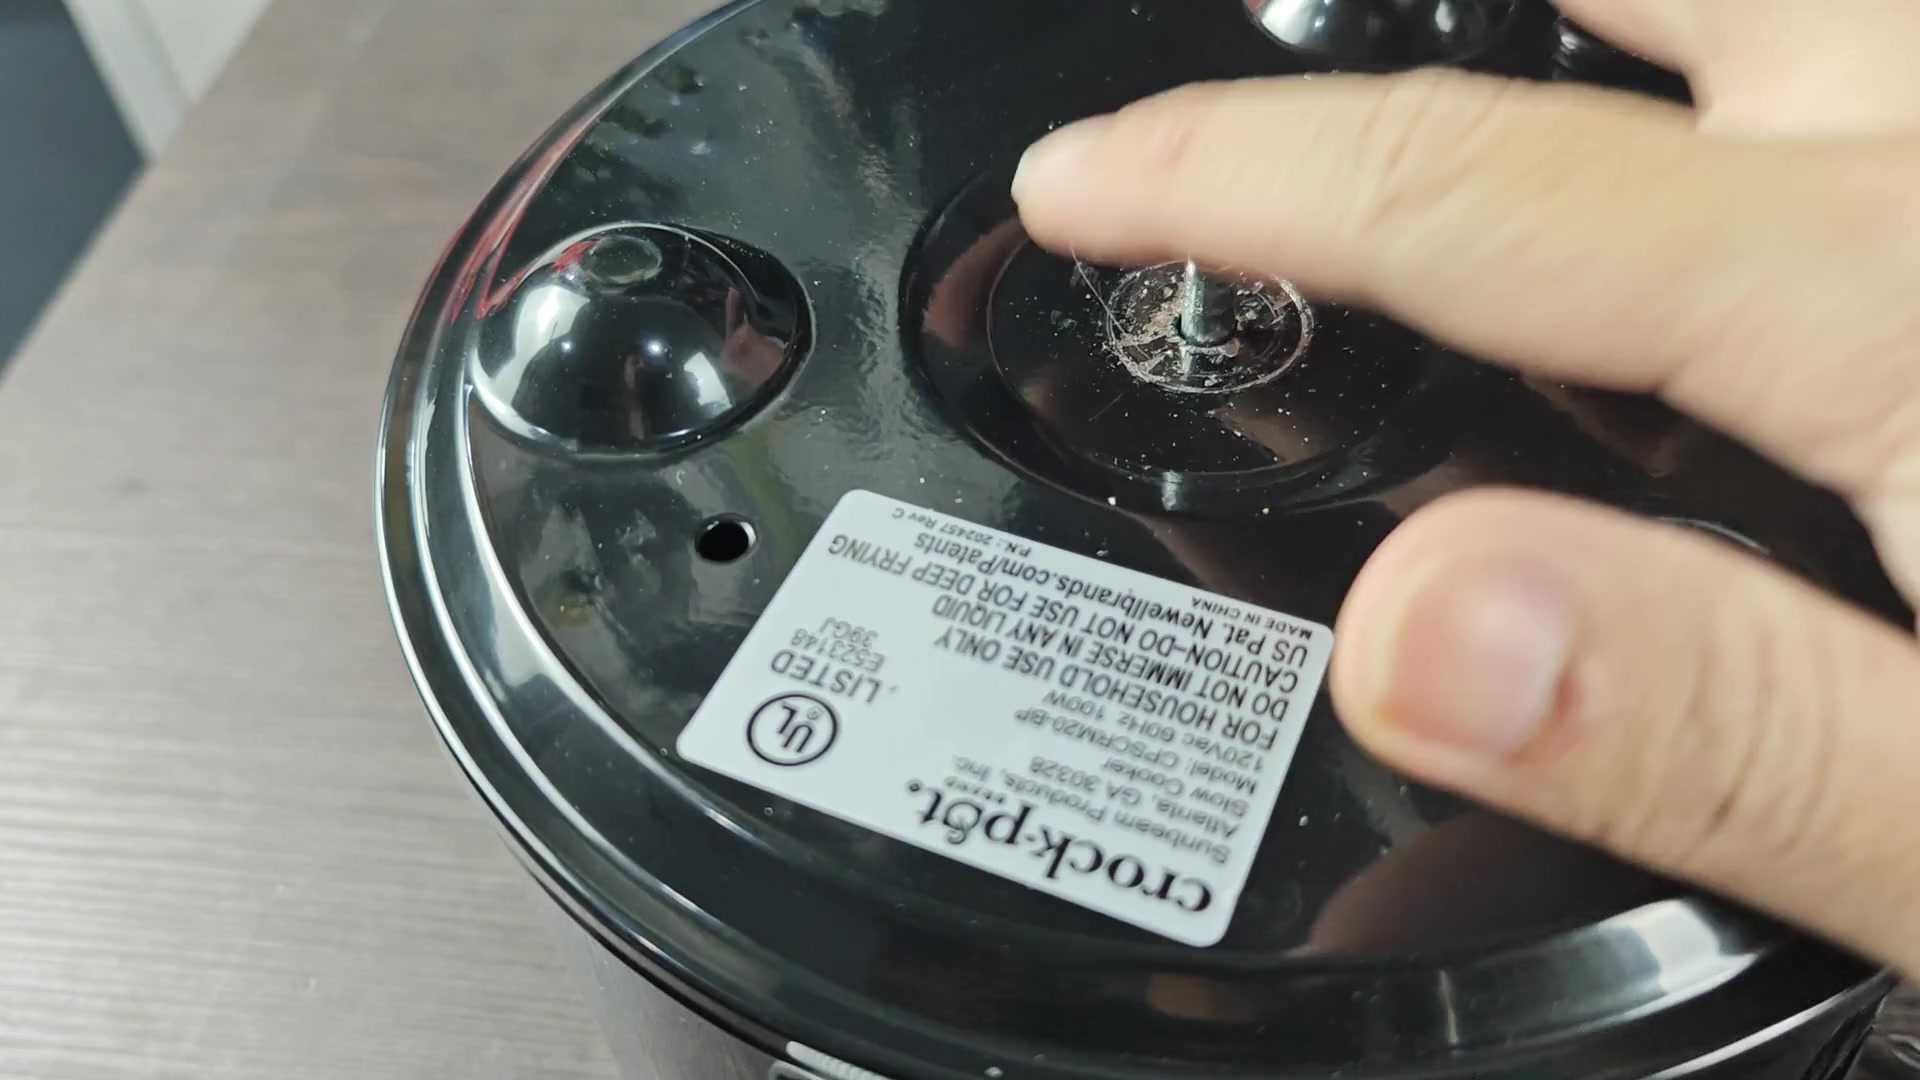
Because this can leave permanent scratches if not careful, it’s best to have something underneath the bottom before applying force. After some gentle prying to loosen the fastener, I used the screwdriver to turn the rivet. I use just enough force to get it to free itself from the housing.
It is not a quick process as you don’t want to strip the surface material, so it requires some patience until you feel the rivet begin to give up its hold. When that happens, you will notice it let go all at once and pop right out of the housing. Removing the fastener allow us to pull the lower cover up and off the rest of body to get a look inside.
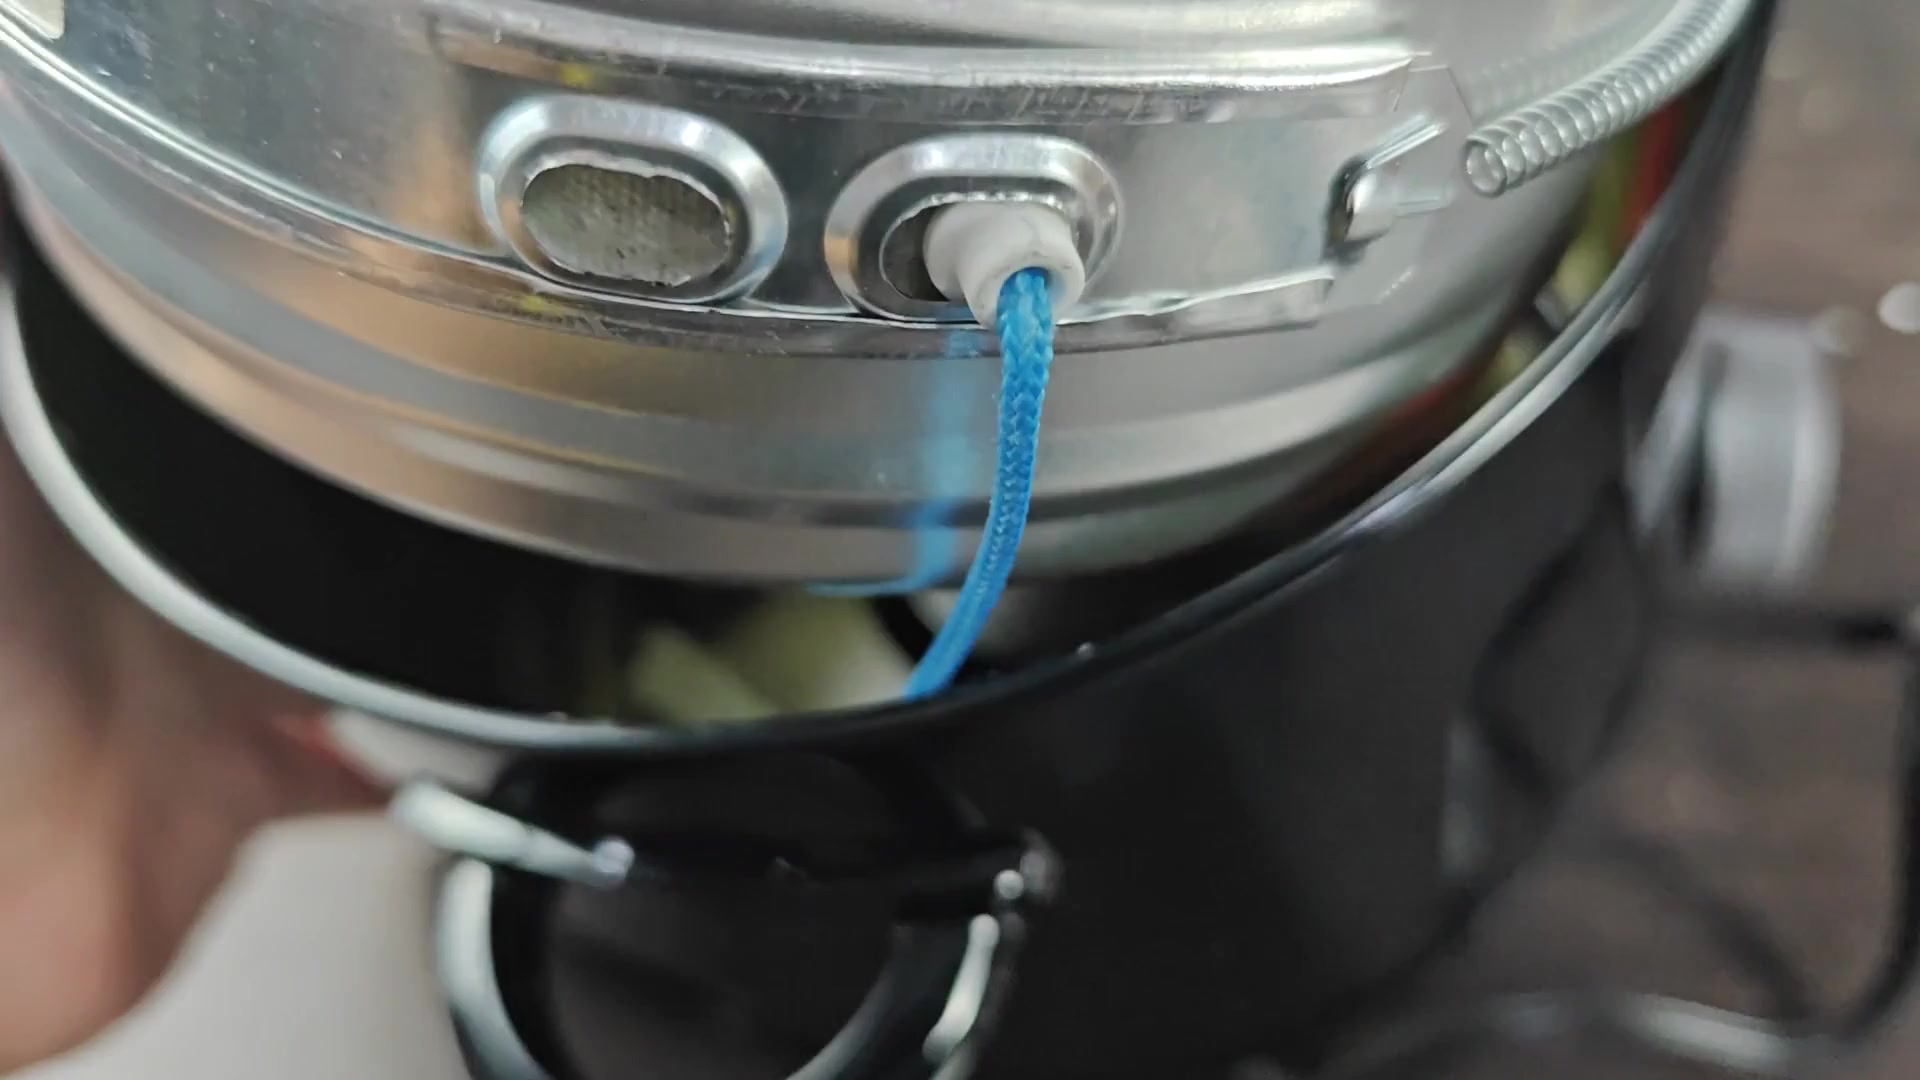
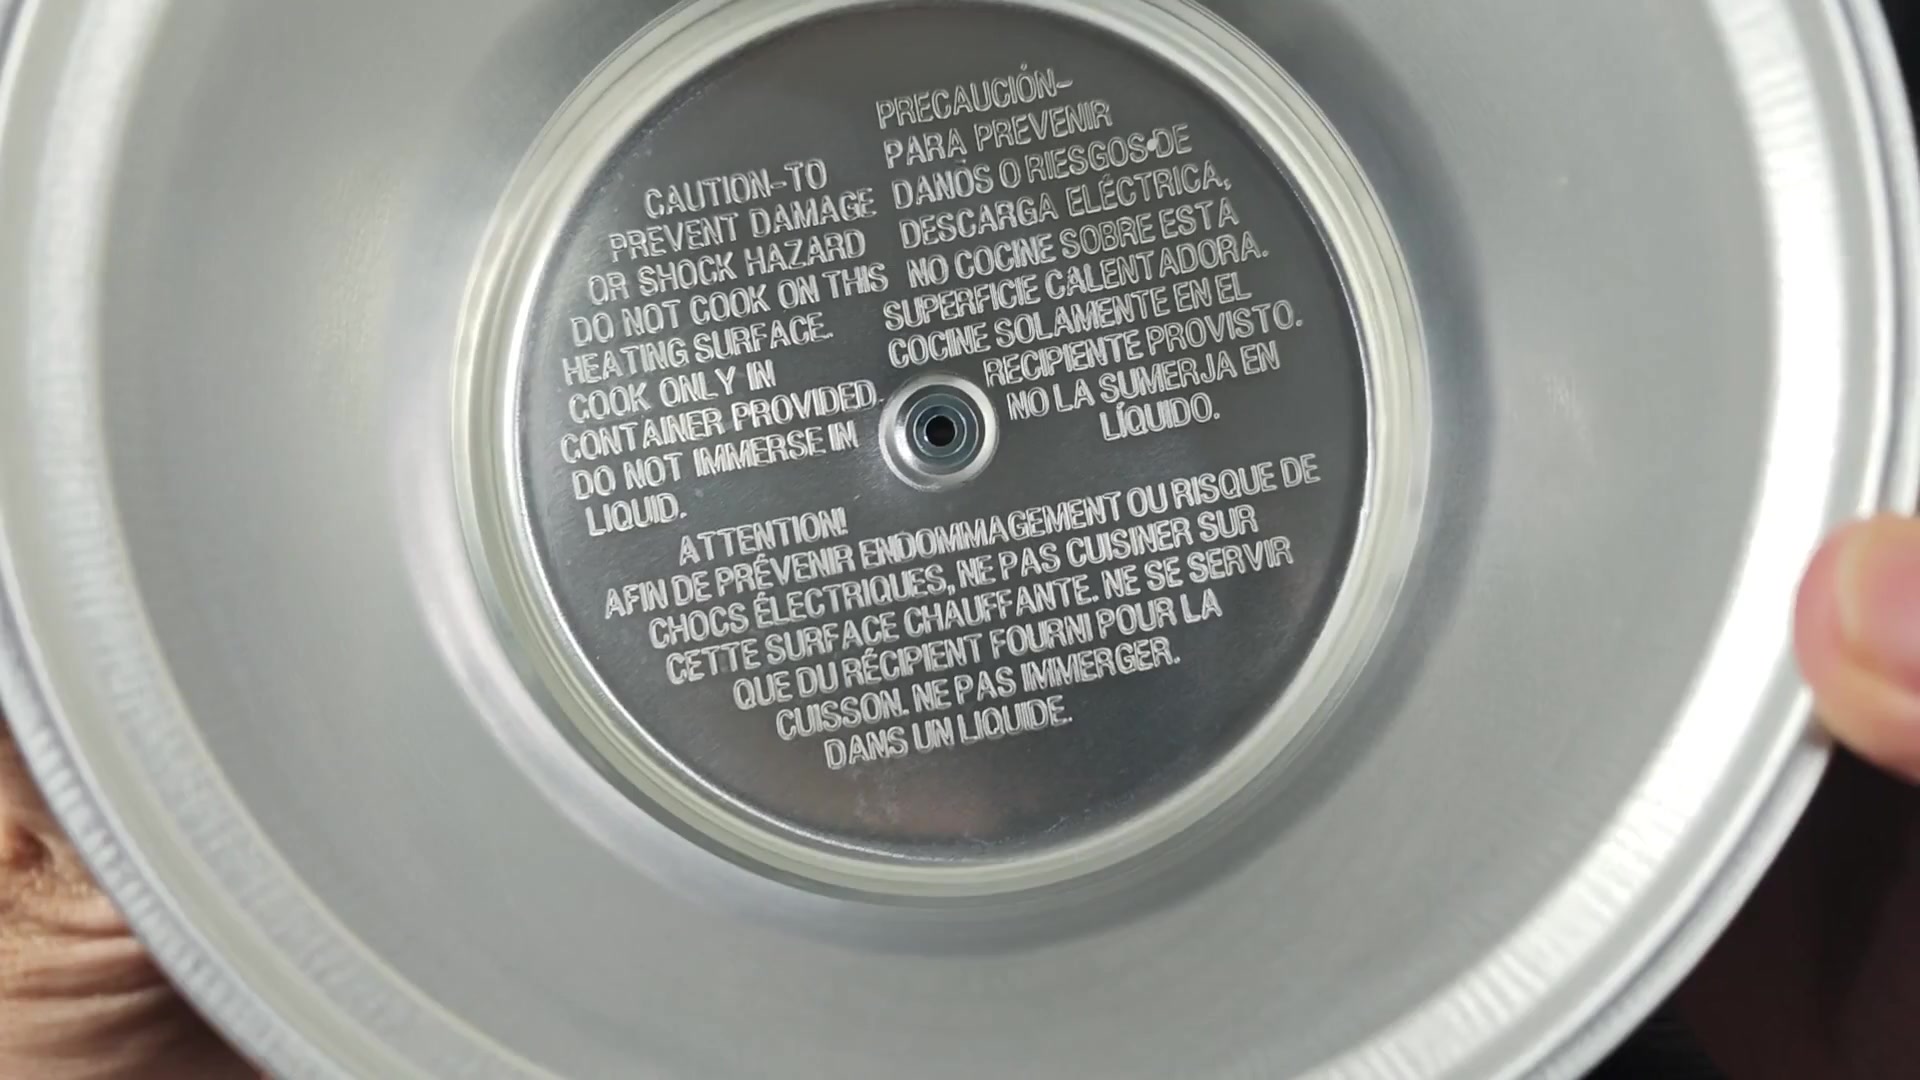
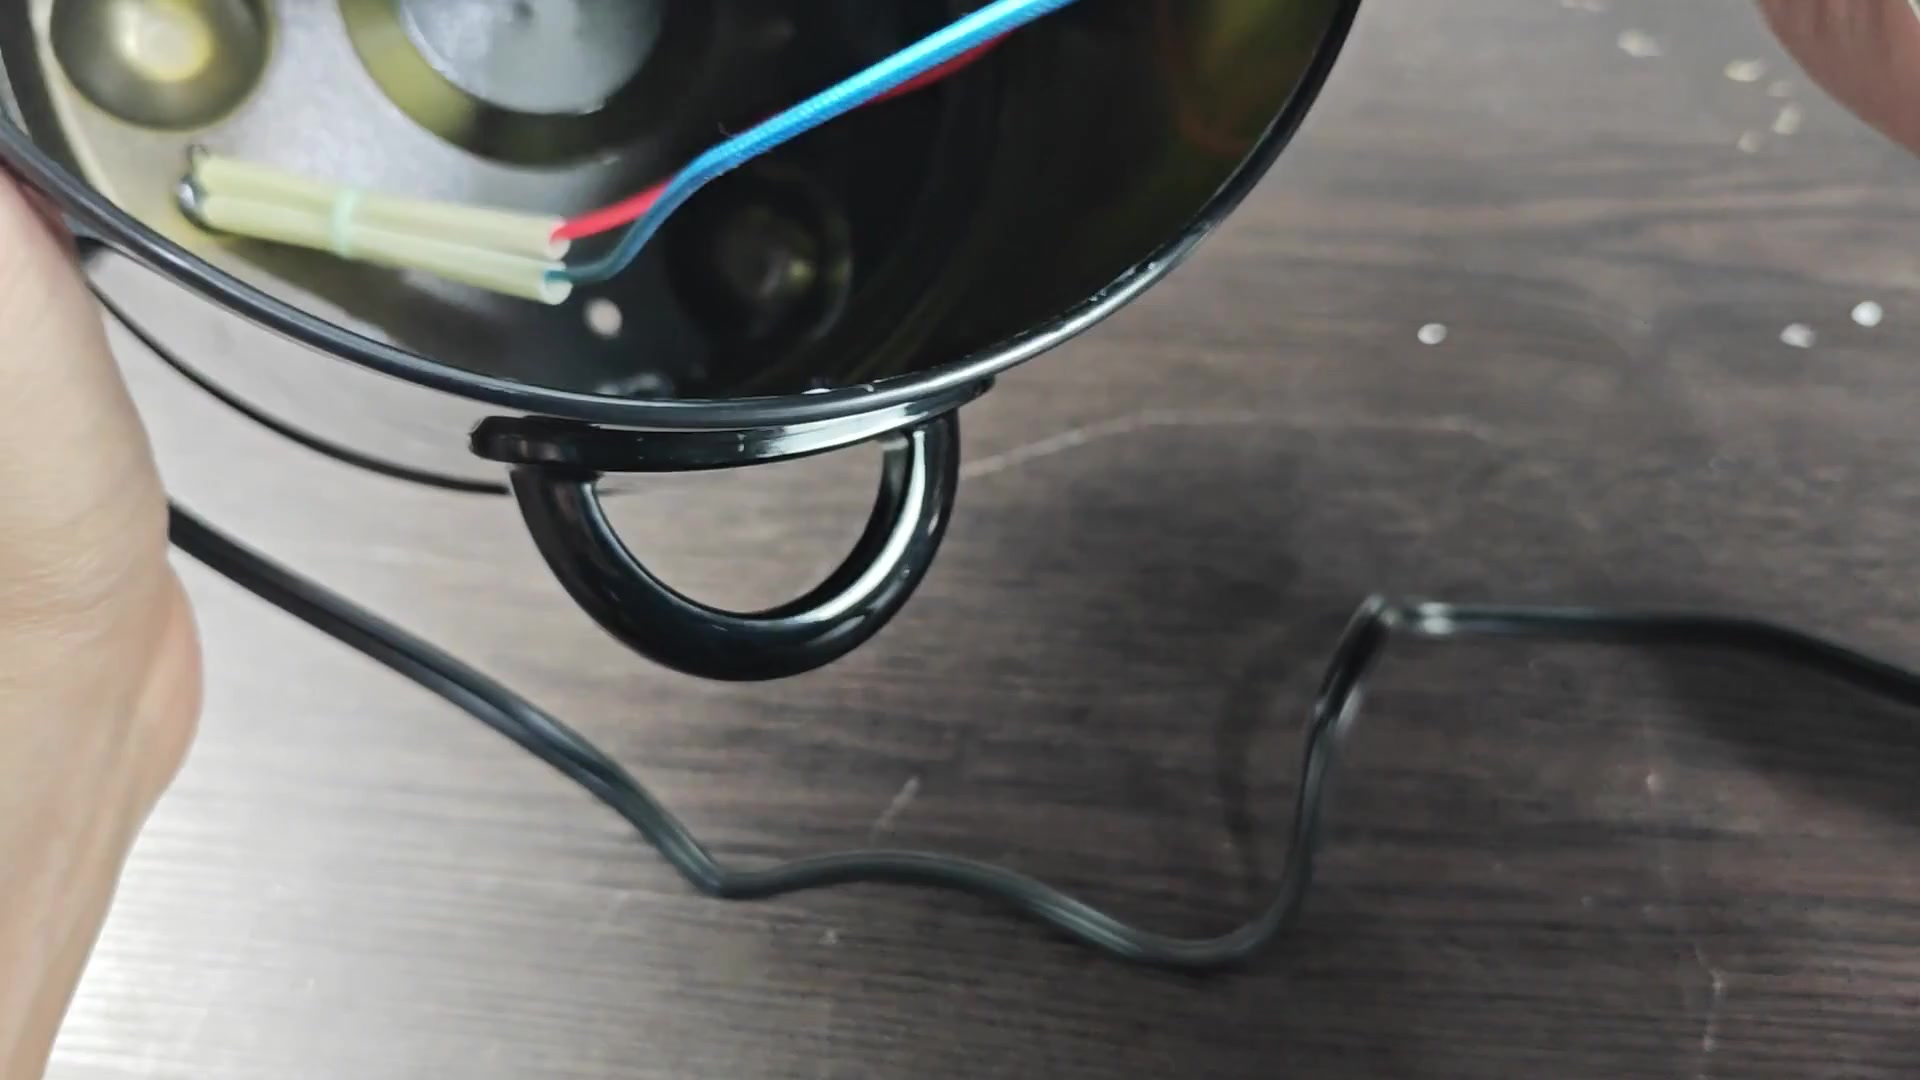
You’ll see there’s some pretty thick instructions written in multiple languages on the underside of what looks like a round metal plate, which rests at the very bottom of the insert pot. This part contains key sensor or heating element connection that power the whole thing, so there’s a little hole in the middle of the bottom where those would be located. To reassemble, ensure the silver metal insert sits flush against the internal walls. To get it seated properly, simply lower the pot down slowly while holding the black outside frame handles for solid grip. When correctly position everything just falls into place. The unit has been opened up now to see where the wiring connects more closely. Two wires is connected firmly to a screw near a small white connector. They’re red and blue, which shows they are power lines that send electricity to the heating element.
Checking out these connections can reveal any loose contacts or possible faults that could be causing problems with the control board. You can also see where the blue wire comes out near that metal piece and follows along to the white connector which goes back to the main housing. The blue wire follow it out towards the white connector as well.
Again you want to be sure those wires stay connected properly so make certain they’re in place. Everything seems fine after a quick look.