The KitchenAid Mixer is a trendy appliance found in houses all around the world. It is an incredibly versatile piece of machinery that can make it quite easy for you to make your own meals and prepare different foods.
However, if your KitchenAid Mixer is causing problems, it might be a wise idea for you to identify major problems and then implement a fix. There can be various things that could be causing a problem, and the mixer pin is one of the serious issues.
If the mixer pin gets stuck, you will want to look at the reason behind it and then find a suitable fix. There are several reasons why the mixer pin might be getting stuck, and finding an appropriate solution is important if you want to use your KitchenAid mixer.
How To Fix KitchenAid Mixer Pin Stuck?
1. Beater Slots
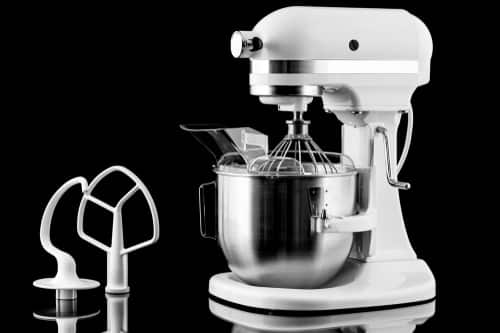
Okay, so if you cannot just pull out the pin and then put it back in, we suggest that you check the beater first. The reason for this is because the beater is designed to be used with this slot in place.
The slot can be slid on the pin. Once you slide on the slot, you need to move it around by 1/4th angle, and it will fix the stuck pin issue. It’s recommended that you try fixing it using the beater slot, as that’s the most common reason for this problem.
However, if this doesn’t work, there are always other fixes that you can implement. The mixer is a complex piece of machinery, and you need to be sure that you are trying out all of the fixes.
2. Nylon Gear
The conventional gear fixed in the KitchenAid mixer is usually made of metal and is susceptible to a series of problems. Over time, it is likely to rust.
Instead, we recommend that you install nylon gear, as it will resolve most of the problems you are experiencing with your appliance.
When you change out the metal gear with the nylon one, it will allow the pin to move in seamlessly, thus preventing it from getting stuck. Instead of relying on conventional metallic gear, it’s a wise idea because it will cause problems now and then.
3. Grease
If you don’t want to take the long route of replacing the internal components or the gear, we suggest that you try greasing the parts that are getting stuck.
The grease can soften up parts, and you will notice an instant improvement in the appliance functions. Also, we suggest that you use food-grade grease for softening the stuck pin so it doesn’t impact the safety of your food.
Food-grade grease is readily available from various stores, so you can easily buy it from an affordable place.
4. Heat Gun
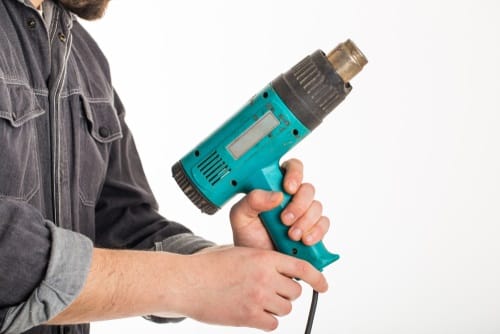
Now, if the pin is not coming out despite trying out several techniques, you may want to consider using a heat gun to resolve the problem. The heat gun can actually fix the issue with the pin.
In this case, set the KitchenAid mixer on the hard floor and heat the pin area for around ten to twenty minutes (use the warm setting if you use the hairdryer). Once you heat the pin area for a few minutes, it will just pop out.
That’s because of the thermodynamic properties of metal. So when you heat it, it’s going to pop the pin out automatically. So make sure that you do not apply too much heat to it because that might lead to serious long-term damage to your appliance.
5. Freezer

This might sound absurd since we just used a heat gun for popping out the stuck pin. And yet, when you read about the thermodynamic properties of metals, you will realize that it makes a lot of sense.
We suggest that you put the mixer in the freezer. This works because the metal components tend to contract when put into the freezer, which eases the dismantling. However, it’s not going to happen automatically.
You will want to make sure that you leave it in the freezer for at least a few hours to see any change.
Remember, the aim is to cause the metal to move; either contract or expand. When it does, the pin will automatically pop out. Likewise, when you heat the metal, it expands, and when you cool it, the metal contracts.
Once the mixer is completely cold, take it out, use the pin punch, and hit the pin with all your power. After some hits, the pin will start moving. However, if you want to remove the pin, press it a bit harder than usual, and you will have gotten it out.
6. Hitting it From the Opposing Sides
If you have tried all methods, ranging from the heat gun to the other problems, and nothing really fixes the issue, you might want to try one last resort. That is to prop up the KitchenAid mixer on an angle and then hit the pin punch from the opposite end.
It’s a fairly simple way of getting the pin out with relative ease. Obviously, please don’t hit it all that hard, as you may risk damaging the appliance altogether. Also, please don’t use any tools to hit it; use your hands to do the job.
If none of the methods given on this list do the trick, you may want to take it to an appliance repair technician. However, it’s generally recommended that you avoid tampering with the appliance on your own.

Most people are not that good with fixing appliances, even implementing basic fixes. If that’s the case, you should avoid tampering with the appliance yourself; just let a professional handle it for you.
They are going to fix it for you for an affordable price. However, if the issue arises just after a few months of buying the appliance, you may want to contact the company and claim a warranty for it.
The company will fix it for you at no extra charge, and if it can’t be fixed, they will replace it for you. It’s an excellent way to get the problem resolved without any hindrances.