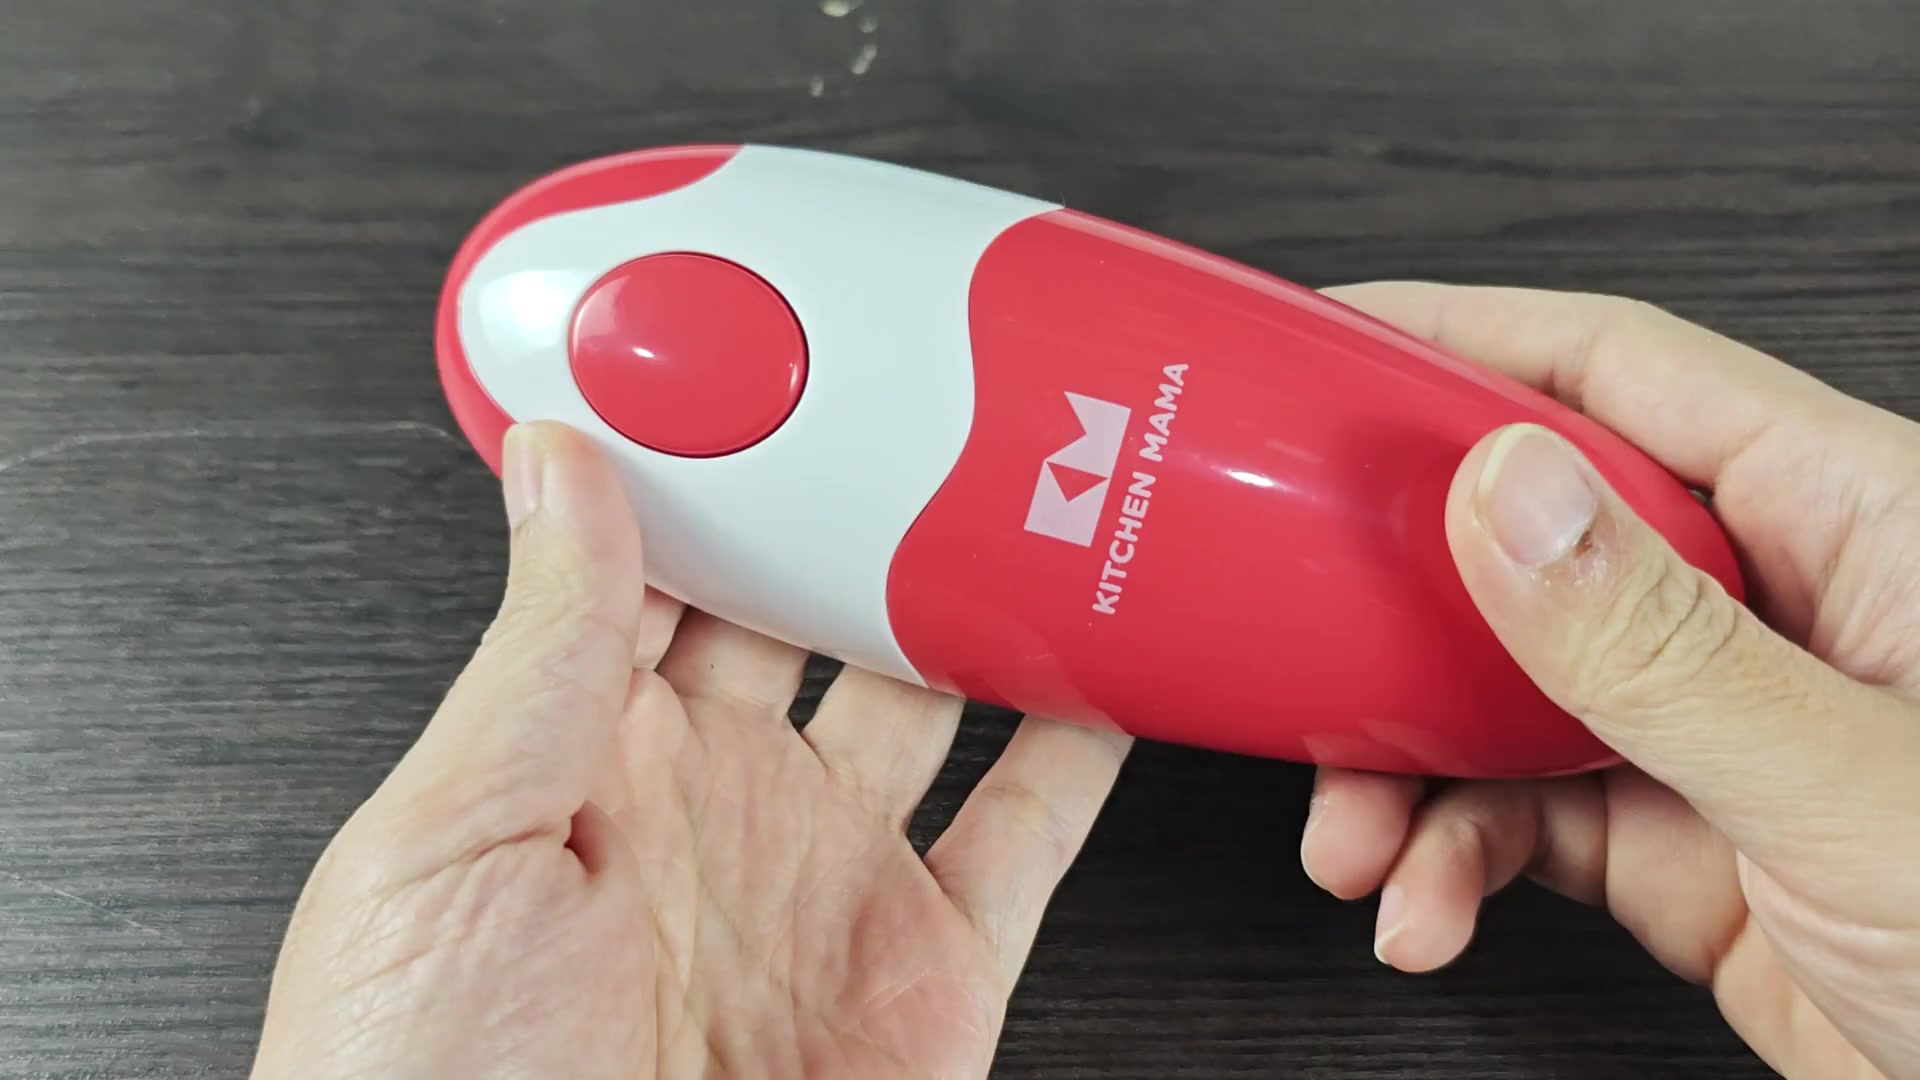
This is a Kitchen Mama Can Opener.
The casing is real tight and snapped together, which makes getting into the innards of this can opener hard to do. Just know that it’s not going to pop open easy with a quick tug. It take some patience and methodical work to get it open.
Accessing the internal components
At first glance, you’re probably going to want to go straight to looking for screws on the outside; however, there rarely is any out there in plain sight. That might throw you off a bit since most things do has somewhere easy to get in.
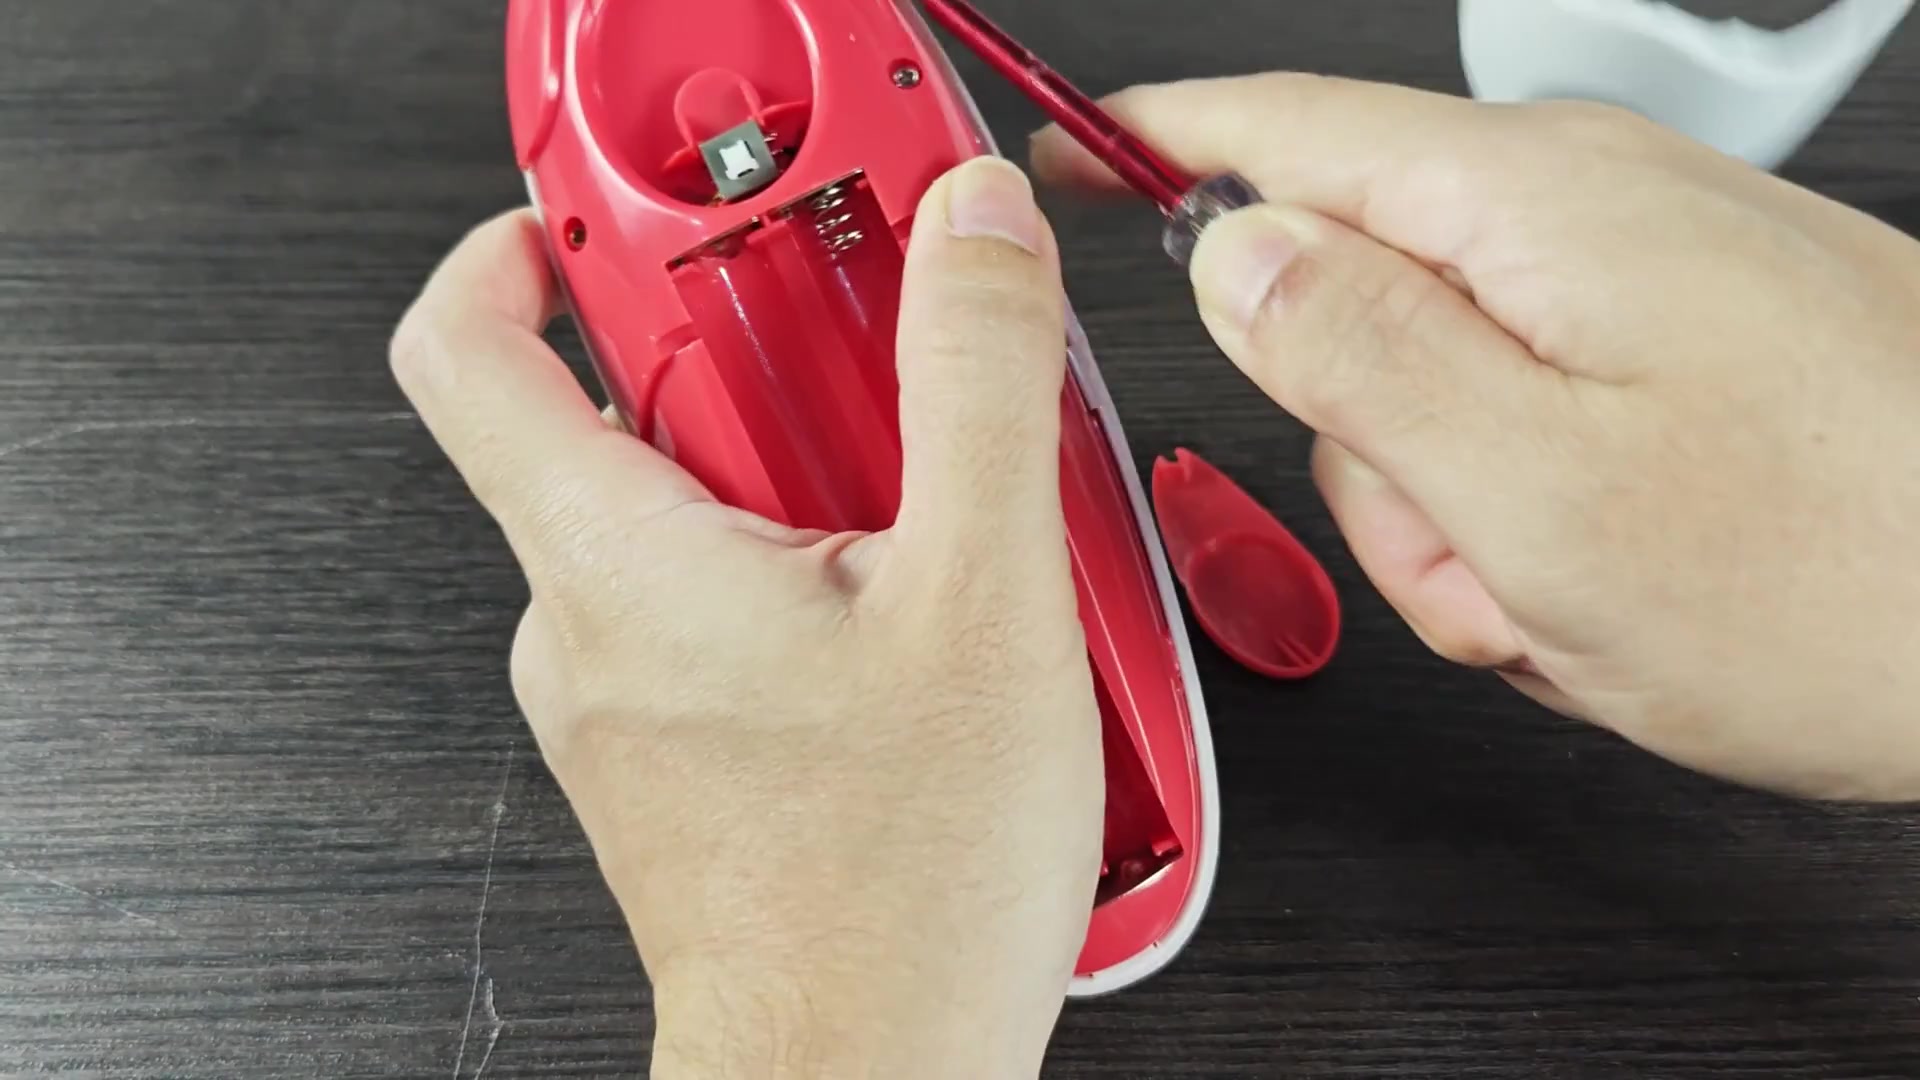
The first step to opening it up is to remove the battery cover, that’s the regular plastic cover on the back of the thing. It slide right off with a little push on the release tab.
After that, you’ll be able to see into the battery compartment after removing your batteries (always best to remove ’em to avoid damage). You’ll see just some bare metal springy contacts delivering power, all very tidy and nothing else in sight. That’s how handheld gadget battery are done.
To get at the covers, we have to remove the front cover. Unlike the screws on the back cover, this use clips to hold it in place. The clips do not want to release while it’s open so be gentle when pulling them apart.
I’d recommend using a small flat head screw driver (not a big one out of your toolbox) as these will help you avoid scratching up plastic. When prying them apart, just work the tool along an edge near the top gently until you see some separation between the two pieces. This tend to be the weakest area along the seam.
Then you just use a little bit of force to pry it open. Don’t go crazy, though; remember the white plastic shell? If you try to pry too forceful, it’s gonna crack.
Slowly work your way around the edge of the shell with the screw driver, being sure not to use any brute strength. The clips will fight ya for a while but if you give it some time and continue working, the front part should loosen up a bit. It doesn’t need to come off, but this little opening will make next steps much easier.
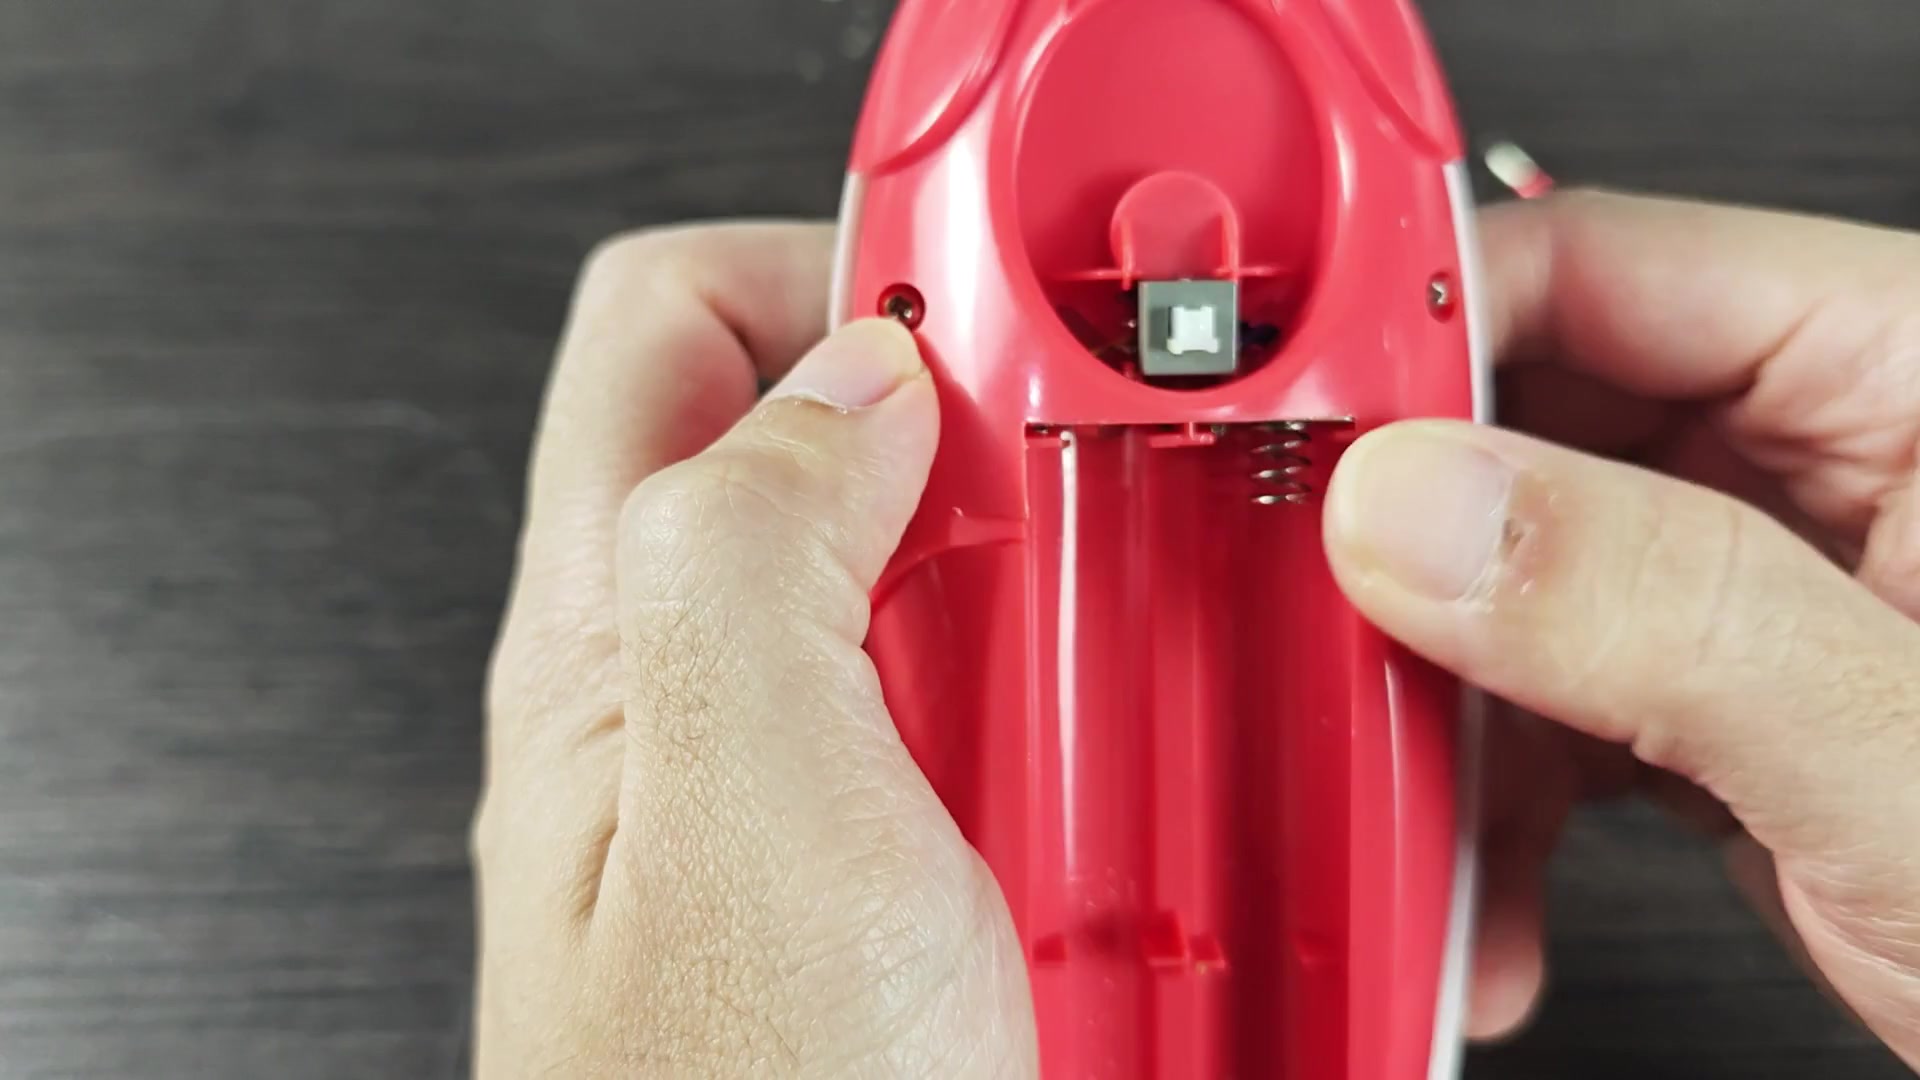
Inside, you’ll notice that there is a pair of screws underneath the front flap. They holds the main housing in place with generally tiny Phillips head screws. Since the flathead screwdriver won’t do the trick here, you have to change tools again.
If the screws haven’t been corroded or stripped, the first one should of pop right out. In most cases, the second screw will be close behind. Once you’ve cleared both fasteners, everything loosen up.
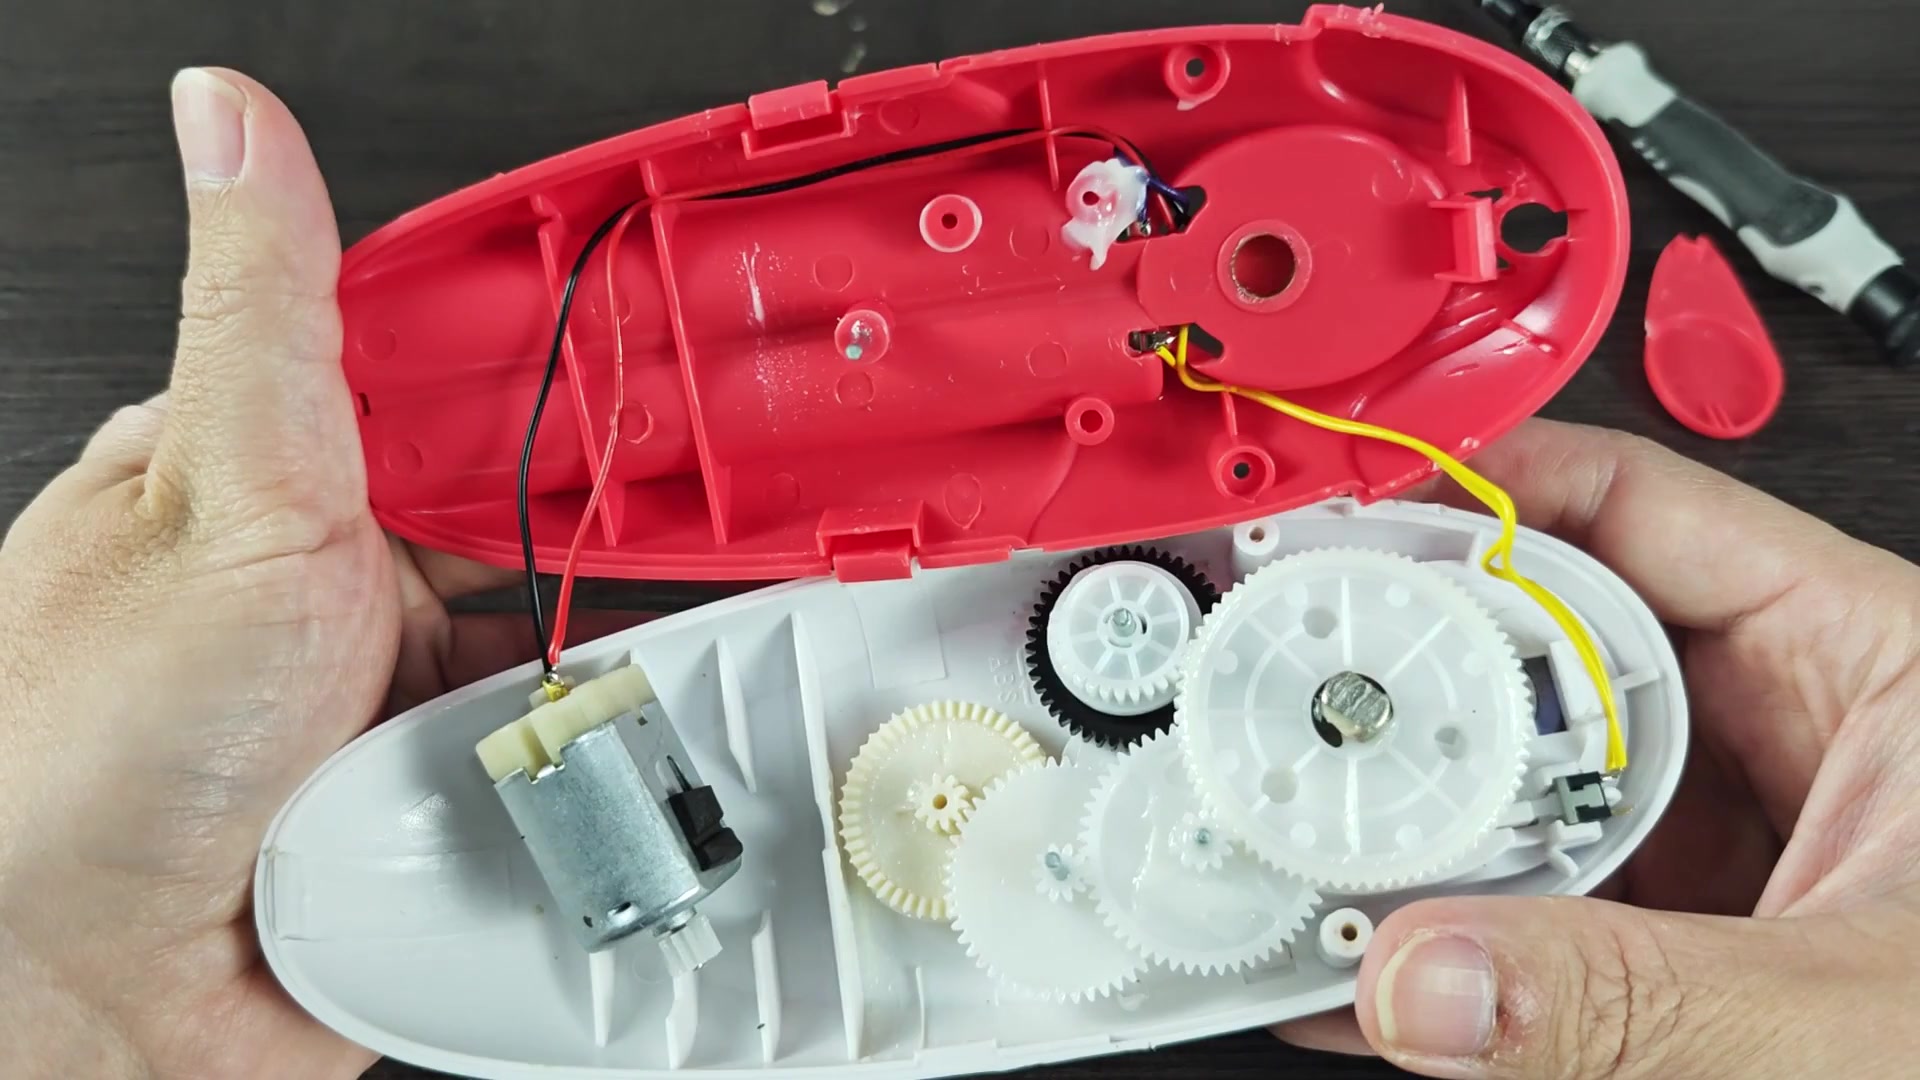
Now, just remove the cover. But wait. Don’t just yank it right back off or you might snap some of the internal wires if they are short. Rather, gently lift it from side so it will come free without tearing.
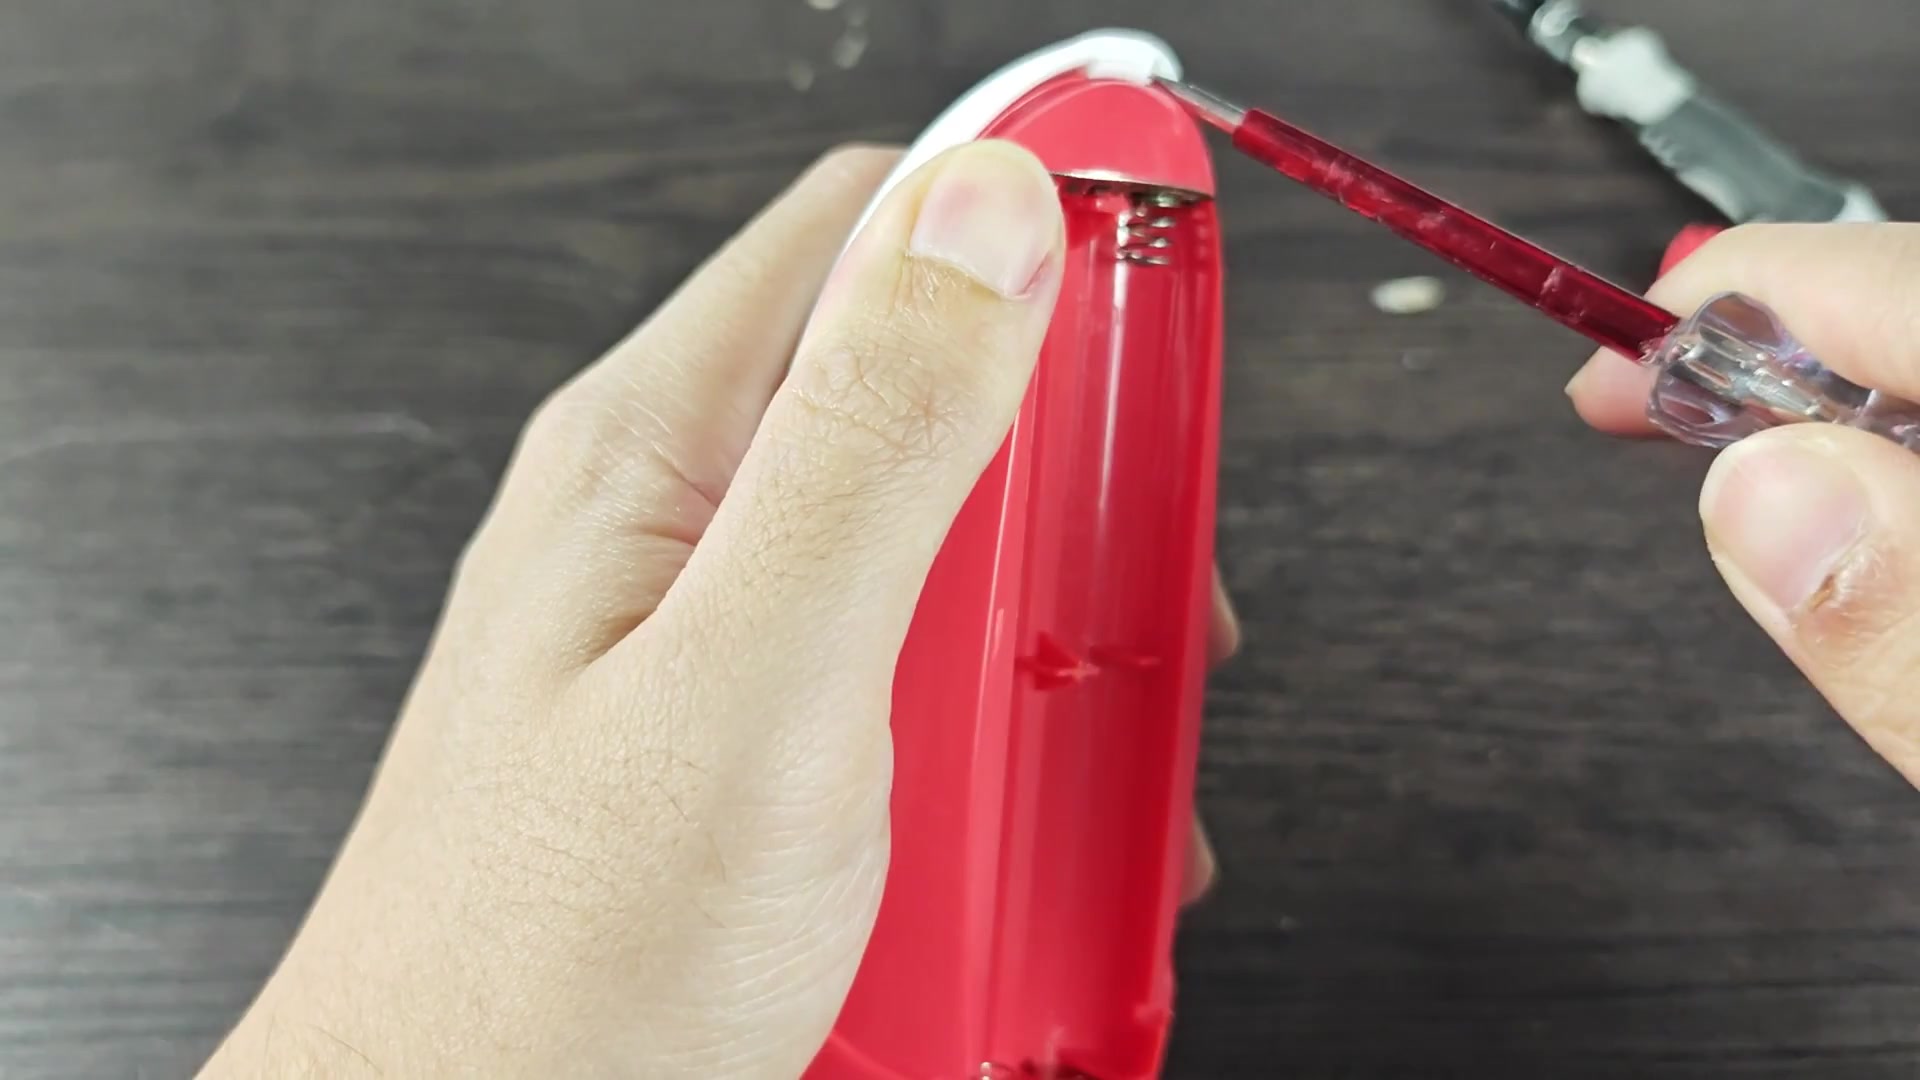
Using this technique makes removing the back cover very easy; there’s no resistance between the back cover and its base. Once done, it just comes right out in your hands.
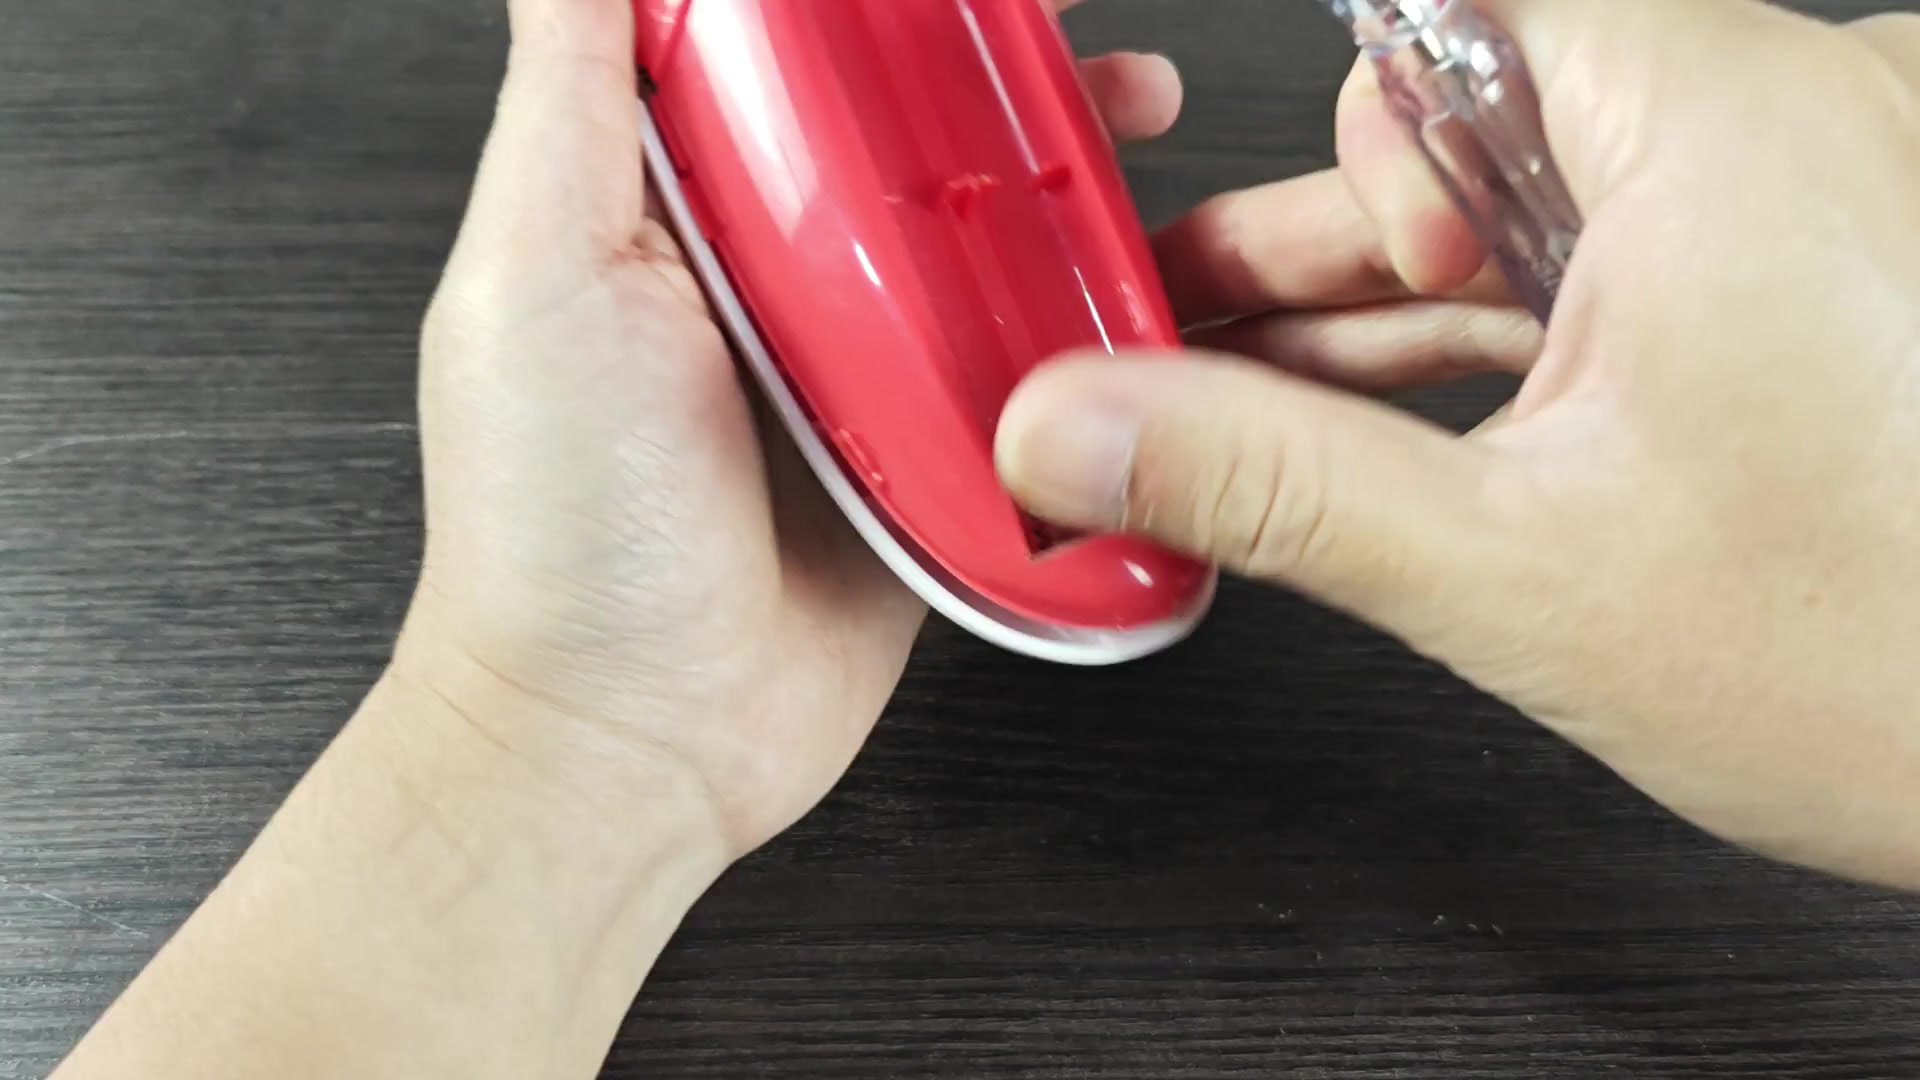
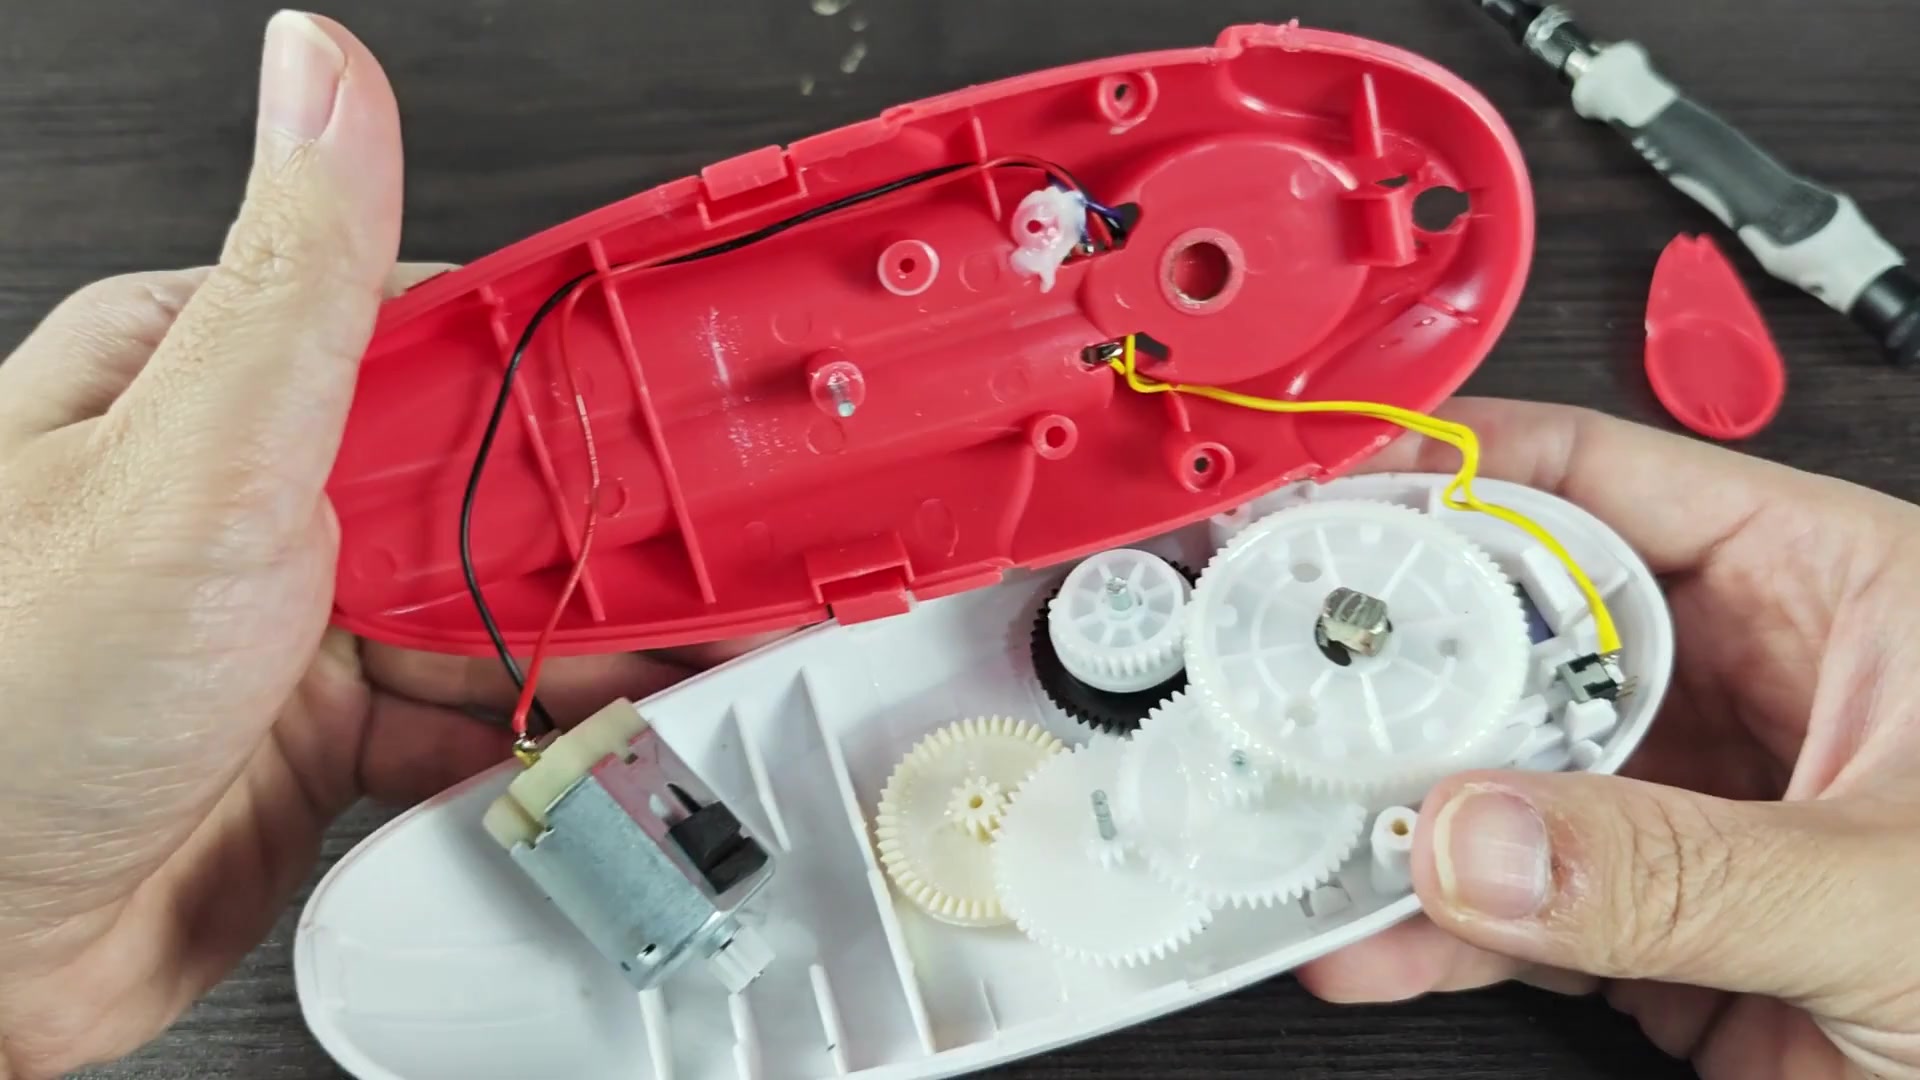
Opening up the device show off all its workings. On one side you see the little DC motor connected straight to the gear train. The gears are made of white plastic, so they appear strong enough for regular usage.
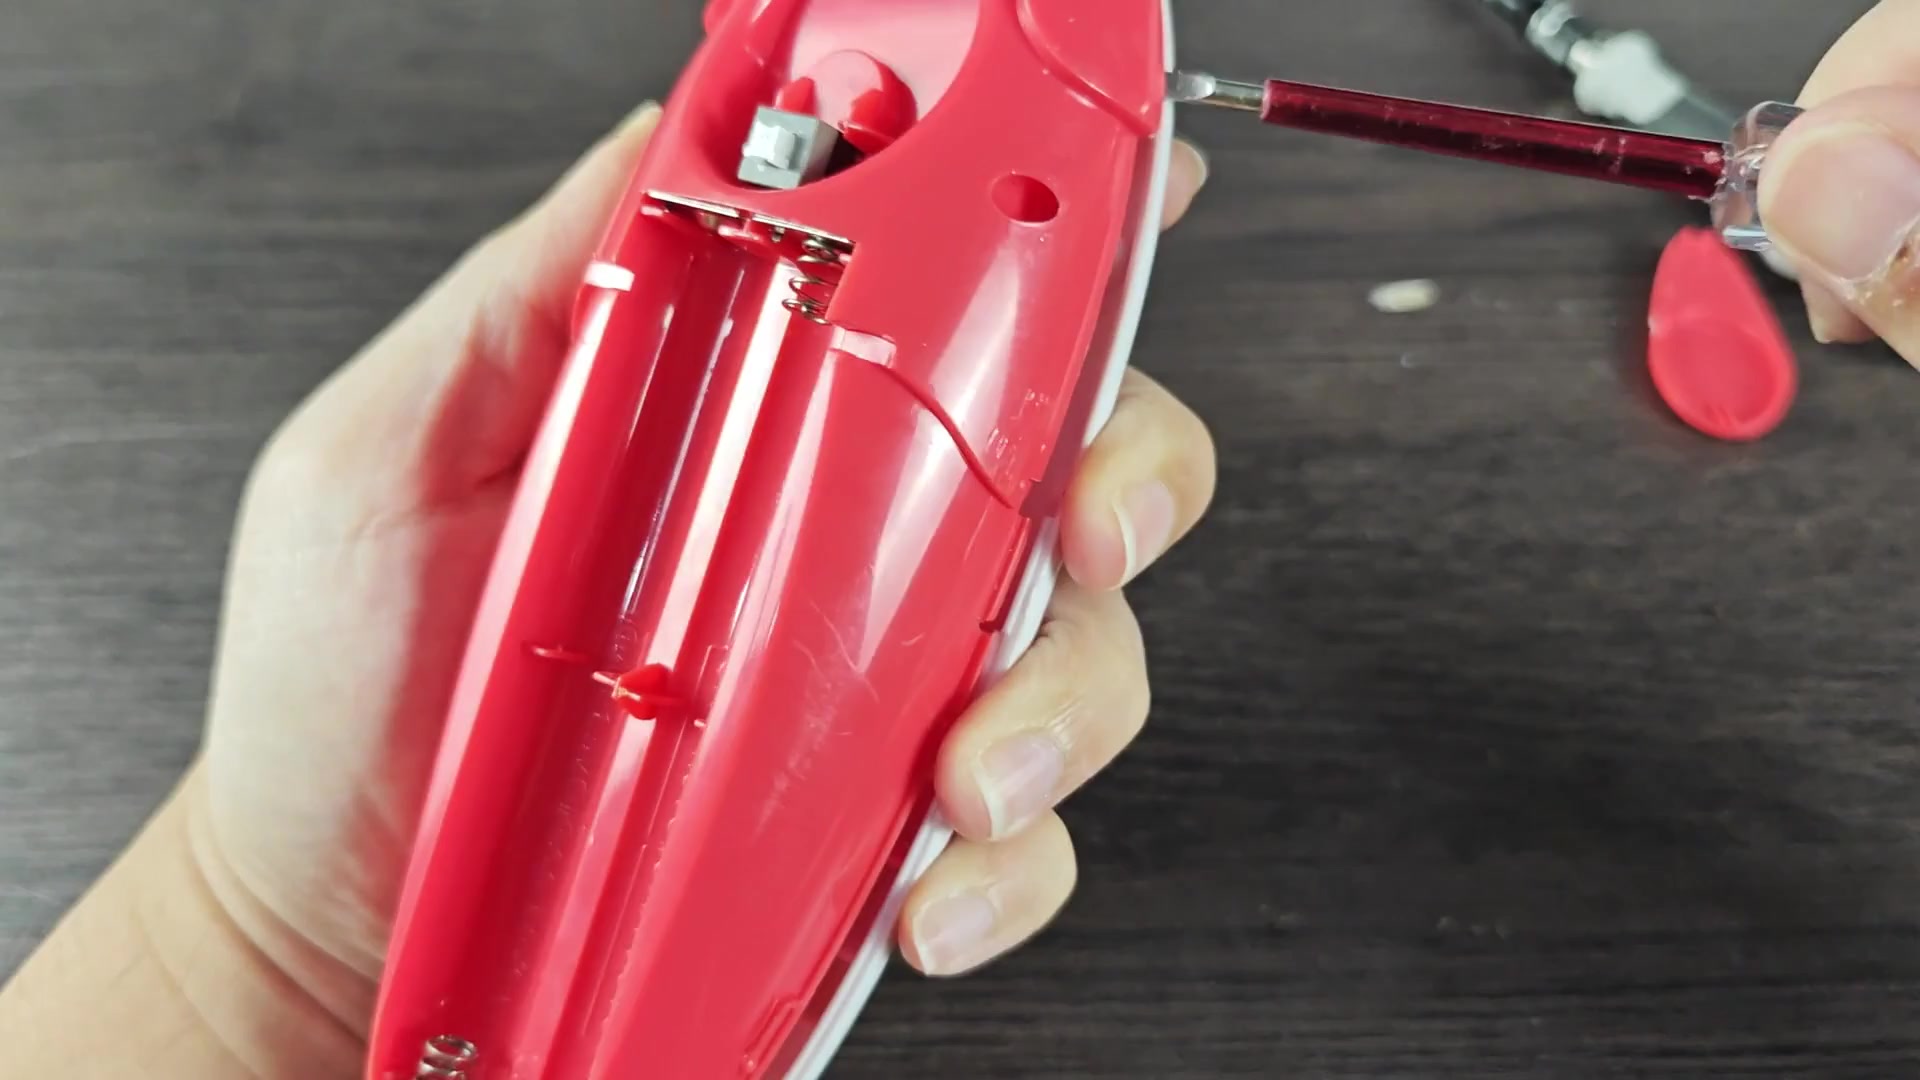
Next to the output shaft is a black gear. Inside the casing you can see some wiring powering everything up: yellow and black over a red interior. Everything is laid out efficienty and compactly.
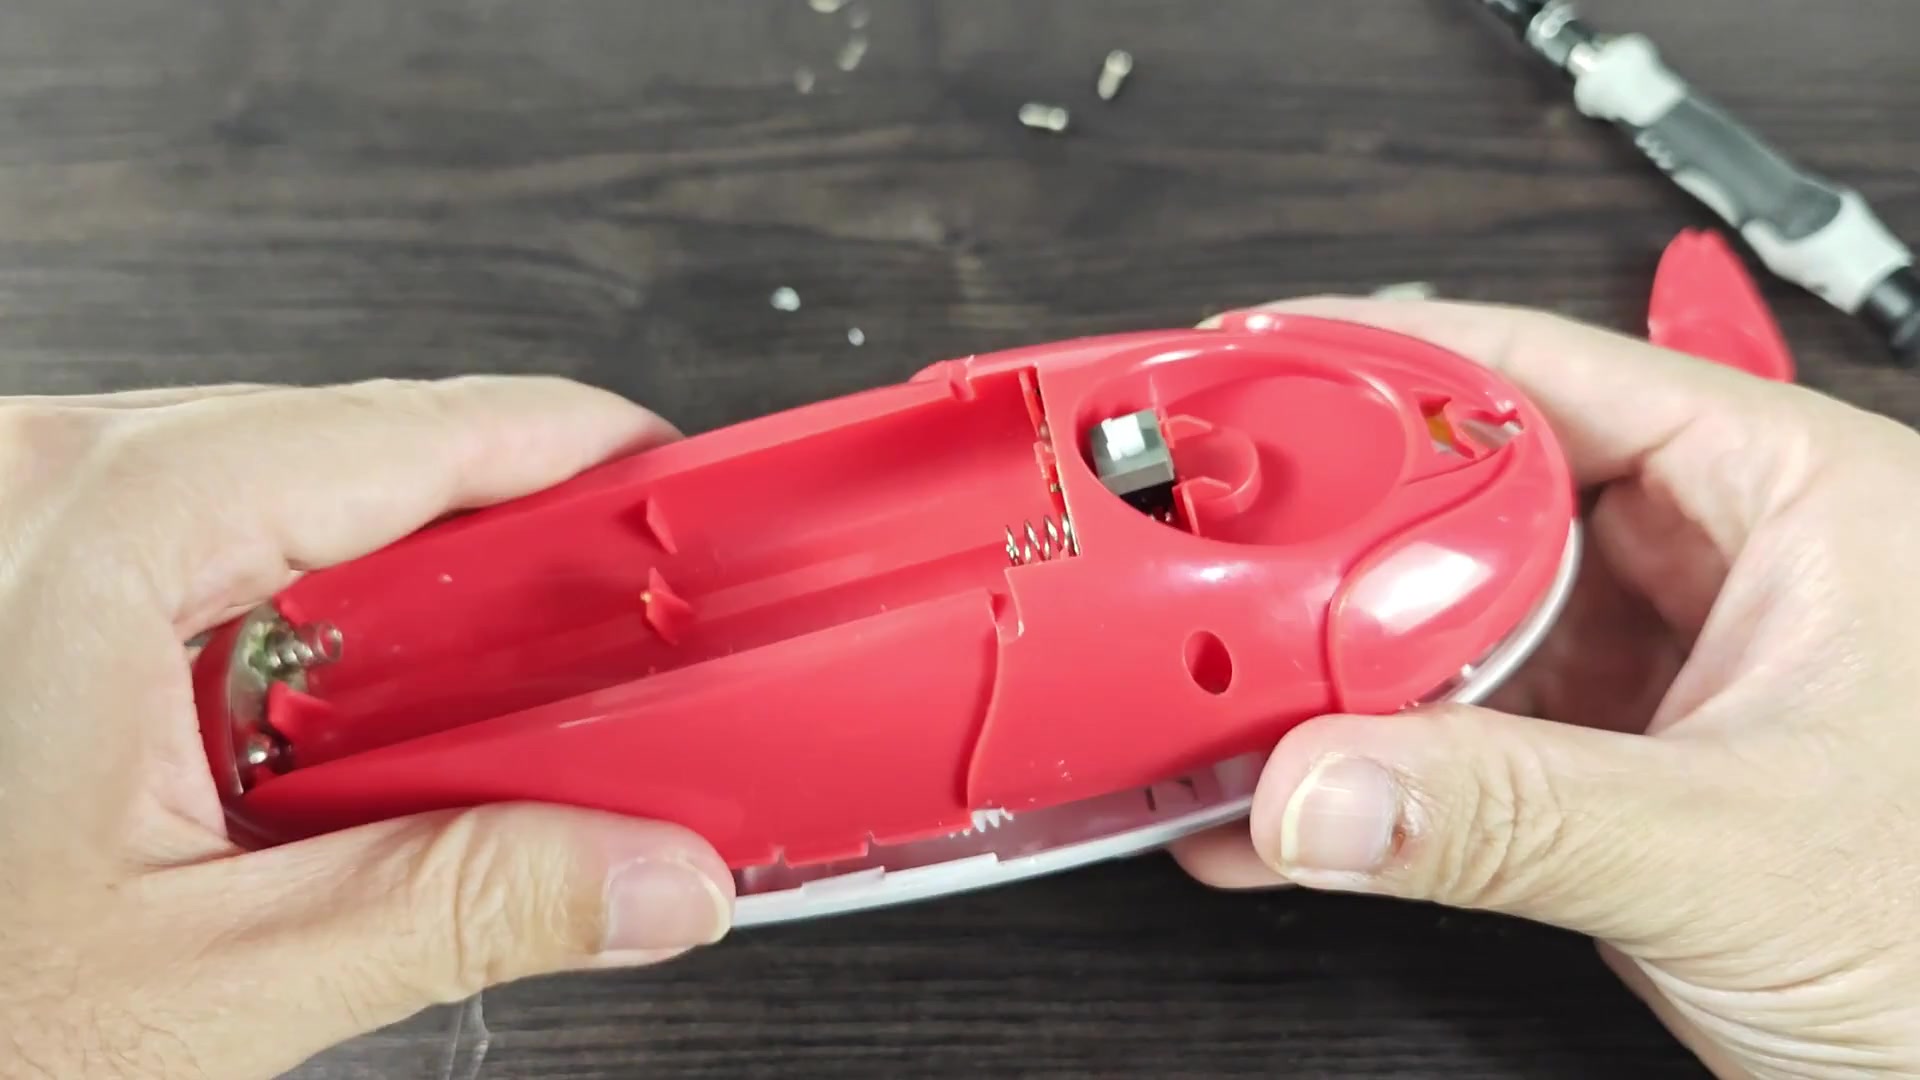
Once it’s open, take a moment to check the wiring. The wires come out in a nice line through the channel; the black wire is grounded and the yellow wire attach to one end. Check to see if either wire shows any wear or fraying at all.
If not, everything checks out so far. Once you’ve familiarized yourself with what needs to be removed, the rest is just patience and appropriate tools.