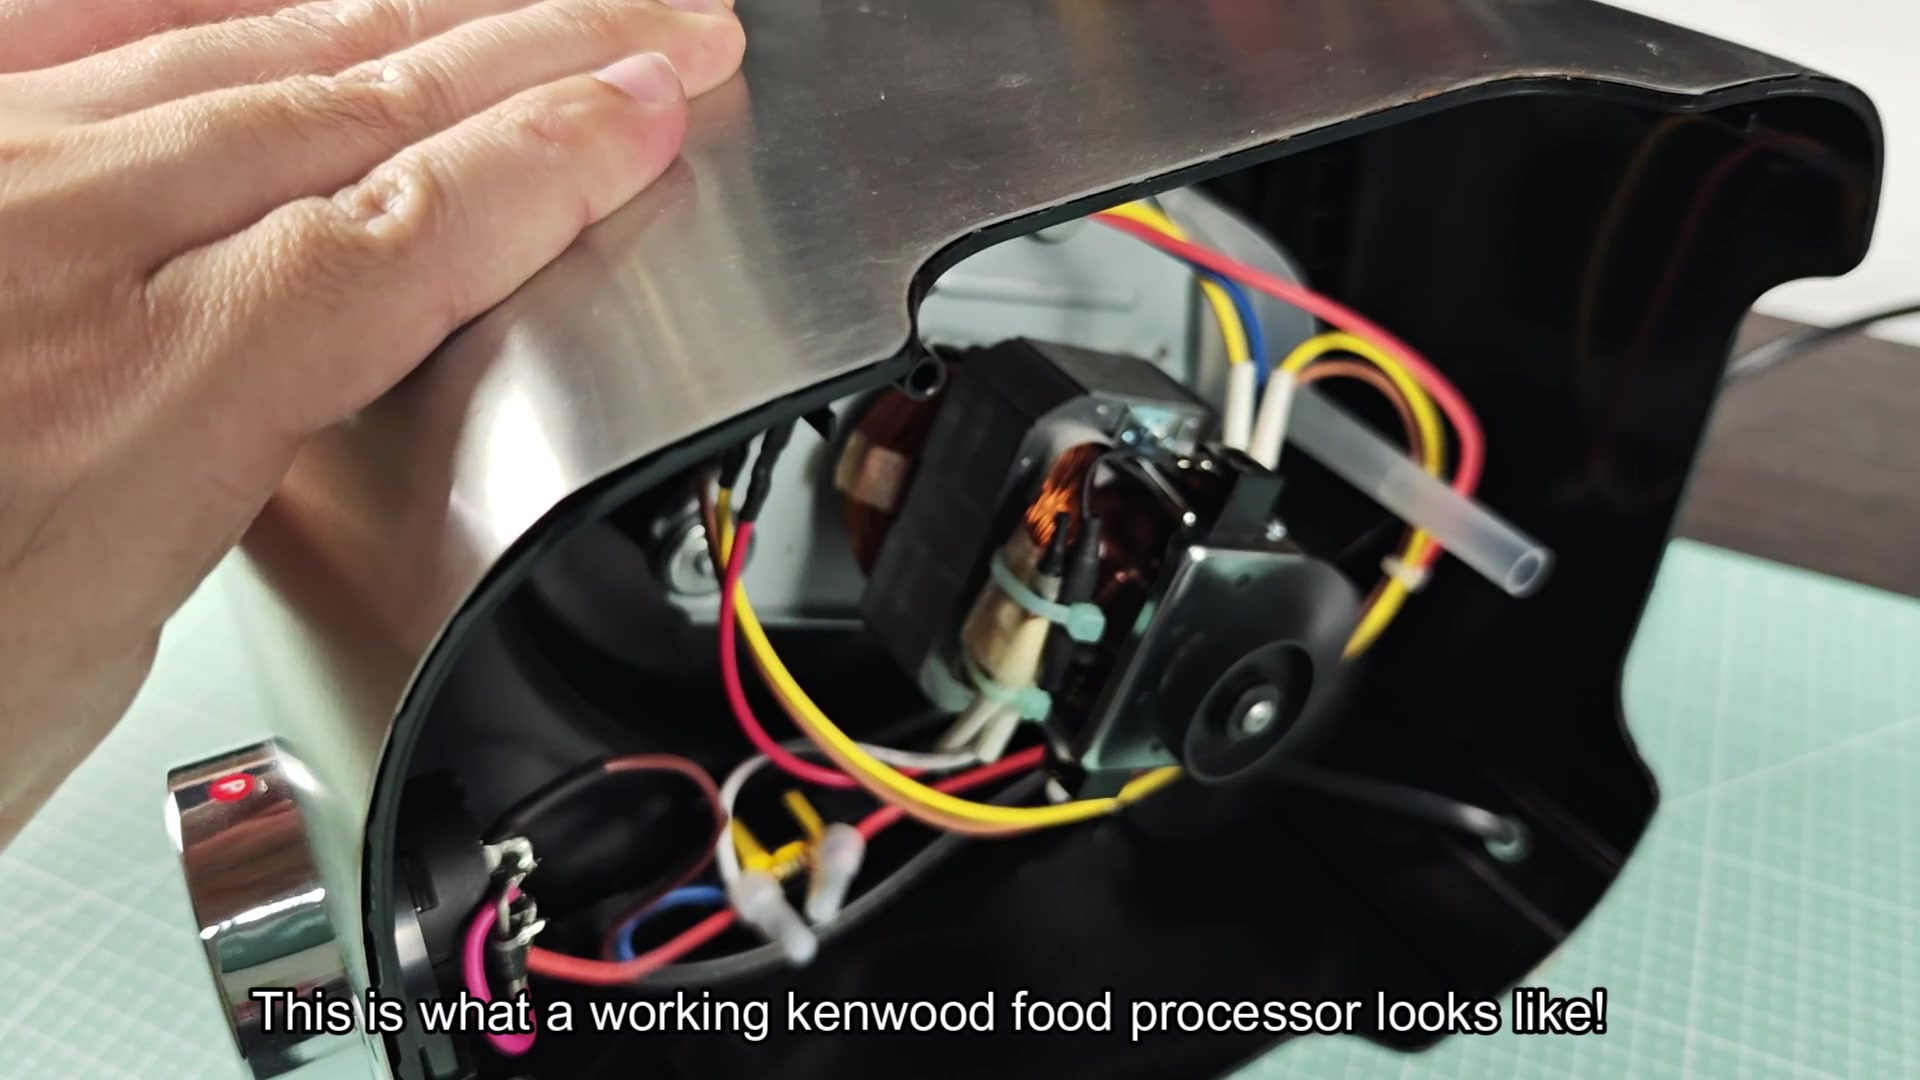
If your Kenwood food processor is no longer functioning, you might try checking the bowl lock. To begin processing, the bowl need to be fully locked down. Simply give the handle another turn and make sure it locks into position with a click.
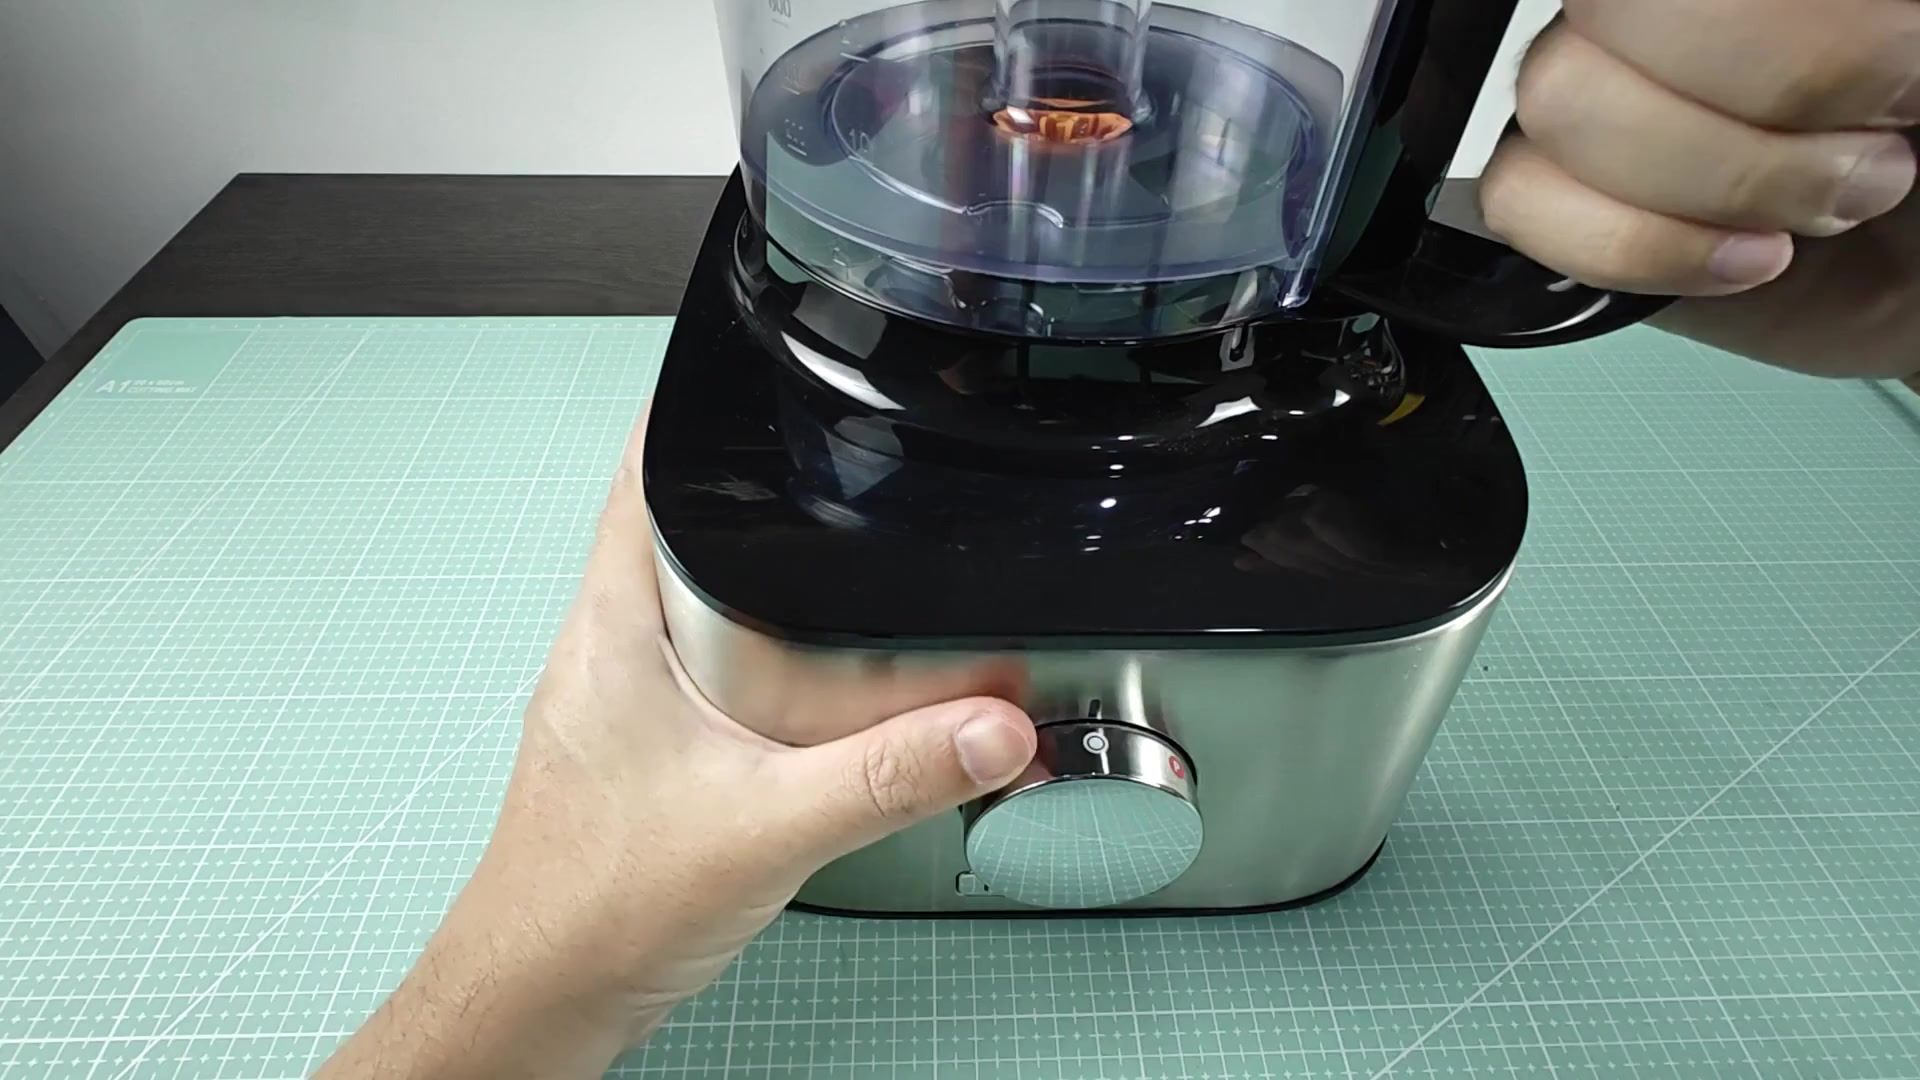
Occasionally the handle feels like it’s turned too tightly but it hasn’t latched on correctly. Therefore, it doesn’t engage the safety locking mechanism. In this case, machine won’t activate unless mechanical lock sits flush. More frustrating then an actual electrical problem, this little mistake happens all the time.
Internal Component Inspection Steps
If your solution didn’t come from locking the bowl then it’s time to take a closer look at what may be going on internally. To do so you’ll need to unplug machine from its power source. Next, open the base housing of unit to see inside.
Over time vibration and heavy use can cause wire connections in there to loosen. You want to make sure each of those points have good contact. Even if the switch work, a loose wire will prevent electricity from reaching motor.
Often this will be an easy fix; you just need to tighten the connections to bring machine back to life without purchasing replacement parts. Before assuming something big was wrong, it makes sense to check here.
After that, take some time to examine the motor. To do this, just pop off the fan cover and you’ll have a good view of how everything is set up. What we want to check is whether or not there’s any obvious damage or burn spots anywhere in the motor.
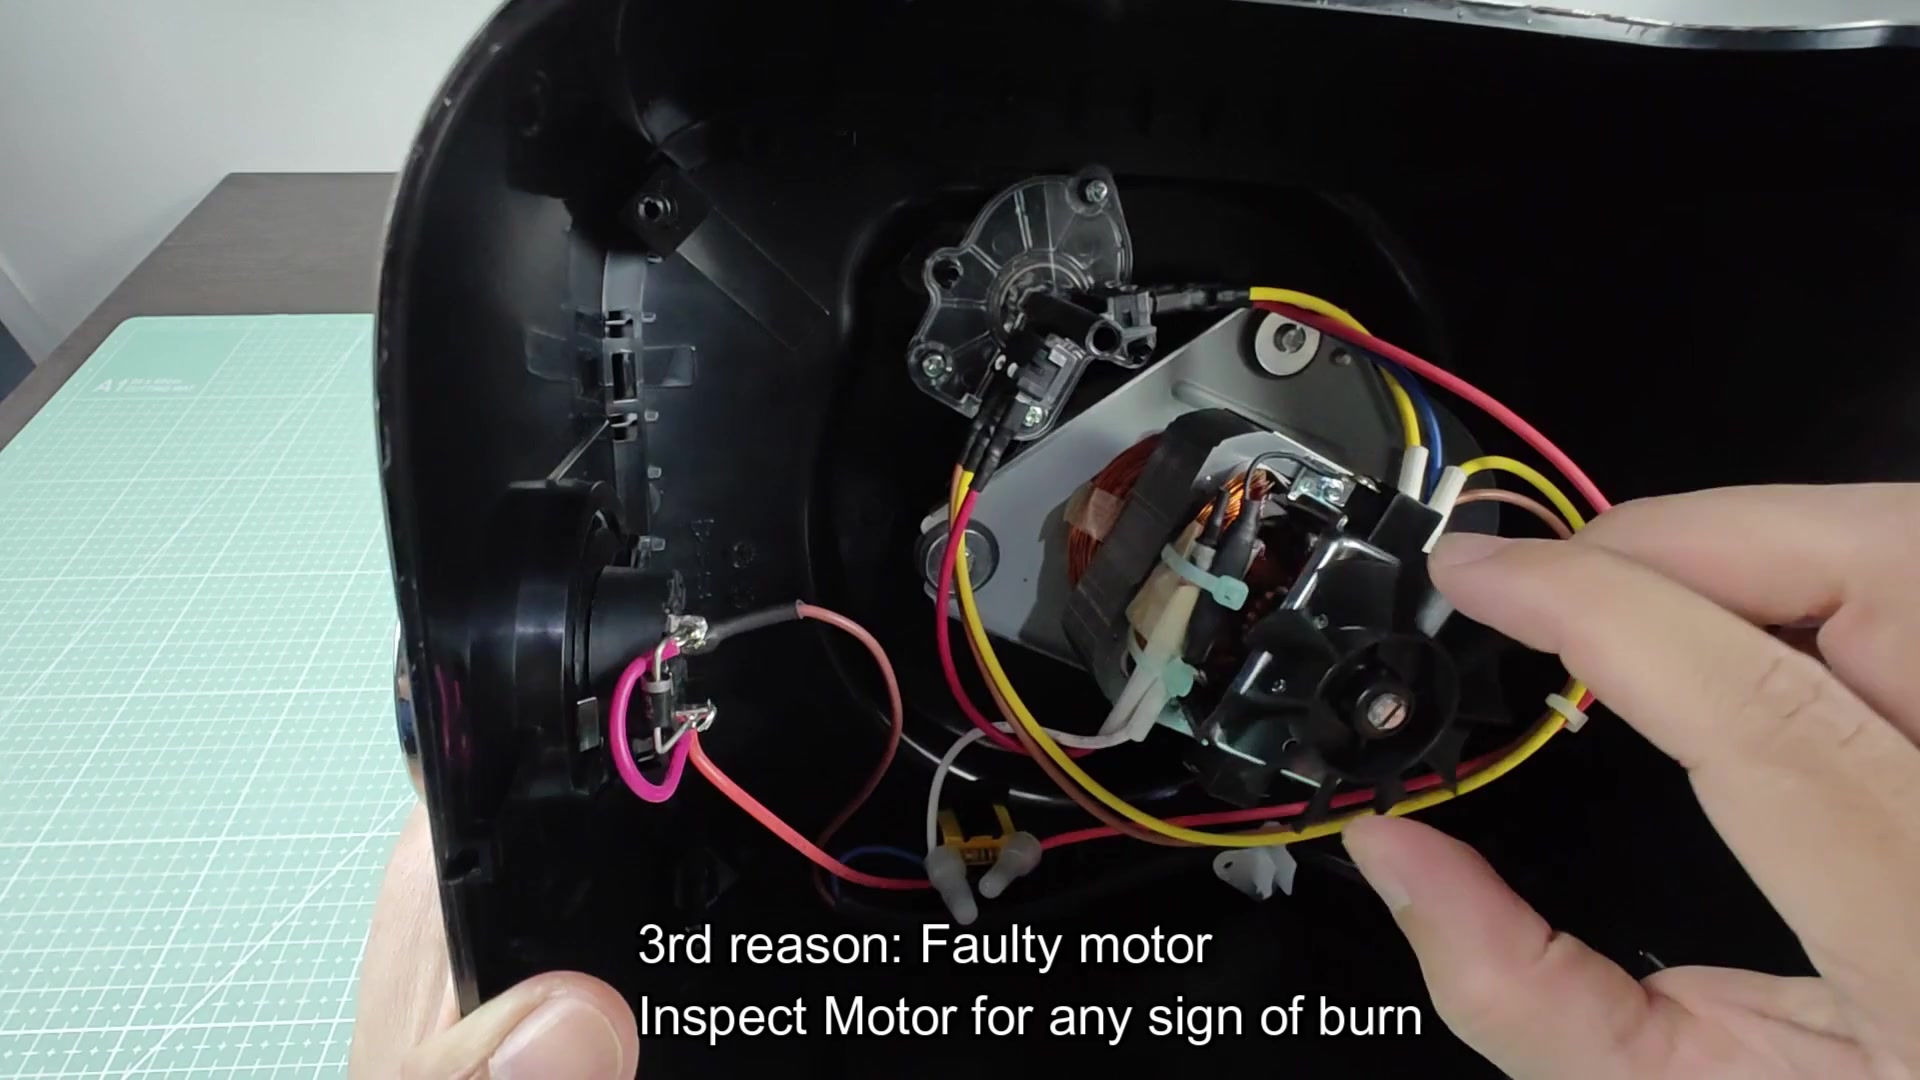
Sometimes it appears okay from naked eye. Try to spin the fan wheel with your fingers. Does it turn freely? Is motor seized or burnt out? If it is, it won’t move at all.
Typically, before a motor totally fails, it has an odor of melted plastic or ozone. There were no scorch marks or discoloration on the motor housing, so you must look elsewhere for issue.
That could of been the other possible culprit: The on/off switch. To see if there might be something wrong with the switch, you open the case and find where the switch assembly is, then look at the wiring around the switch.
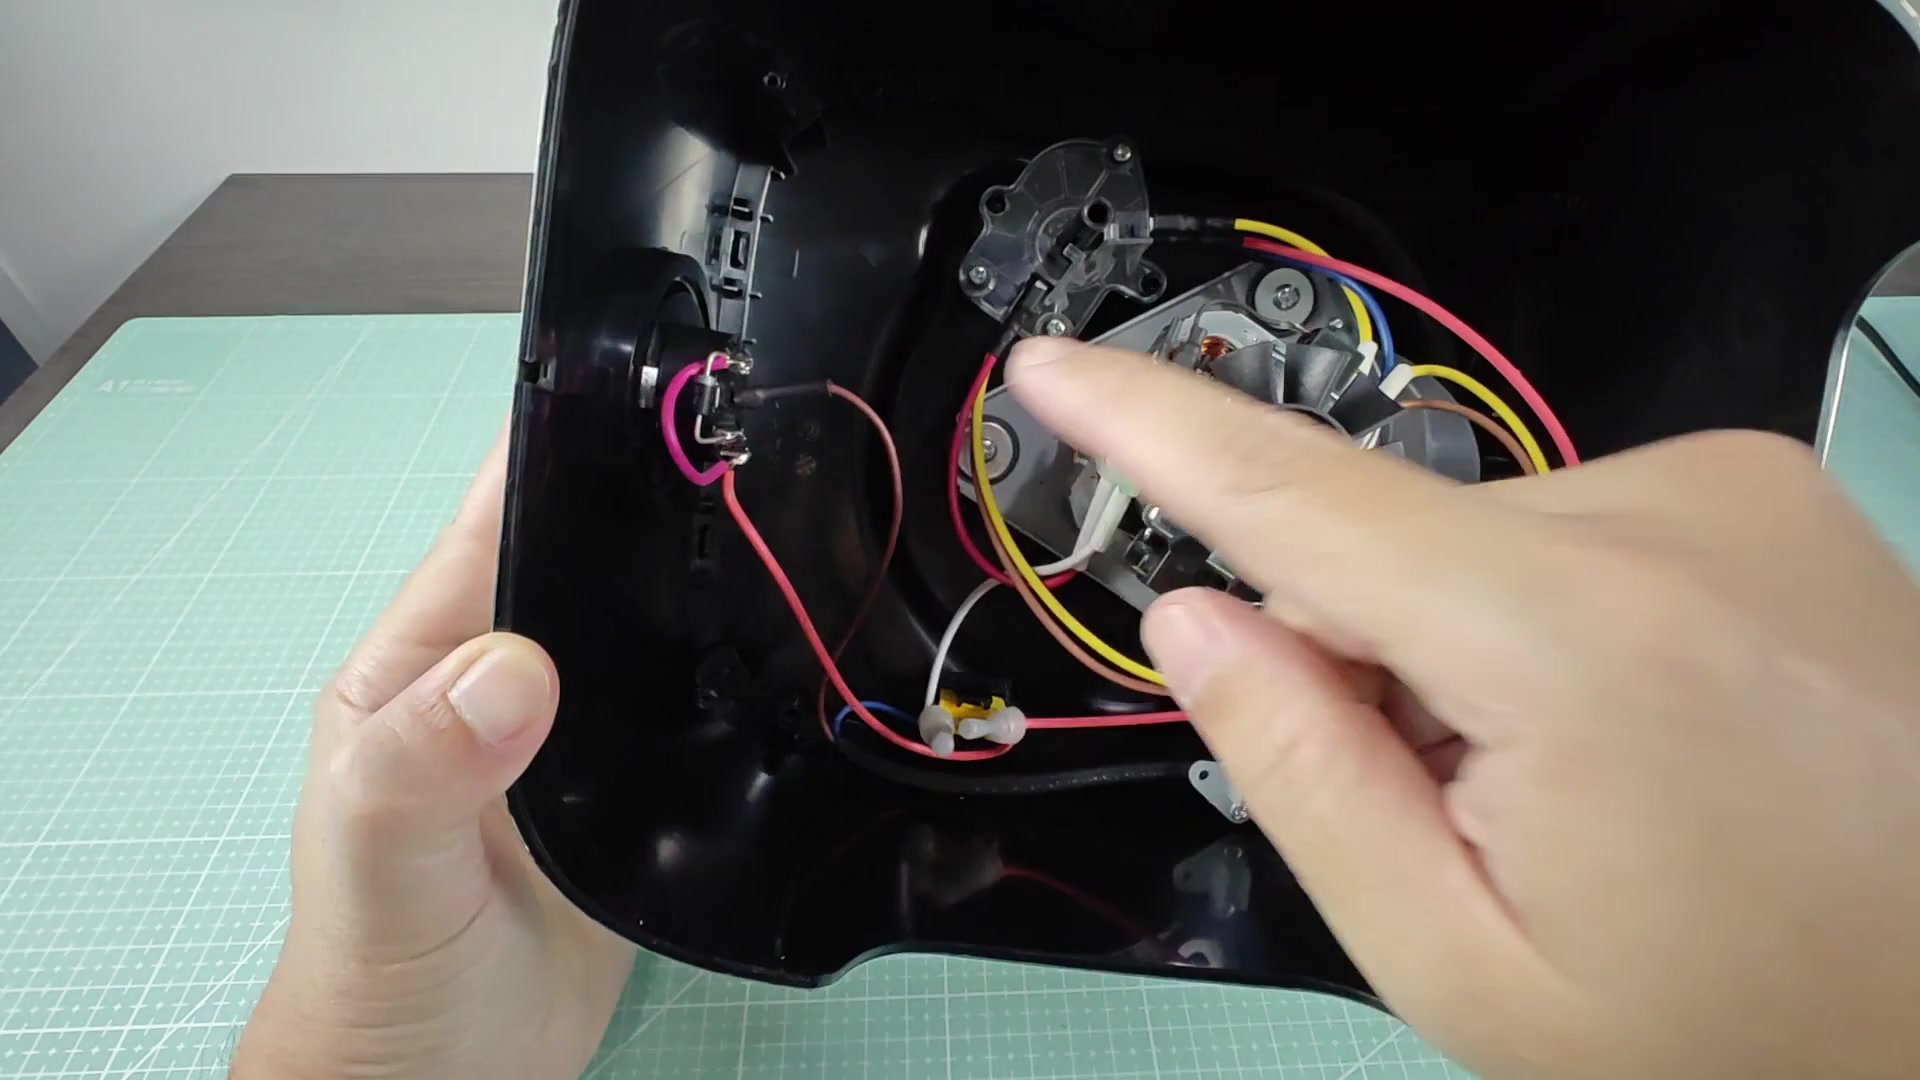
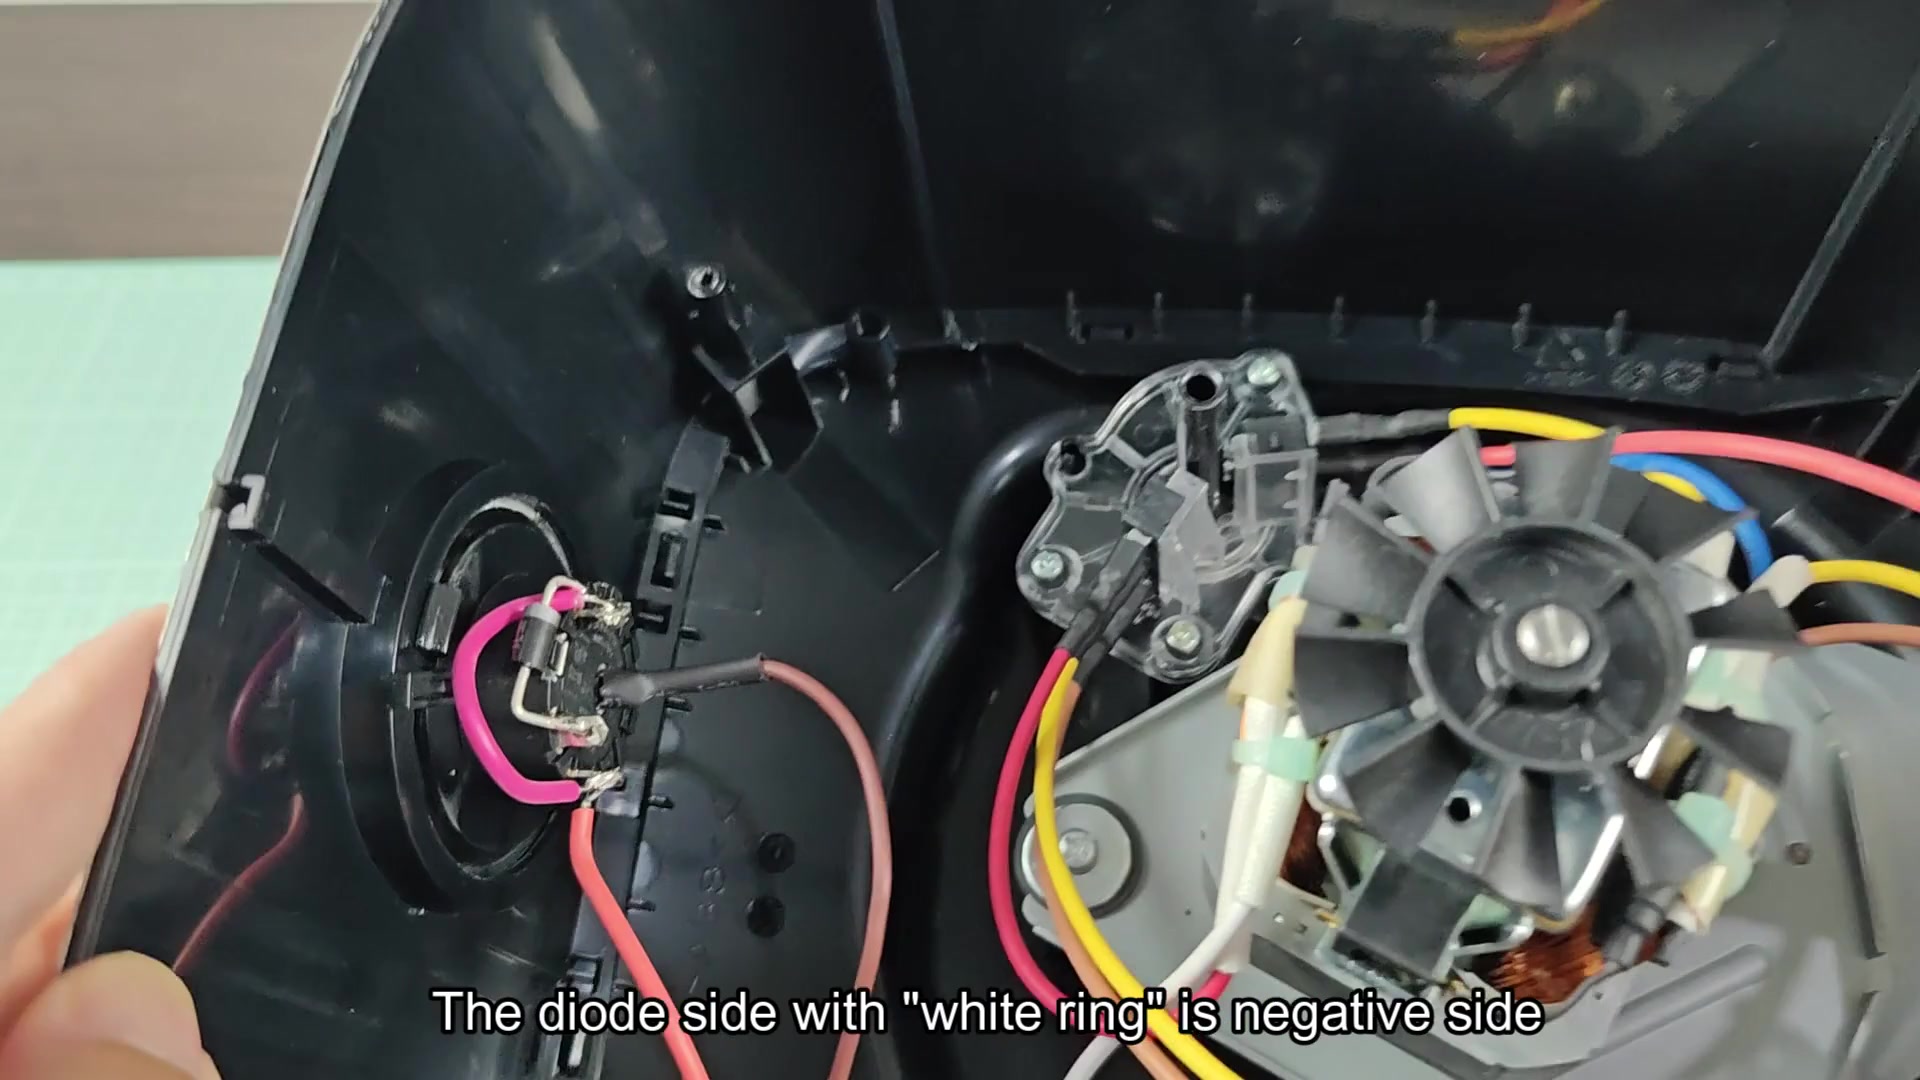
In particular, take note of diode connected to the switch part. A diode is small but important. With a digital multimeter in hand, you’ll test the diode to determine its condition. To do so, simply pay attention to the orientation of the diode. The side with the white ring are the negative side.
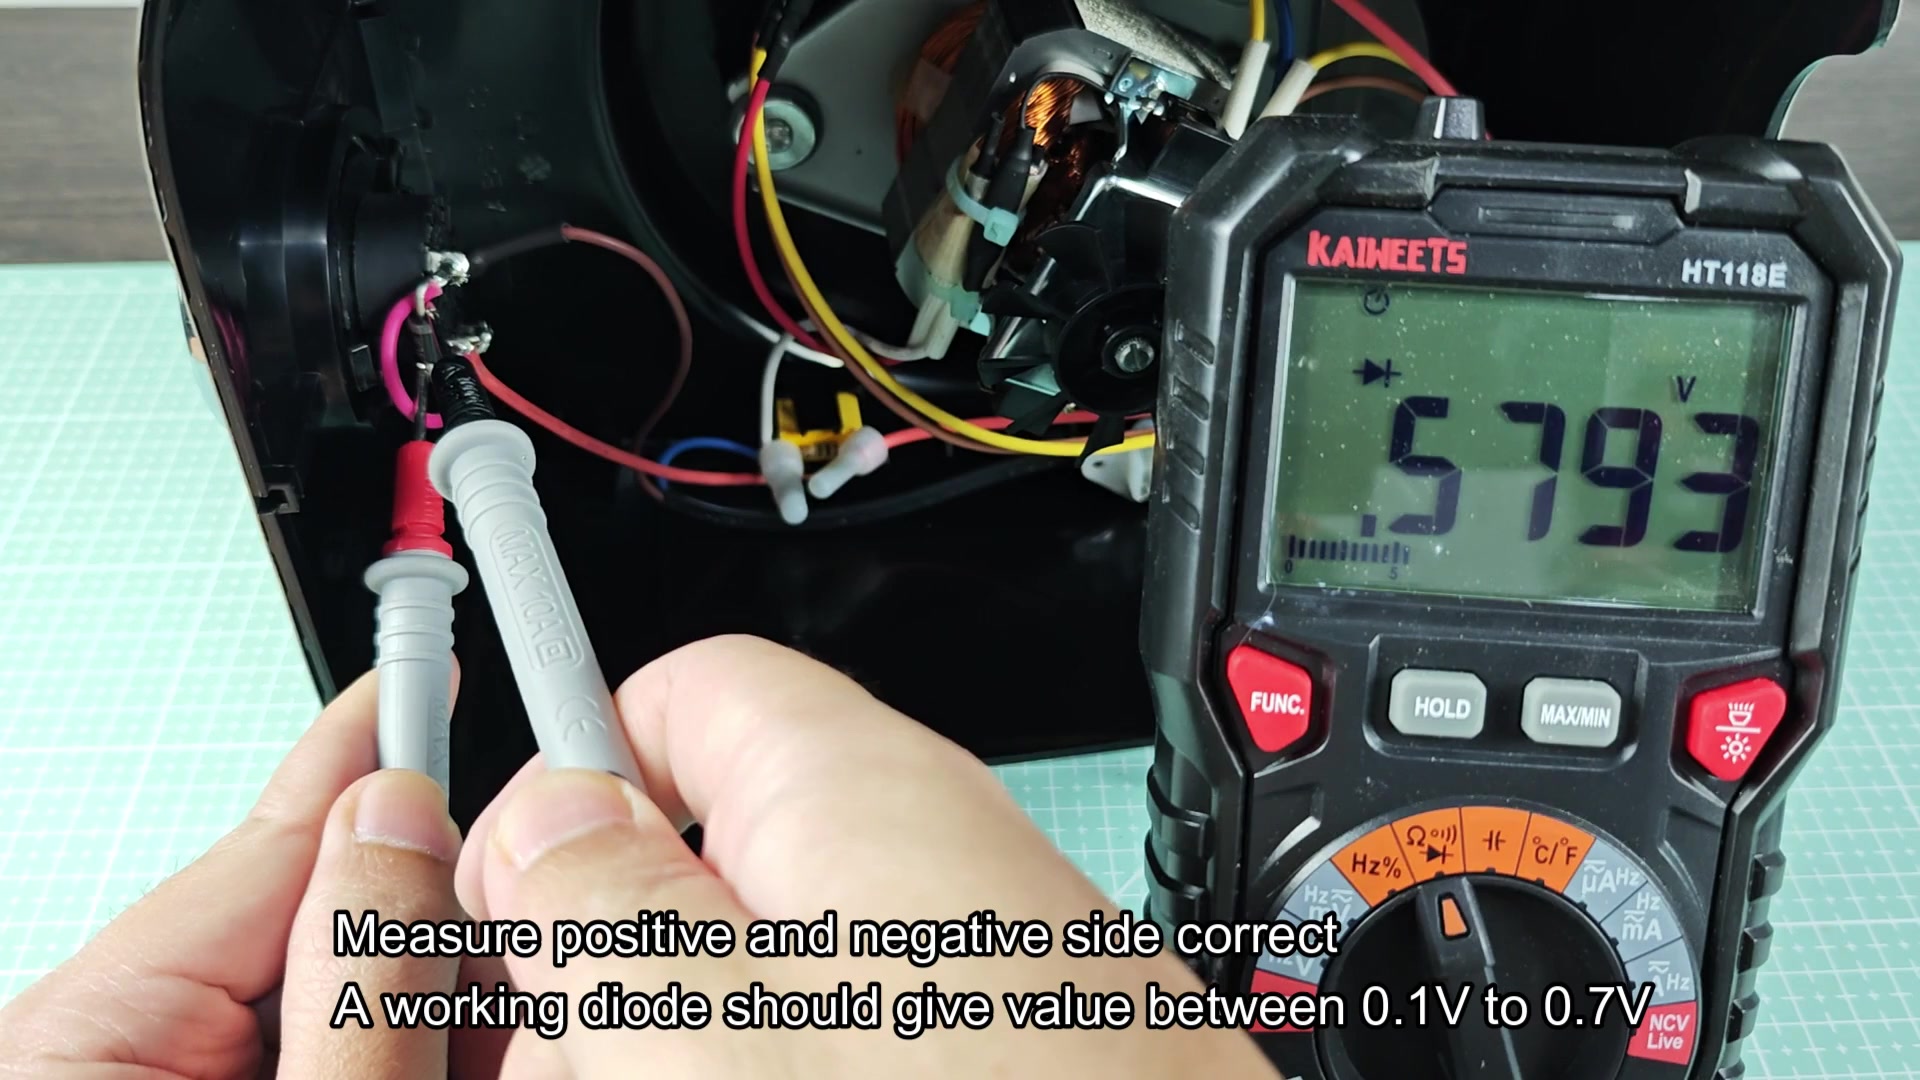
When you position your probes accordingly for the correct read, what will happen? If the diode functions well, you’ll see a voltage drop number somewhere between 0.1V and 0.7V. In this case, the meter showed a.5575 volt reading, indicating the diode was just fine and still operating as it should. Good news.
The diode and switch were eliminated so now you focus on the locking switch mechanism. This is an additional safety mechanism that has to engage before it allow the electrical circuit to close. It is located just below where the bowl interfaces.
So even if everything else is in perfect working order, if this internal switch isn’t aligned or broken, there is no way for electricity to flow into the remainder of the system. You inspect the wiring harness attached to this particular switch within the housing.
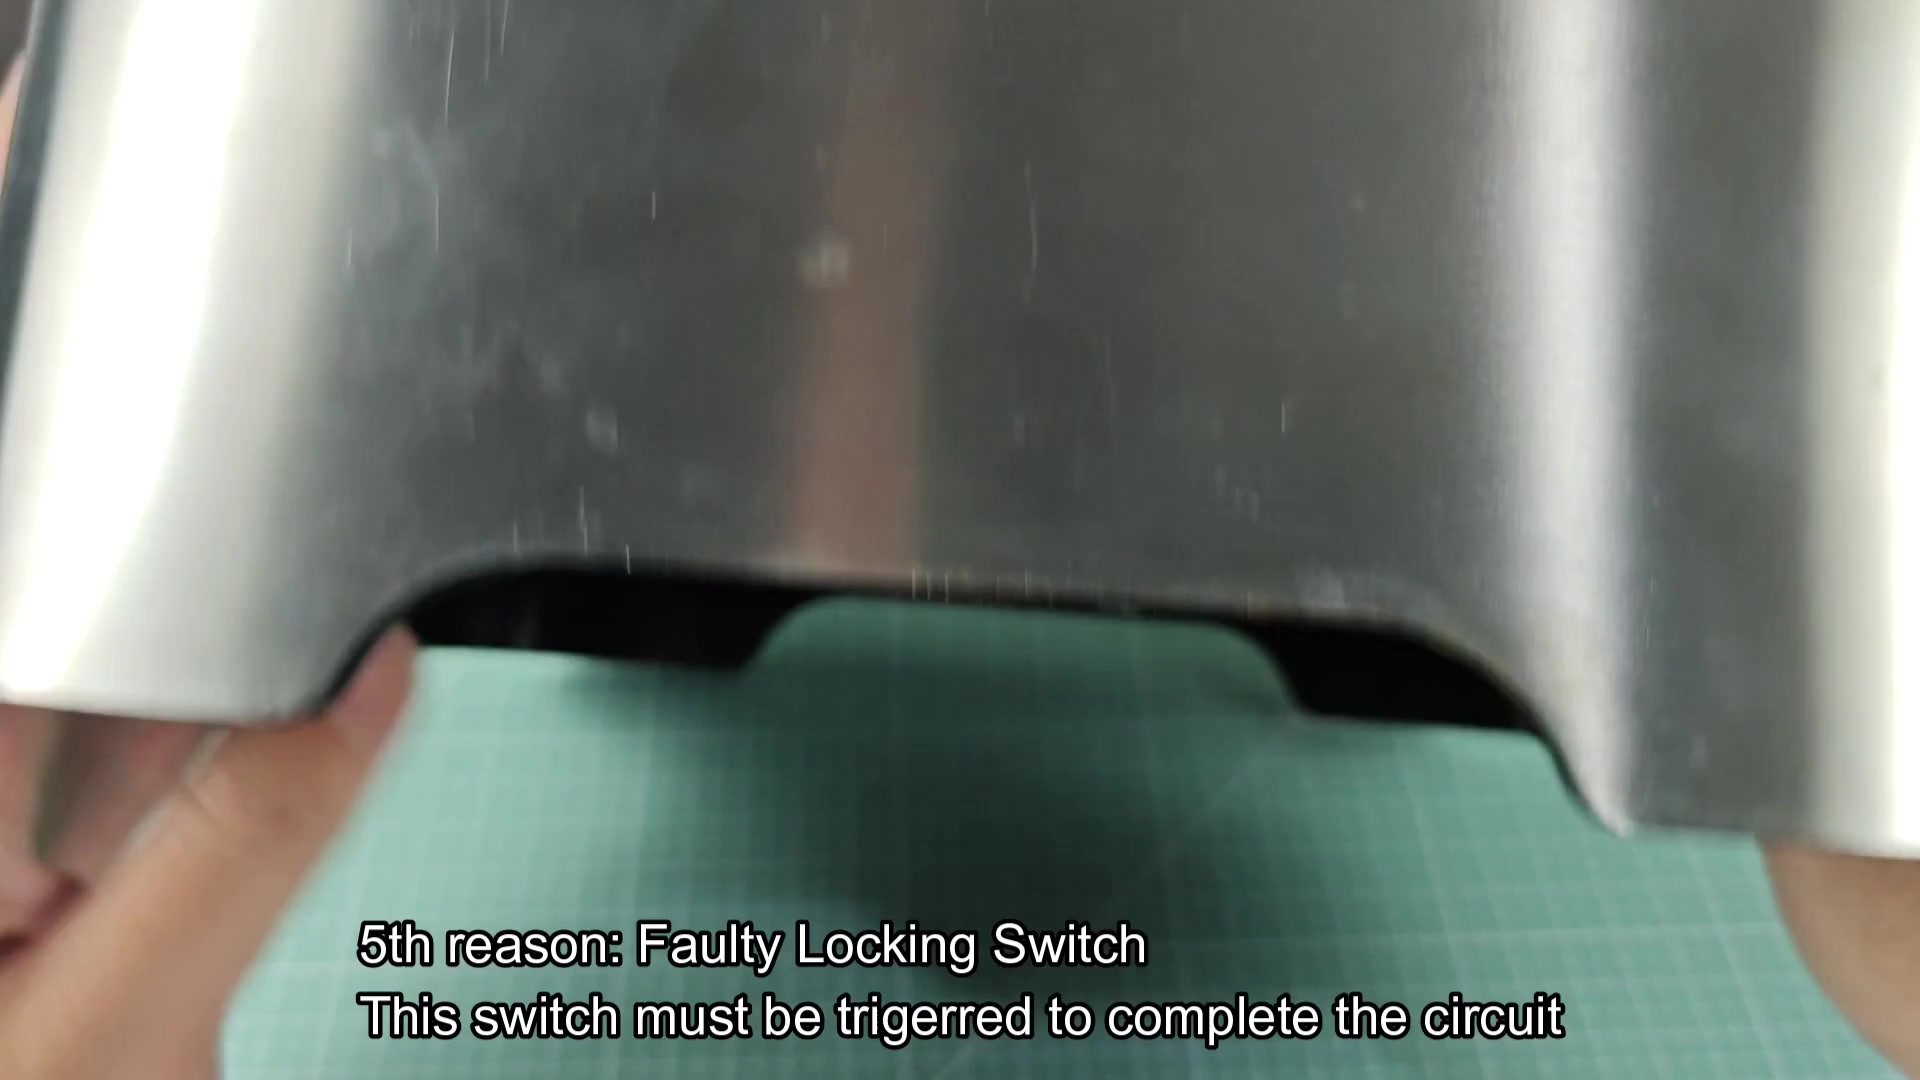
The wiring harness appeared secure and the wires seemed intact. That means the locking mechanism should have been engaging properly when the bowl locked into place. It is frustrating because that removes yet another simple variable from your troubleshooting list.
Last, you look at power plug itself. Certain Kenwoods even have a fuse embedded in the plug body. This little piece of plastic can be easily missed.
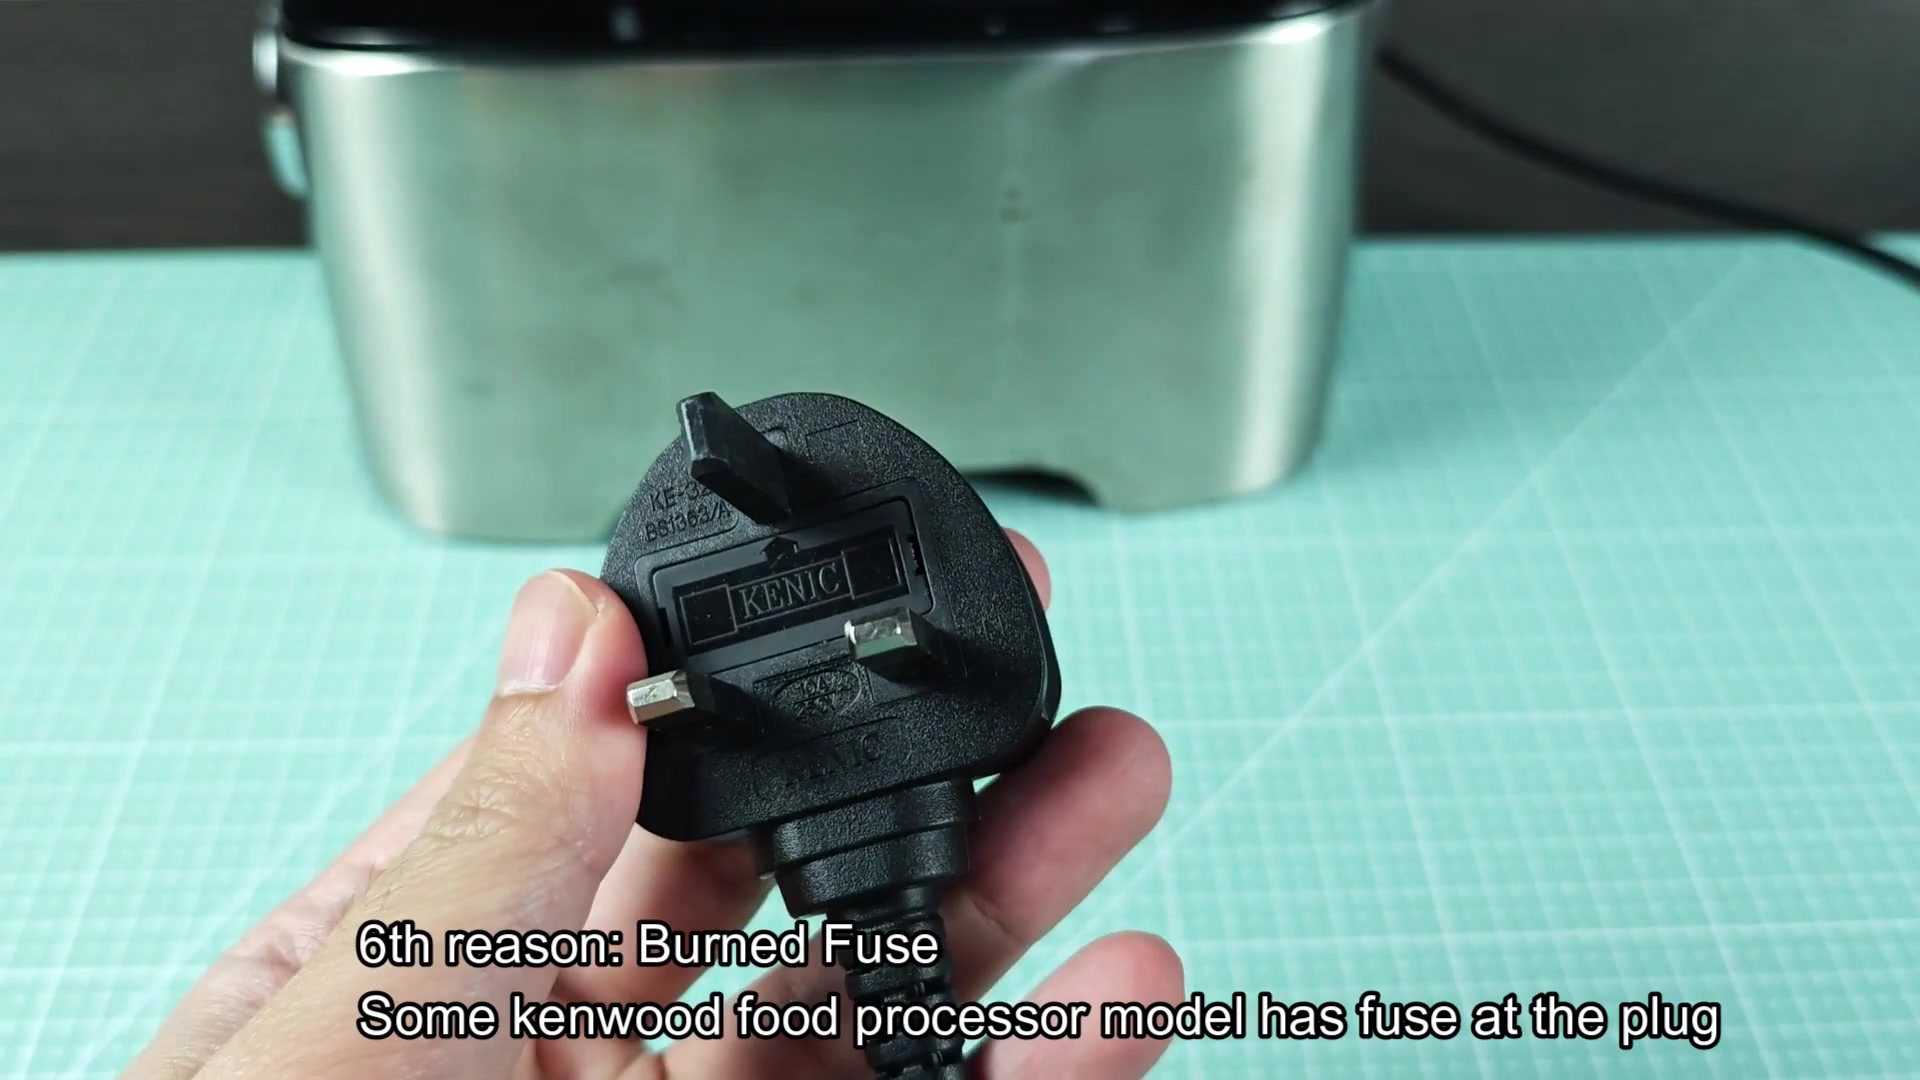
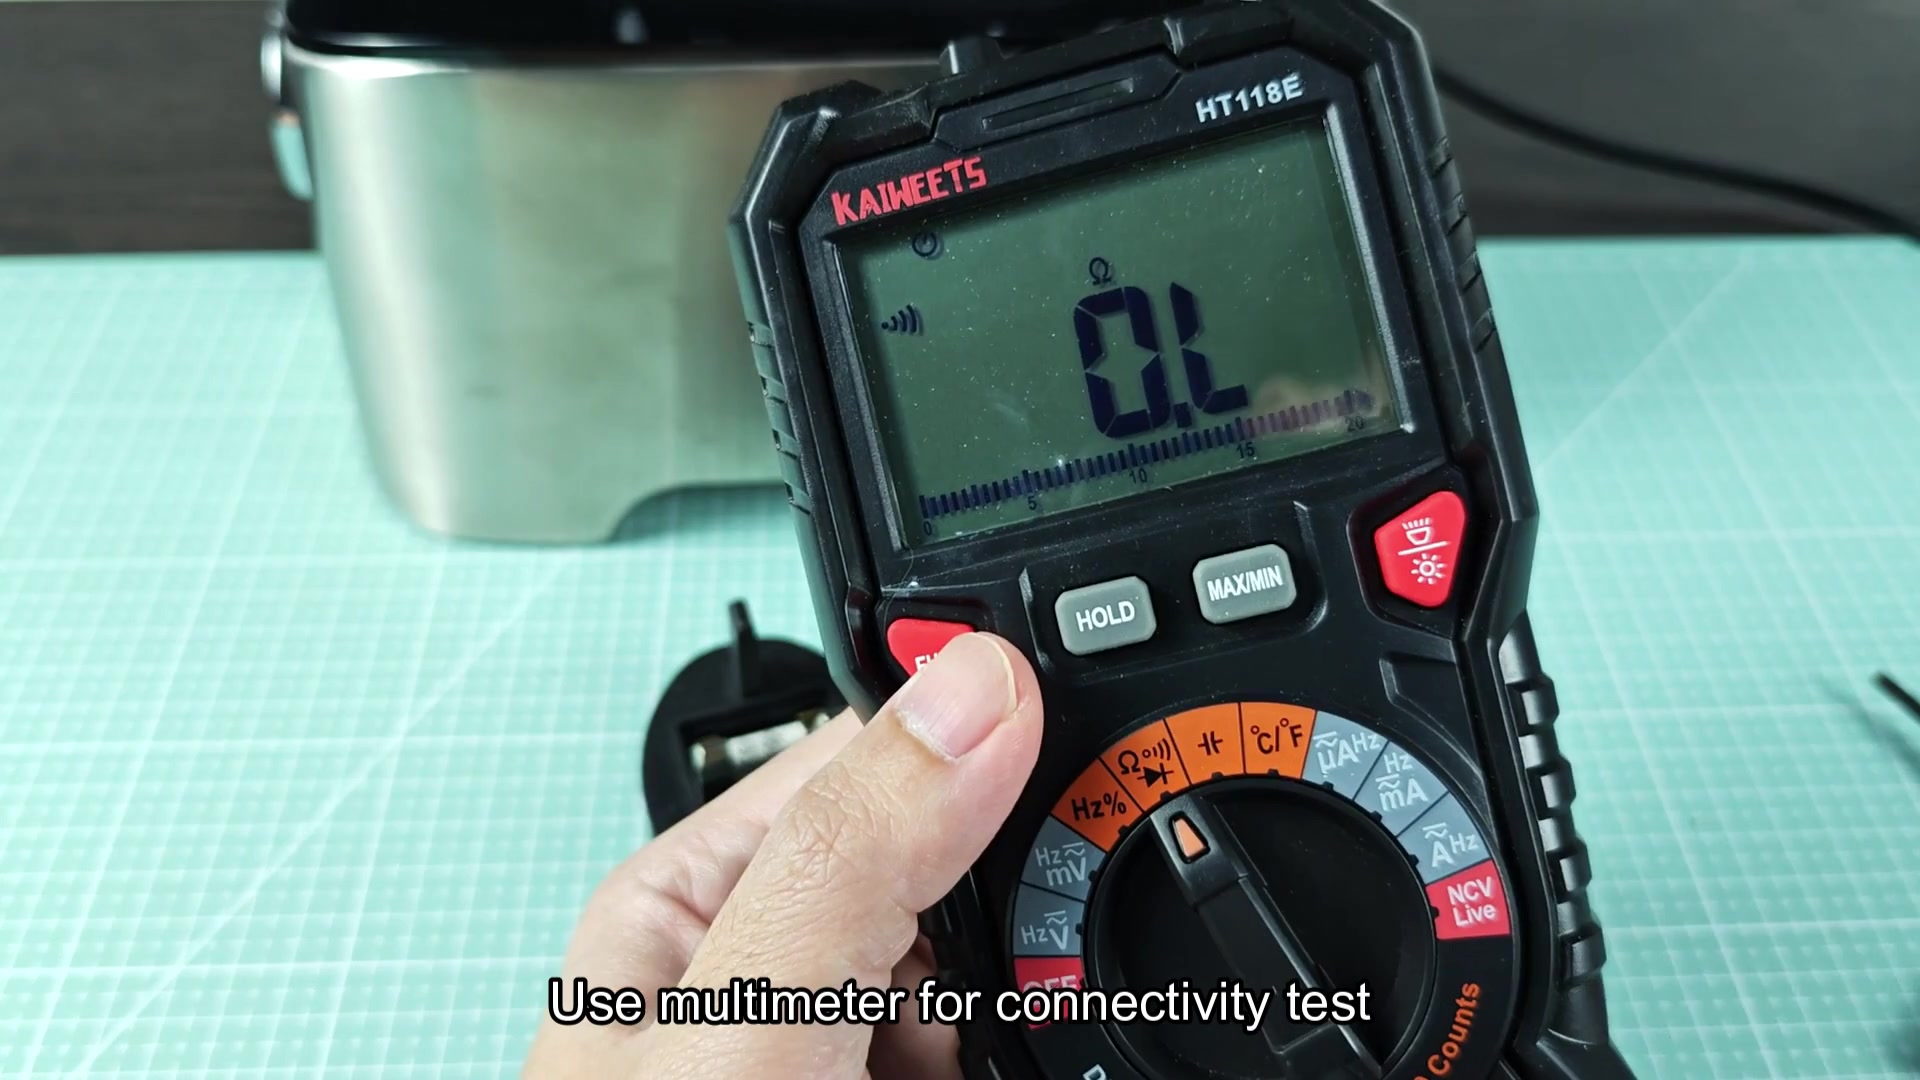
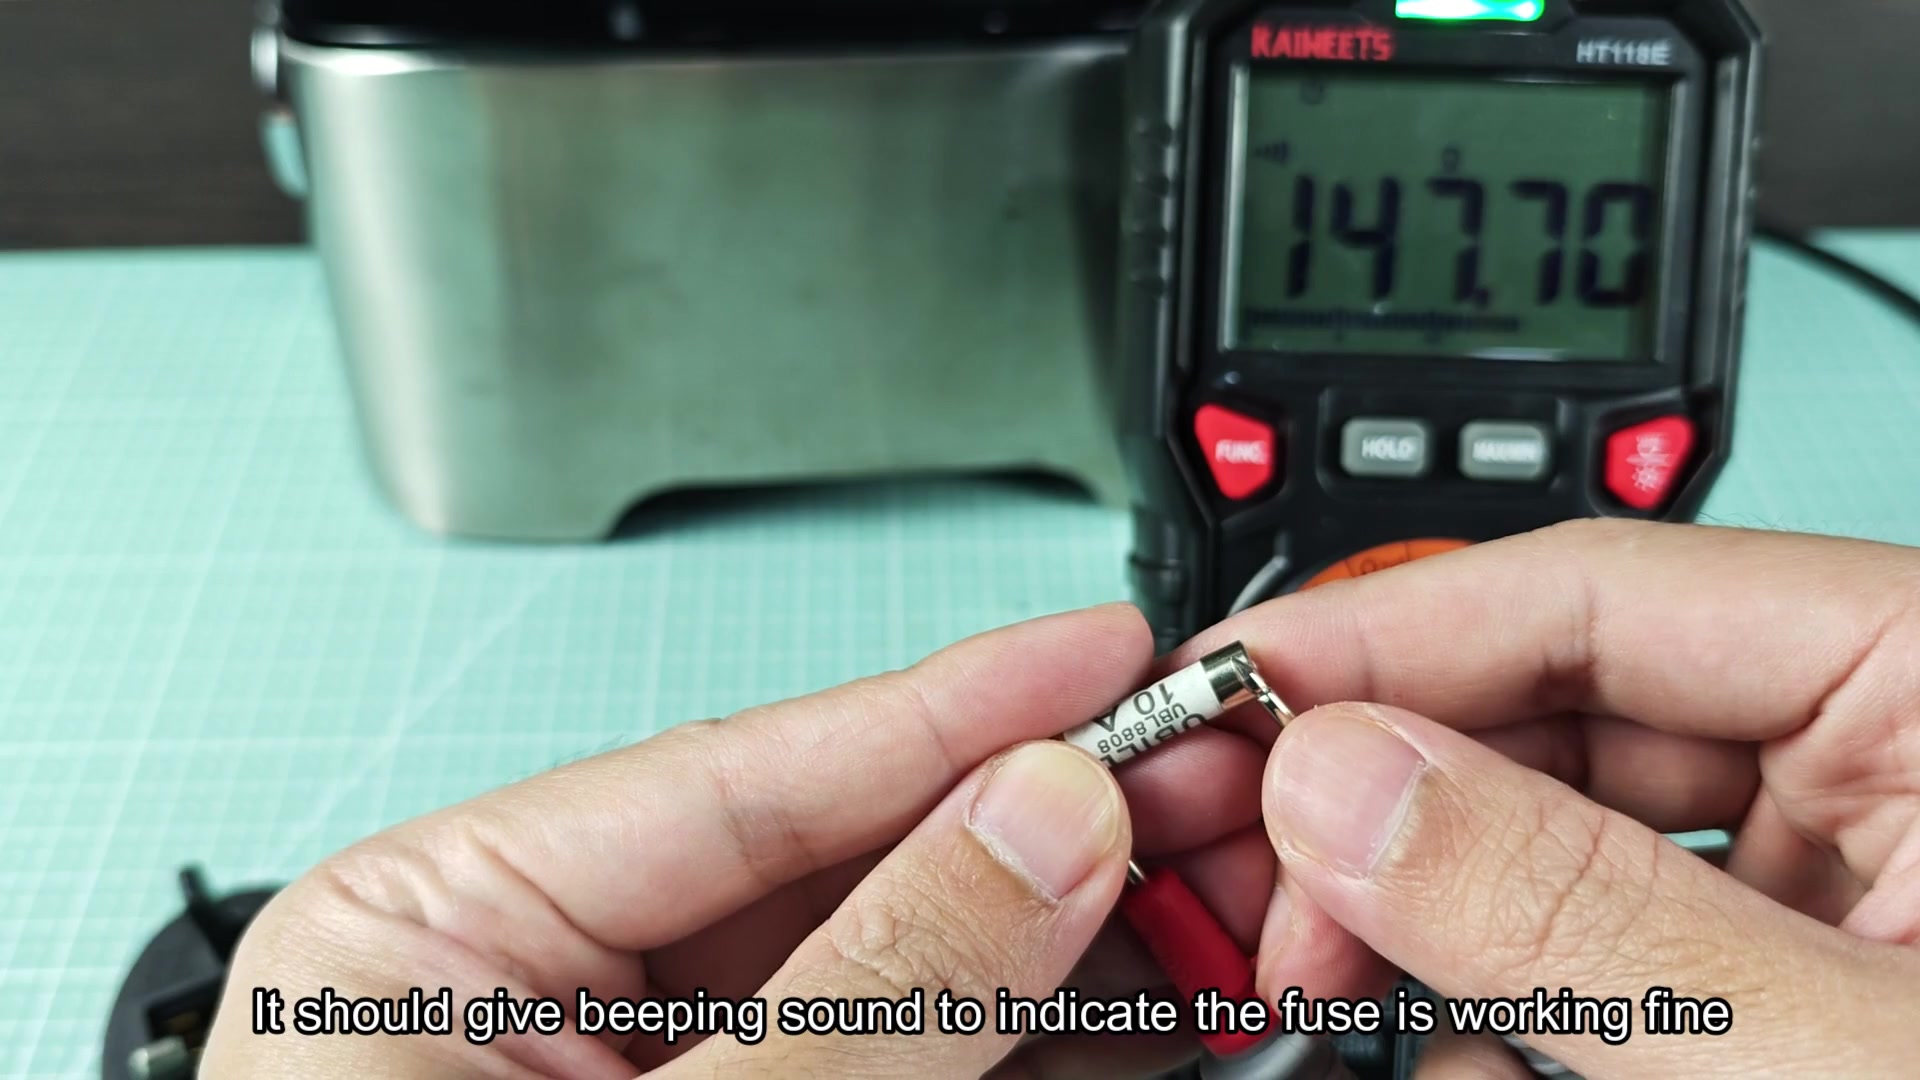
Once more you retrieve your trusty multimeter and use it to test for continuity of the fuse element. At first glance the meter read OL (no continuity/open loop). That would equate to a blown fuse. However, when you touch the probe ends directly to the fuse terminals, results are quite different. The meter read 00.02 ohms; full continuity across the fuse element. It was not blown after all.
So I went through all of the items on this list and lo and behold, the processor was functional once more. It could have been a brief momentary connection error or an electrical hiccup which is now fixed.
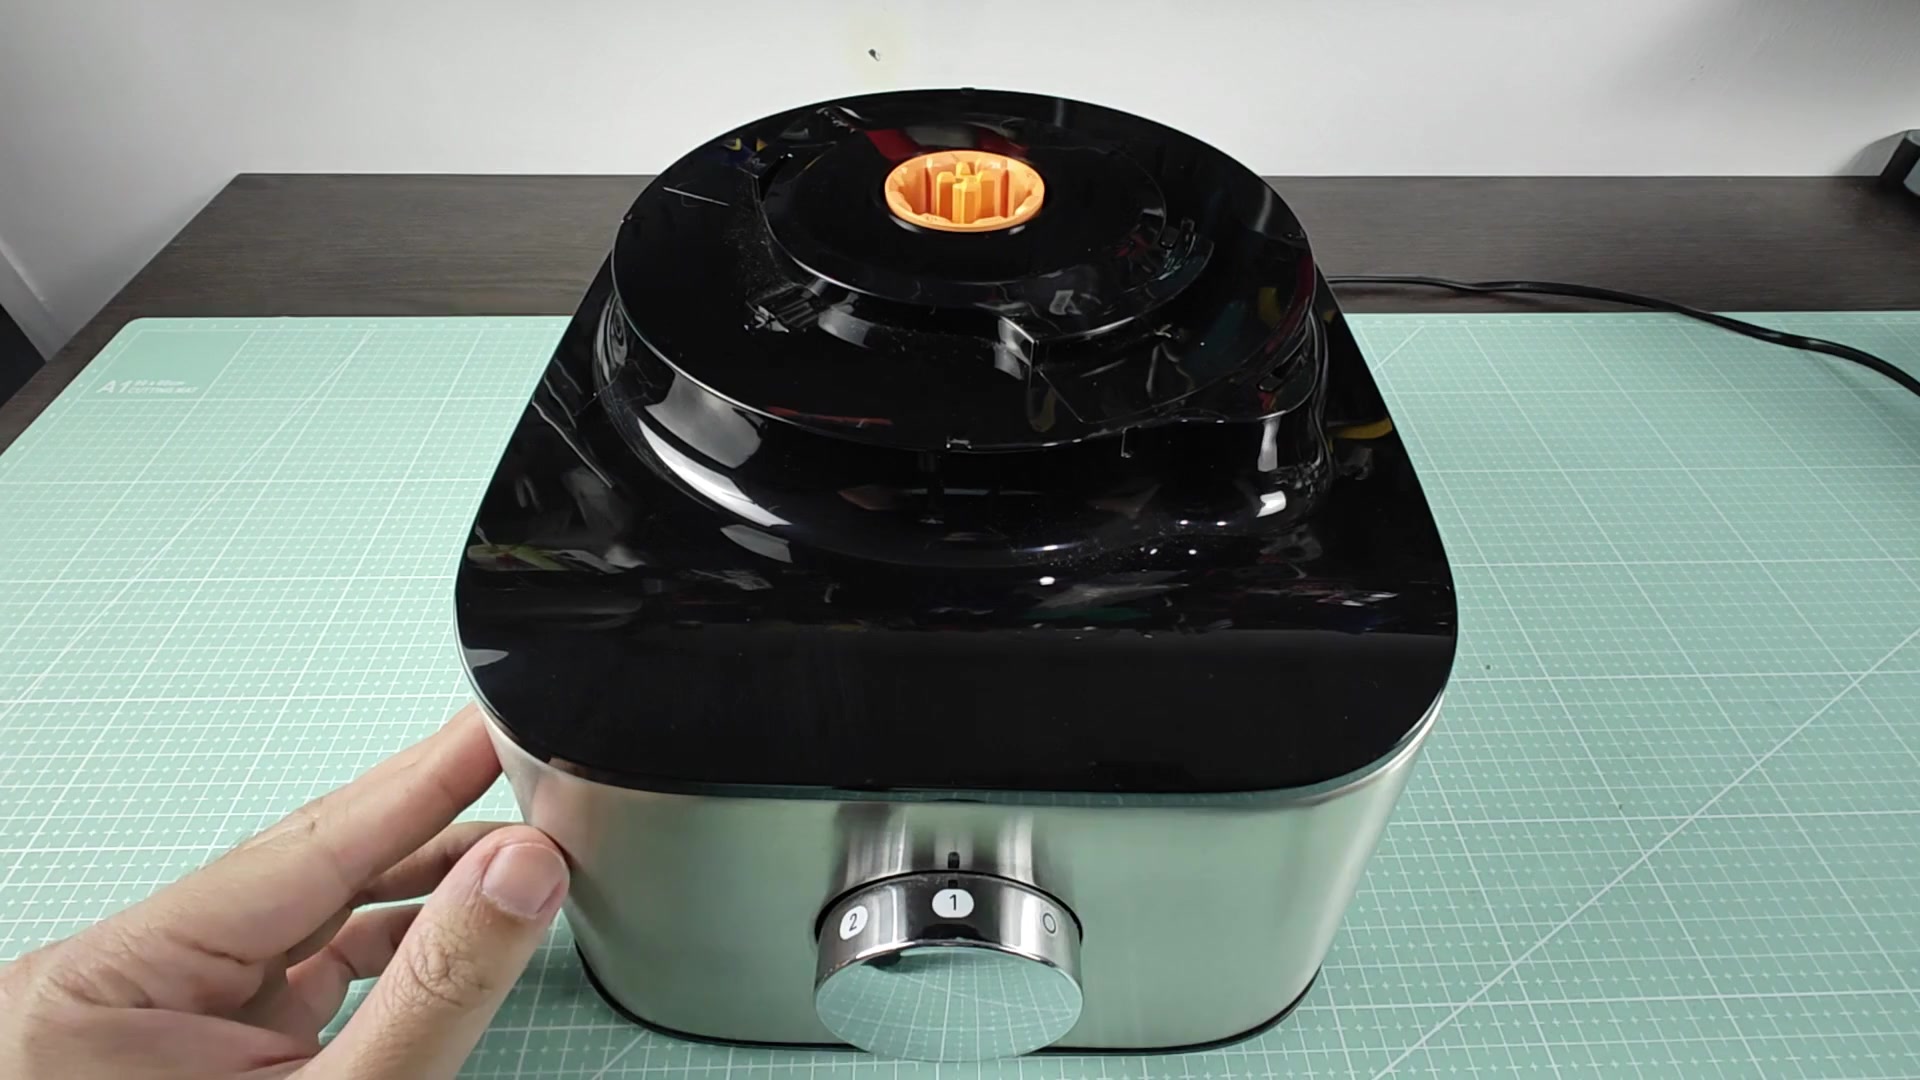
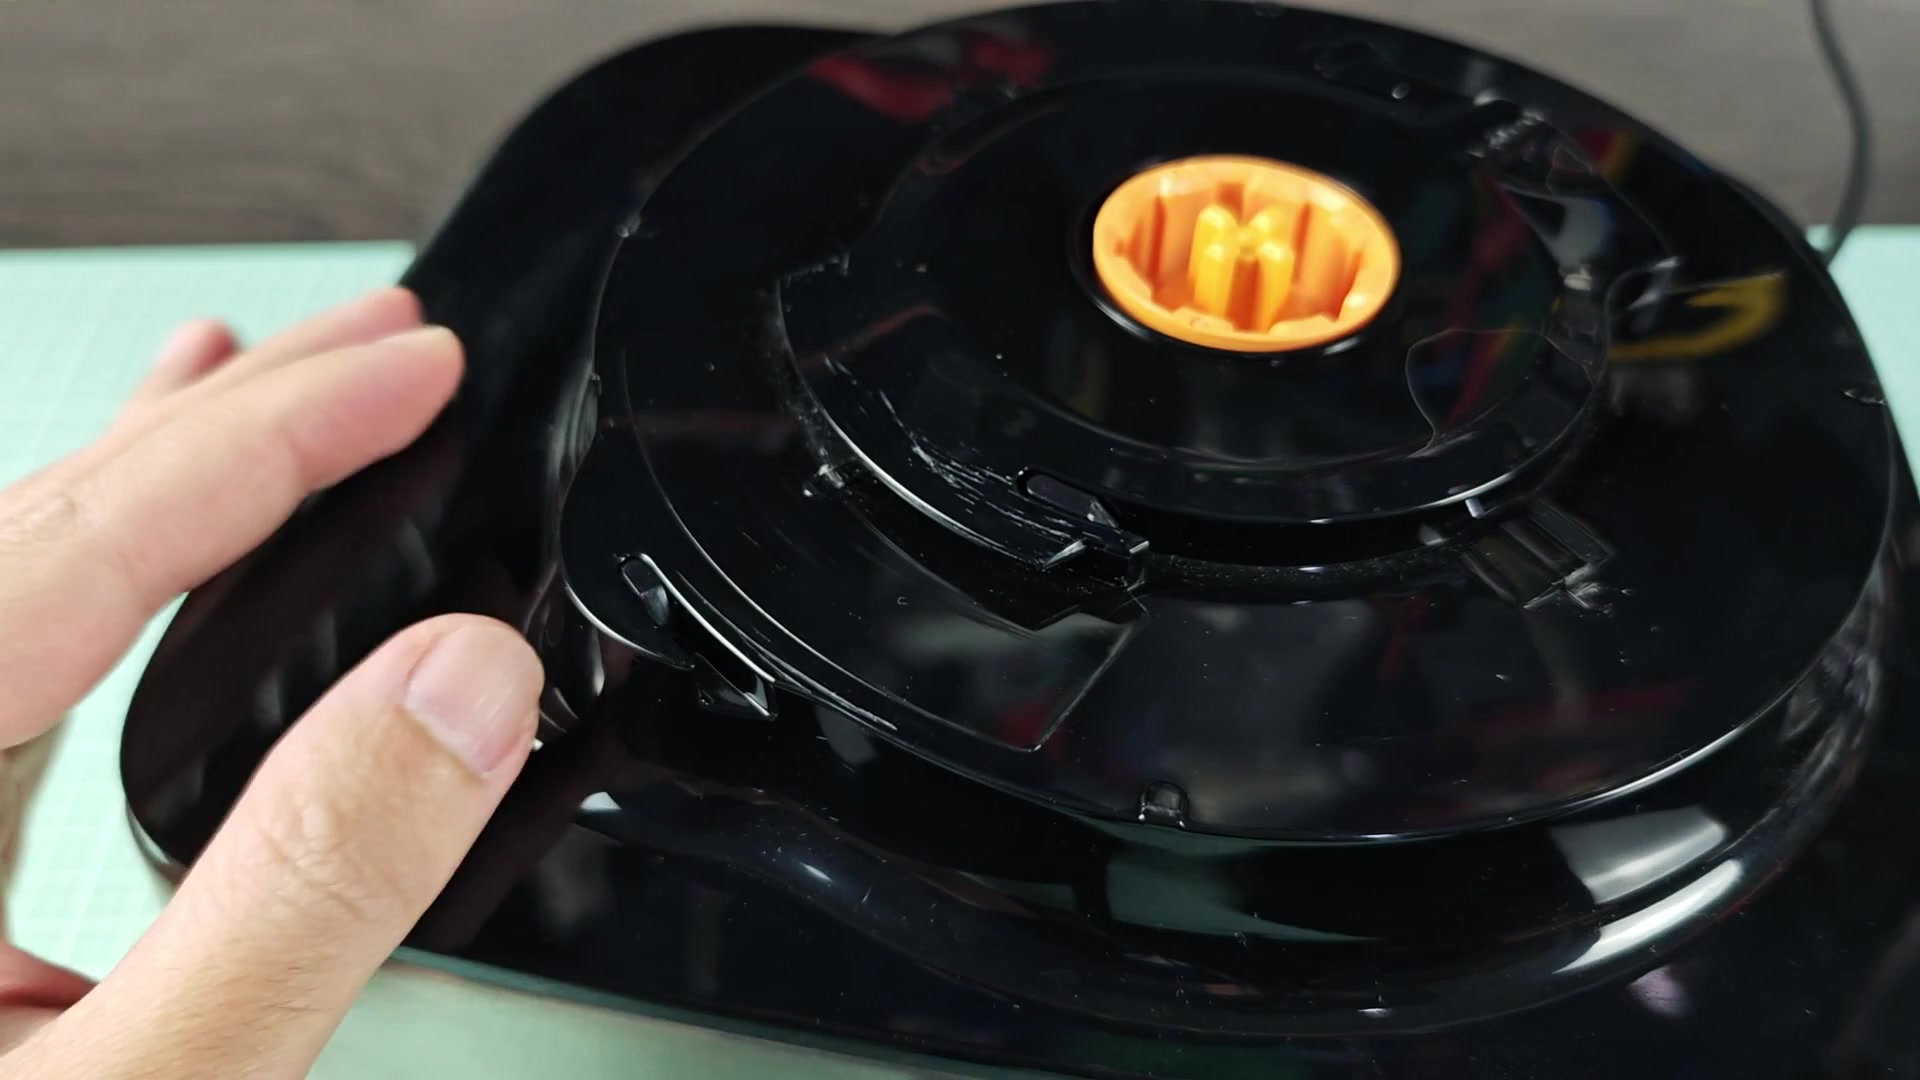
Here is the finished result of a properly functioning Kenwood food processor after clicking back into place. Yay for not having to throw away a perfectly good appliance! The solution is sometimes easier then you’d think.