Always unplug the machine before proceeding with any of these steps. That’s the first and most important step. Even though motor on a food processor doesn’t draw a lot of juice, there’s no sense fooling around inside that housing when it’s plugged in to an electrical outlet.
Don’t do it. Safety means protecting yourself from more than just electric shock. You also need to avoid accidentally starting the device while your hands is in harm’s way. Give it a minute or two to make certain it’s unplugged, this is good practice.
Removing the Base Cover
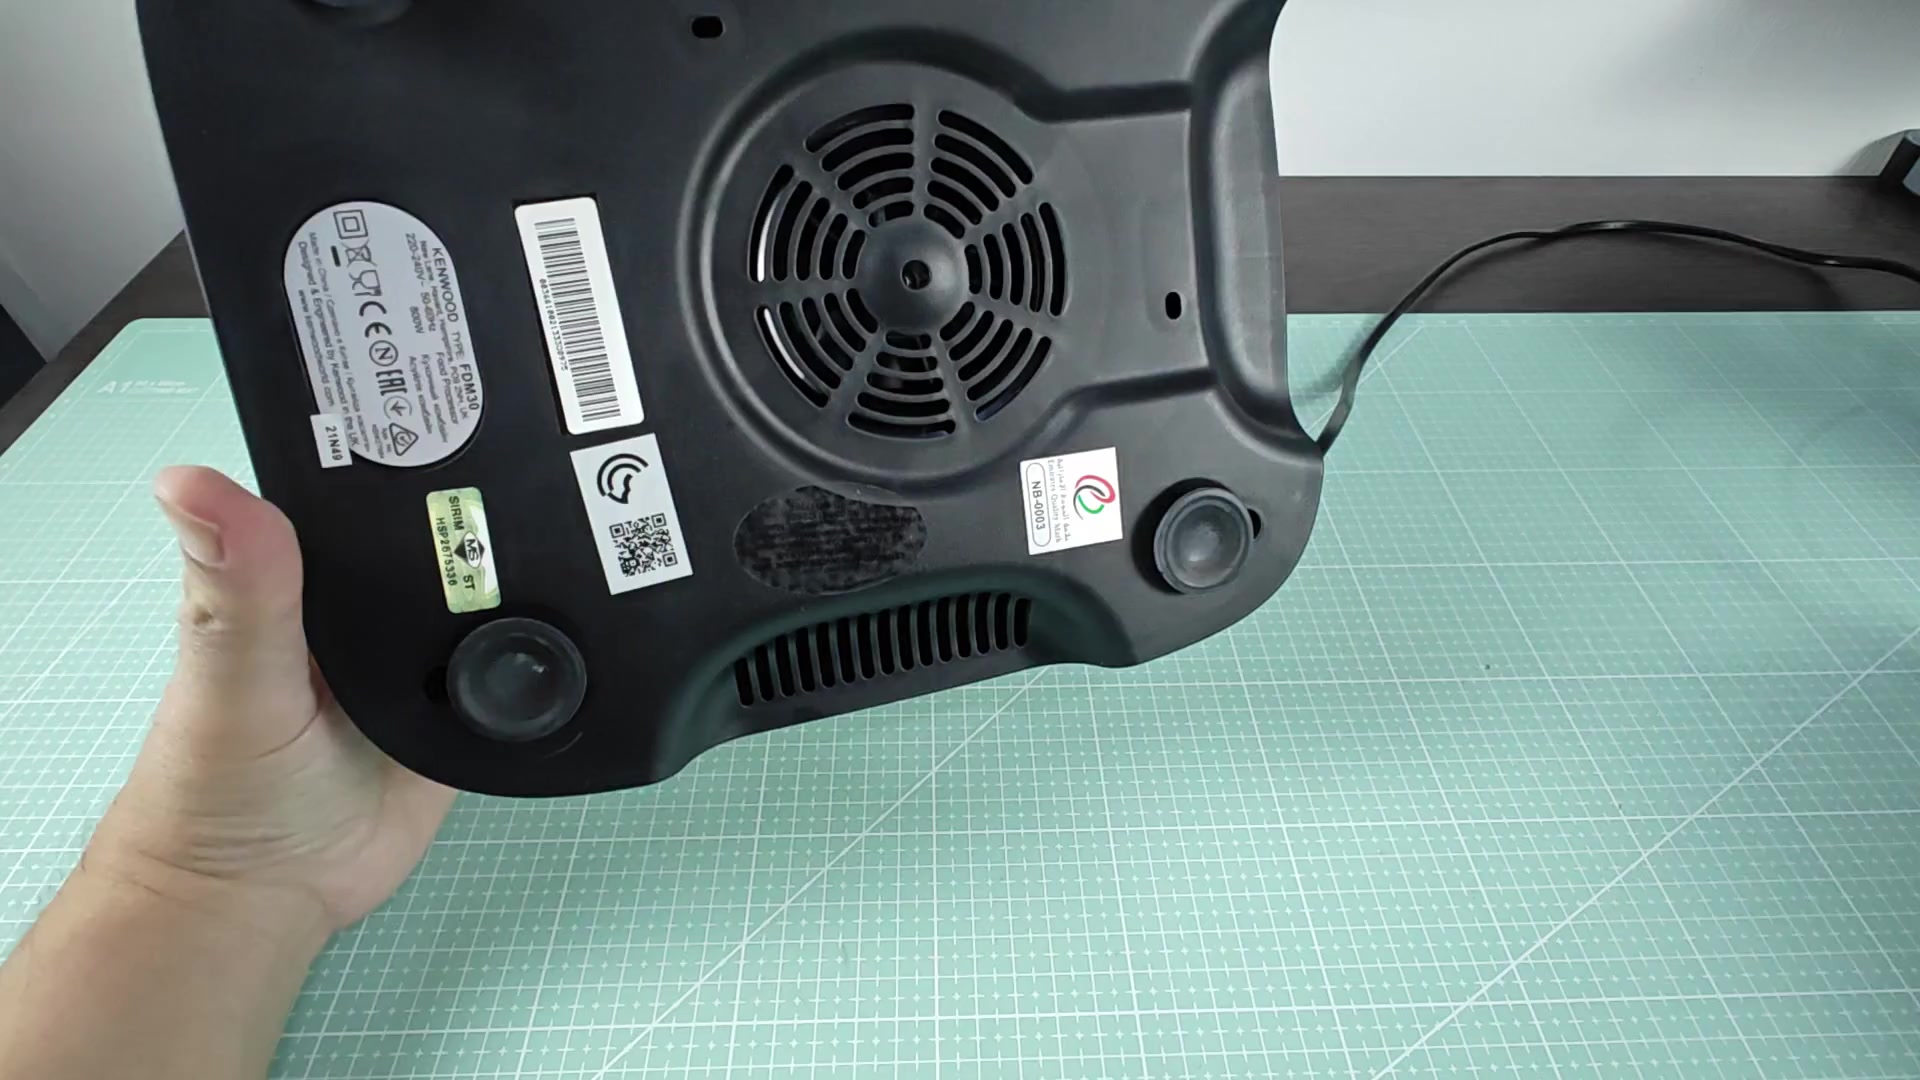
After turning off the power, turn your unit upside down to look at the base. There should be some screws located underneath stickers or rubber feet on the bottom cover which hold it in place. Find all of the fasteners around perimeter and in the center area.
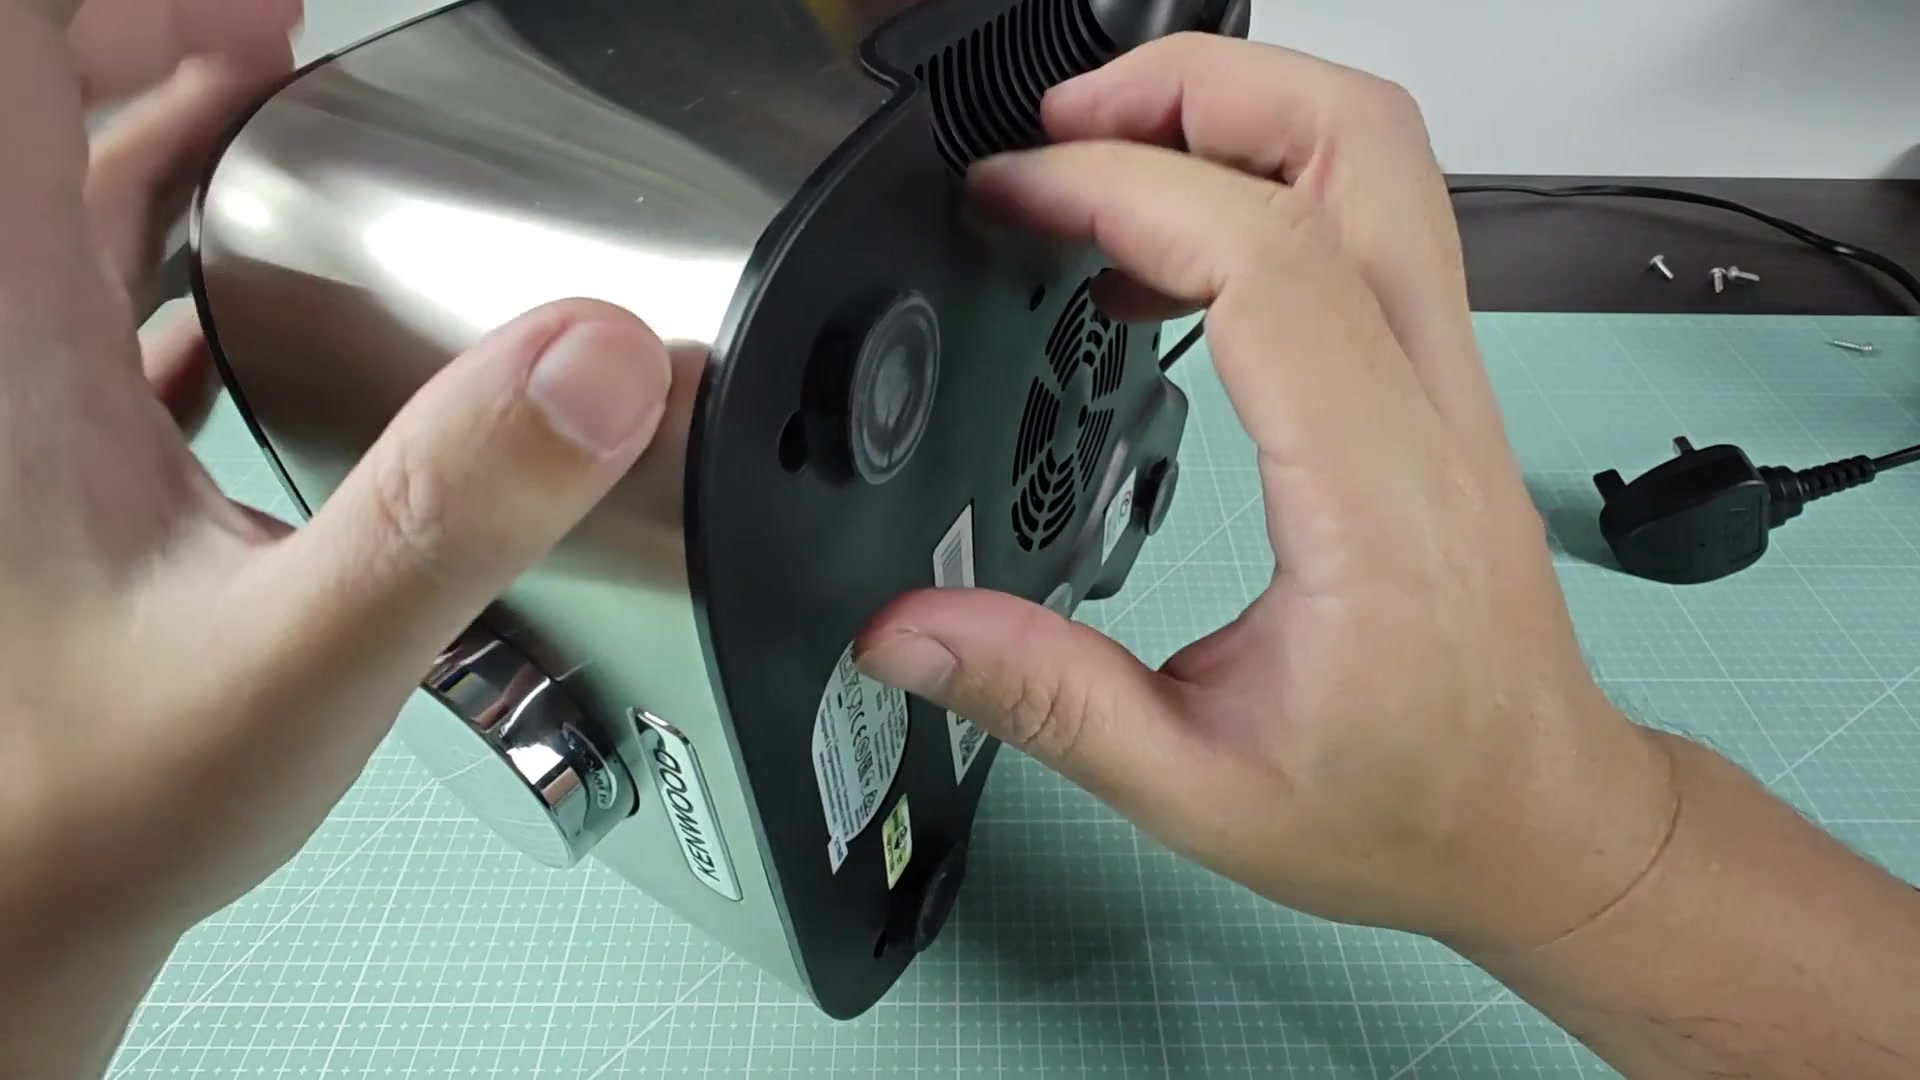
They come out with a regular screwdriver-nothing fancy here. Keep track of where each screw came from so you can put it back correctly later, doing that helped me. Once you remove all of the screws there is still a chance the cover will not come loose from the main body at all. The plastic shell are held on pretty well with some sort of adhesive or clips.
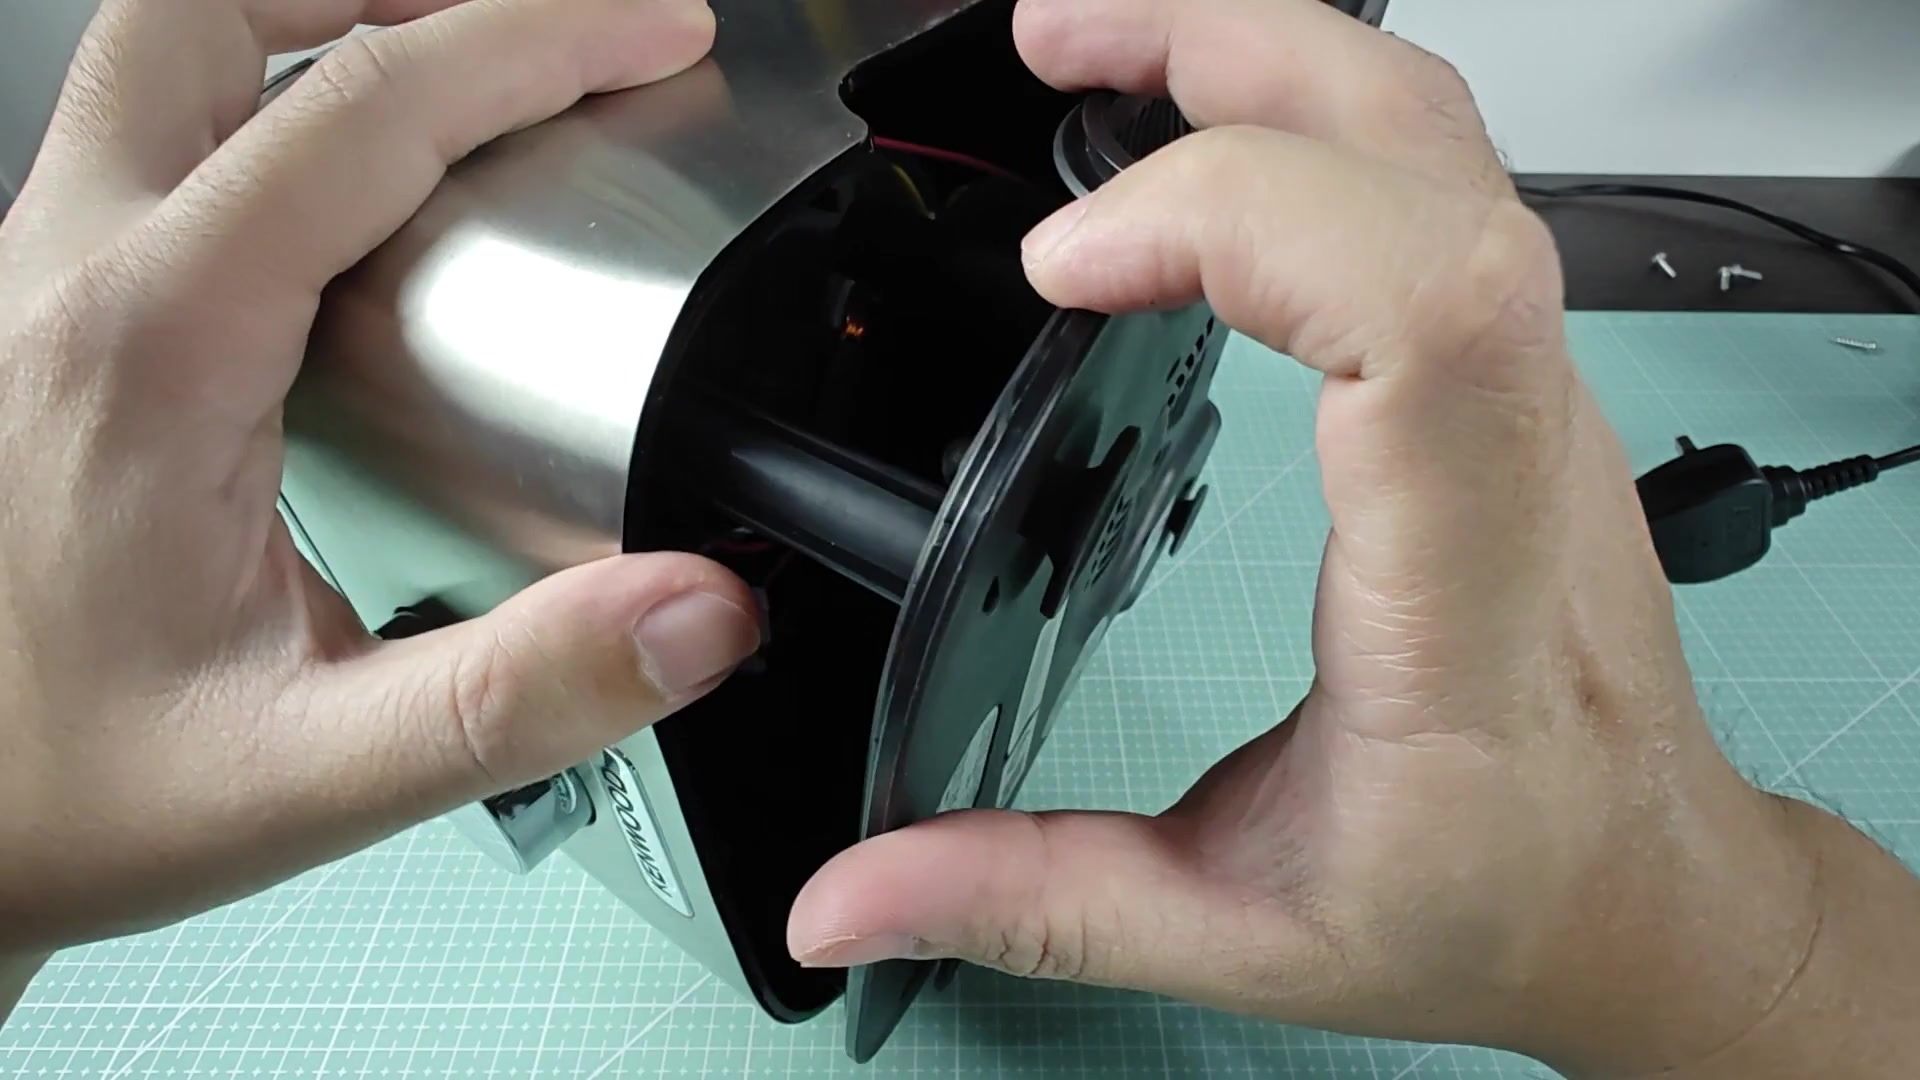
Gently work it down the seam where the black base meets the stainless steel sides. A flat tool works best here as you don’t want to crack the plastic while breaking seal. Once you get all the way around edge the bottom section should start to give. It was easier then I thought. It is done. Remove the cover and you’ll see what’s going on inside the appliance.
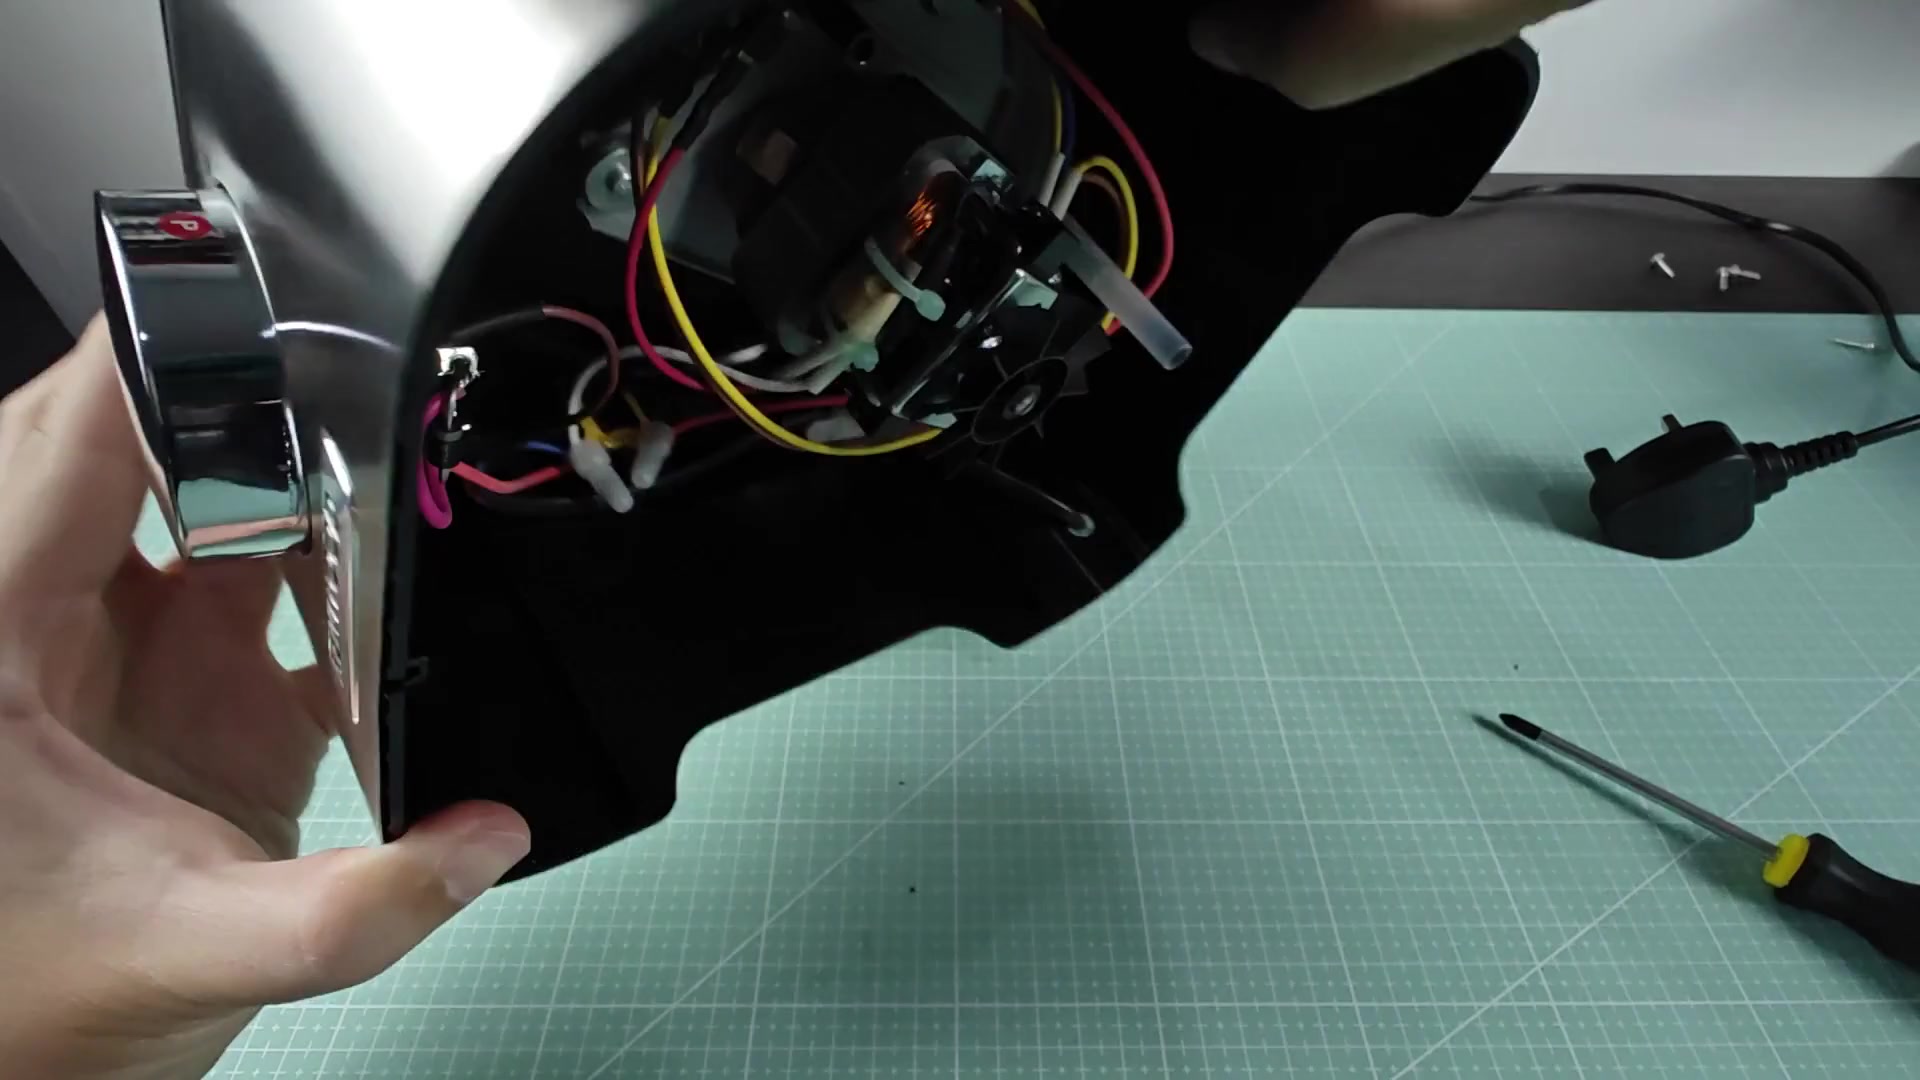
The motor assembly are in the center, with mechanical gears and wiring around it. Inside, there are red, yellow and black wires connecting things together. It’s a little cramped but neatly laid out.
And now that we’ve seen how everything works, it feels like less of a scary repair. Where does what go? No guessing required. You have a clear view.
The separated base section sits to the side while you inspect the main housing.
Looking at the main housing, on the left is the separate base portion that is going to go next to it. You can see where shaft from the motor fits into the round recess in the bottom cover. This will be important when putting it back together.
Also, take note of where the power cable goes into this portion as well. It runs through a dedicated channel which keeps everything nice and clean, the design is simple. Move a little closer inside.
The gear assembly and motor can easily seen inside. You will notice there’s an impeller or fan directly on the motor shaft. It’s used for cooling the unit when it gets really hot from a lot of use.
The colorful wires lead up to some obvious terminals. Leave all your electric stuff alone for now. Looking around makes you sure of where to go next, it made sense. It is a Kenwood processor.
The Kenwood processor has a nice, slick professional look on its exterior. A brushed metal finish conceals any small scratches. The chrome top‘s control knob feels good to turn.
Tilt the unit to get a better look at how the housing fits together. The side panel shows off their logo. From the exterior it looks much more complex than in reality, that makes sense. Secure the open housing, ready for what comes next: dismantling. On the work bench, leave the screwdriver handy just in case. It’s easier (and less frustrating) if everything is at arm’s length.
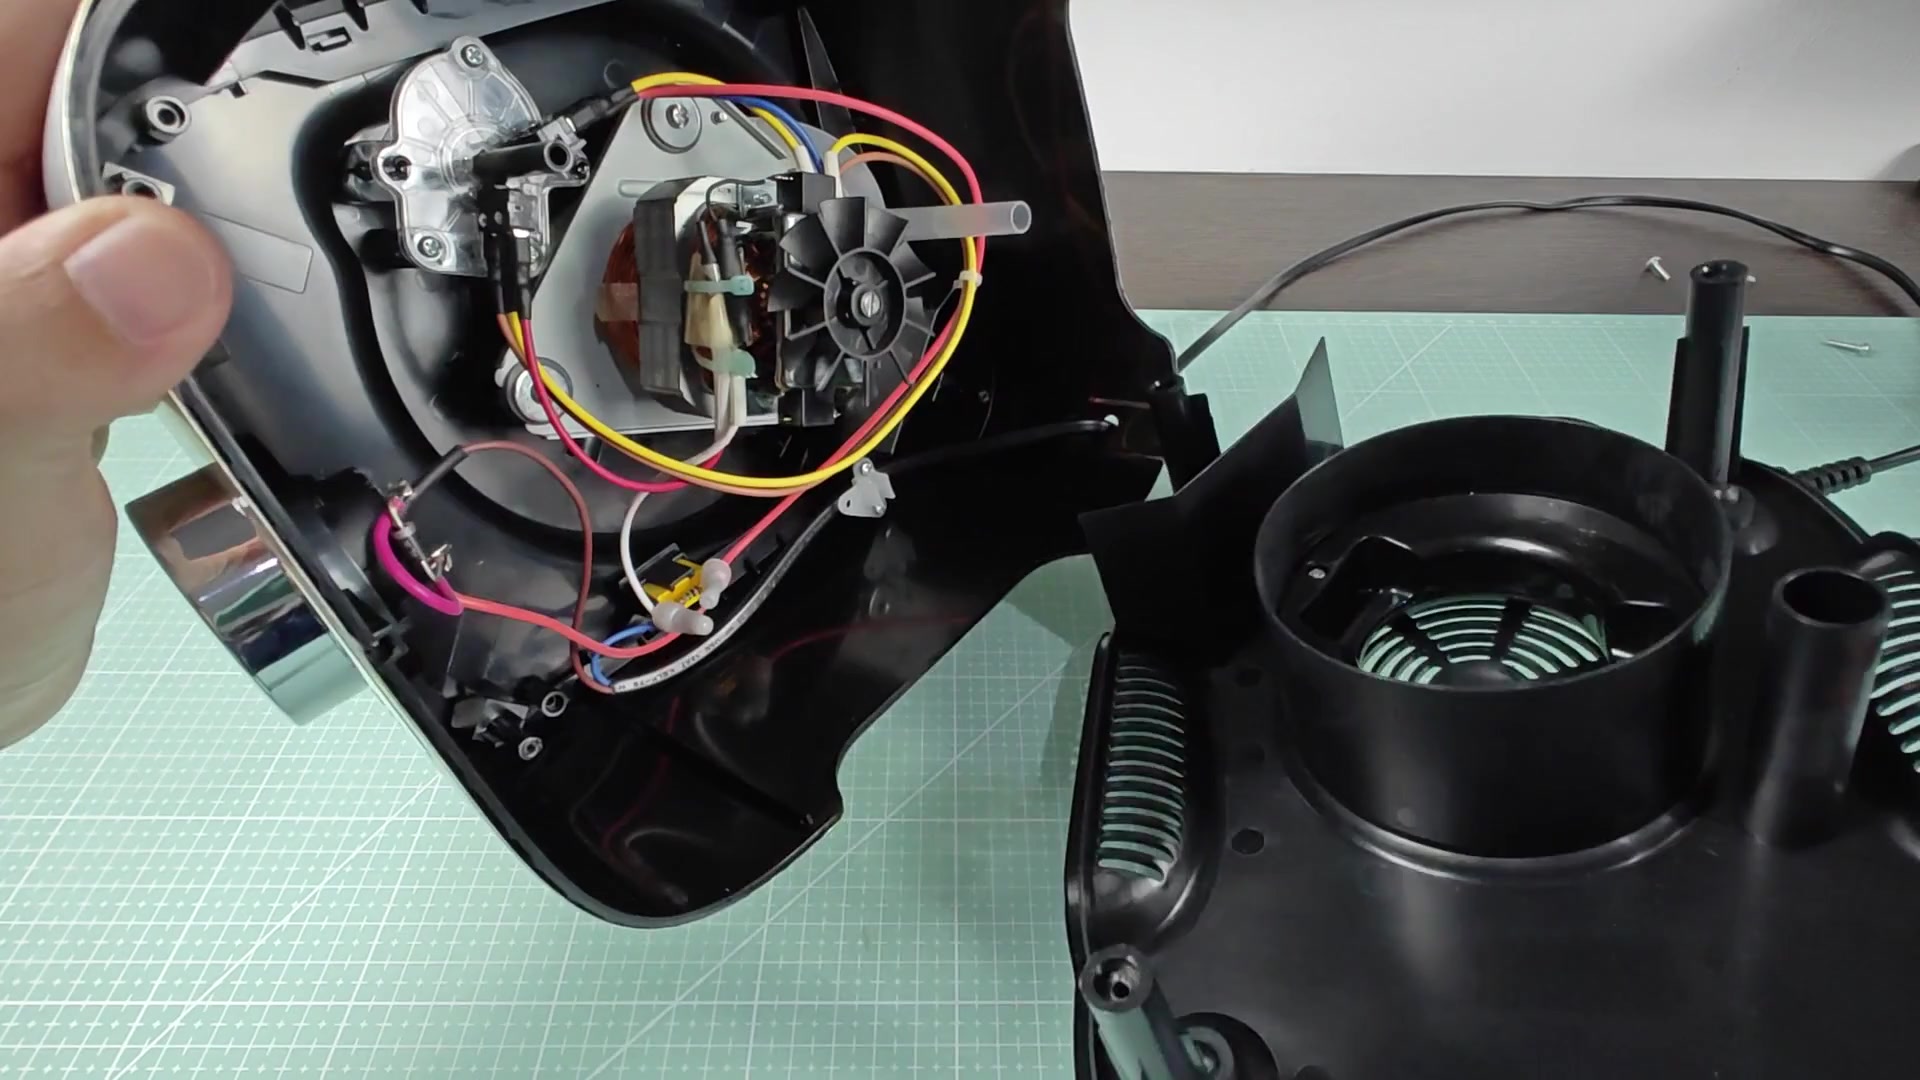
All we saw was the wiring inside (which was neat and tidy in its channels), no exposed wires dangling precariously near sharp points. So far so good. Worth it.
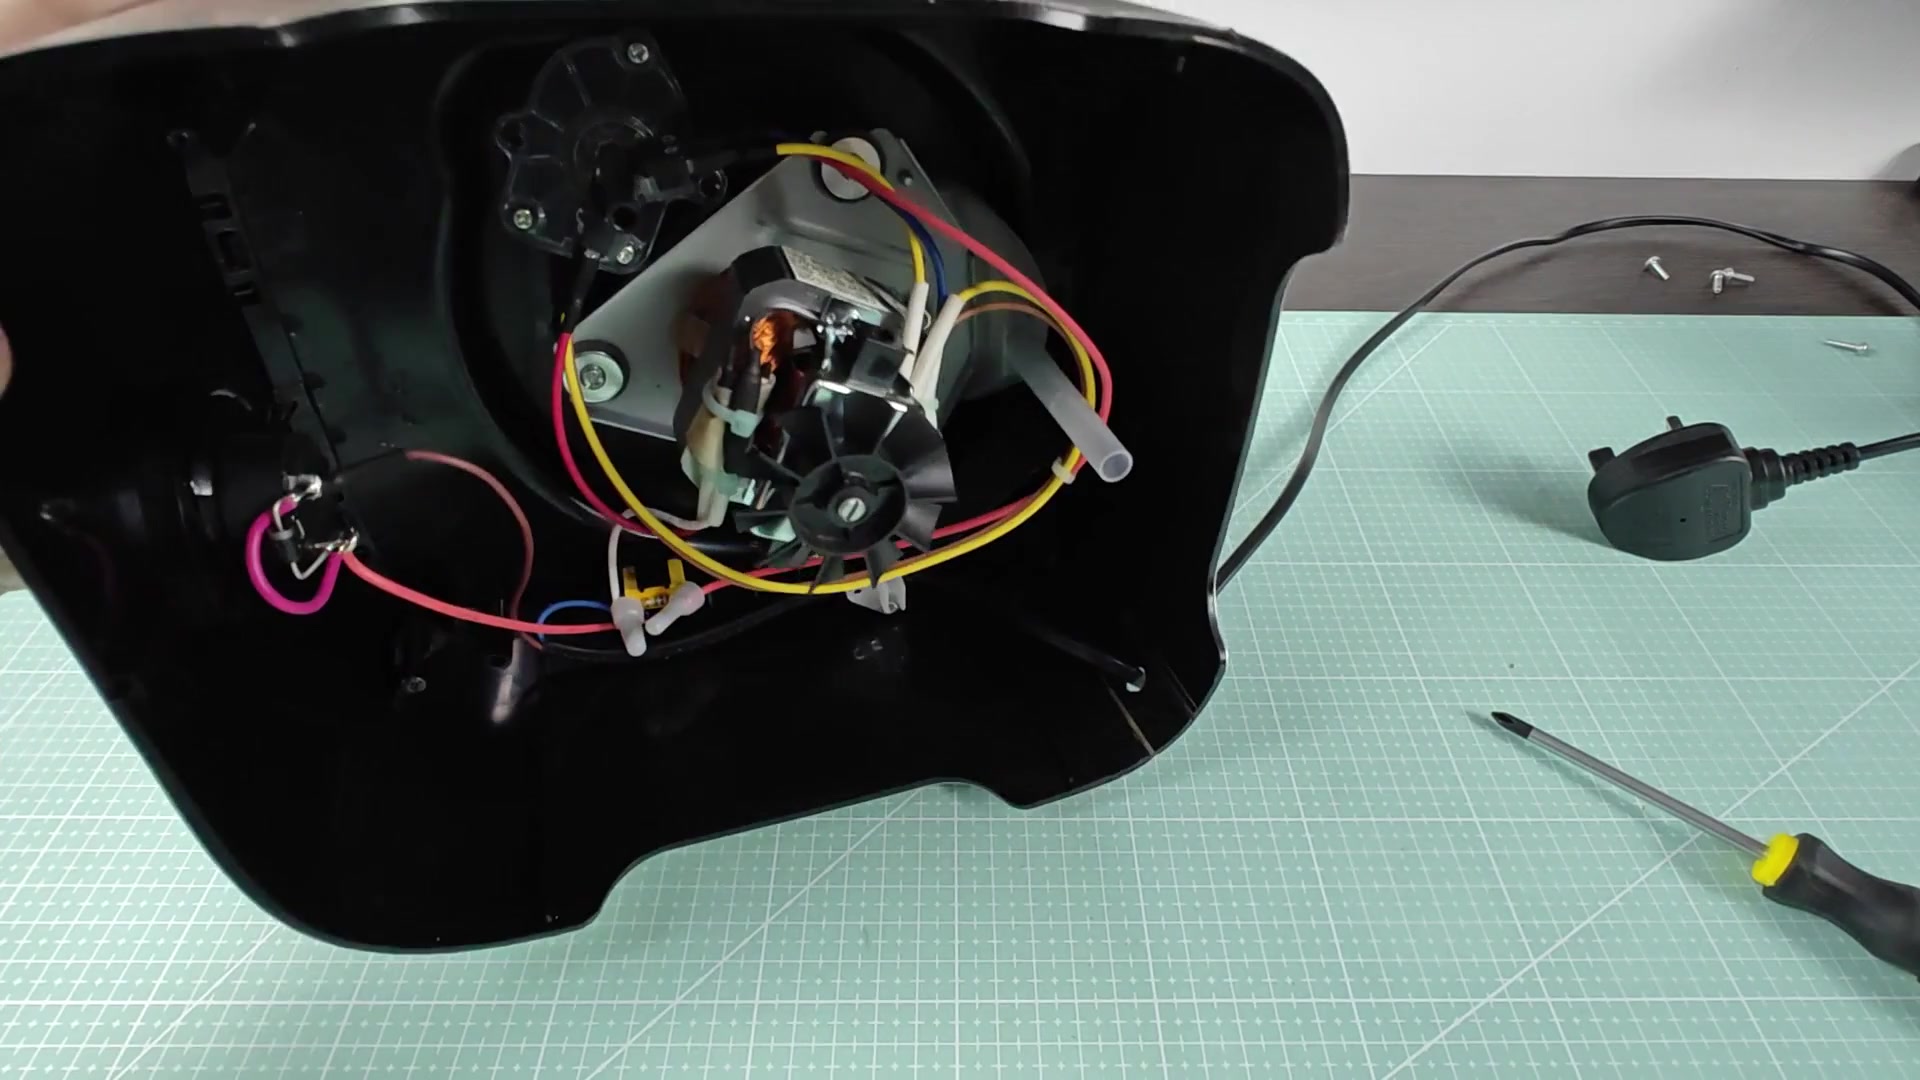
This is the first teardown.
You can now get at everything that’s been hiding underneath. Getting in there is half the battle, whether you are replacing a broken or worn-out motor or just fixing a stuck gear. It didn’t take as long as I thought it would of. Break it down in bite-sized pieces and its doable.
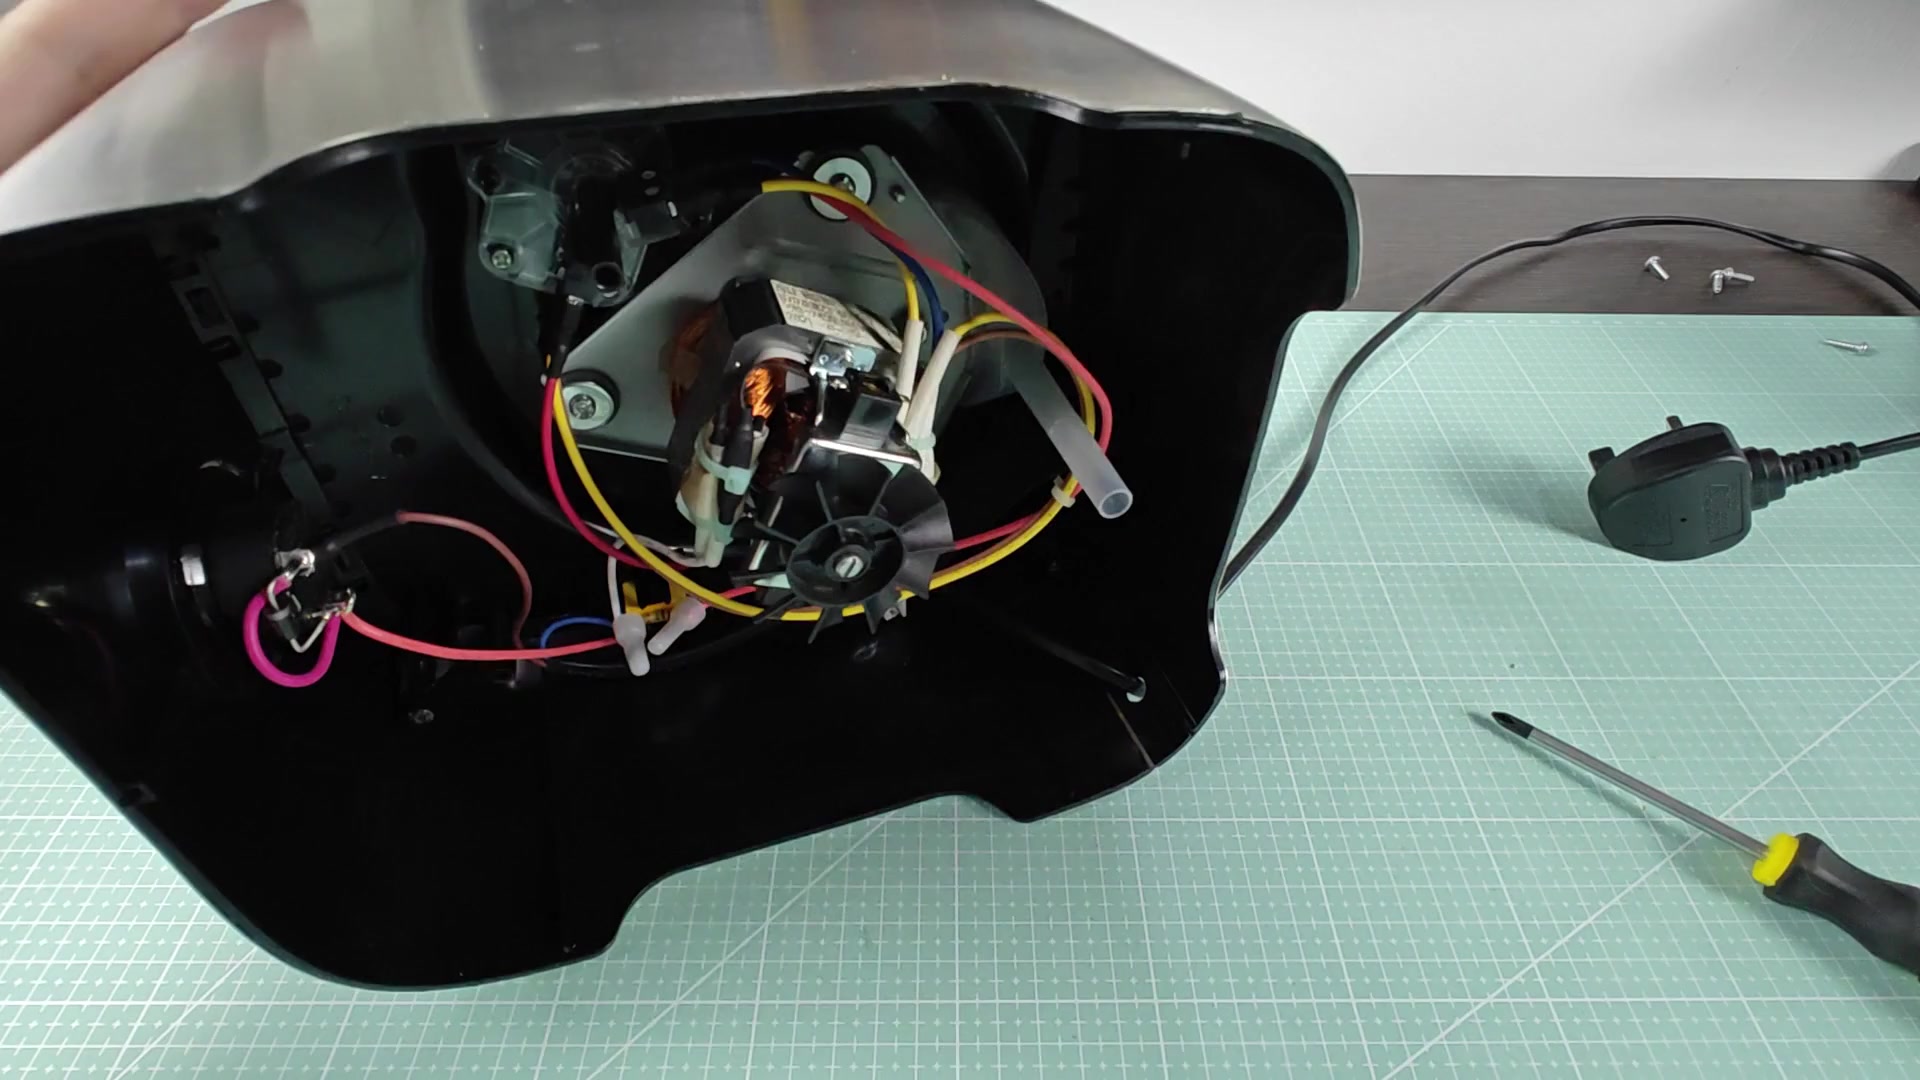
Don’t rush, don’t try to force things apart. Take your time; patience is worth its weight in gold here. Big difference.