It’s frustrating (you’re hungry), you’re ready to eat, and the Instant Pot won’t lock. Before you think something is wrong with inner workings of your pot, know that there are typicaly only a couple of things that cause an Instant Pot lid not to close: the steam release handle and the silicone ring.
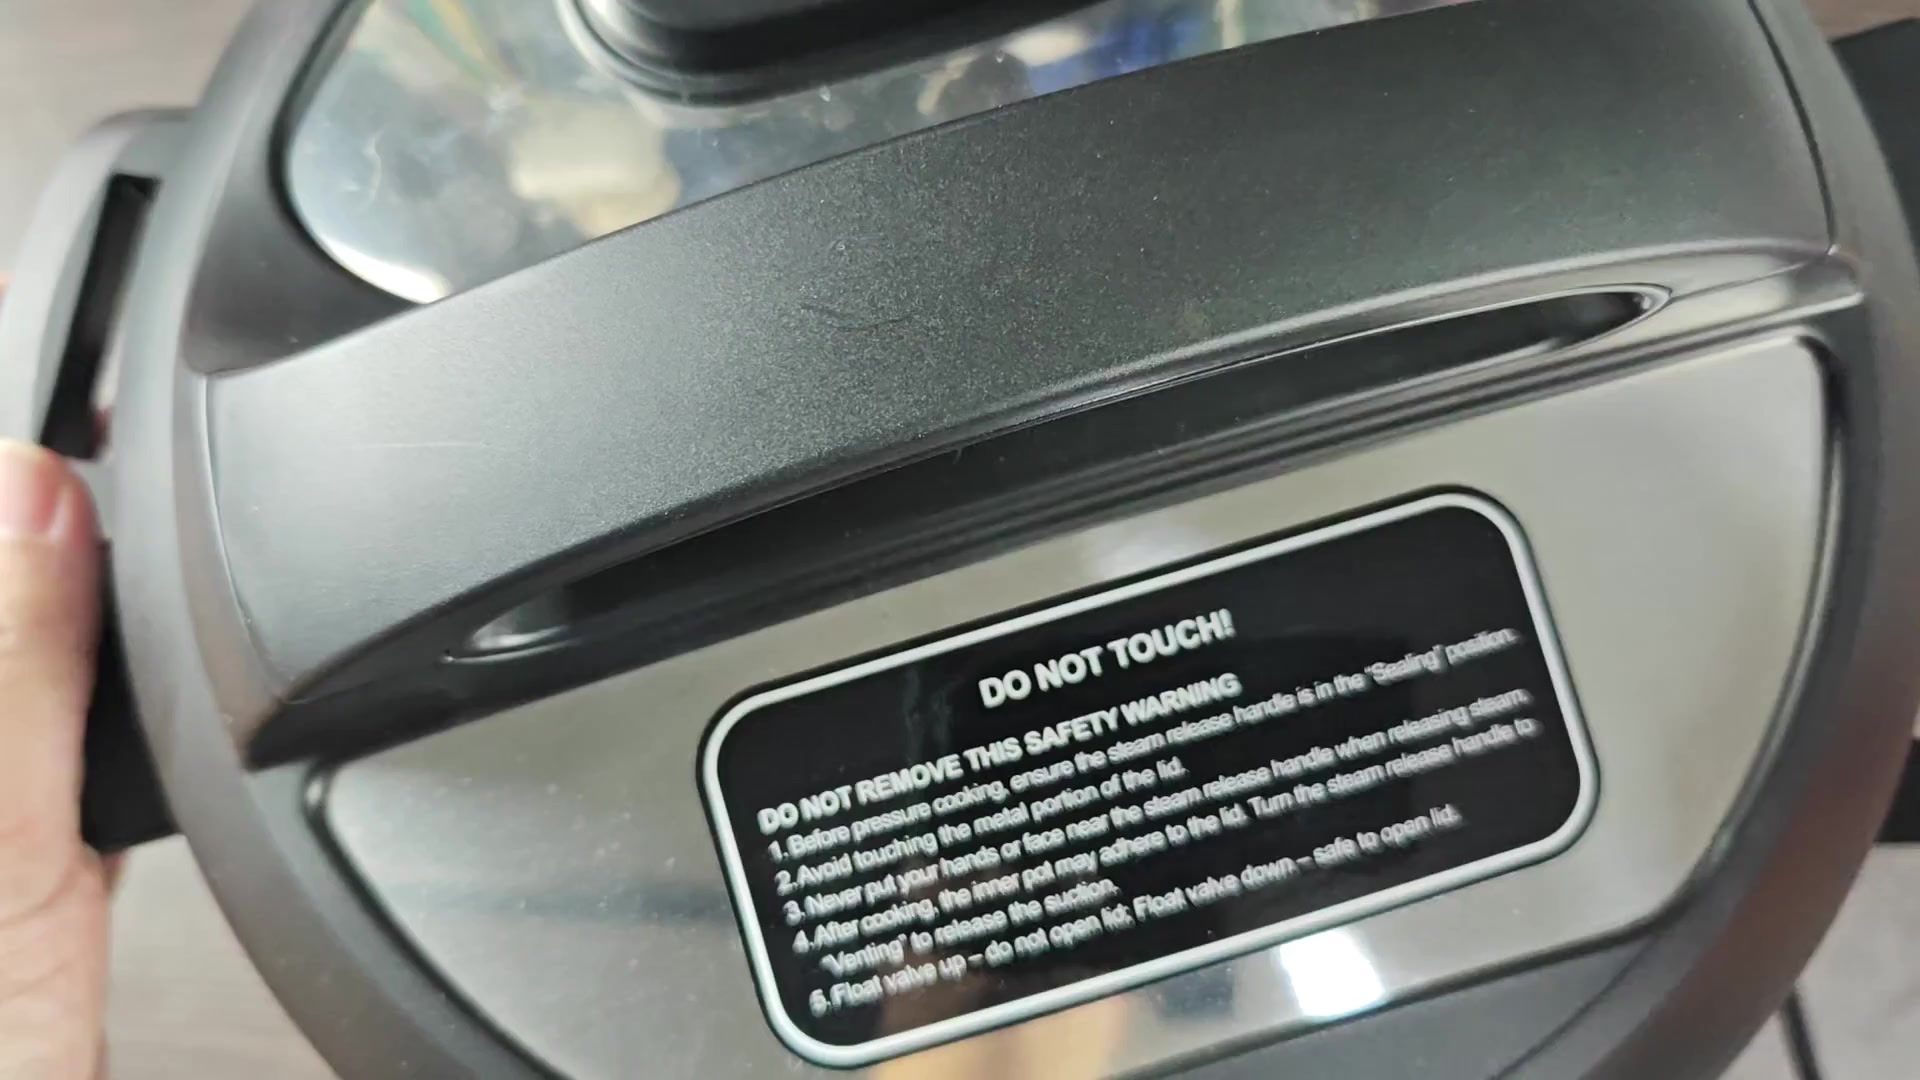
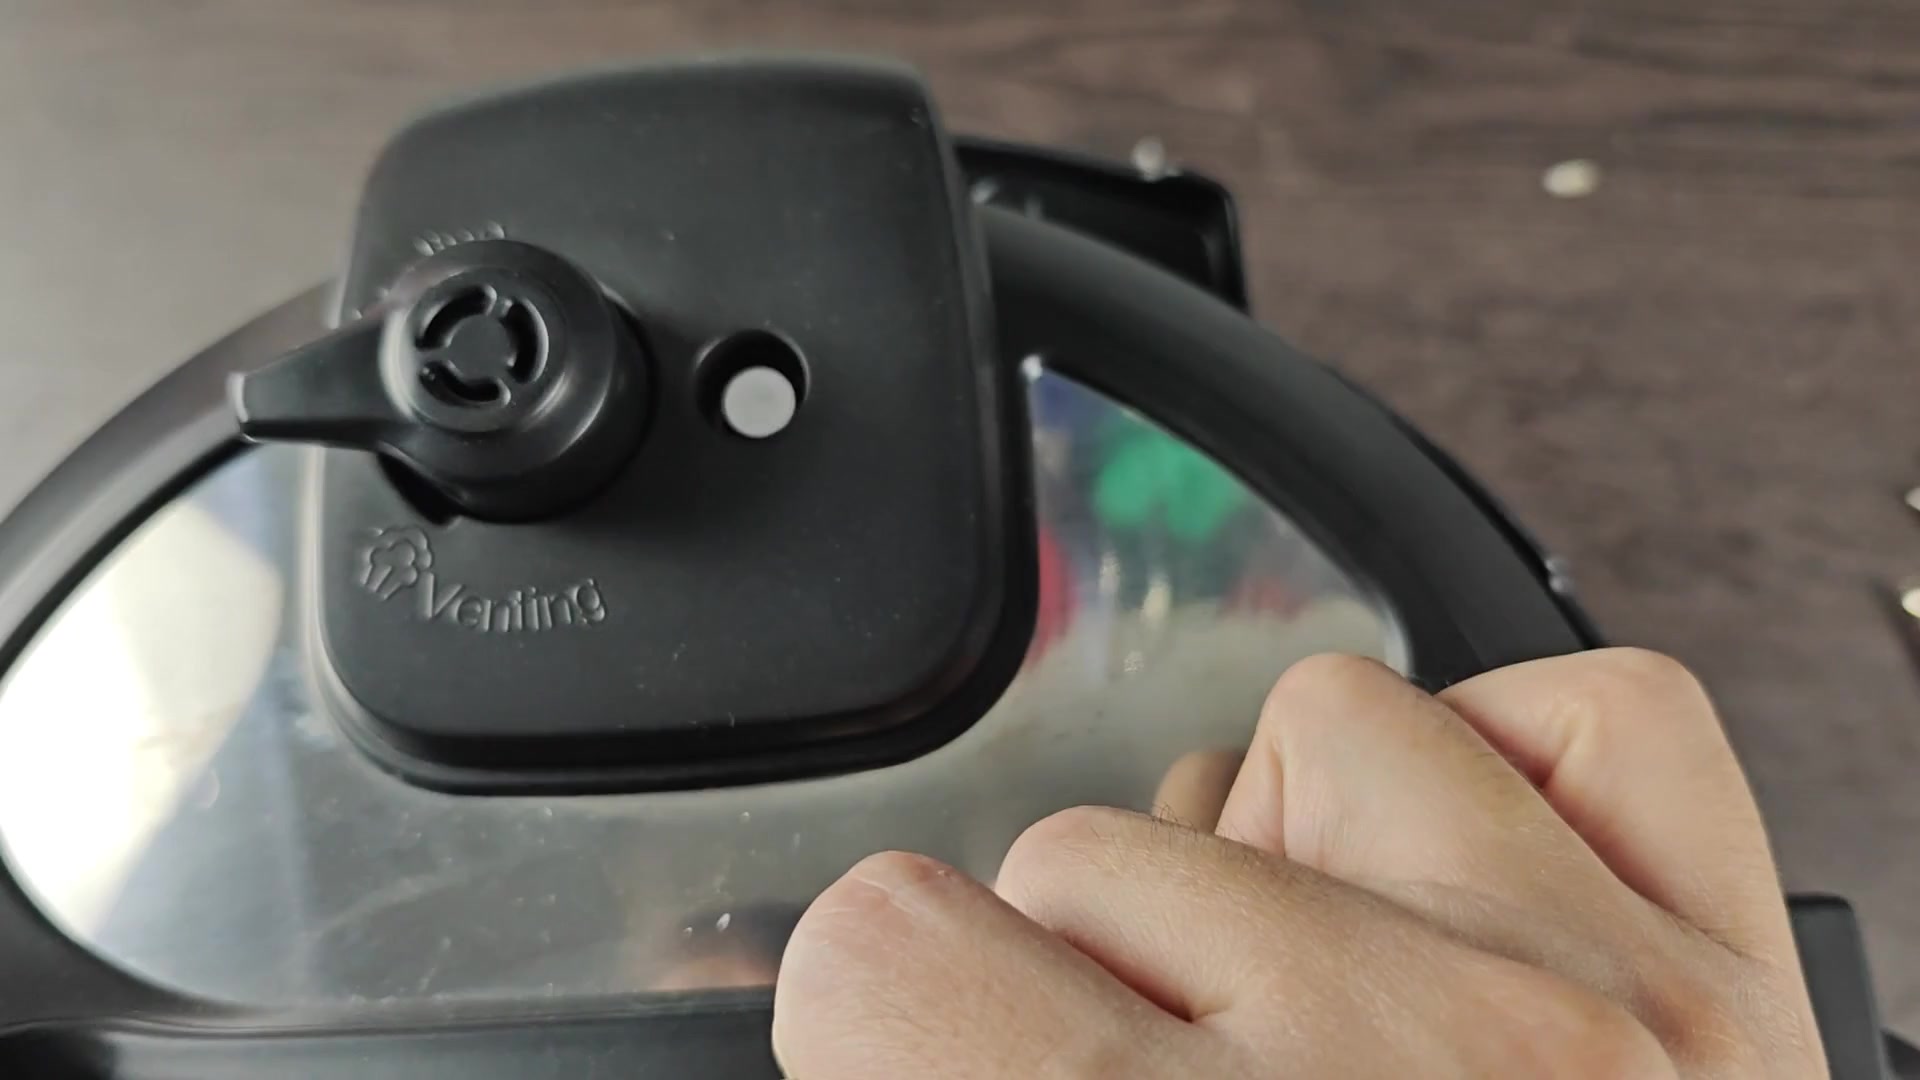
First, examine the steam release handle. Is it positioned correctly? When in sealing position, it can gets stuck on other parts inside the pot. To clear the way for the locking mechanism, simply slide the handle to venting position. Surprisingly, venting will allow you to lock.
Checking Mechanical Components
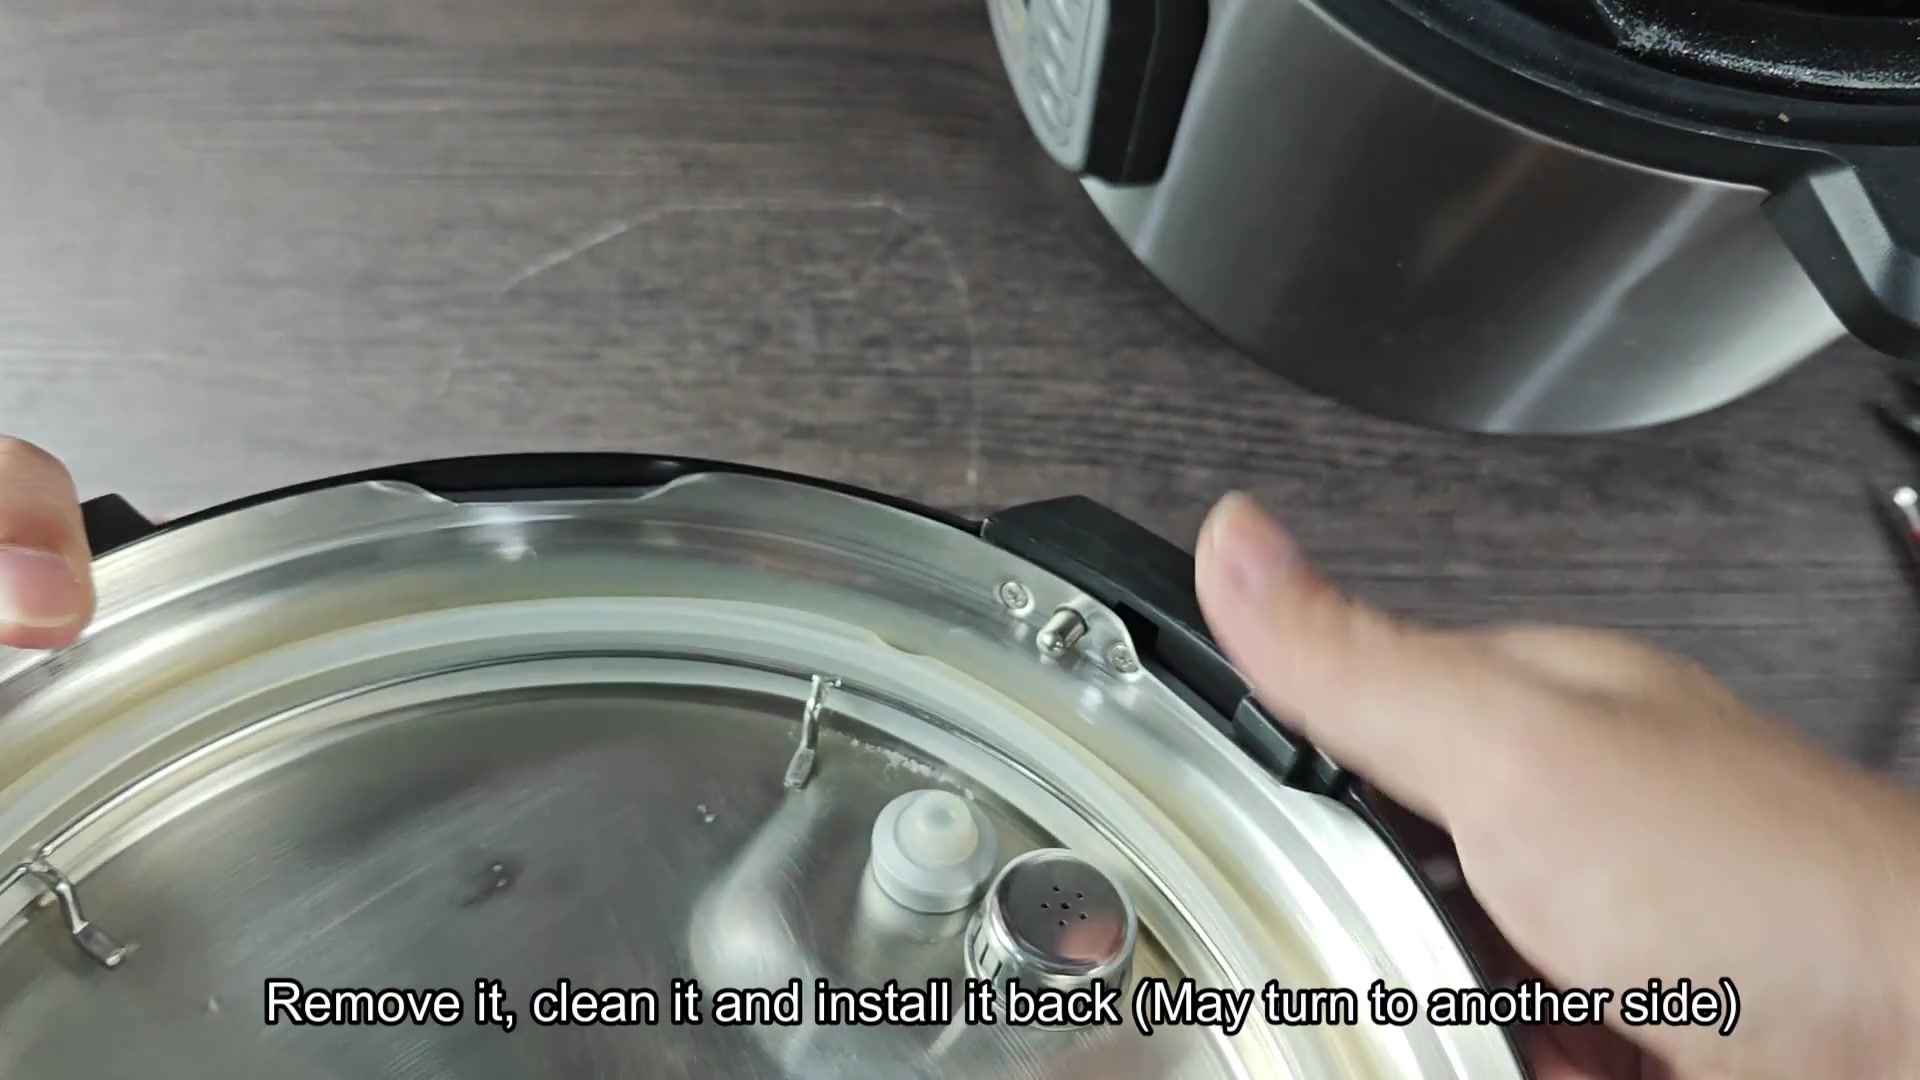
The second item would be the silicone sealing ring on the lid’s rim. During use, these rings tends to shift and get twisted. The lid will not fit flush if it’s just slightly out of alignment. To check your ring up close, just pull it off. A very slight fold in silicone is enough to stop a good seal. It is an easy fix for physical obstructions.

Because even slight amounts of food will create uneven pressure points, it’s best to wash the ring off well with soap and water before reattaching it to the lid. With the ring dry, simply place it back over the lid and ensure an even fit all the way around. Rotating the ring a bit sometimes work as new silicone grips tighter then worn material. Flipping the ring upside down may help too.
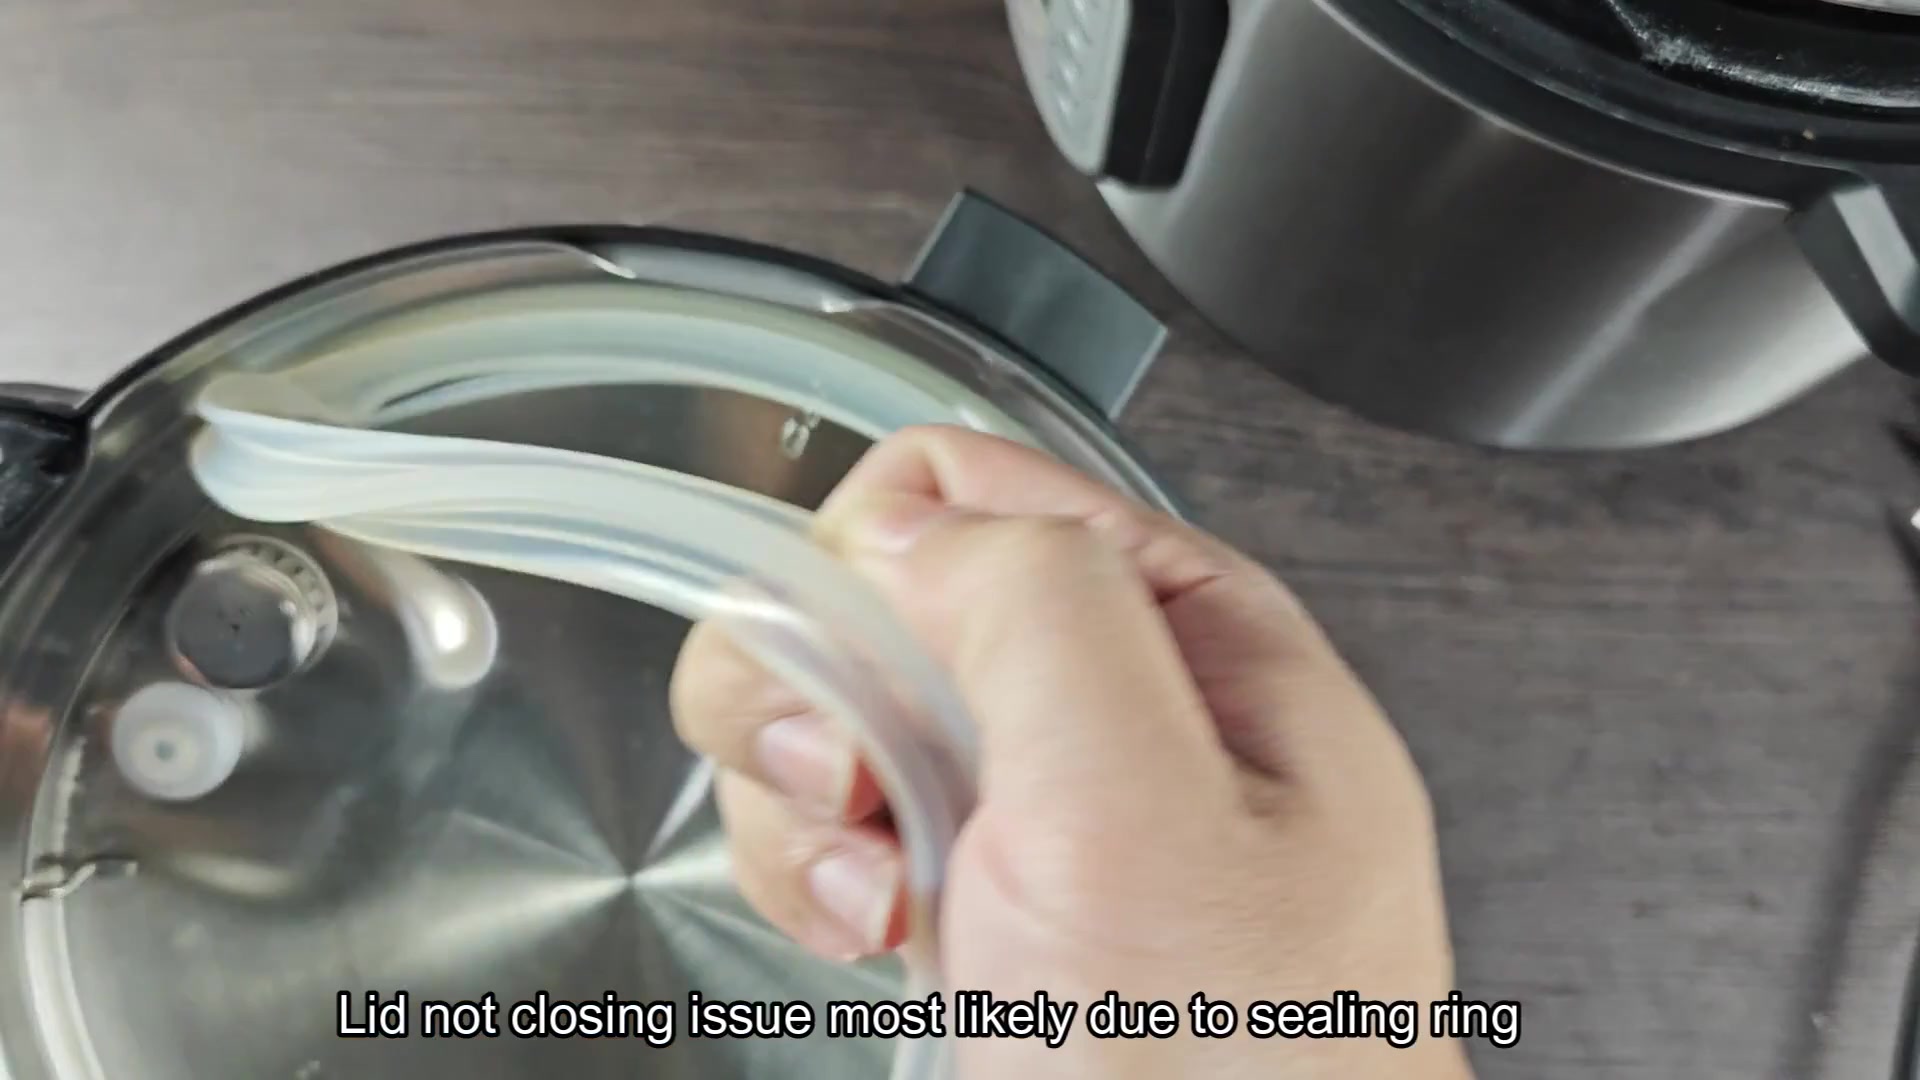
You must press hard into the groove to reinstall it which takes a little time. Don’t hurry this process or it will not be aligned properly again and you’ll find yourself back where you started with the ring sitting crooked on the lid. Just use your finger and run it around the outside of the ring to ensure no bump or rough spots exist.

When it’s seated properly, everything will be smooth and even. Proper seating will eliminate any alignment issues and many times solve the problem entirely. So when you can’t get it to latch shut after trying once or twice, then you’ve got to start looking elsewhere.

It might be that the handle moves halfway and stops short on locking up; this indicates some sort of deeper mechanical issue. It could even appear perfectly aligned from all angles, in which case digging around in mechanics will be needed. These steps help you identify the hidden faults you could not pick out initialy.

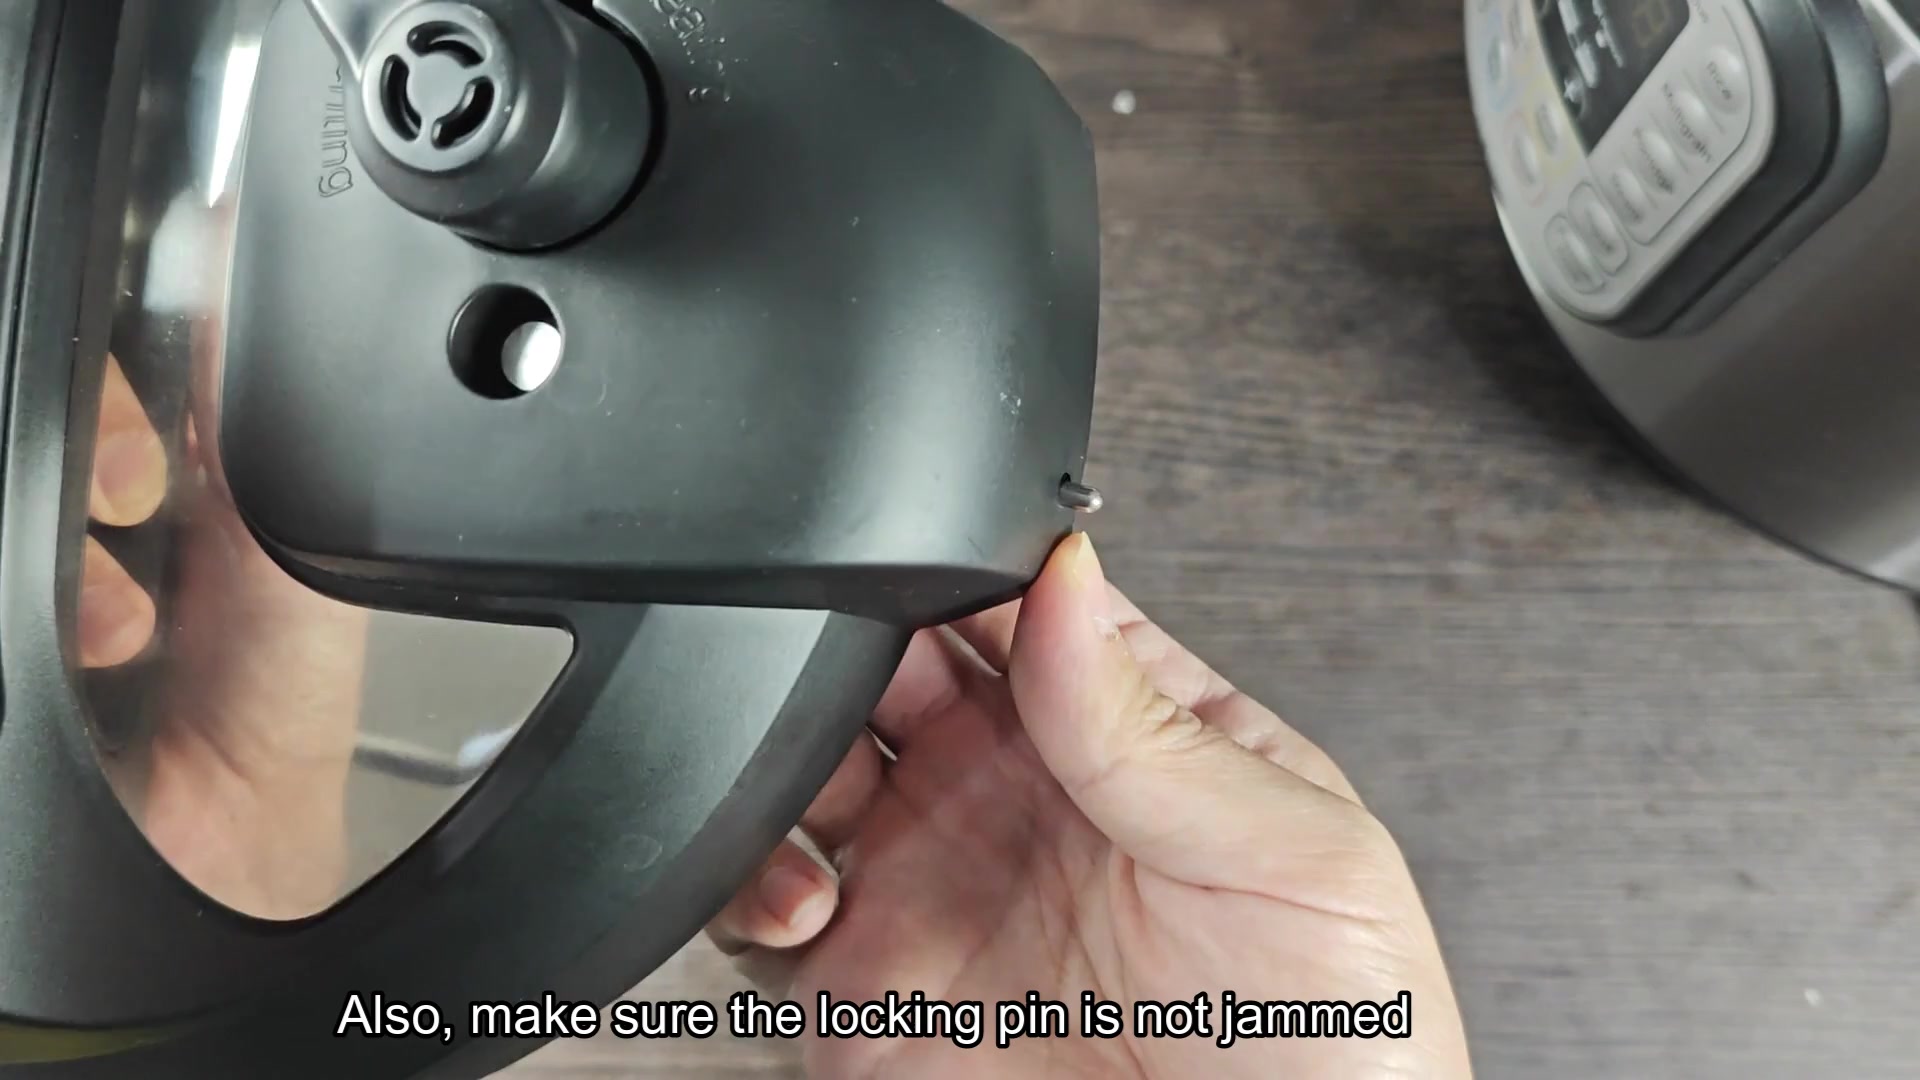
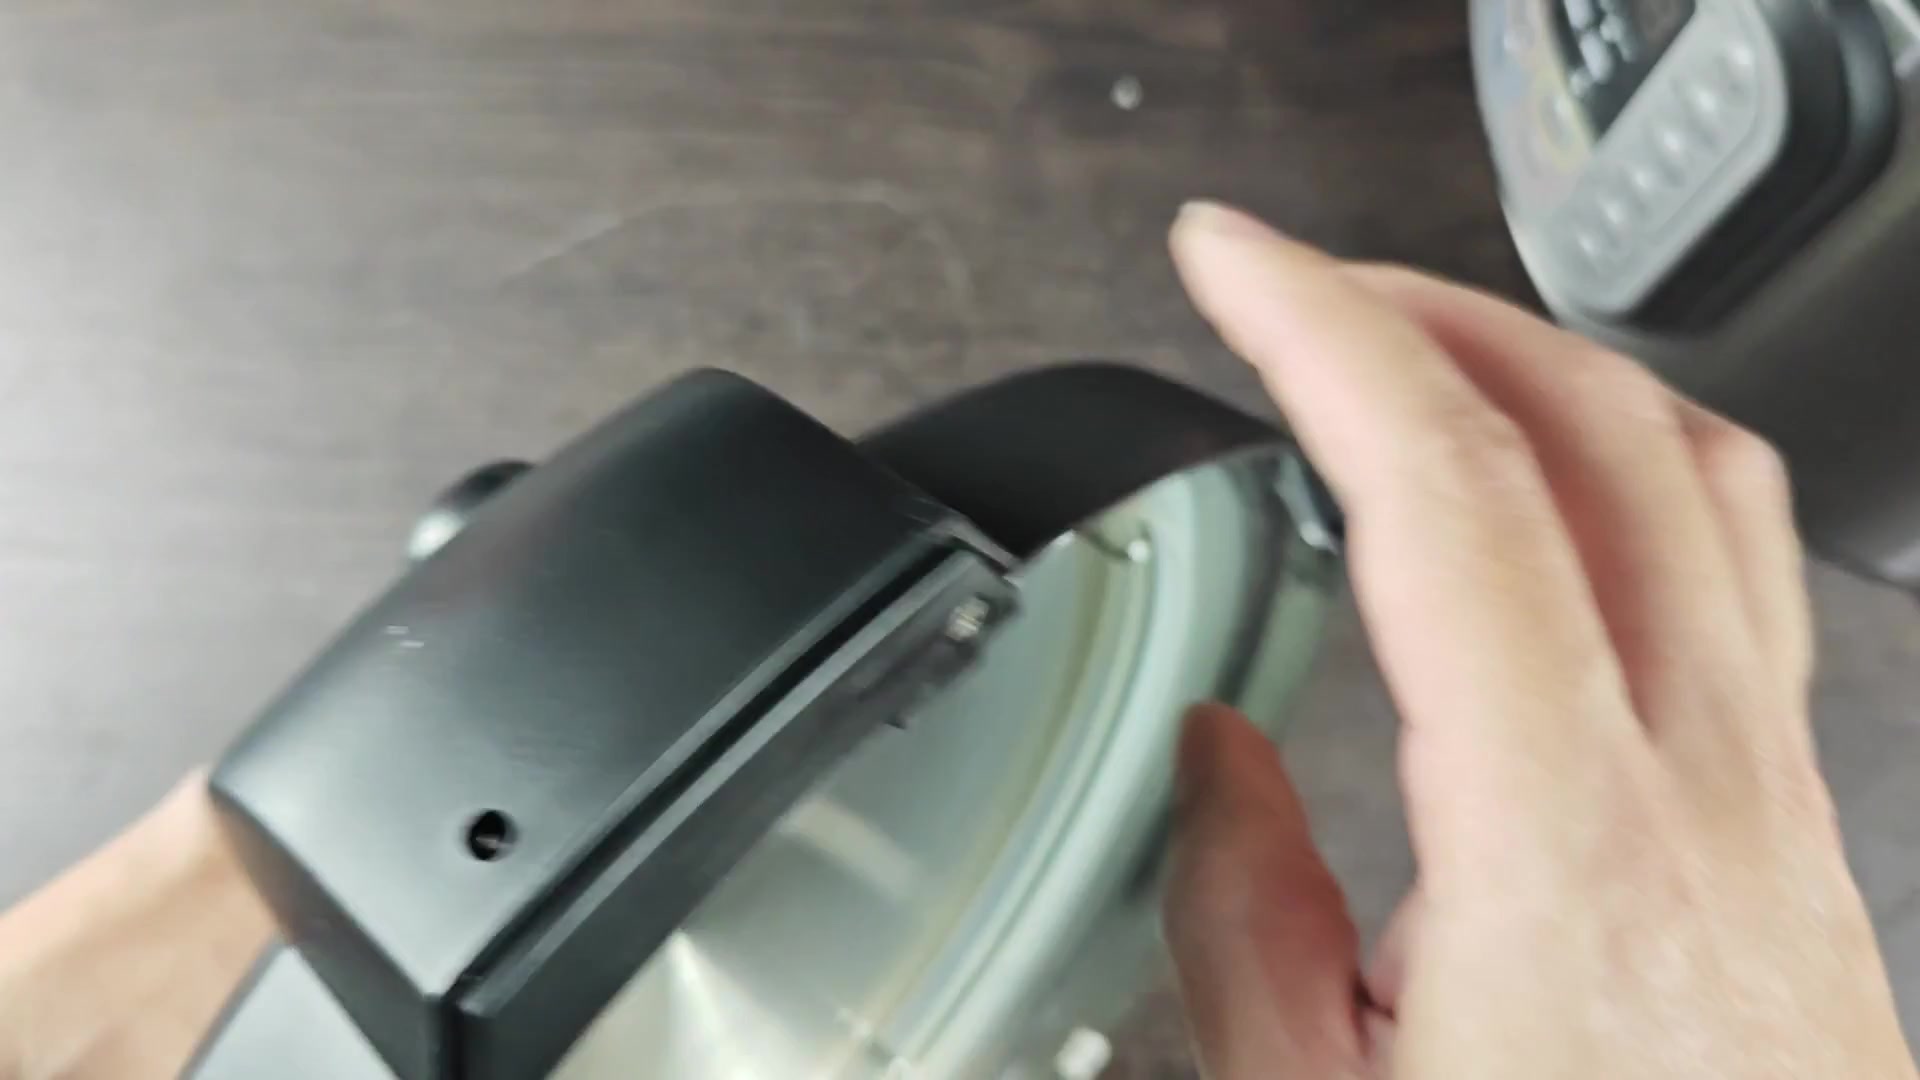
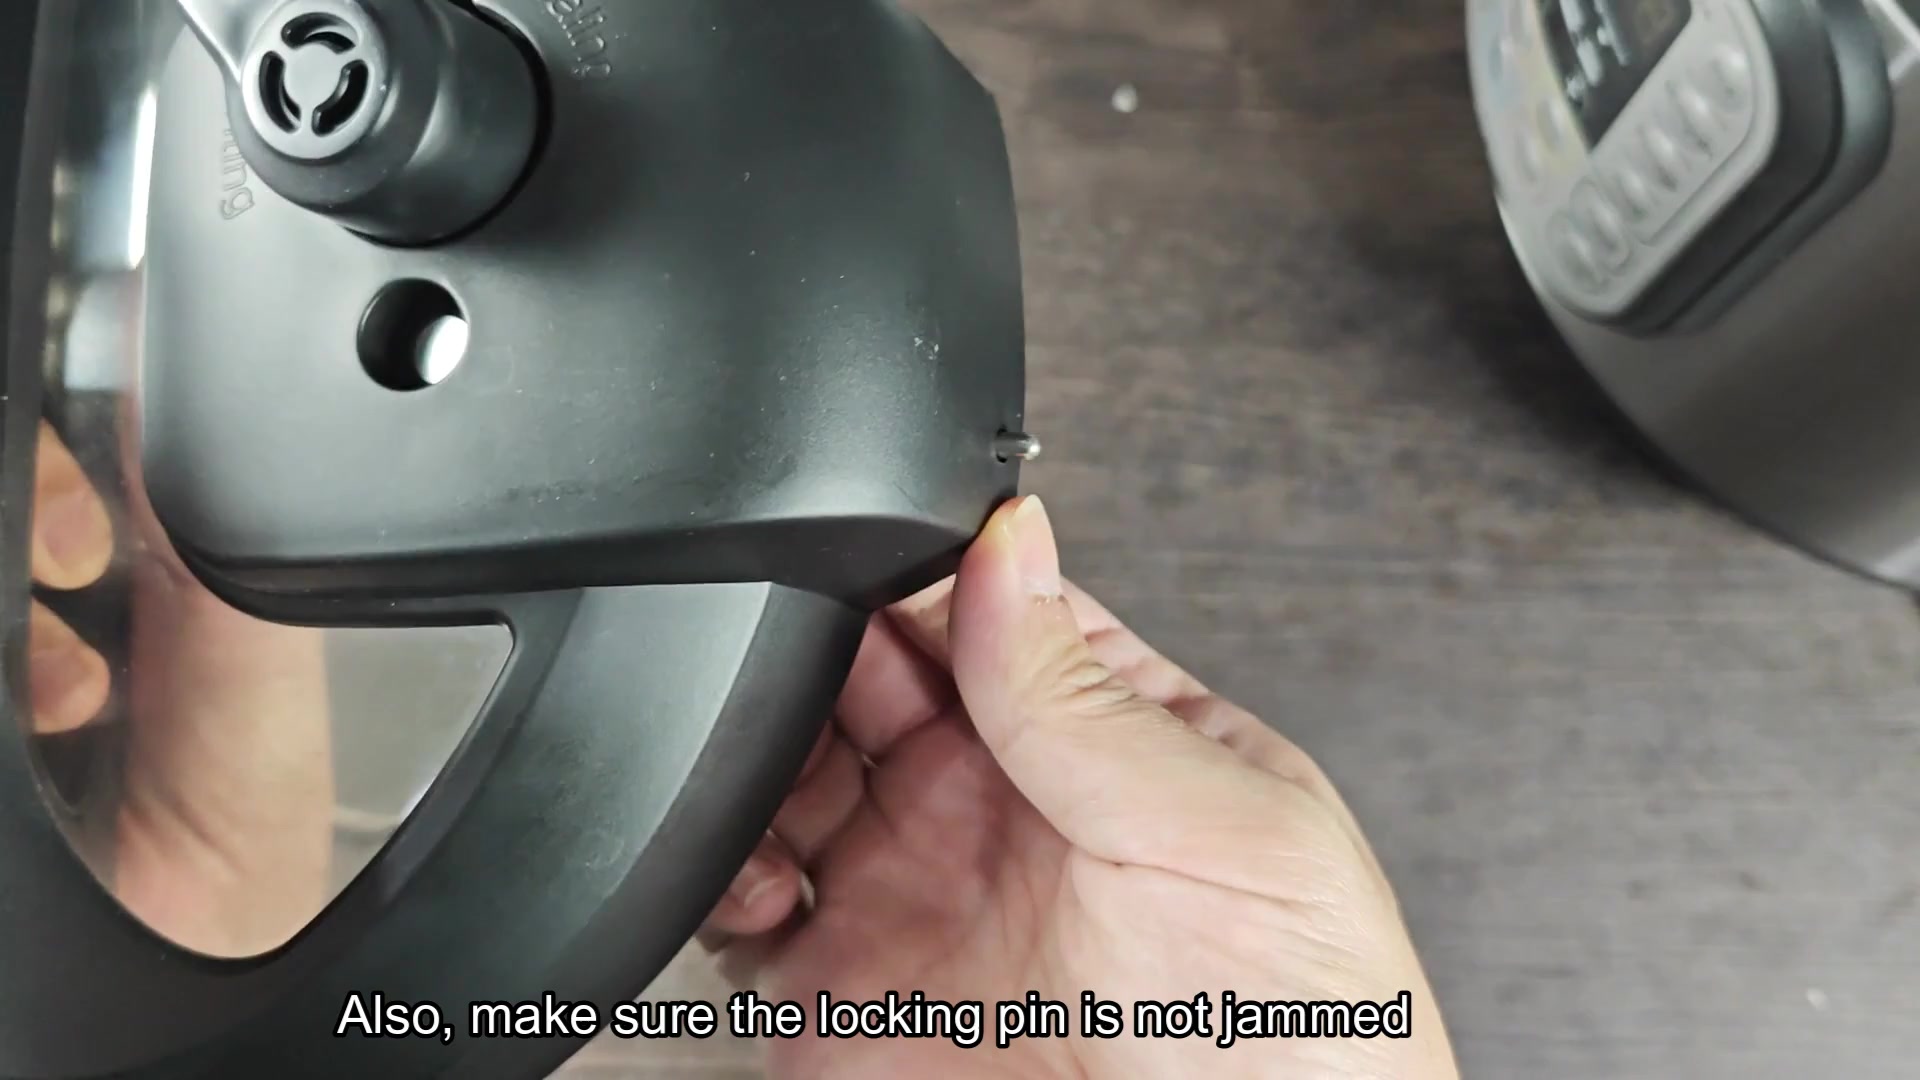
So then what? The little metal locking pin on the side is most often the guilty party. This pins the lid to the pot body. Often it will become stiff or have junk caught in it which cause it not to move freely. Inspect around the lid handle area on both sides of the lid for a pin that won’t move back easy after being pushed down. That’s usually where it goes wrong, it won’t close.
If there’s any gunk in the pin and it’s not moving freely, you can take your hands and lightly work the pin back and forth until it frees up. You’ll notice it gets real smooth after a couple of times and you don’t have to oil it anymore. When the pin’s not jamming into the closure mechanism, then it won’t feel like it’s as tight or have that much resistance. It’s just a matter of getting your hands on them and working the pins. That’ll fix mechanical sticking problems.
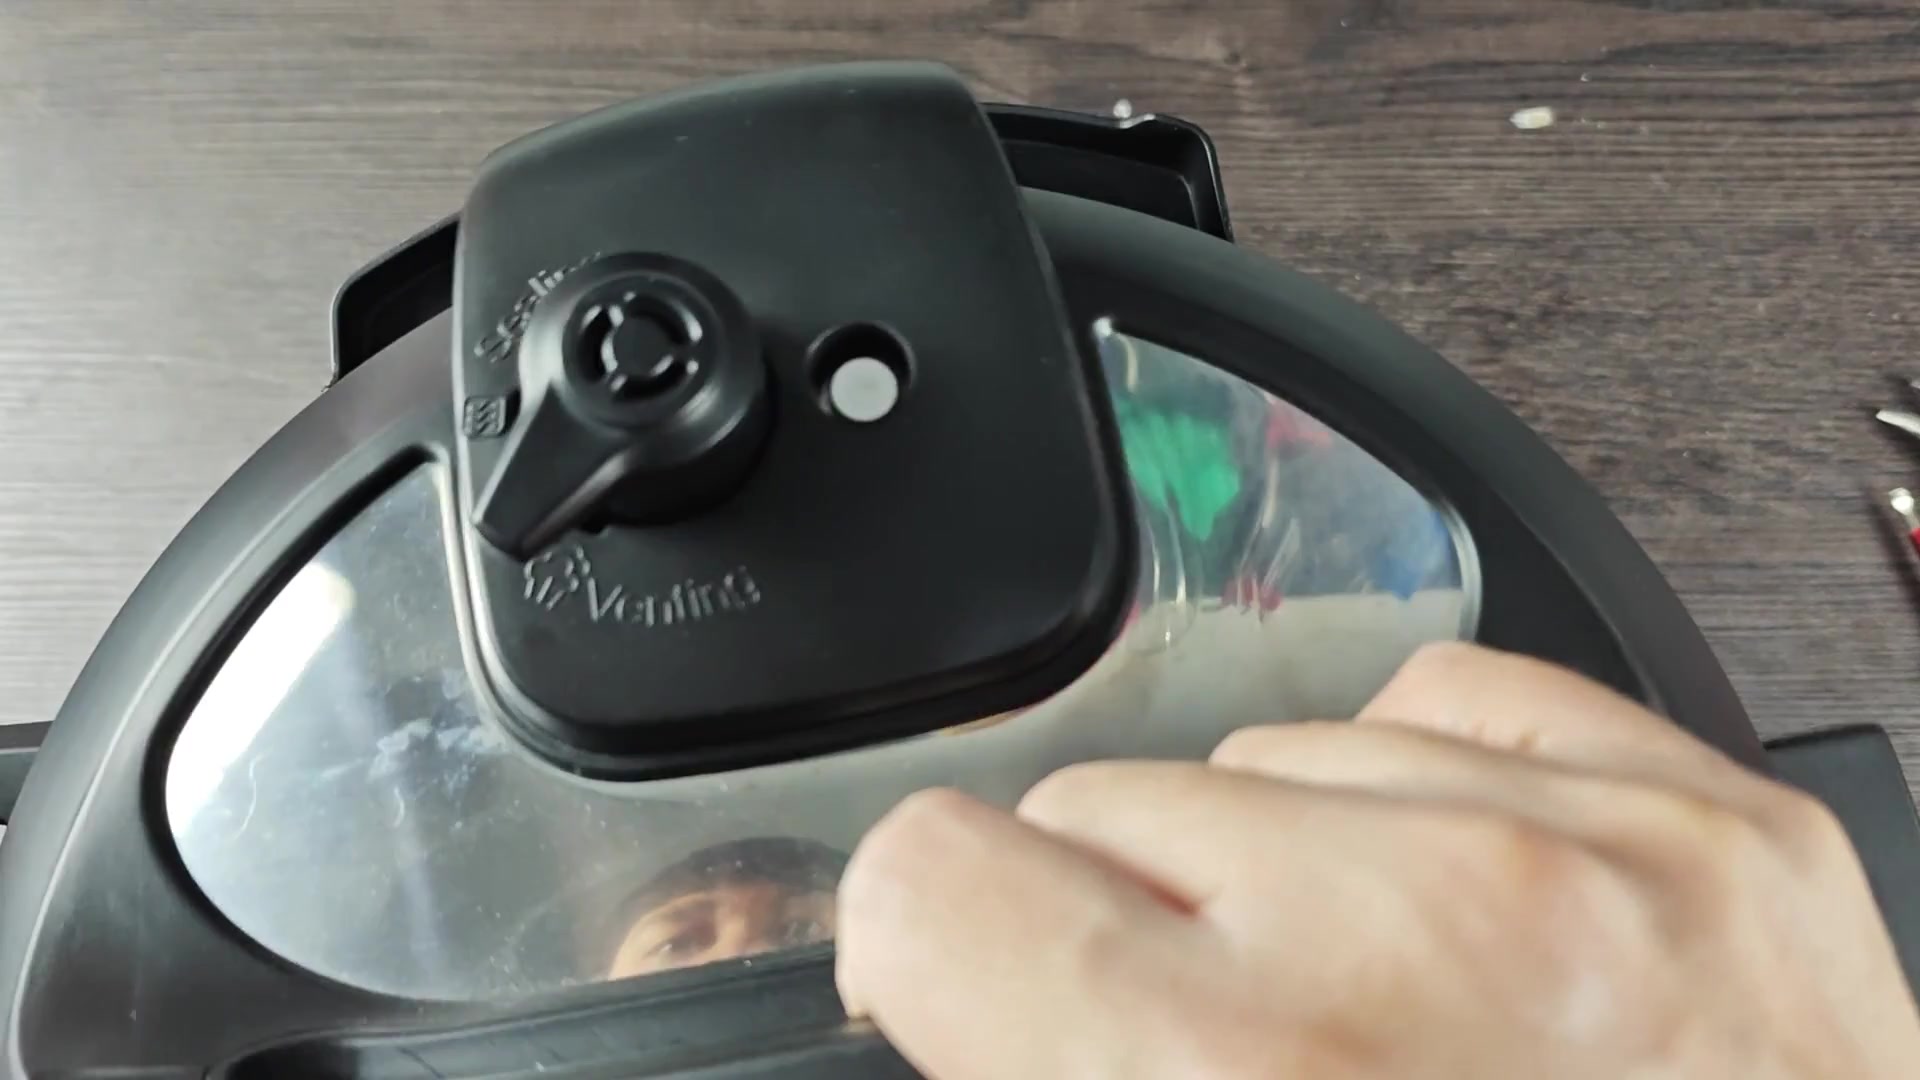
Now that your ring is seated properly and the pin is working correctly, close the lid one last time. You’ll notice it clicks into place and sounds nice and solid when the handle rotate all the way back to lock. There’s nothing wrong anymore, everything lines up properly and there aren’t any gaps. When everything aligns, it just works.
Here are a few lessons from this experience. Lid issues aren’t normally mechanical failures, but rather just oversights in maintaining it. Most of your issues with lids can be solved by cleaning the ring and inspecting the pins. It saves you from having to buy new parts. You should of not throw away a perfectly good appliance just because its gasket was dirty. Take ten minutes and go through these basic steps before you do.
A few simple fixes you may find hiding in plain sight will give you reason to be relieved and get right back out there cooking. Before you call for support, check your locking pins first and before you blame it all on the motor, check if your rings is aligned. Basic troubleshooting is your best friend when trying to save dinner. Addressing the root cause goes a long way. And you can get good enough results by addressing the root cause.