The red “BURN” alert flashes on your Instant Pot’s display, and you probably cringe at the sight of it: It means that dinner isn’t going to get done. Panic ensues as soon as you see it; the cooking cycle halts and the screen flashes the “BURN” message.
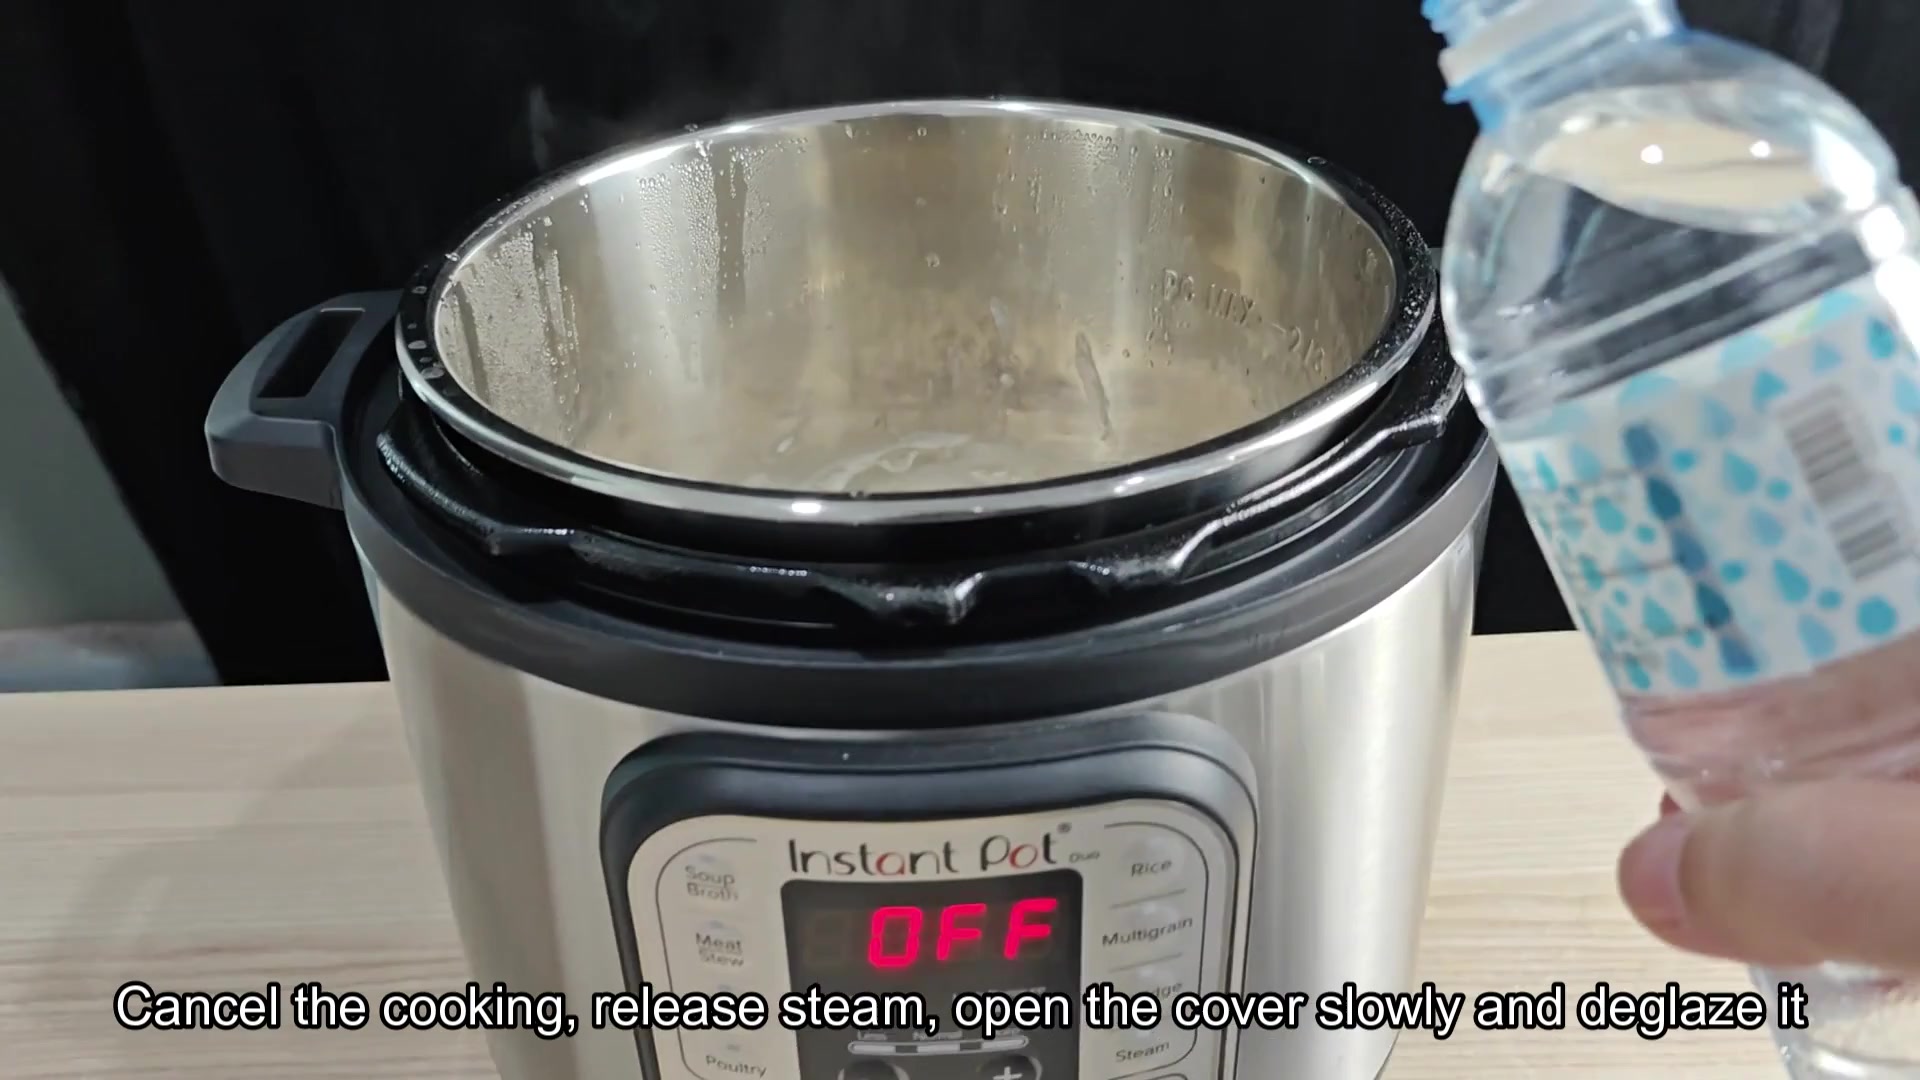
You quickly remember to hit Cancel first (you can’t just press Ignore and wish the problem away). Next up: release the pressure, but don’t even think about removing the lid until all the steam has been vented, carefully, so you don’t splash some still-boiling contents out on yourself.
Common Causes of Burn Errors
Now you can see what caused it by opening up the lid, and most times you’ll notice there’s some food stuck well on the bottom of stainless steel pot. The culprit here is that you browned something (using Sauté mode), then switched over to pressure cook without cleaning out the pot first. Even though your food didn’t fully touch the bottom of the pot while it was browning, some stray pieces of meat or onions got left behind and now are stuck to the metal. Since those areas are dried on, heating element is getting too close and causing the sensor to trigger the burn warning.
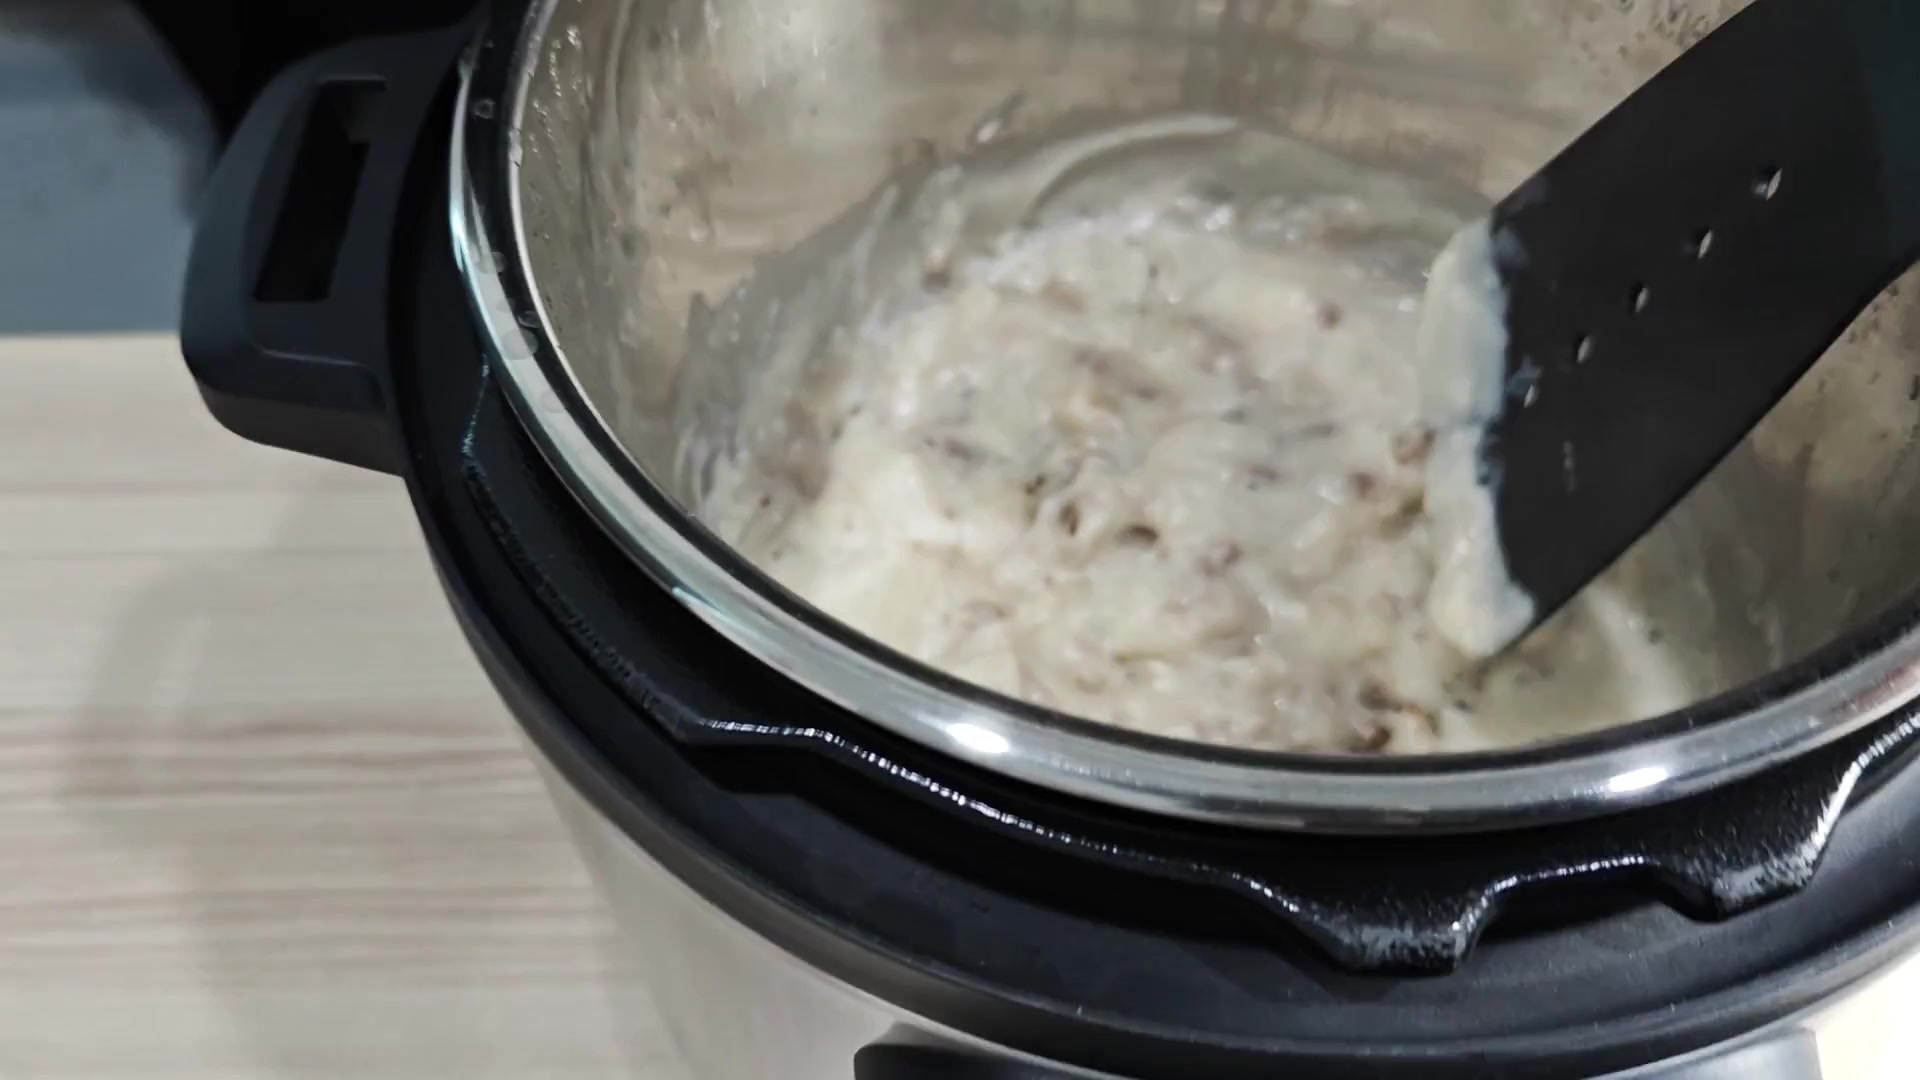
Part of how you clean it up is by scraping away charred remnants from the bottom, but unfortunatly this won’t solve the instant issue. Next, you must loosen the bits on the bottom of the pot by pouring in water/liquid to dislodge any stuck-on items, otherwise you’re going into an annoying loop of not fixing the root problem. If you don’t get rid of the gunk stuck to the bottom, the sensor will continue tripping the burn warning until you add enough liquid to submerge it.
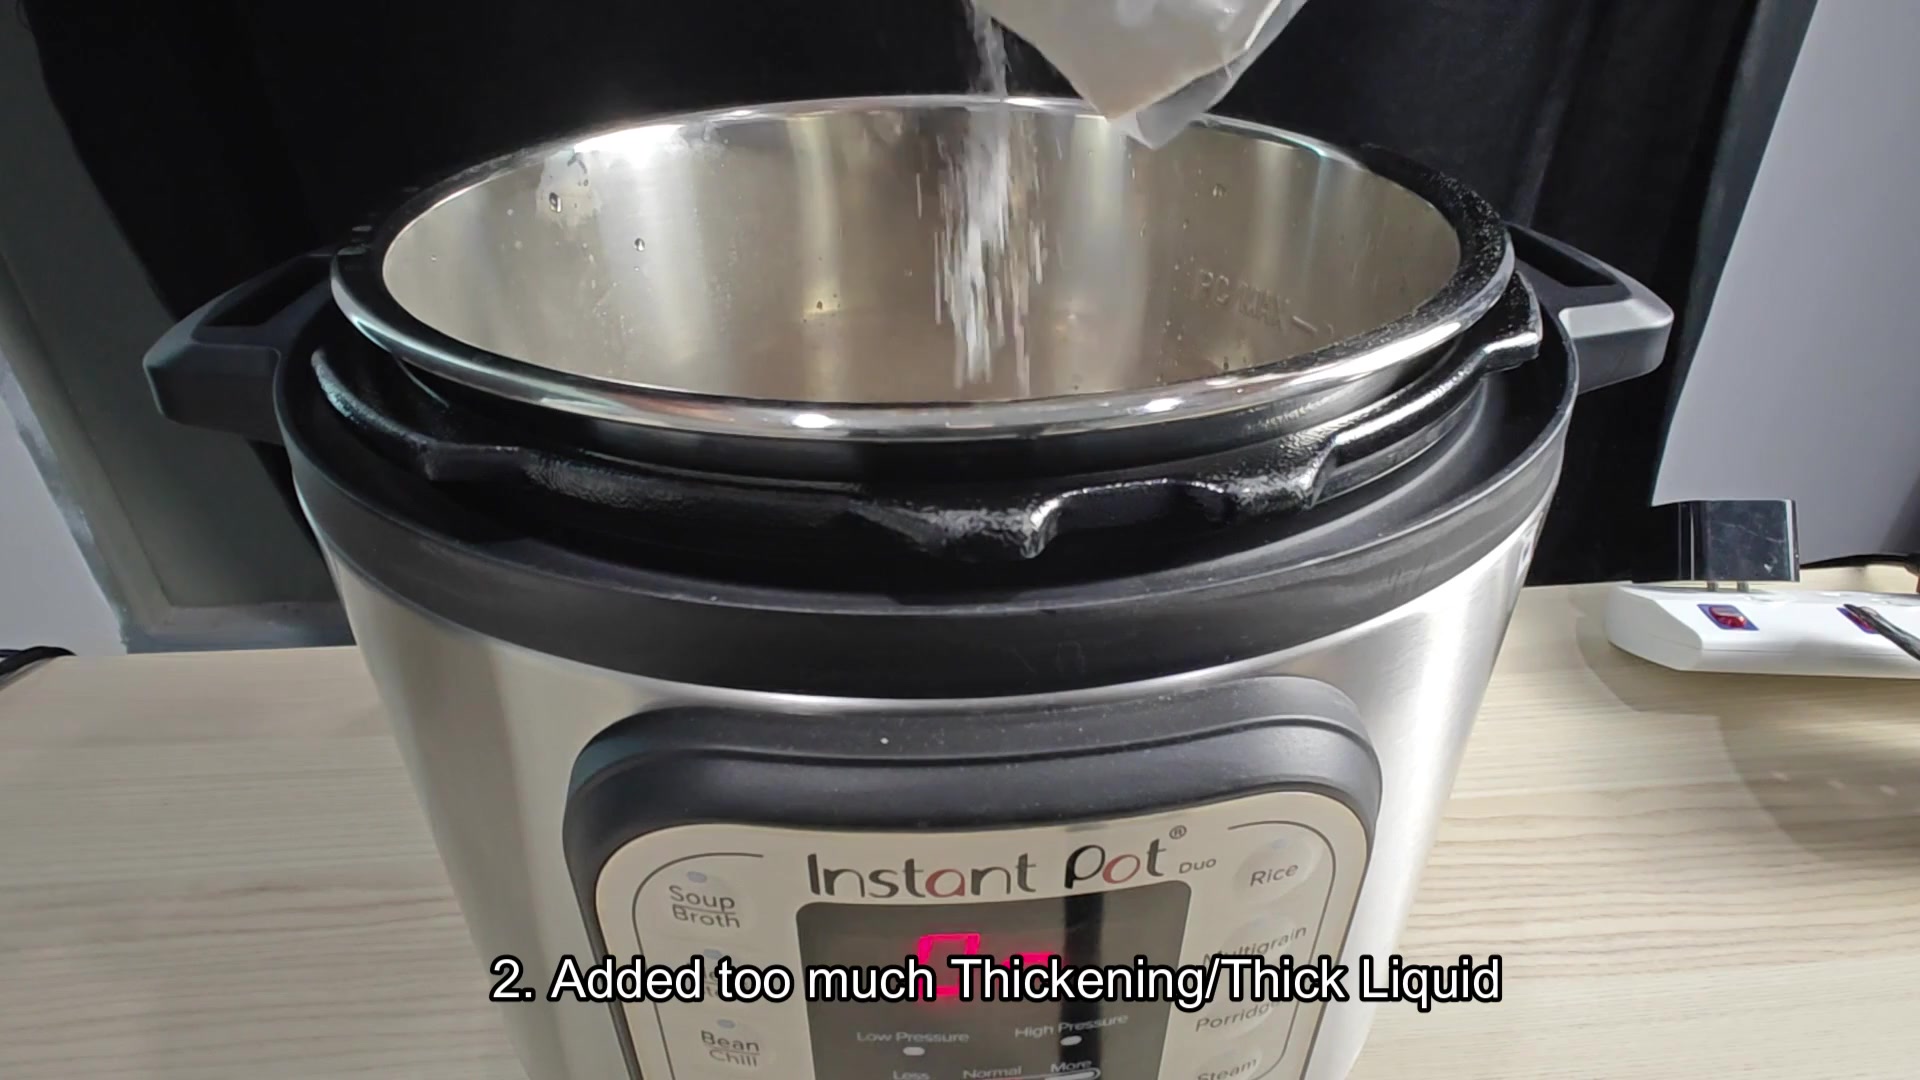
You also have another story where you put too much thickening agent into your dish and tomato sauces and chili does this type of thing all the time, right? Because when the sauce thickens up, the thickness of the liquid will sometimes cause it to form an uneven coating on the bottom of the pot. This creates a layer that insulates heating element from the liquid above it.
The sensor believes there’s nothing in the pot because it is sitting there dry. Therefore, it doesn’t make sense at first to see a burn error after you add more ingredients. After all, won’t adding ingredients lower the chances of things burning? Well yes and no. In fact, thickness of the mixture matters far more than how much volume is in the machine. When the mixture gets too thick, it doesn’t properly circulate heat and as such the bottom burns while the top stay cold.
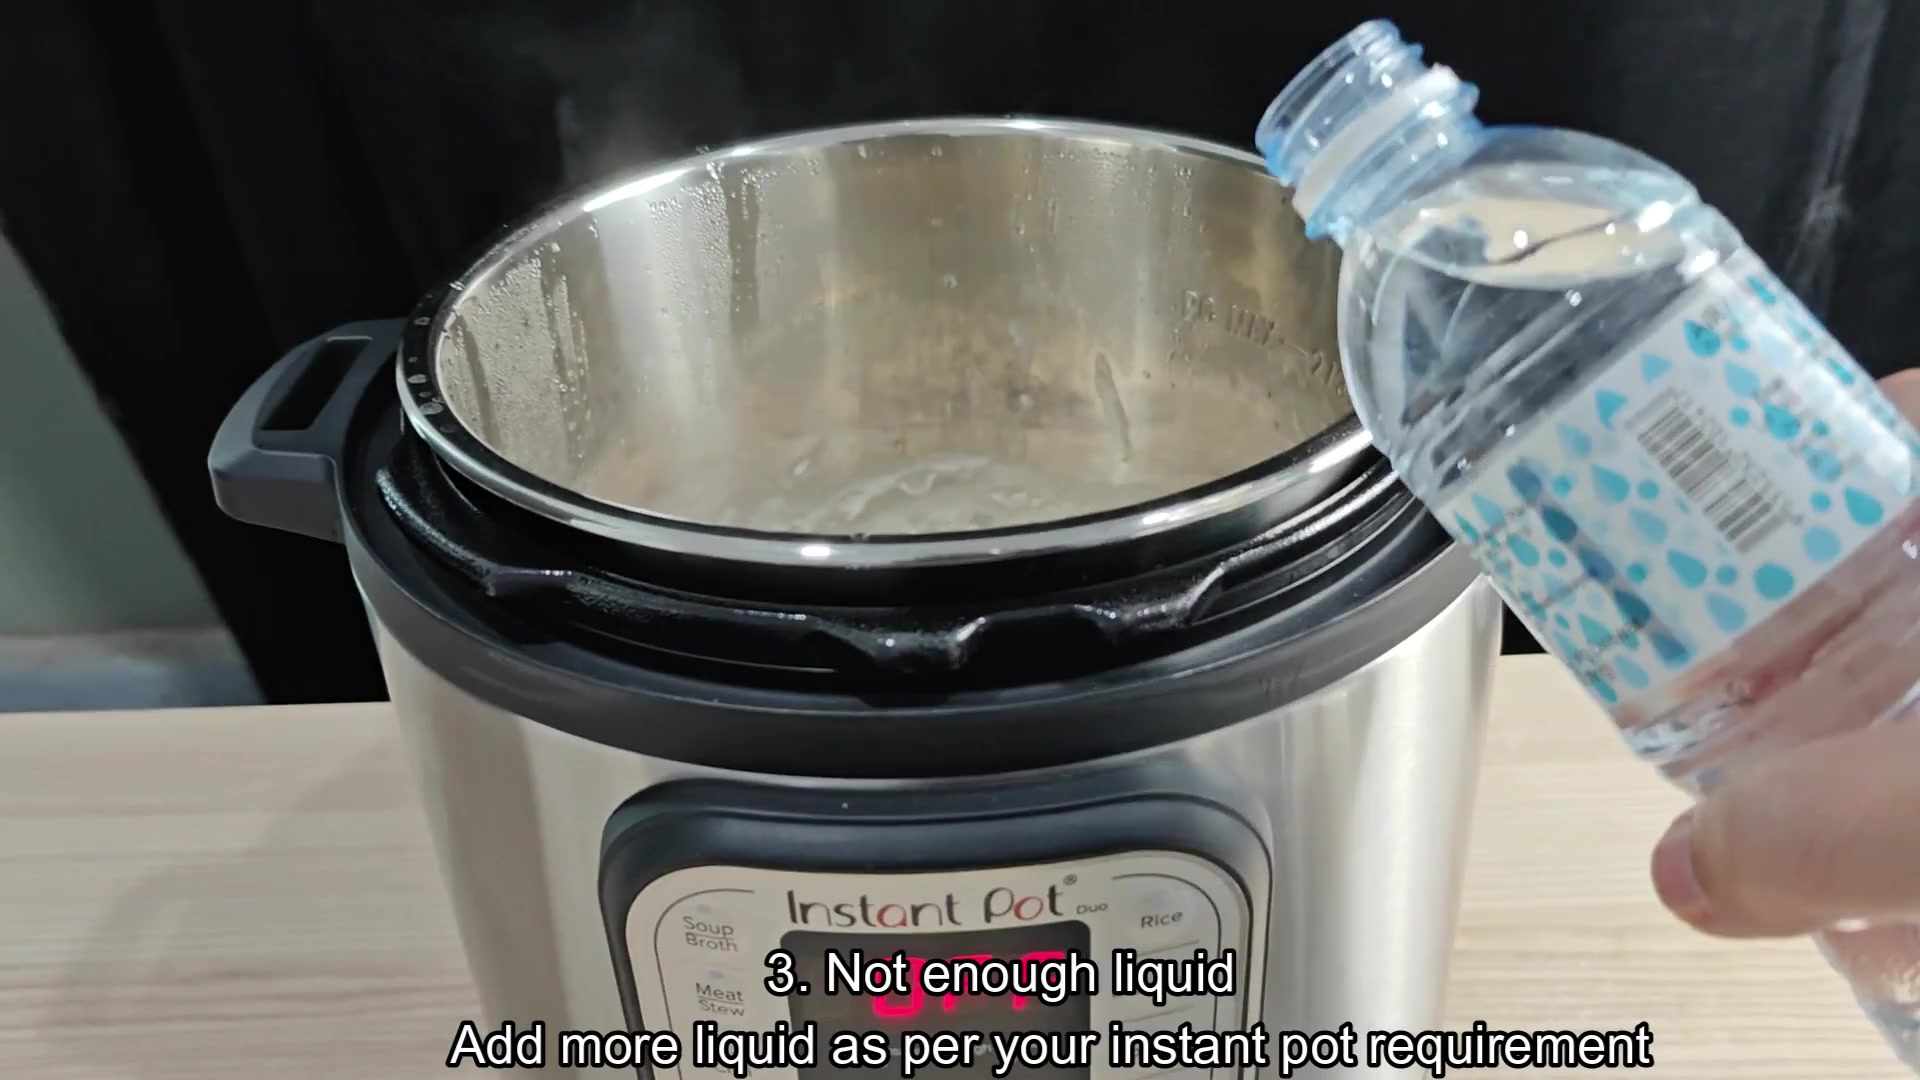
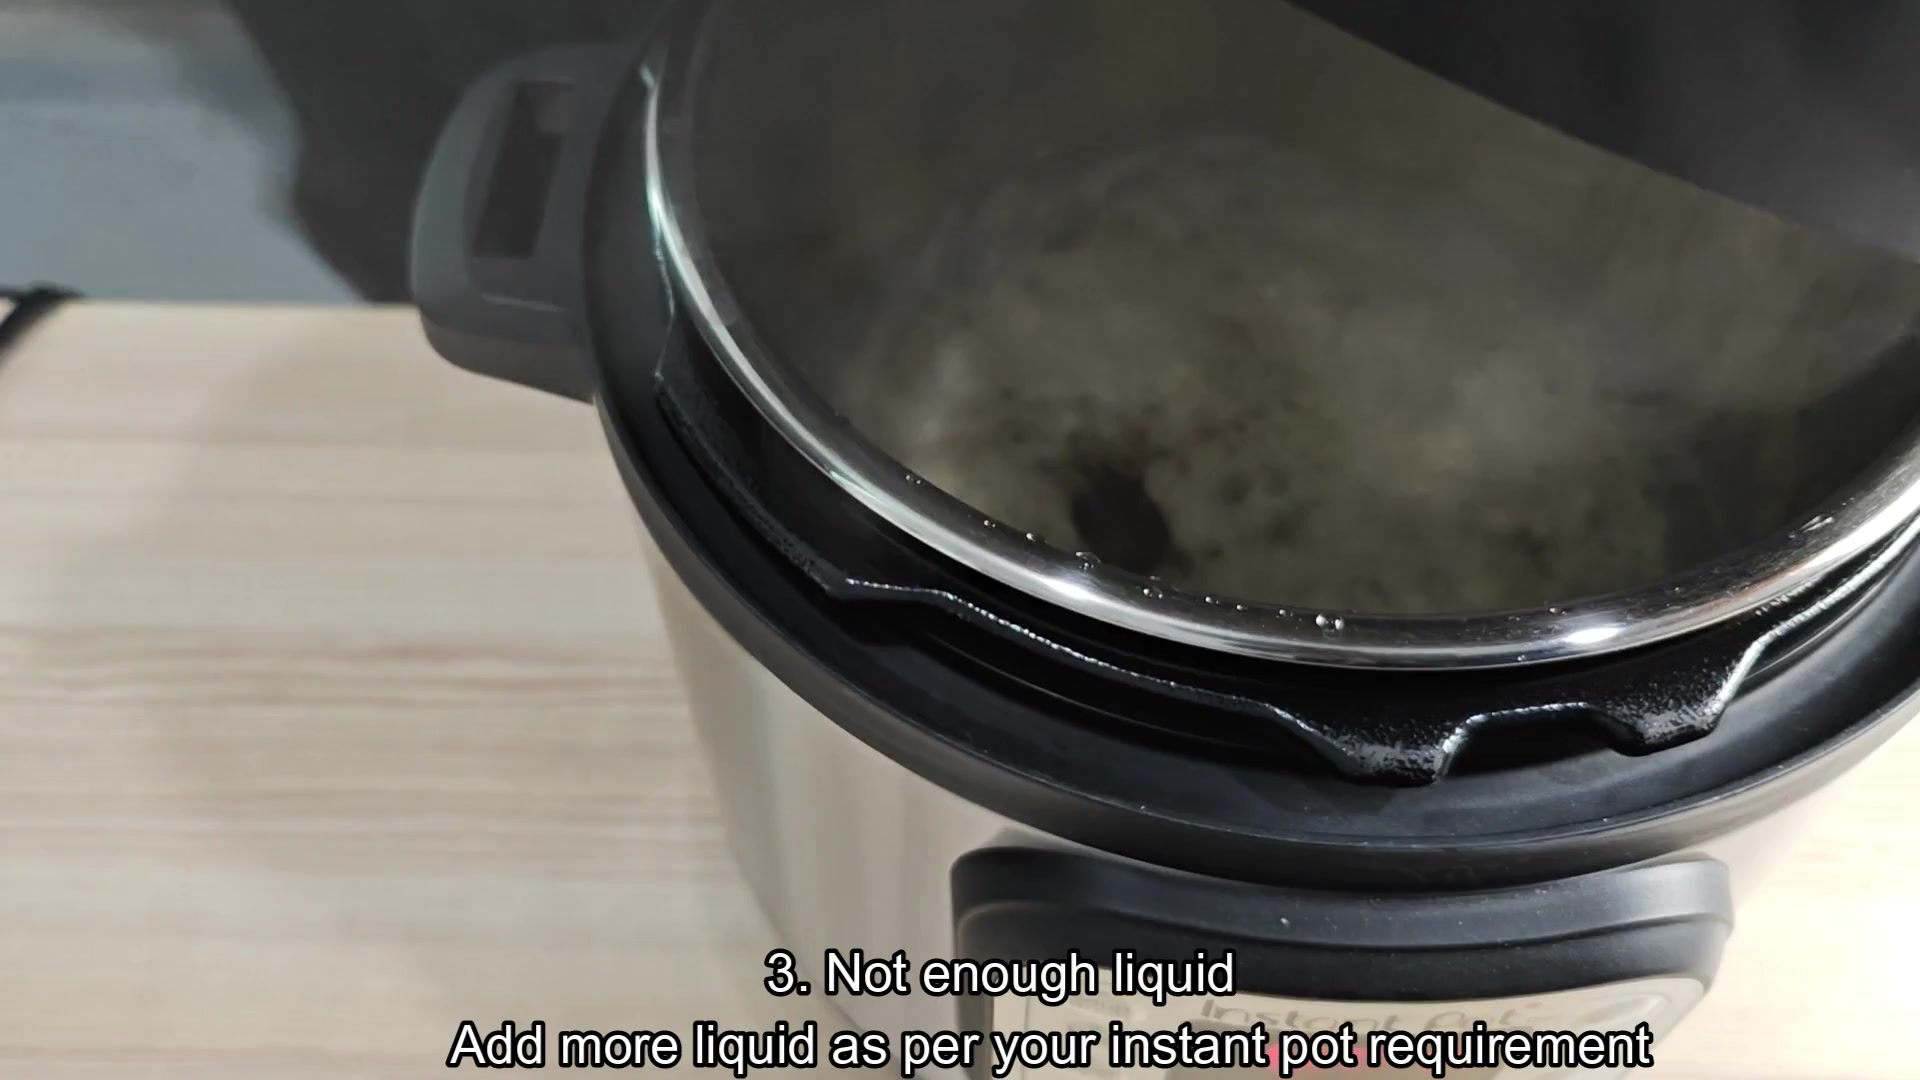
But sometimes the problem is that you just didn’t put in enough liquid at all and your Instant Pot can’t come up to pressure without a specific amount of broth or water.
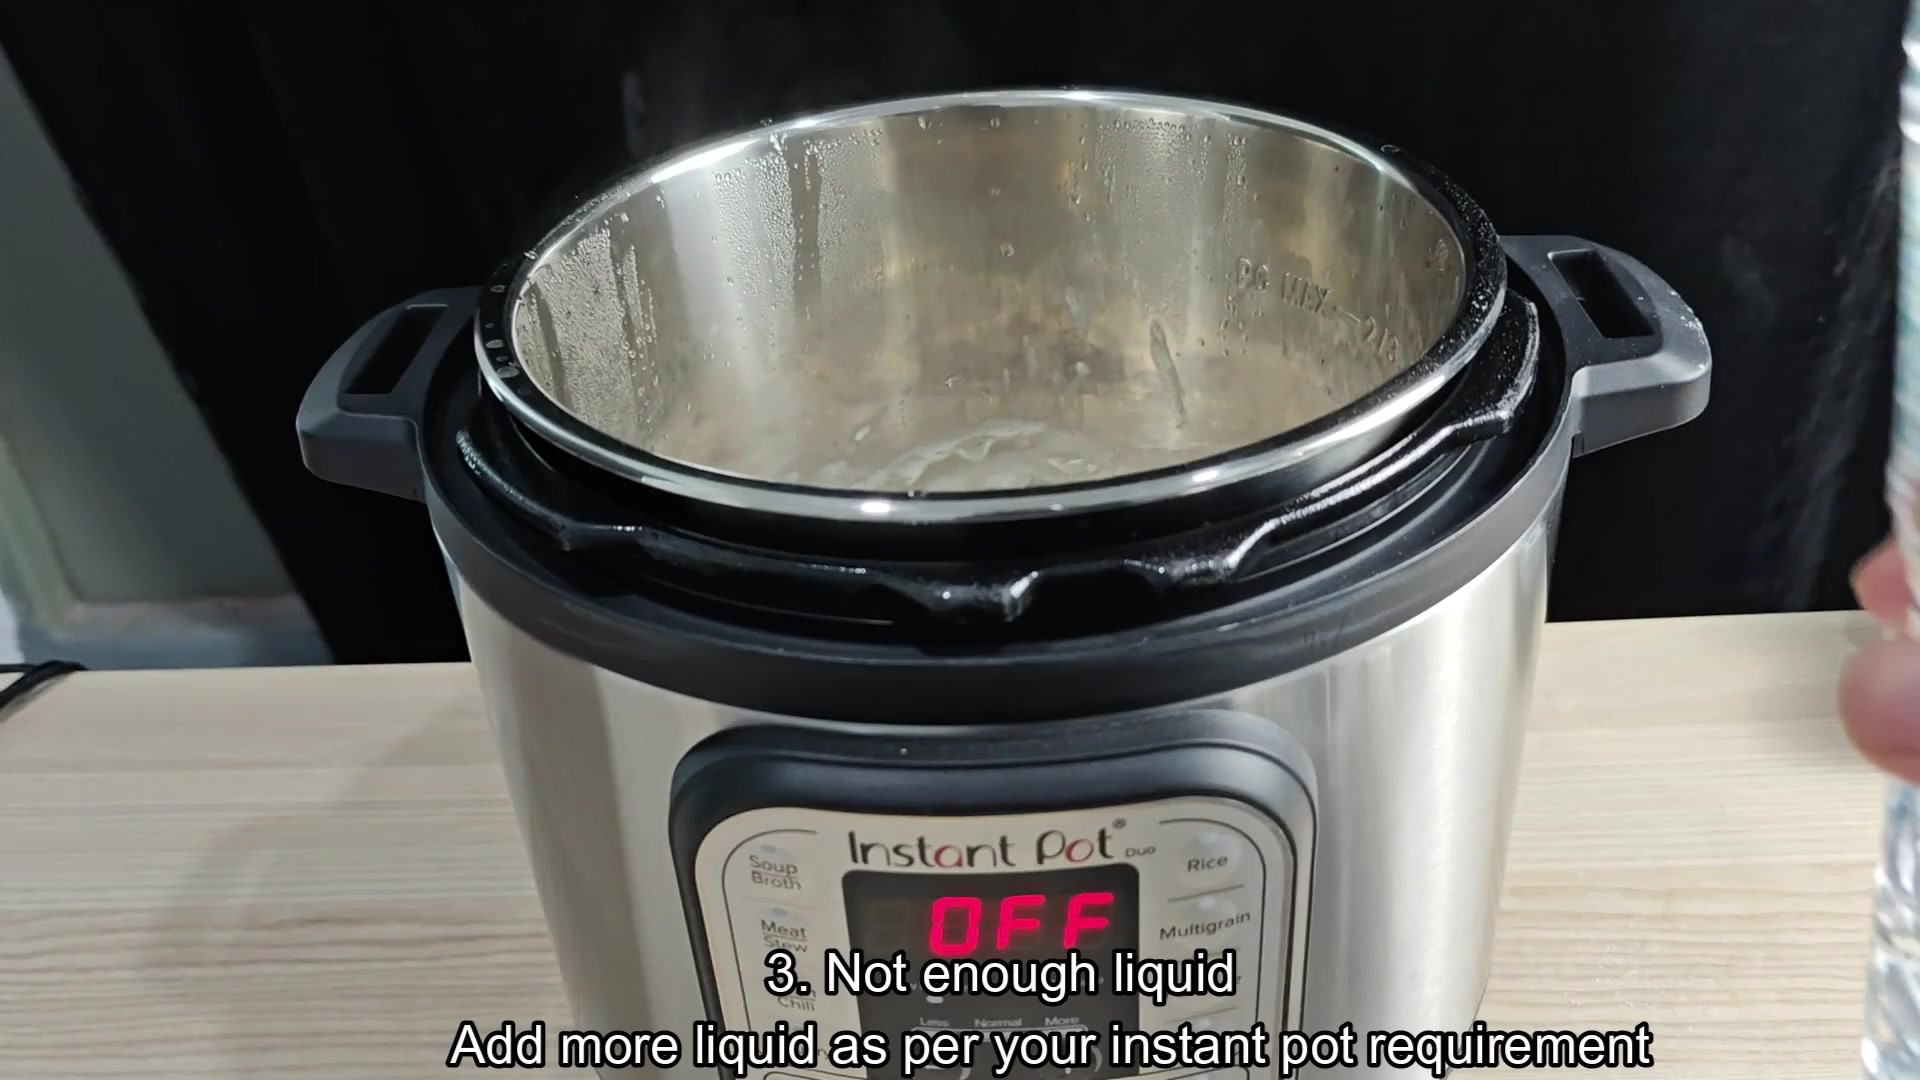
You’ve had one of those days where you forgot the base liquid altogether. Now, when you hit cancel, display reads OFF. You catch yourself, but it’s too late. The damage has been done. The solution? Simply pour some more water into the pot (as required by manual) and it should of been good to go.

Pouring some bottled water back into the pot resets it. Why? Because it’s enough to let the machine know there’s enough liquid in the pot to generate steam. It’s not a matter of taste here. It’s a matter of mechanics and the safety protocol inside of the appliance.
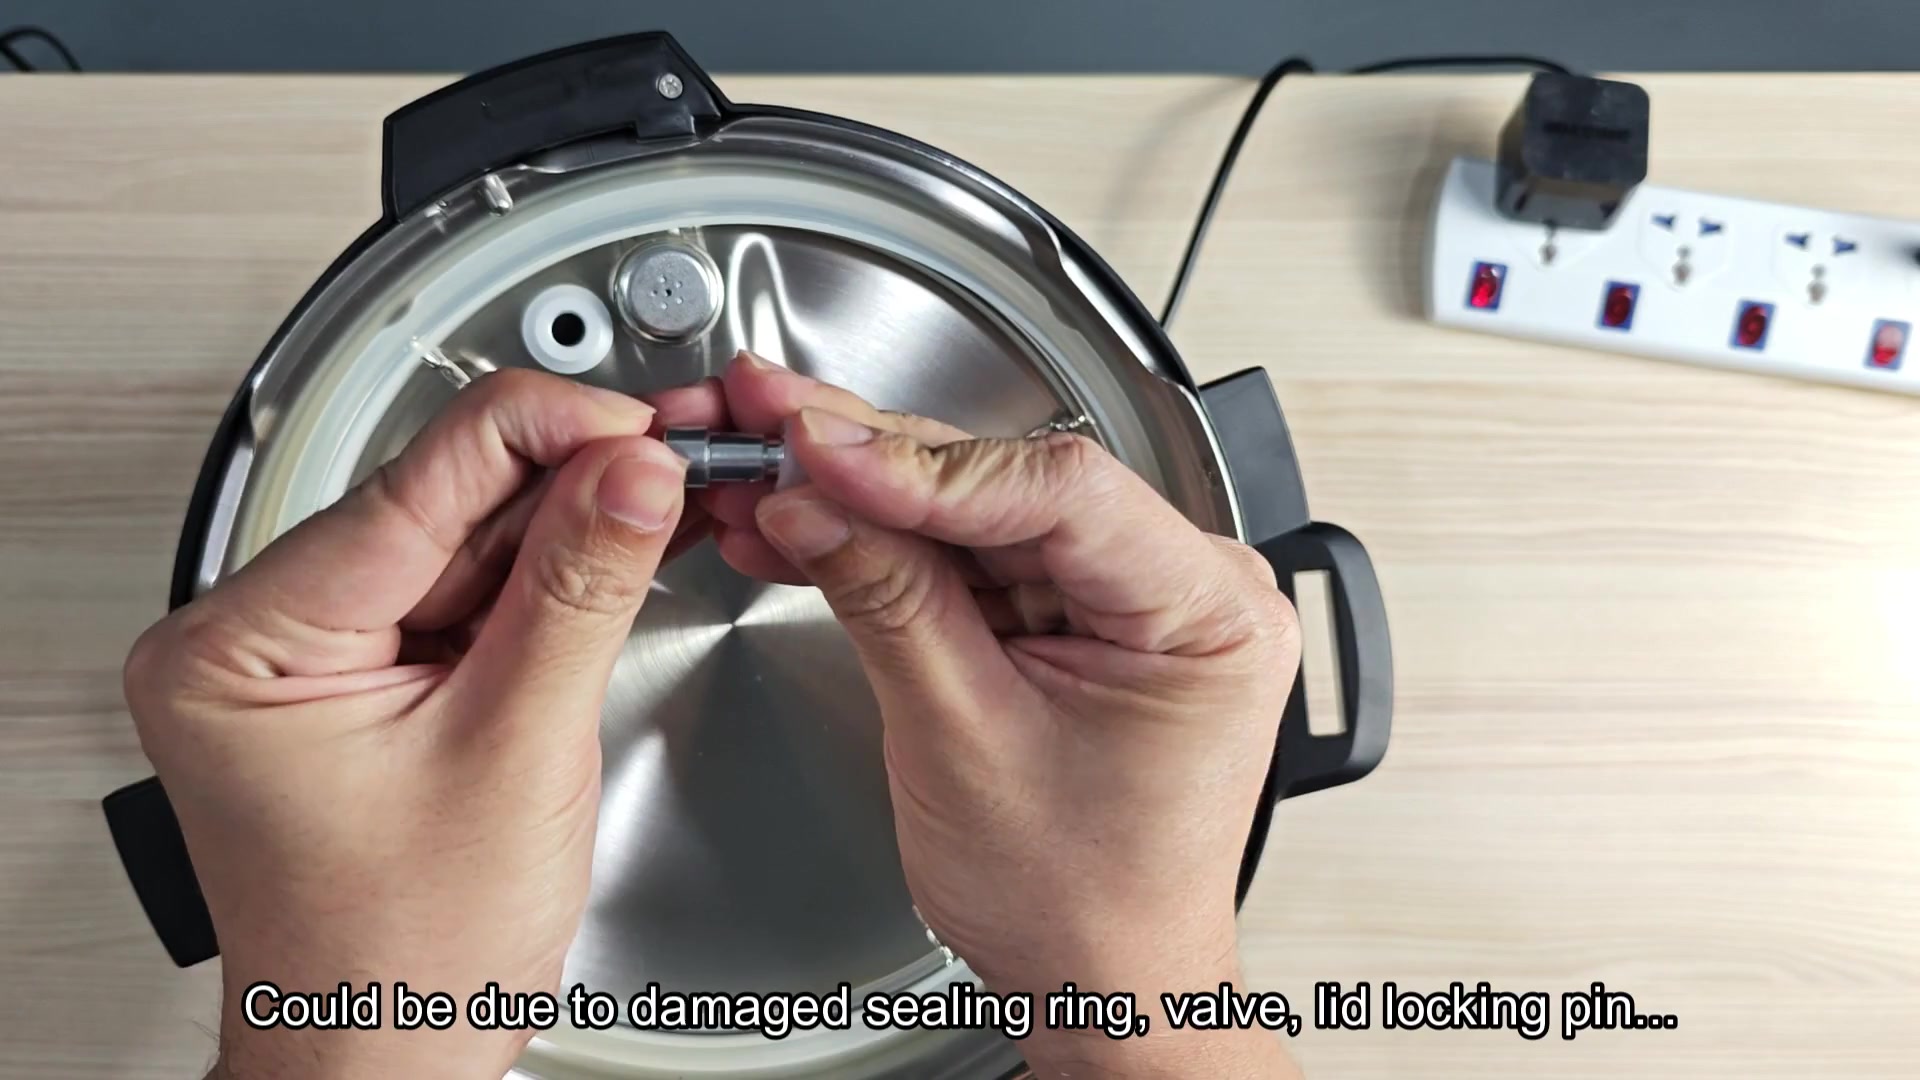
Sealing issues can also mimic or contribute to burn errors. For example, a loose lid allows steam to escape around gaps. This creates uneven heat and leaking steam. This is why you saw it happen with missing or worn-out silicone ring. It’s a good idea to check on your sealing ring for any signs of damage… Once it stretches or cracks, it won’t hold pressure very well at all. Another possibility: the valve could be stuck in the wrong place, so some sort of mechanical failure happens where the pot isn’t able to reach the right temperature safly.

You open it up, and the inner pot is empty. You look at the steam rising and the bubbling, frothy mess in there, and know the center was hotter than the edges. In your opinion, this is a feature, not a bug. It means the system detects something unusual and cuts the power off so it doesn’t melt some plastic part, catch on fire, etc.
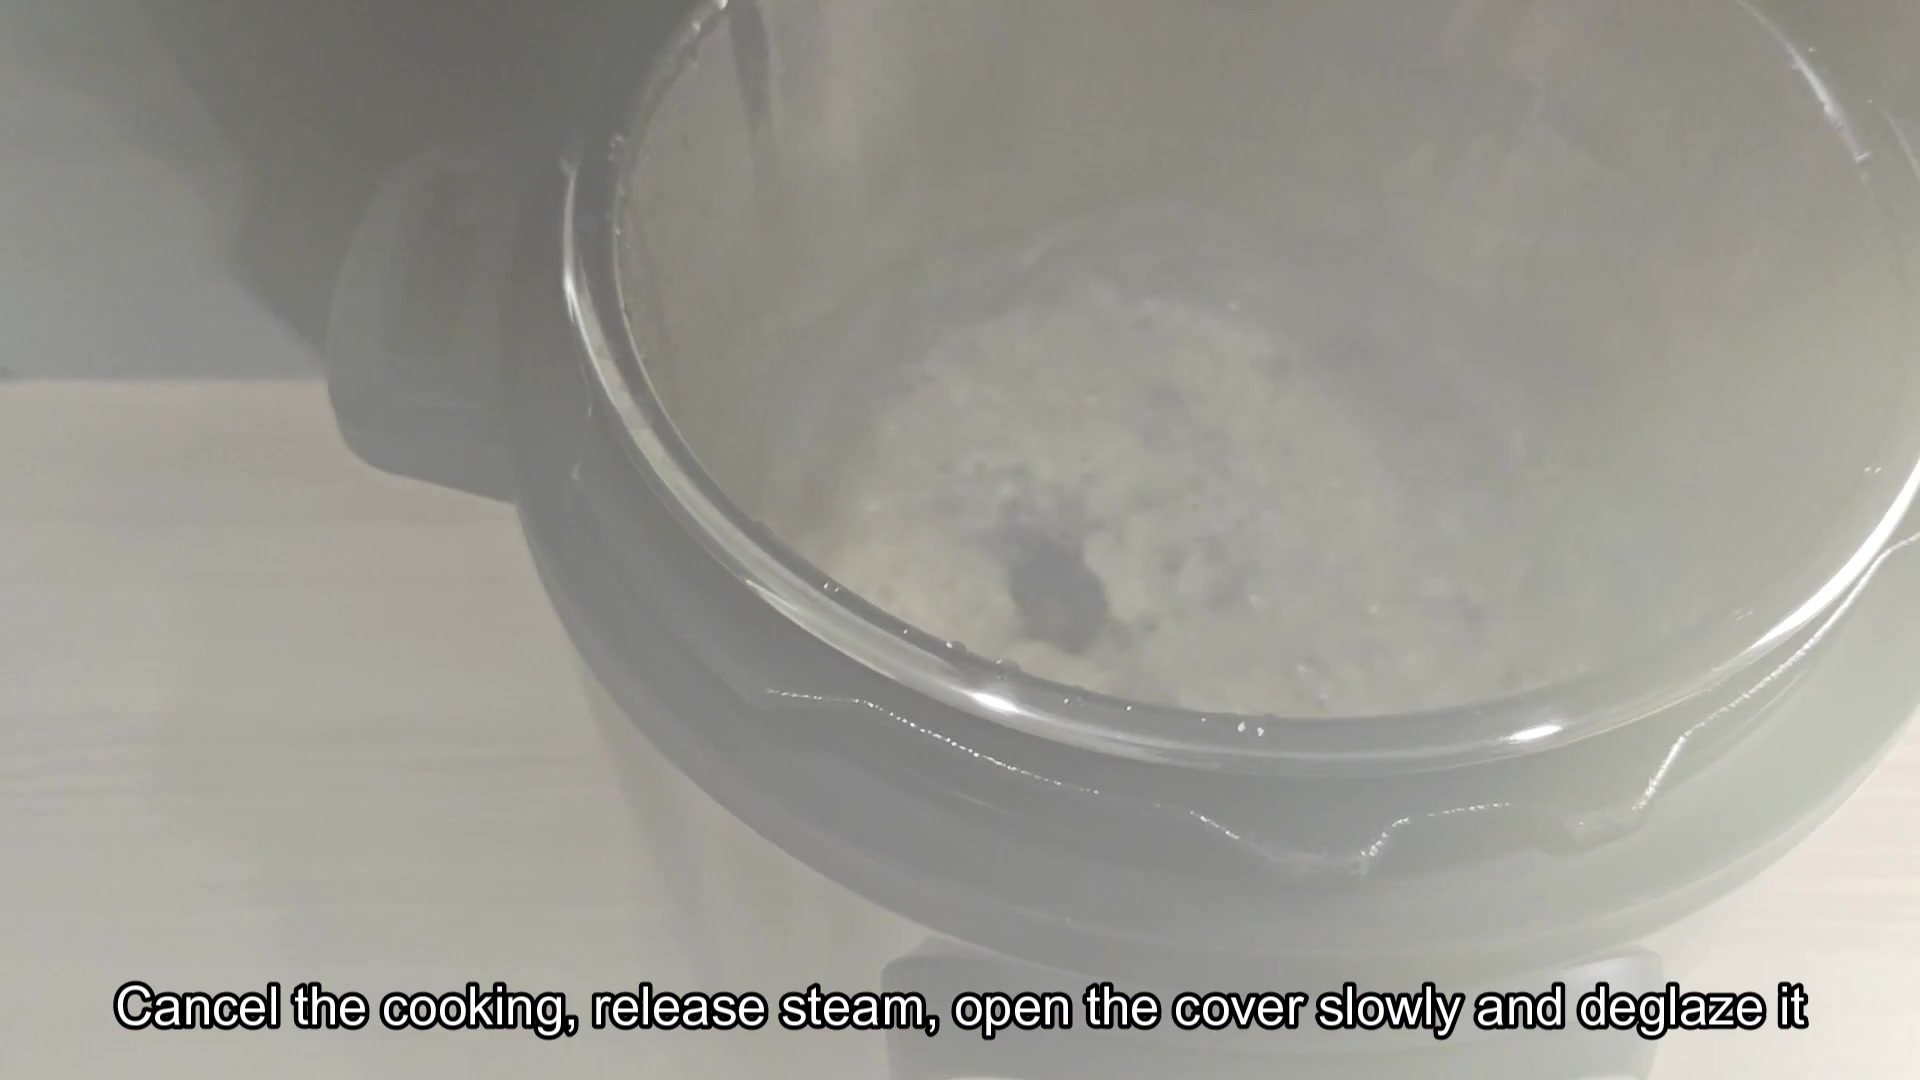
You see the creamy white mixture with dark browned bits, and you notice the evidence clearly. Clearly, that’s where it all went wrong, and the hottest part of the mixture was in the middle instead of everywhere. That concentrated burning leads to localized hotspots, which is removed when you deglaze to spread out the heat capacity. It lets the sensor measure the temperature accuratley once more.
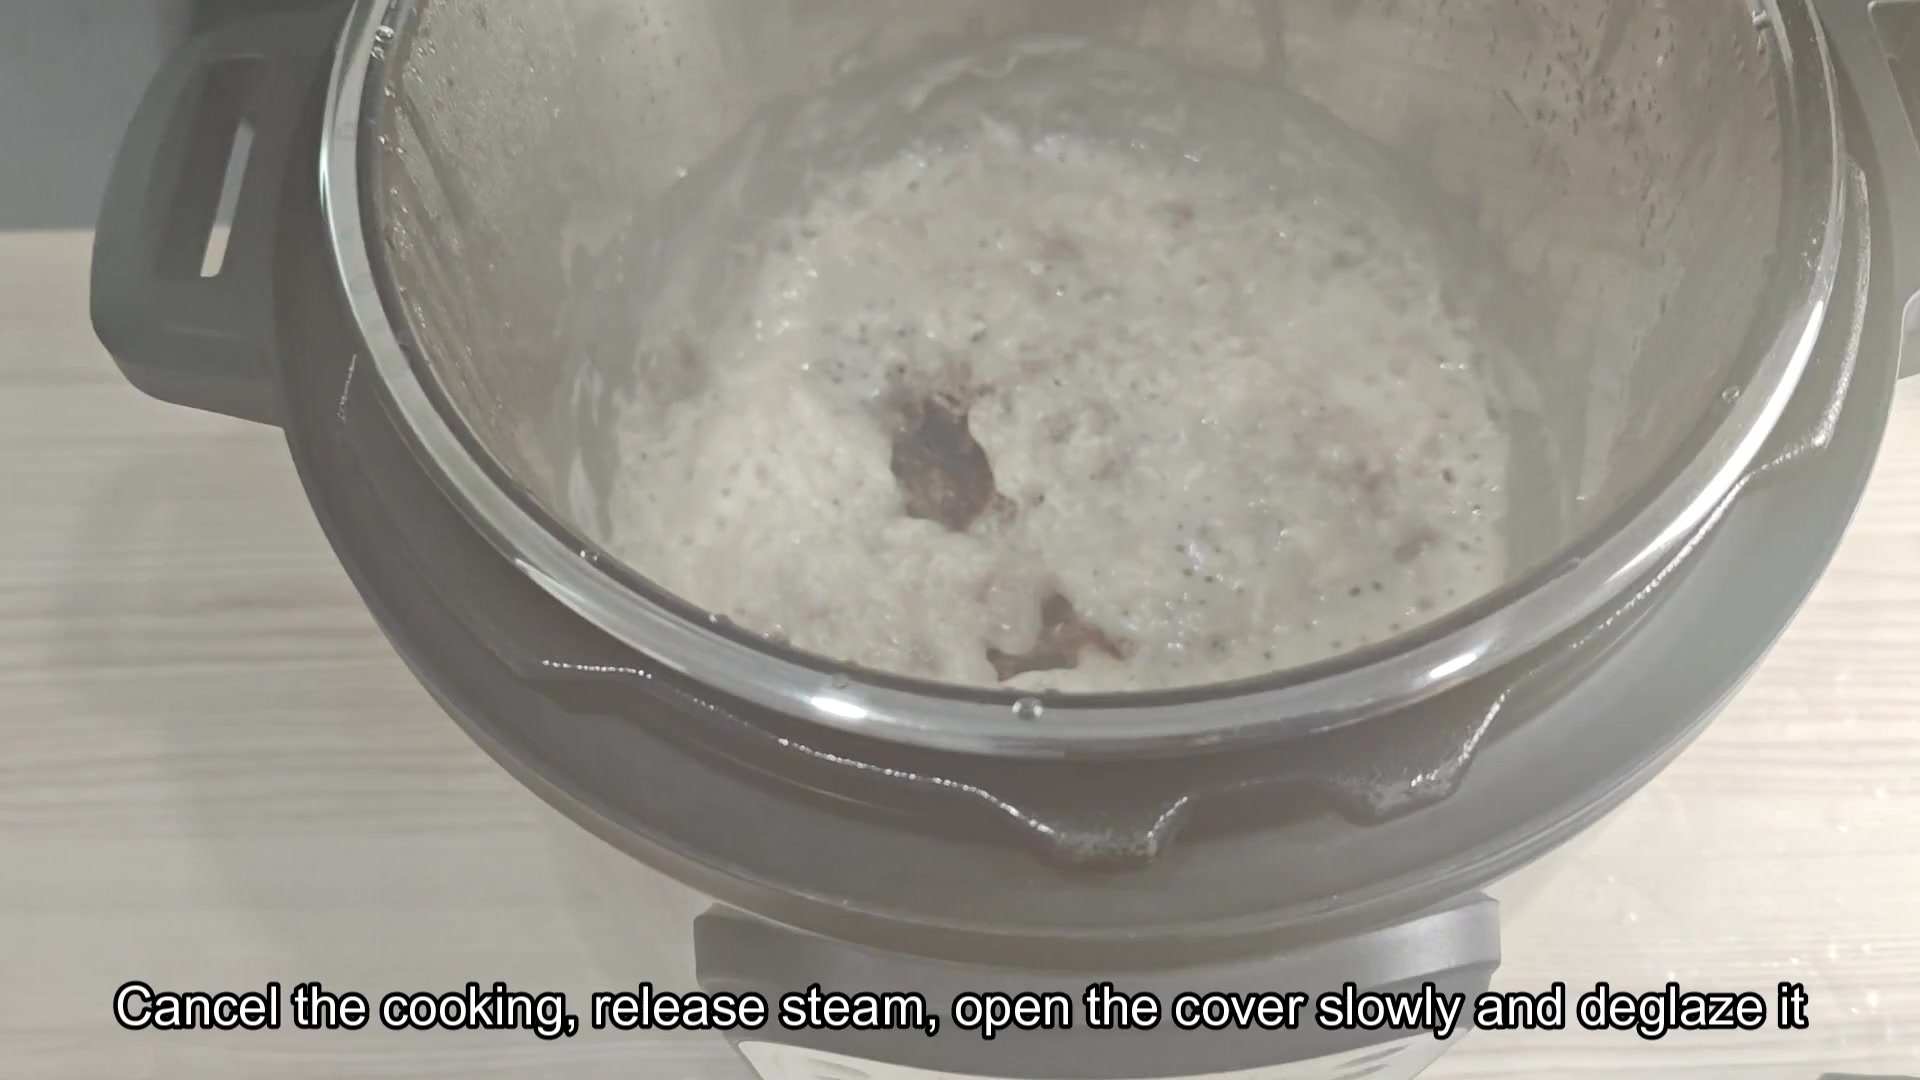
So you tried starting it up again without removing any of the junk… But you still got an error message, instantly. And then you realized: The only way forward is to manually remove the gunk yourself. Stir, scrape, add liquid; no exceptions allowed.
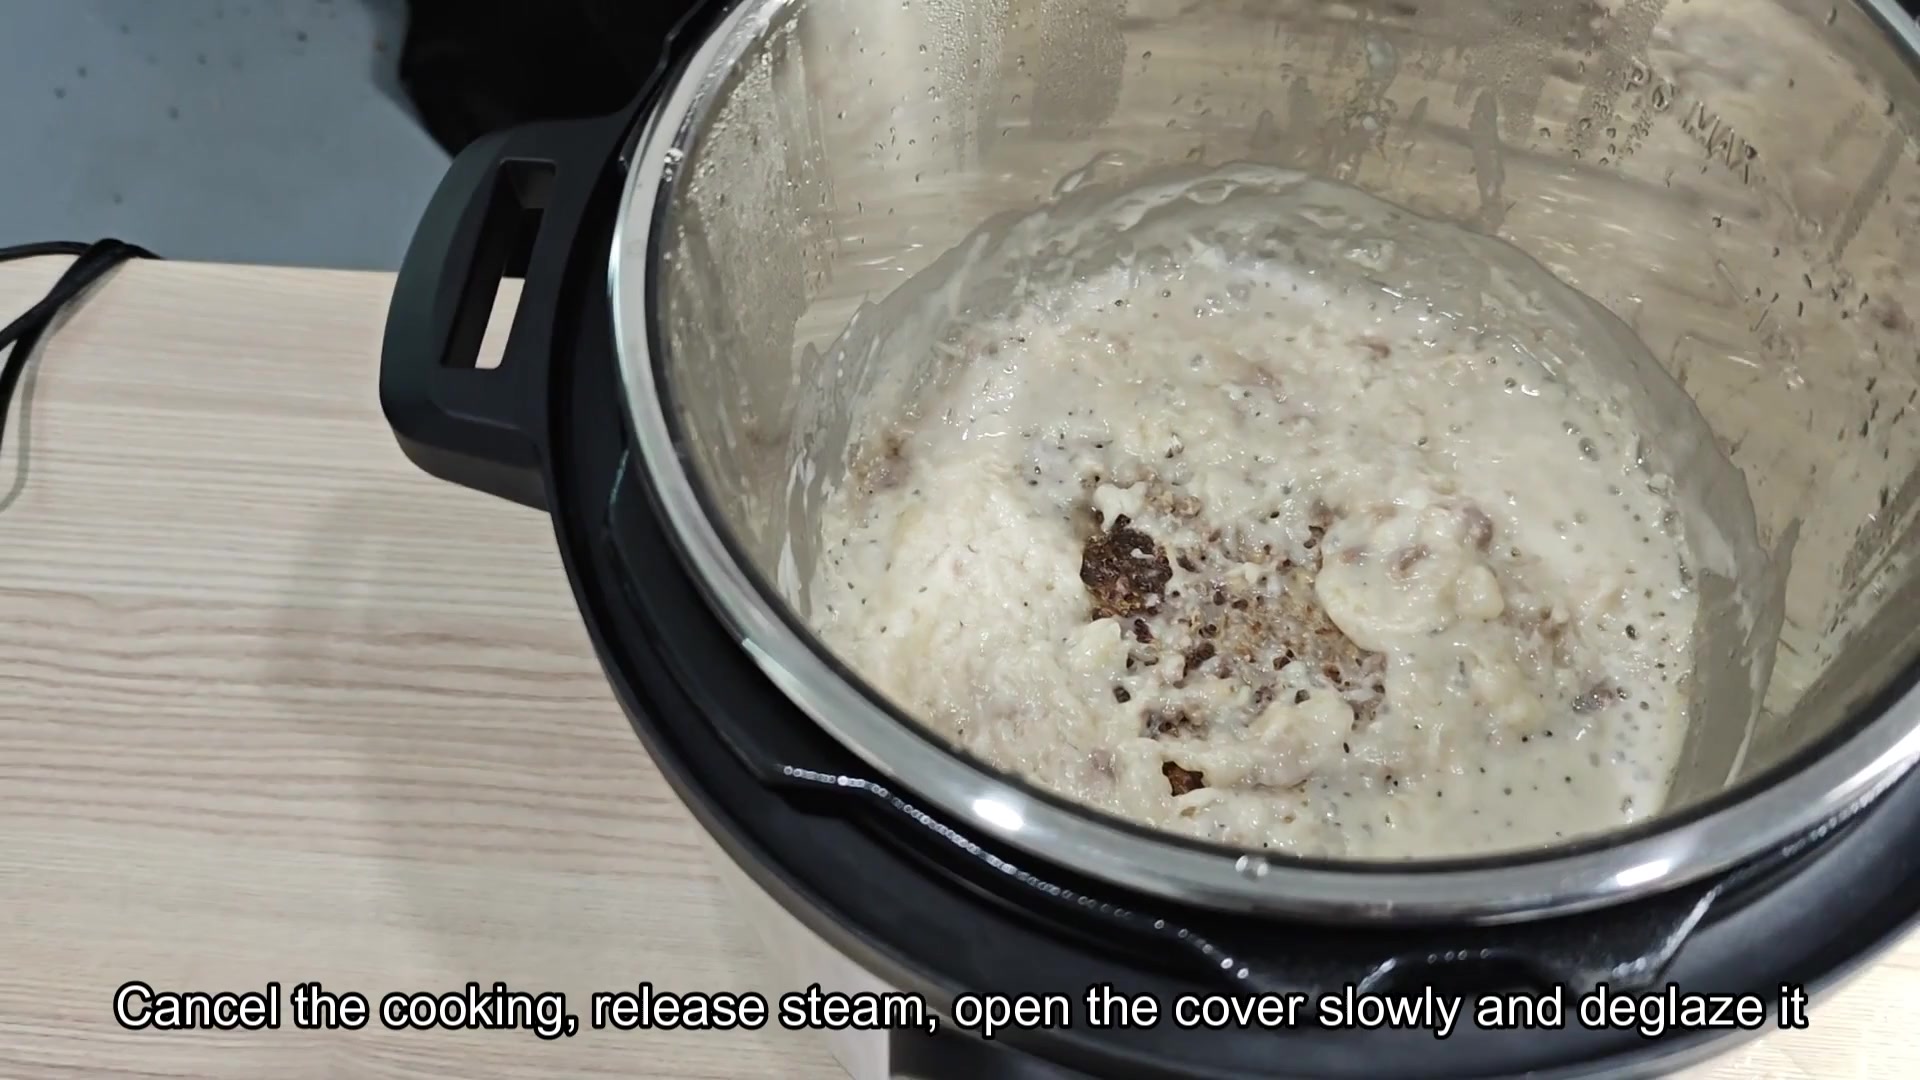
After a good deglazing job, the machine looked alive once more; you pressed another button for a different cycle, and this time, the display simply shut off and turned on. No more flashing red lights in the middle of a steam-up. And hallelujah, you could actualy serve dinner after all.