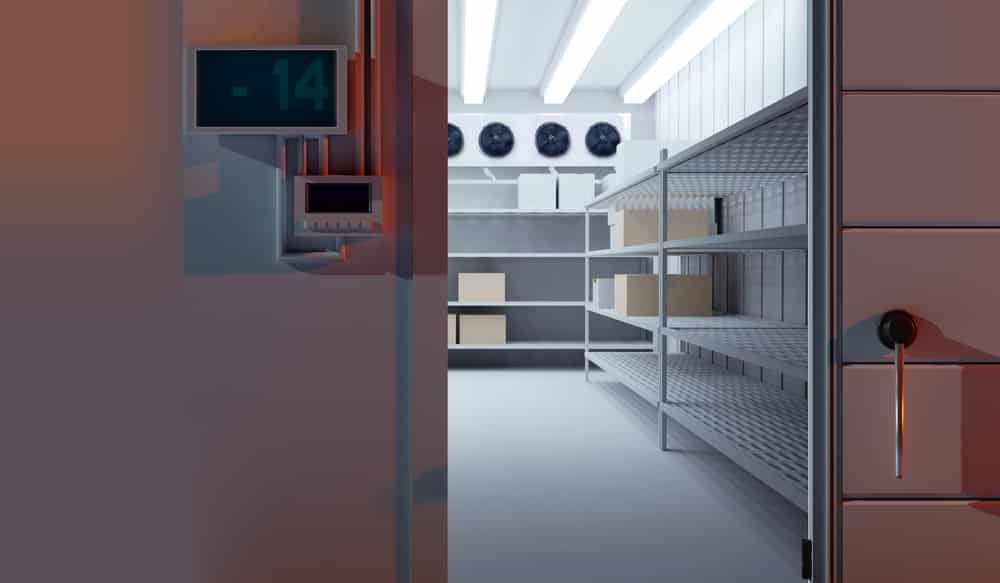
Walk-in freezers are vast storage spaces. They are insulated and enclosed so that one may store those items that may perish or food in general. Walk-in freezers are mainly used by companies that serve food or store food for others.
With all that space, cleaning the freezer floor can prove to be a monumental task. And sometimes there is too much ice on the freezer floor for us to be able to use it properly. So here are a few ways you can remove ice from the freezer floor:
How to Remove Ice from a Walk In Freezer Floor?
1. Hammer the Ice
You can clean the ice off your walk-in freezer with a hammer. If too much frost has formed, you can hammer the ice so that it breaks. And then, you can collect the broken pieces in an empty bucket and then throw them away.
However, this is a bit labor-intensive job and can get a little challenging. Since walk-in freezers are usually large, their floors are too. And it is not an easy job to hammer away all the ice formed on such a large floor.
Additionally, you will need to be careful when using a hammer. There are many things that could go wrong, such as damaging the floor or hurting your hands. Also, make sure to wear gloves when you are working on the ice and take small breaks in between.
2. Clean the Freezer with a Blower
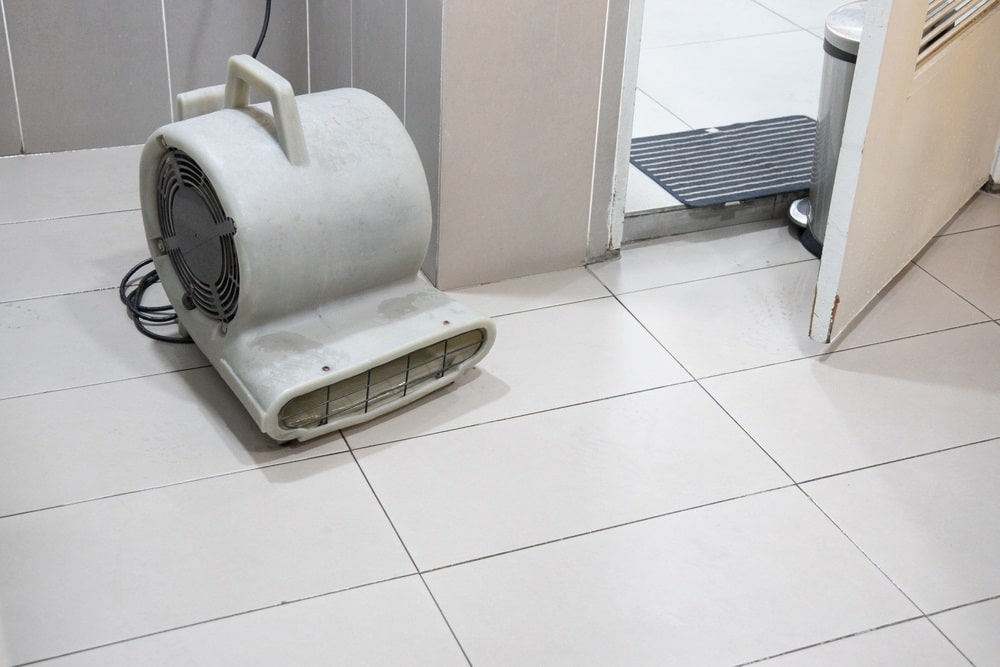
To clean the ice off your walk-in freezer door, you can also use a blower. This is a quick and inexpensive method of cleaning the freezer if you already own a blower.
Blowers usually come with settings to increase the temperature, and you can use this feature to clear the ice on your freezer’s floor.
Turn off the walk-in freezer before you start for this method to work actually. Then point the blower towards ice on the floor, and you will see it melt in no time!
3. Cleaning Products
Perhaps the most efficient way of cleaning the walk-in freezer of not just ice but any other particles or germs is by using cleaning products. Here are the steps you will need to take to deep clean your refrigerator:
- First of all, make sure you are using the proper equipment. You should wear safety goggles and gloves.
- Next, put together all the materials you need before you begin. You do not want to run off to find something in the middle of the cleaning process.
- Work out a plan first; if your freezer is too big, cleaning it all at once won’t be easy. So divide it into easily-doable sections first.
- With a bristle brush, dust away any dust particles that might have accumulated on the fan units present in the freezer.
- Then vacuum the floor as well as the areas you cleaned in the last step to get rid of any dirt on the floor and debris that might have resulted from your previous step.
- There are cleaners readily available at stores that are specially made for cleaning the ice. These cleaners can melt ice build-ups on the shelves, floors, and walls of the freezer without freezing themselves.
- With a cleaning cloth or a microfiber towel, preferably, wipe the problem areas with the cleaner of your choice.
- Instead of cloth or towel, you can also use a mop to wipe the floor of the walk-in freezer.
- Also, remember to wipe down all the door gaskets. This is where mildew or mold can form sneakily and then spread to other parts. You do not want your food to spoil because of this.
- Check to see if there are any fan units, condenser coils, or evaporators that are exterior. Clean these, too, with the cleaning solution and a towel. This is where you will find the most dirt and elements of oxidation. It is essential to keep these parts clean, too, so that the freezer can keep running smoothly.
- Once done cleaning, you can mop the floor clean with water if you like.
- Your walk-in freezer is now cleared of not only ice but also any other dirt or germs that might have been present there.
4. Wait it out
This is maybe the easiest way of getting rid of the ice, but also the most time-consuming. You will have to turn off the freezer and wait till the ice melts.
Since there is no power system keeping the refrigerator cool, all the ice will melt eventually. However, it will take a long time since freezers are insulated to prevent the ice from melting quickly.
On the other hand, you will also have to clear the walk-in freezer of the food first since you do not want it to go bad.
This process, too, can be time-consuming, and then there is the added confusion of where to place all that food when you are cleaning.
The Bottom Line
Ice forming on the floor of the walk-in freezer is not all that uncommon; in fact, it is bound to happen eventually. You can get rid of all the ice quickly with the above methods.
However, we recommend the cleaning method as it not only gets rid of all the ice for you but will clean any dirt, debris, and germs in your freezer as well.


