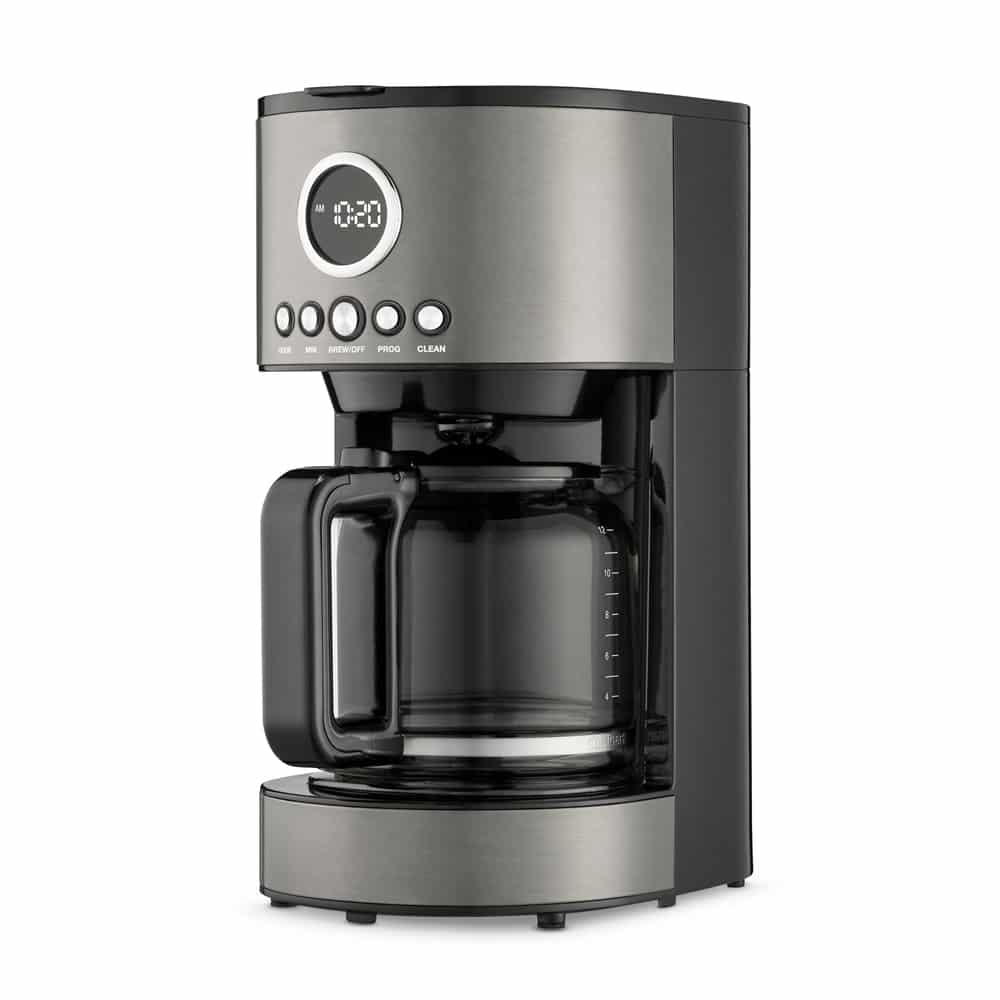
There is no deficiency of reports where customers complain about the decreased performance of their Keurig Plus products. The majority of these customers ignore the maintenance requirements and struggle with the system when it doesn’t perform optimally.
A Keurig plus unit has to be descaled every few months to avoid these performance issues, which is why owners are also advised to go through the care requirements for the best experience. The descaling indicator on the unit further helps owners keep track of the maintenance requirements.
The duration between each descaling procedure can vary depending upon the quality of water, and the following details should help you through the process.
How to Descale The Keurig Plus
To secure a Keurig plus, you first need access to a sink, a ceramic mug, and a bit of freshwater. It will take around half an hour for the descaling procedure to complete, and you should always remove all the accessories and the beverage pads from the unit. Otherwise, it can create a problem with the descaling procedure.
- For the descaling process, you will need to prepare the brewer before anything else. Start by emptying a whole bottle of the descaling solution into the water reservoir. After that, add another bottle of fresh water to the reservoir and move forward with the descaling process.
- To activate the descaling mode, you will have to press and hold down the 8oz and 12oz buttons on the unit. At this stage, the LED will start flashing, and you will need to press the brew button.
- The brew button directly engages the descaling process, and you will need to remove the hot water once the brew is complete. Depending upon the status of the Keurig Plus, you will have to repeat this process for a few cycles.
- Once the water is clear, you won’t have to repeat the cycle again. This will mark the completion of the descaling procedure, and you will just need to rinse out the system with fresh water to make the unit usable again.
- Now, you just have to empty out the reservoir and fill it up with fresh water again. Go through the brewing process a few more times, and then the descale indicator will turn off. The unit will come out of the descaling mode, and you can start brewing again.
Ideally, the descaling indicator should turn off after a few cycles. However, if you’re getting no success with the descaling procedure, try to reach out to customer support. There might be something wrong with the unit, and you should forward a warranty claim. On the other hand, if there is a bit of foam coming from the system, there is no need to get alarmed. It is the normal reaction, and you can simply rinse out the foam.
Just to be safe, you should rinse out the unit a few more times, and that should remove the foam. Some owners have also pointed out that leaving the unit unplugged for over an hour should improve your foam situation. So, go about the descaling procedure accordingly with your Keurig Plus unit.
