Who doesn’t love peppers? If you haven’t discovered this secret yet, peppers are such a versatile ingredient to use in the kitchen! Also, they bring lots of flavor to transform simple meals into scrumptious feasts.
For the cooks that know all about peppers—and especially if you’re growing bell peppers or jalapeno peppers in a home garden—we won’t be surprised if you’re tempted to can them for later use.
You don’t want your harvest going to waste, right? And canned peppers are so helpful to keep in the pantry, ready for any time you need peppers as a snack, or to perfect a dish. But what if your pressure cooker is broken or damaged?
Can you still can peppers without this appliance? Luckily, experts do it all the time and now you can too. In this article you’ll find how to can peppers without a pressure cooker. Time to make the most of peppers in your kitchen!
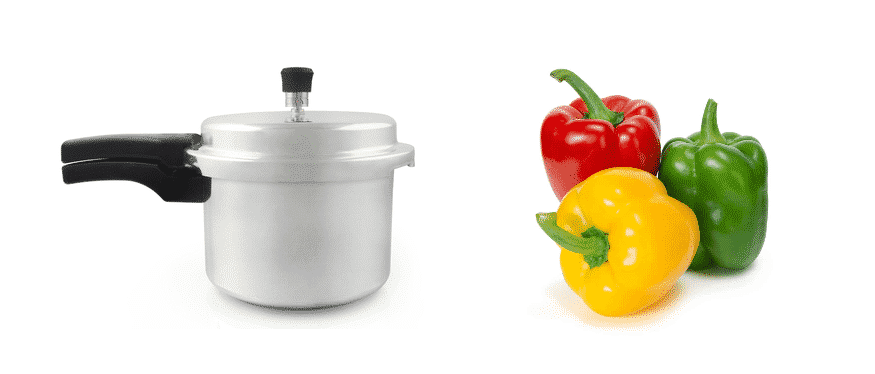
Why do People Use the Pressure Canning Method?
Peppers can be easily canned even without using a pressure cooker. You don’t necessarily need to pressure can your peppers to store them. Just follow the simple method given below to can peppers without a pressure cooker.
However, we do want to start off this article with some advice for safe cooking. When canning various foods there are risks involved. For one thing, the canned contents can go off if you didn’t follow the necessary steps.
Botulism is also a major concern when it comes to canning, fermentation or preserving procedures. In light of this, know that pressure canning is more effective to prevent botulism toxins in canned goods.
Below, we discuss the process of water bath canning peppers, which is a popular traditional method. However, it’s not a method that has been scientifically proven to remove or prevent the botulism toxins. Therefore, you can try this traditional method at your own risk.
We also mention these facts to motivate you to take extra care with each step in the process of how to can peppers without a pressure cooker. Rather take your time and get it right—and stay safe!

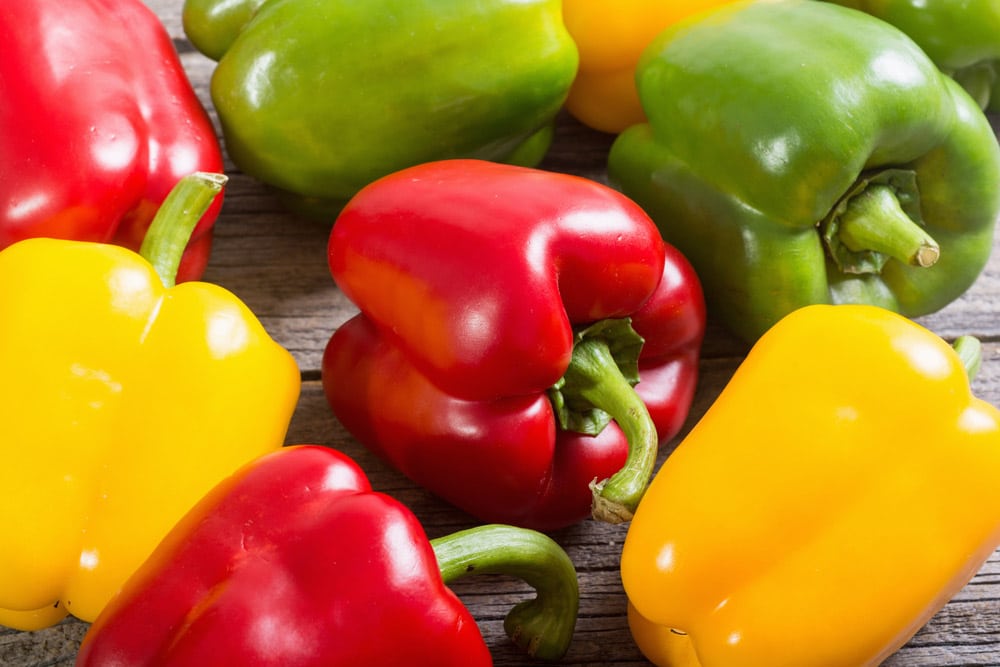
What Peppers Should You Be Canning?
The canning process below may be much easier than you think. But starting off with the right ingredients is essential, and that includes picking the right type of peppers. Usually, peppers that aren’t very fresh anymore are preferred for canning.
This is because experts know that fresh peppers are actively rich in acidic content. As mentioned above, there are concerns about the safety of canned goods and the acidic content of stored items play an important role in this.
To identify the best batches of peppers to use for your canning, pick peppers that are starting to change in color from green to pinkish.
How to Can Peppers Without a Pressure Cooker
We created a step-by-step guideline to follow in the canning process. The clear descriptions below will give even newbie cooks a good idea of how to can peppers without a pressure cooker—effectively and safely.
Step 1: Get Your Canning Jars Ready!
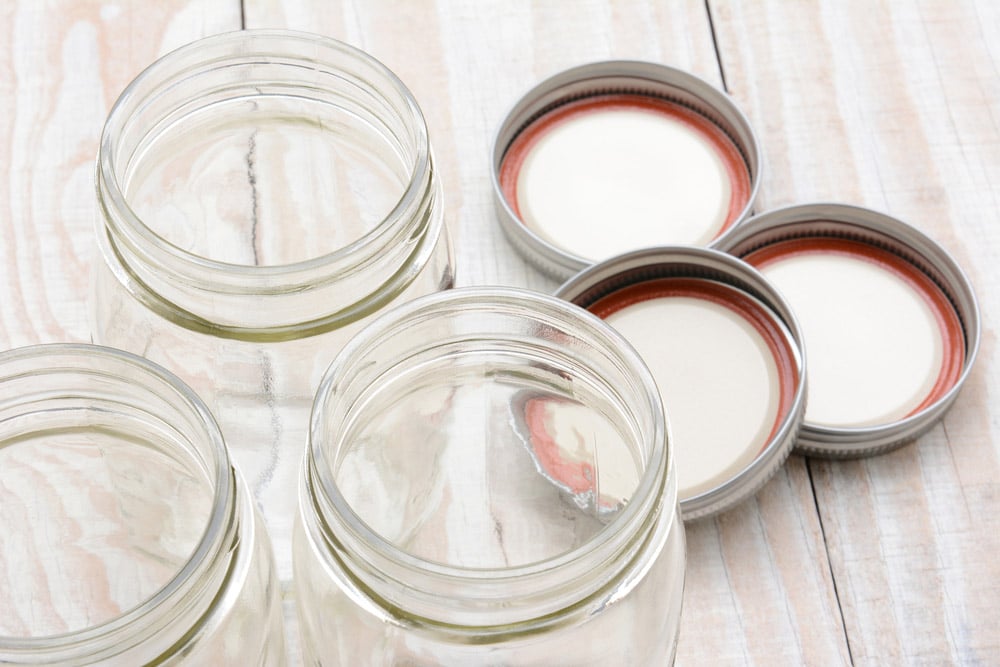
The safety and cleanliness of the canning process already start with the preparation stage. Here you need to prepare the canning jars to ensure they aren’t a source of contamination. They must be clean and free from all kinds of microorganisms.
You must clean them outside, but also inside, whether you’re using new jars or ones that have been used in the past. And be diligent while preparing both the jars and lids. If bacteria get inside, it can ruin all your hard work on those peppers.
To properly sanitize jars, first wash them with clean water and then place them in a pot of boiling water. This will kill all bacteria.
Step 2: Prep the Peppers
Now you can start prepping the peppers and it’s actually very easy:
- Wash the peppers thoroughly with clean cold water
- Slice them in small equal-sized pieces
- If you are using hot peppers, like jalapenos, consider removing the seeds
Step 3: Blister Peel the Peppers
Perhaps you like the taste of certain peppers’ skin when they’re fresh, but the same won’t be true after canning the peppers.
Especially with a process like canning, the skins can become very hard and even gross—not appetizing at all! Therefore, blister peeling the peppers is a very important step. An easy blistering method to follow:
- Heat a cooking pan
- Place the peppers inside
- Heat the pan until blisters form on the peppers’ skin
- Remove them from the pan
- Let the peppers cool until they’re cold enough to touch without burning your fingers
- Peel the blistered skin off
When canning a lot of peppers, this is a step that can take a bit of time. Do plan your timeline well so you have enough time to complete each step properly. Remember, each action determines factors like taste and safety of your final product.
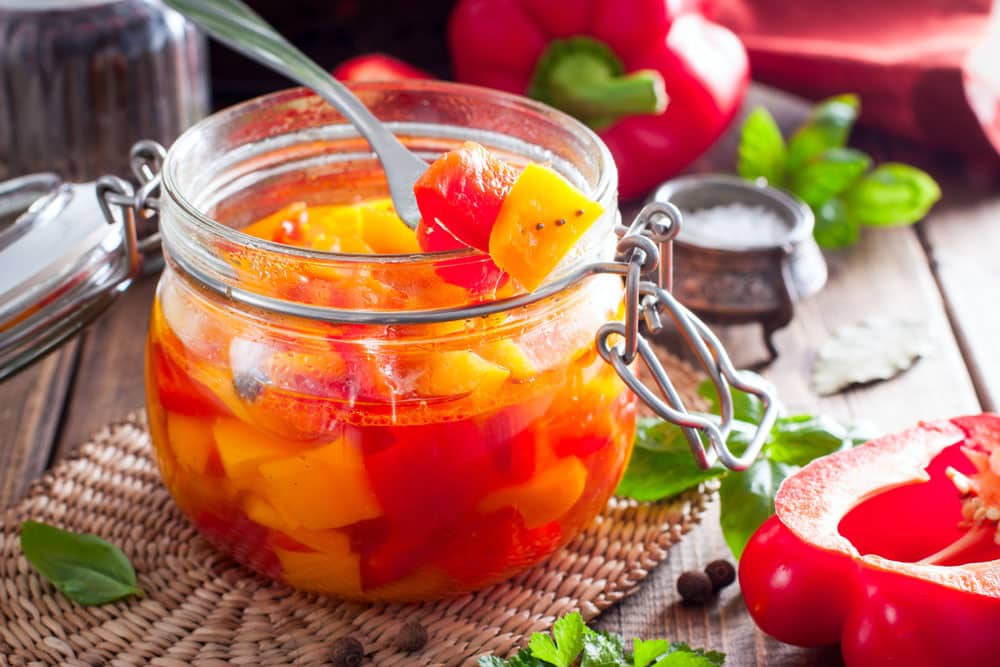
Step 4: Fill Up the Jars
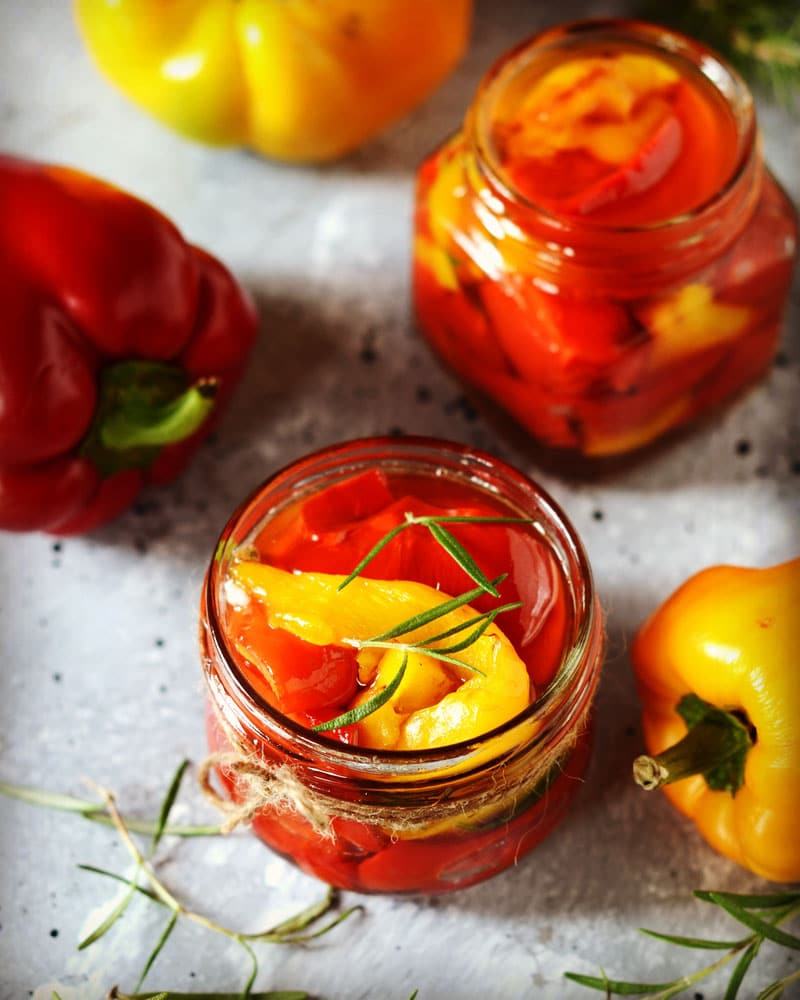
After peeling off the skins, your peppers are ready to be placed into the jars. You can put the peppers inside and then pour 5% acidic vinegar over them. Fill up the jars until there’s about half an inch of clear space left at the top. You need this to properly seal the jars.
Step 5: Seal the Jars
Once you’ve filled the jars, it’s time to seal them. In the absence of a pressure cooker, this is the step where you need to be especially cautious in order to prevent toxins from developing in your canned peppers:
- Put lids over the jars
- Add rings to seal them off
- Place jars in a large pot filled with water—you can do multiple jars at a time, as many as will stand upright in the pot.
- Boil them at high temperatures to seal the jars.
See? It only takes a simple 5-step plan to can peppers—and you don’t need expensive equipment like pressure cookers.
When is the Best Time to Eat Peppers After Canning?
Now, after putting some time into preparing this yummy, canned food, you want to optimally enjoy it once you open a jar. The cans in your kitchen may look tempting enough to prompt you to taste them immediately. However, wait at least four hours if you want to enjoy good flavor.
If you have enough patience however, we suggest you wait at least 24 hours before doing the first taste test. Giving it time to rest results in much better flavor. And some experts say you should wait at least 48 hours!
Final Thoughts
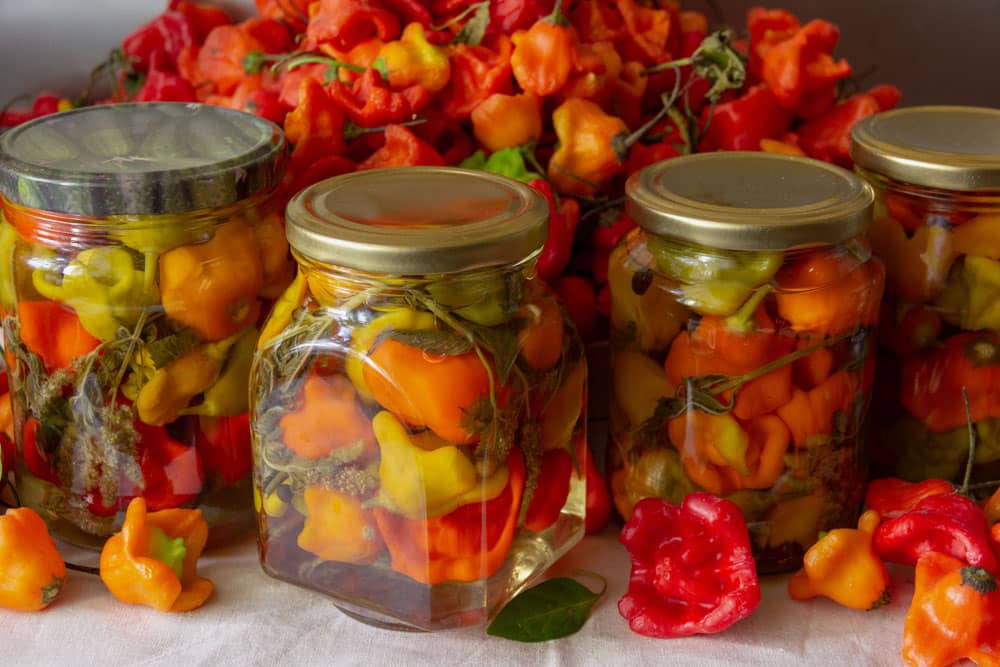
Canning food is an excellent method to prevent waste and enjoy your favorite treats whenever you want to! And with pickled goods like peppers in brine, they could last a year or longer.
However, for good taste, a long shelf life and to prevent toxins, you must get the canning process right. We showed you how to can peppers without a pressure cooker because it is possible.
Just remember that science supports the notion that a pressure cooker does help to prevent certain health risks. Also, whenever you open a jar of canned peppers, make sure the jar was still tightly sealed, because even the slightest bit of air could affect the contents.
Now, while keeping both safety and flavor guidelines in mind, start canning!