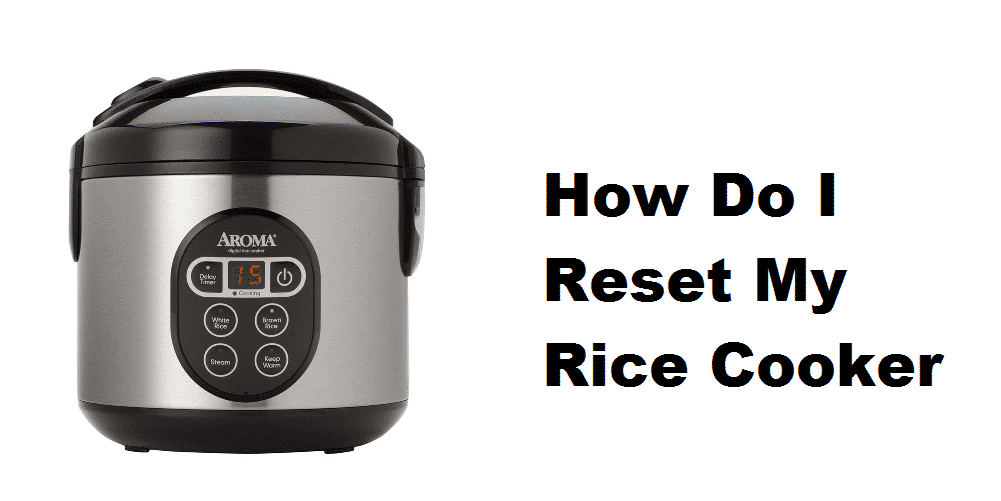
A rice cooker is a machine, and like any other machine, it will break at some point. A rice cooker can stop working as a result of four things – age, thermal fuse, faulty wires, and heating coil.
If you have a 5-year-old rice cooker that has stopped operating – fixing it yourself might just be impossible. An old appliance can have faulty wires, faulty components, and a ton of issues that are not economically feasible to fix. Buying a new rice cooker instead might as well be a better option. Or if you are lucky it might end up being a faulty power cord. Bringing your ancient piece of equipment to an electrician might breathe in a few months of extra shelf life.
Aside from old age which is something you cannot reset, only by replacing a faulty thermal fuse, faulty wires, or a faulty heating coil will let you be able to reset the internal components of a rice cooker. Here we will show you how to replace both the heating coil and the faulty wires.
How To Replace Faulty Wire and Heating Coil of Rice Cooker
To replace a faulty wire you will have to follow our instructions to the tee. Also, if you are not someone who knows something about electrical wiring, we suggest you bring the rice cooker to a proper electrician.
- There are a lot of rice cooker types, but almost all of their main components are the same with some cosmetic differences. So don’t panic if something turns out to be a little different.
- Take the power plug out its socket. It’s extremely important to make sure no current is flowing through the rice cooker.
- You can access the internal components of any rice cooker by removing its bottom part. Take a screwdriver and remove the screws from the bottom of your rice cooker. After making sure all screws are removed you can easily pull off the bottom part.
- Pulling off the bottom part of a rice cooker will let you access the internal wiring. Don’t get intimidated, and calmly look through the wires. Slightly pull at every joint and see if anyone of them is loose or damaged.
- Another way to test a wire’s fault is through a multimeter. Remove a single wire from its joint, connect the positive and negative pins of your multimeter to its ends. Check the wire’s continuity.
- If no current is flowing through the wire it will indicate severe internal damage. Replace that wire immediately.
- For a better visual guide, look through YouTube and find a repairing video.
Now, to replace the heating coil you will need to buy a new coil, preferably of the same model. Follow these steps to replace the heating coil:
- Similar to how you opened the bottom panel for fuse replacement, you will do the same for heating coil replacement. Make sure there’s no electrical connectivity.
- Getting to the wire section, disconnect the wire that’s connected to the heating coil. Remove the screw and separate the connection the coil has with the rice cooker.
- Turn your rice cooker back up, open the lid, and remove the pot. From underneath you will be able to pull the heating coil out with ease.
- Replace with the new coil and reset everything to its original place. Check your rice cooker.
Another thing to take note of is the internal wiring of your rice cooker. Sometimes the internal wiring may have come loose, opening the lid and tightening the joints with a screwdriver may reset your rice cooker into working properly.