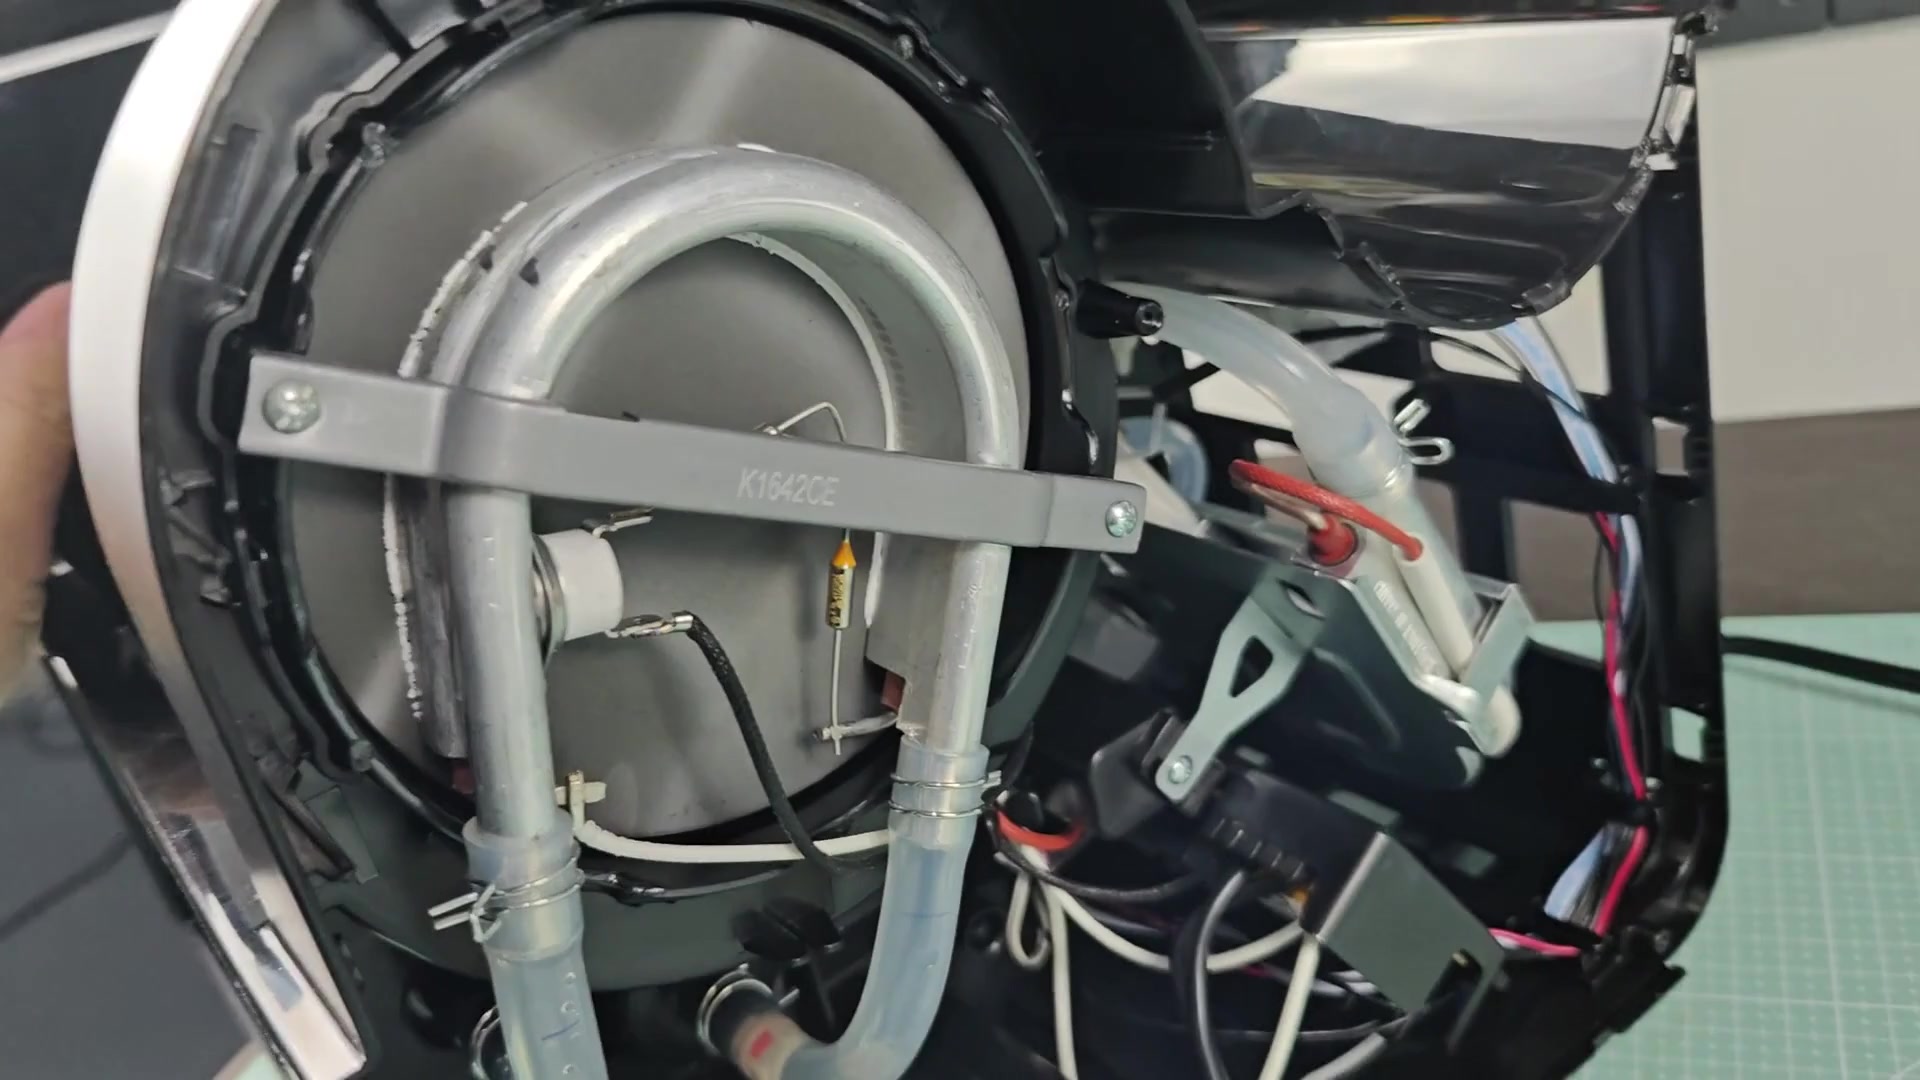
To take apart a Hamilton Beach FlexBrew, remove outer case so you can look at its innards. With that removed, you see where all the pieces connects together internally within the coffee maker itself. What’s inside isn’t naturaly easy to see from the outside, even though the case looks strong.
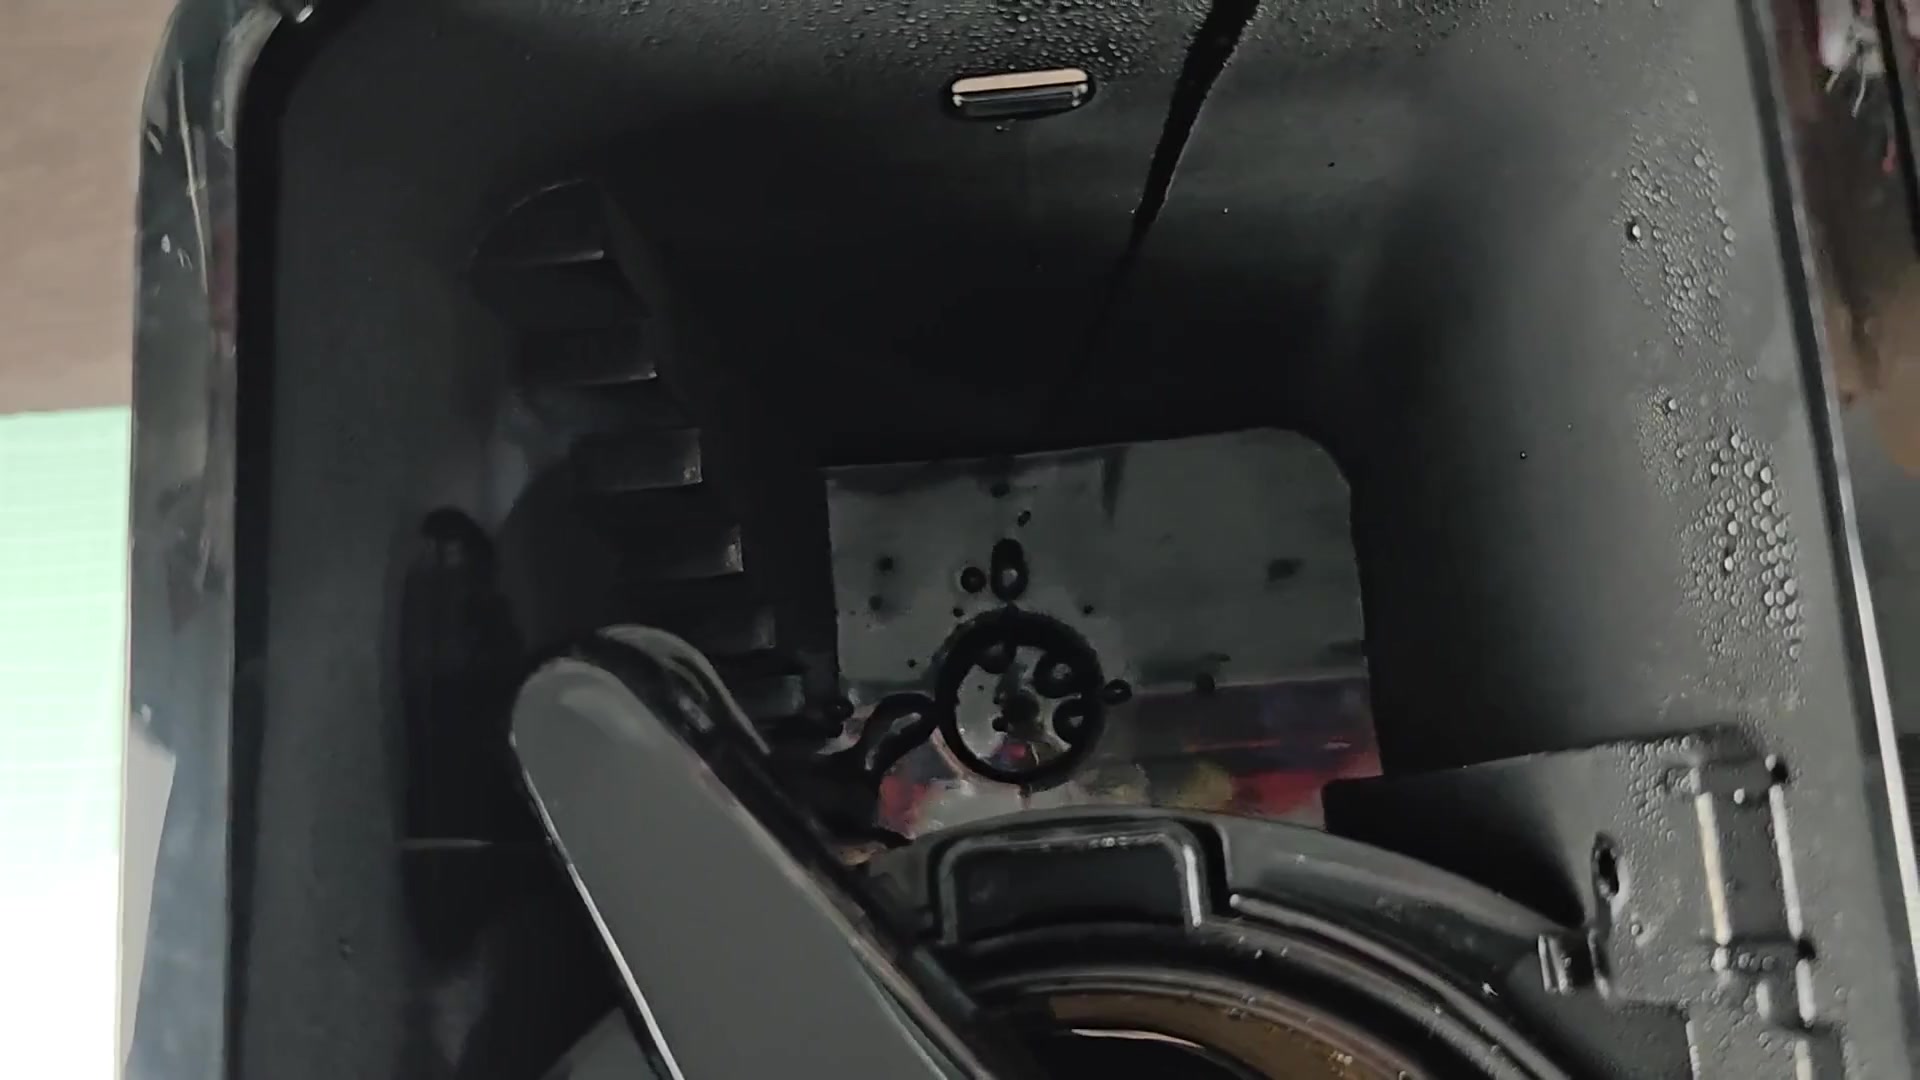
Before attempting anything with your coffee maker, make sure to unplug it. Safety first! Put it down on a clean, level surface to provide stable access to the base.
Internal components and inspection
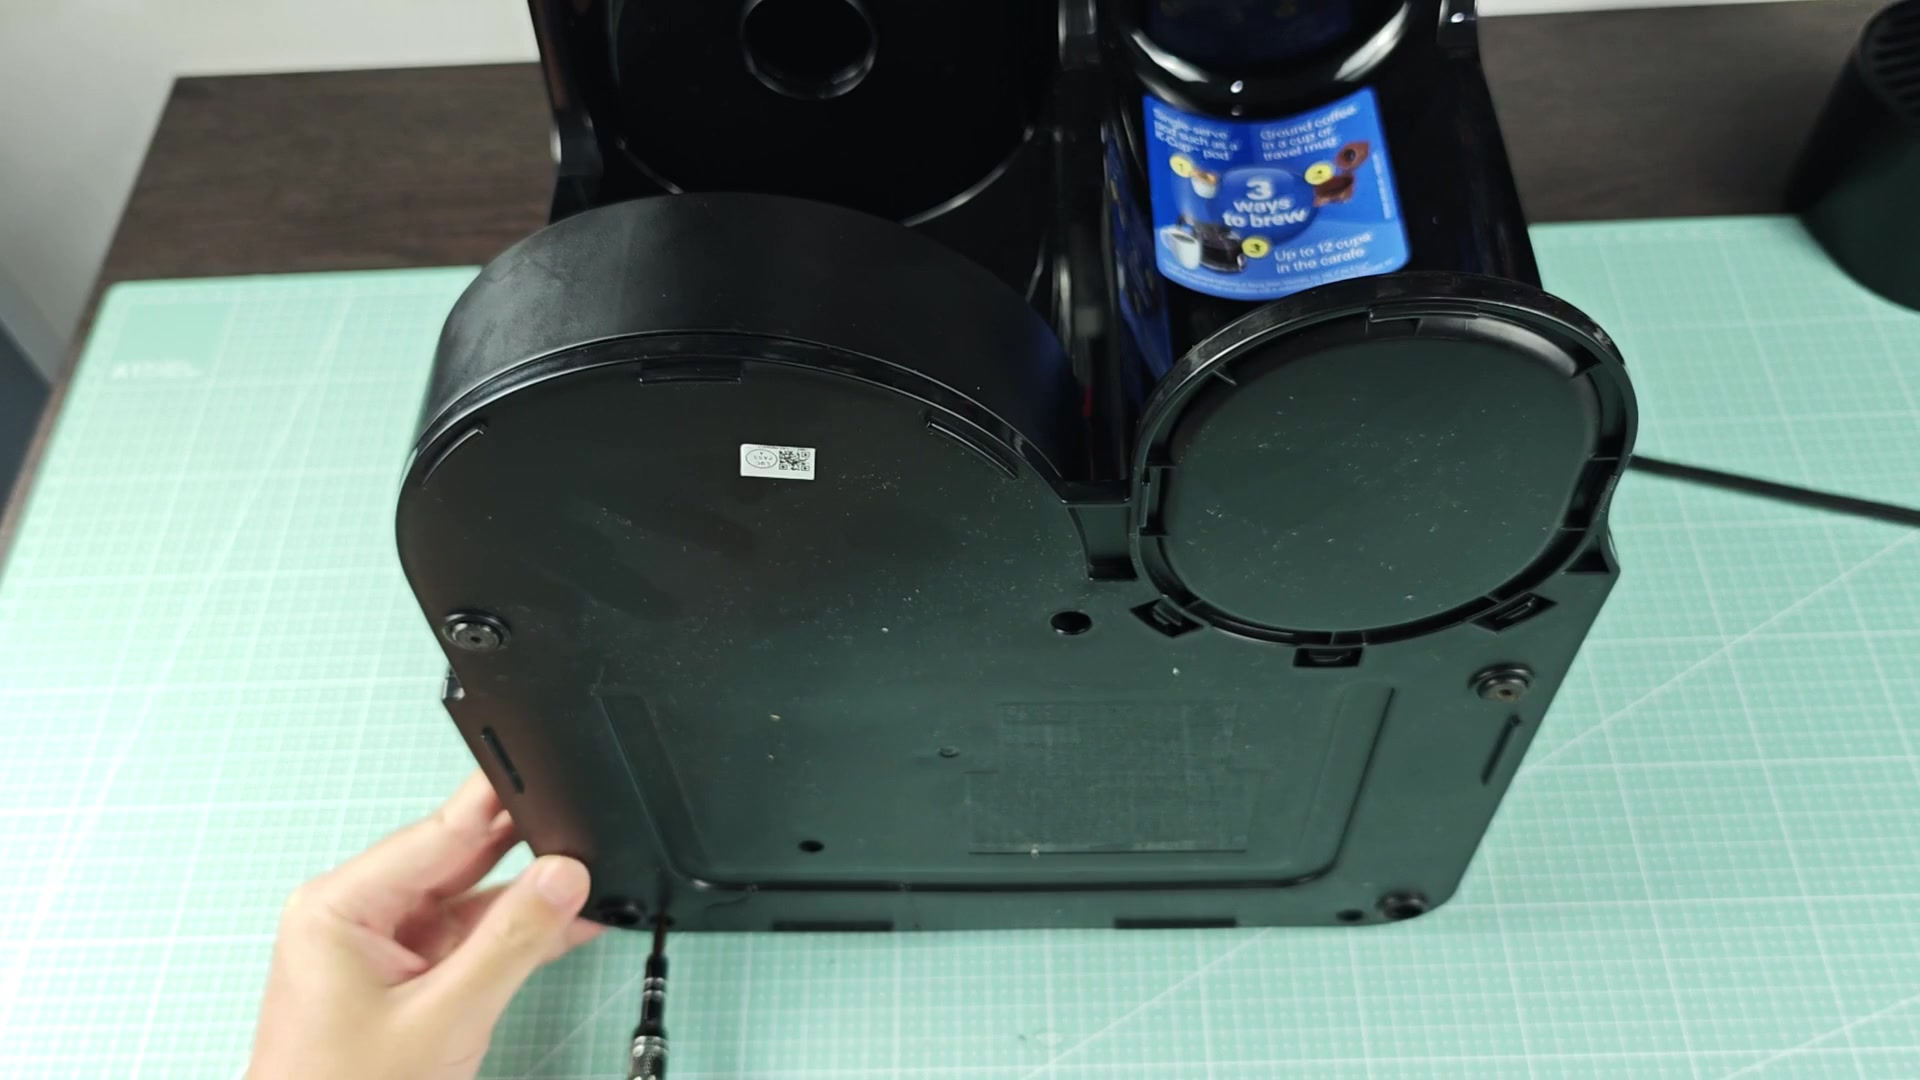
Now you’ll want to flip your coffee maker over, exposing the cover on the bottom. This cover is held on by three regular Phillips head screws. Use a screwdriver or similar tool to remove those screws and place them somewhere safe.
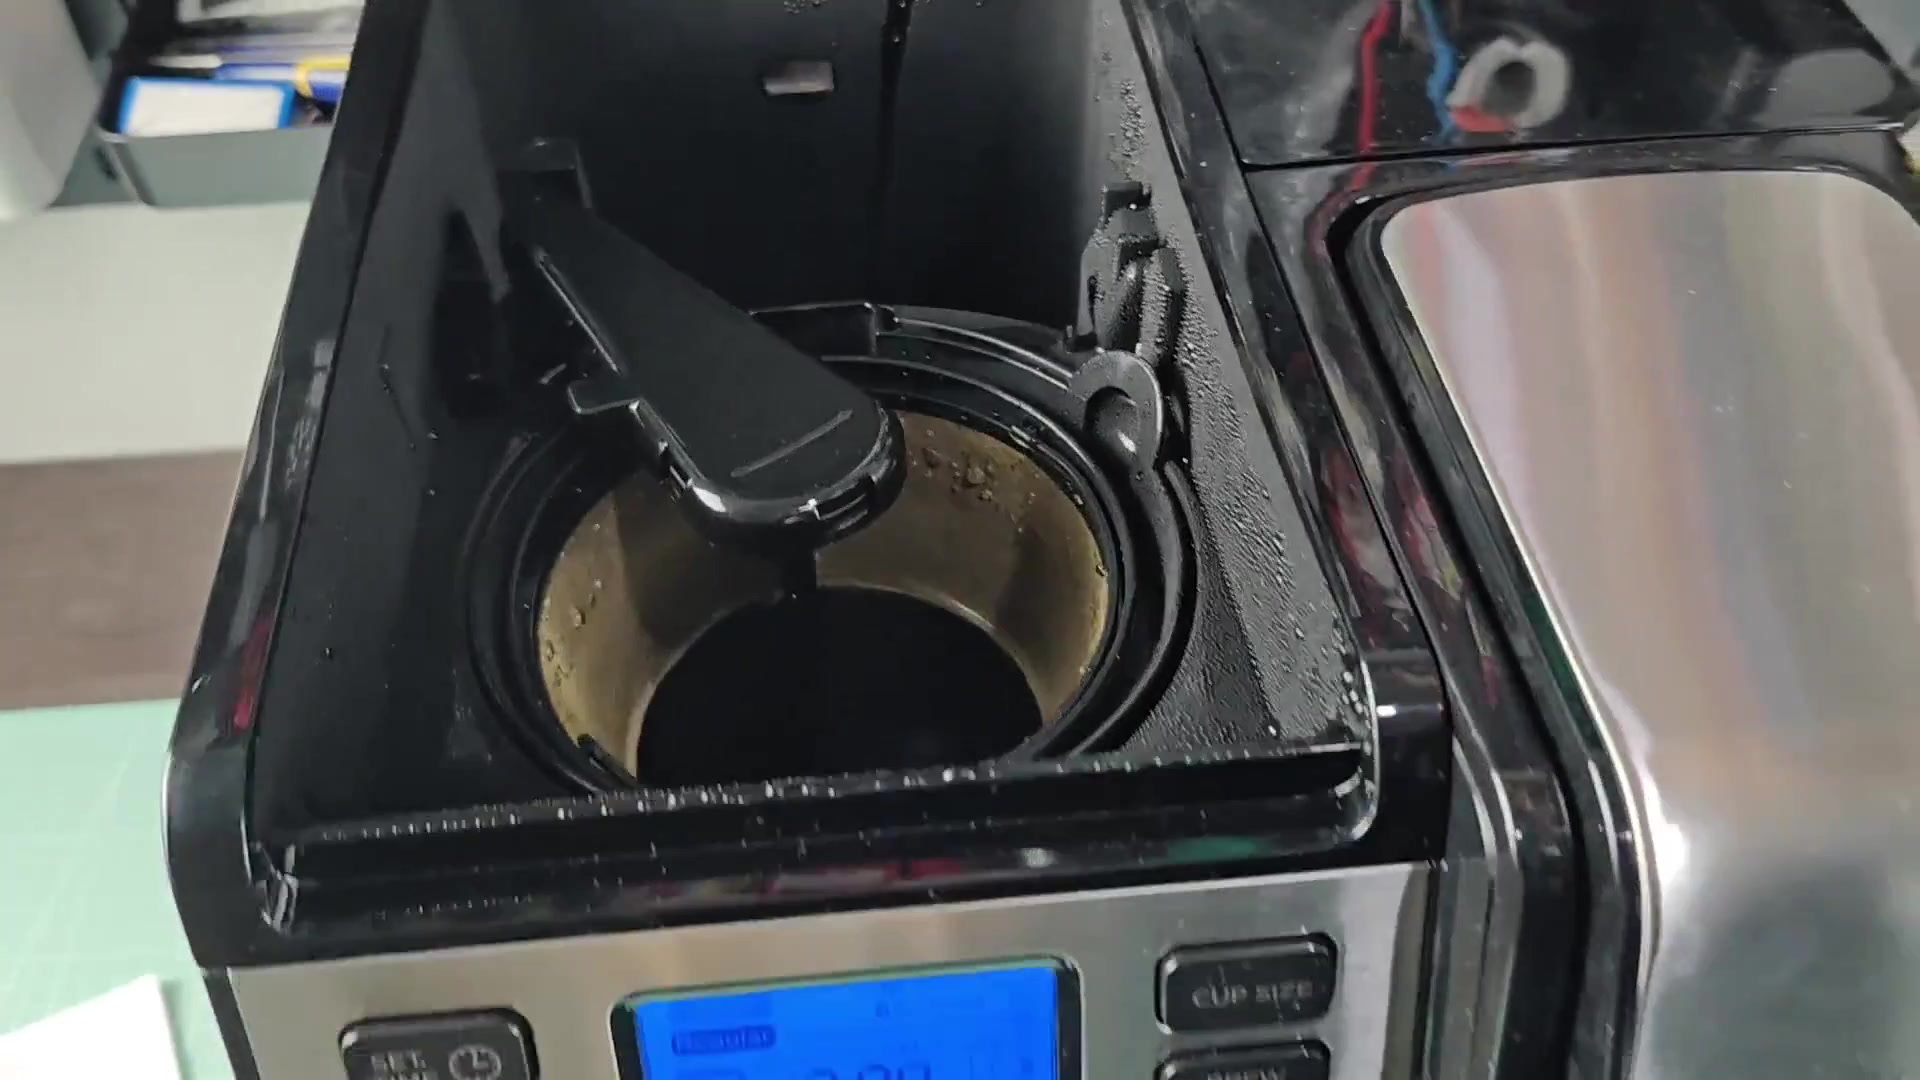
Internal clips also keeps this cover tight. It won’t come apart if you simply try to pull with your hands. There’s a click-lock system involved, so you need some force to get it apart based off the design.
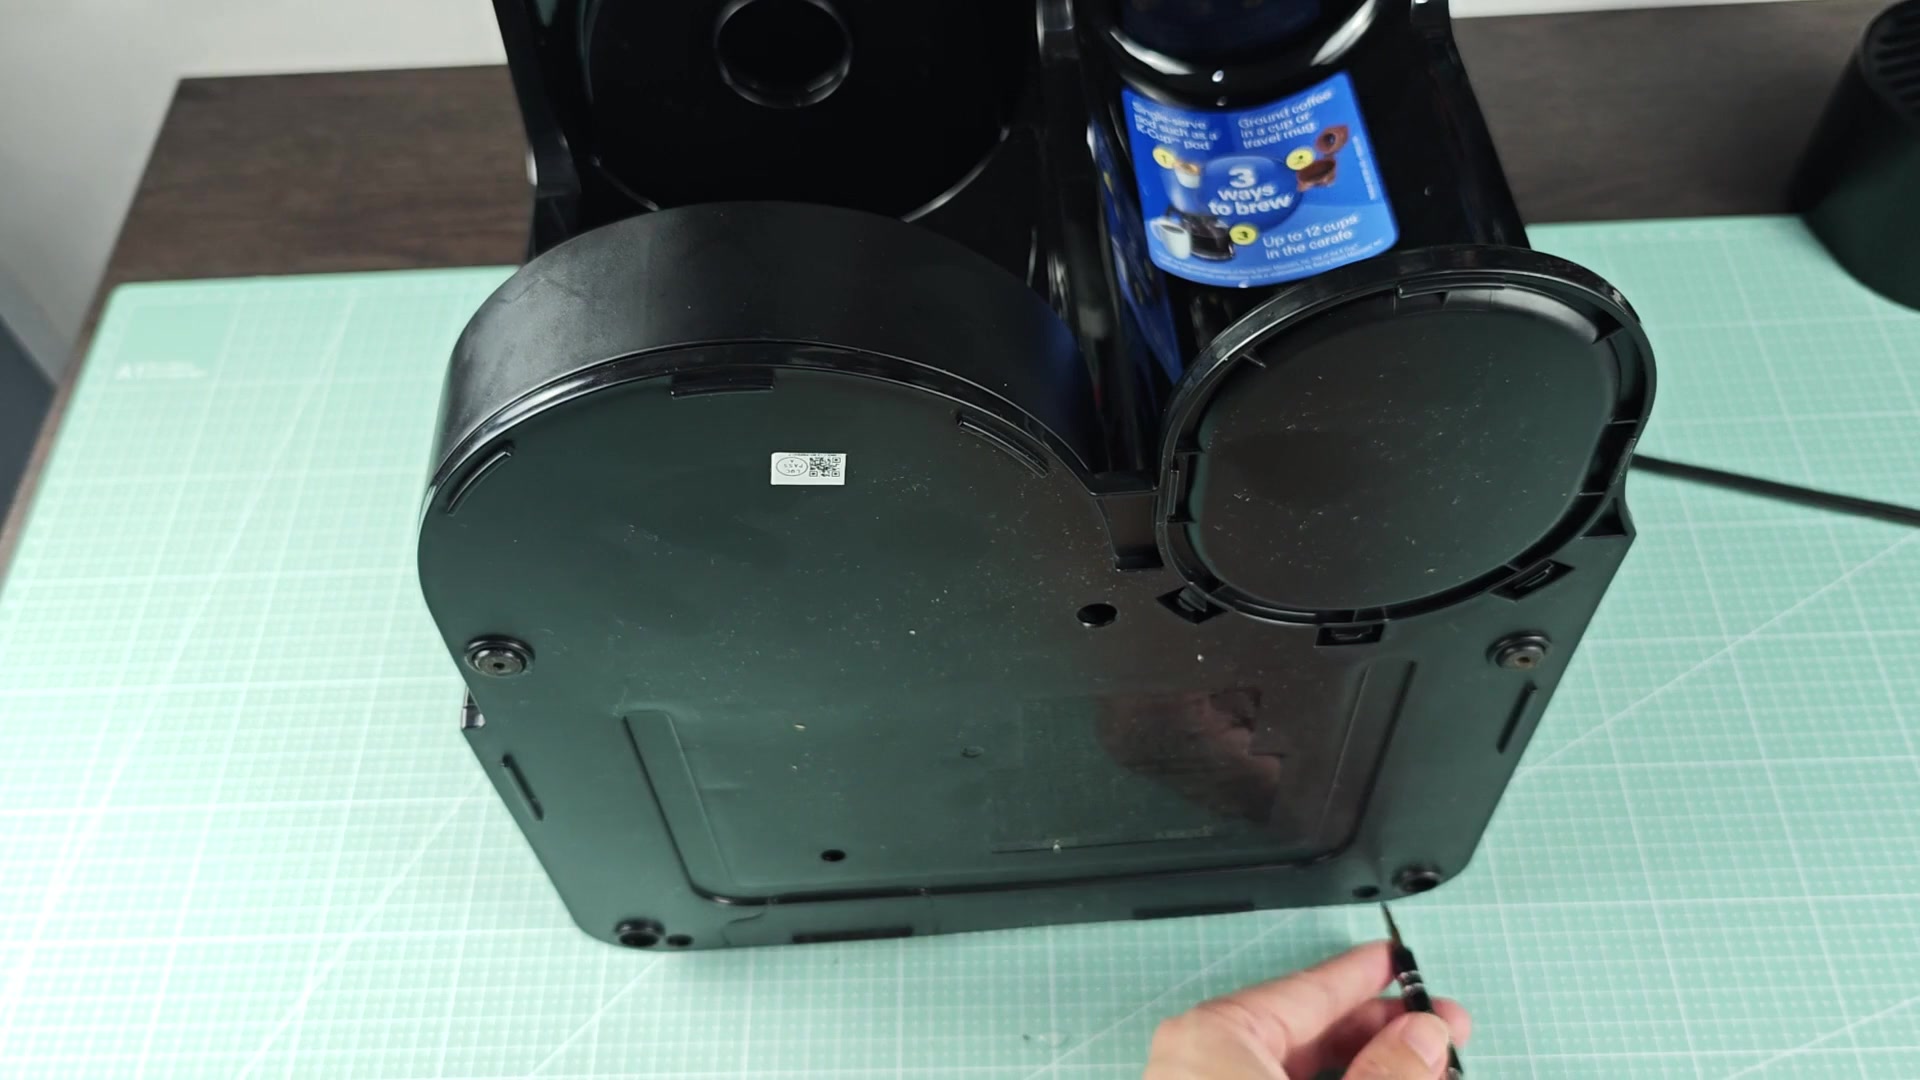
This next part is where you’ll need a flathead screwdriver. Place it in opening of the cover-body gap, and gently pry the cover apart (you don’t want to break plastic clips within). Slowly work your way around by applying even pressure with the screwdriver instead of quick jerking motions. These clips is locked onto the frame well, so they won’t come loose while brewing. You should of hear them ‘click’ when they’re unlocked; if not, go back over until you do.
After everything is disengaged, the cover will pop open a little bit. Once you open it up, you’ll notice right away that there’s some tubing and wiring inside. It looks a lot more complicated then most counter-top appliance.
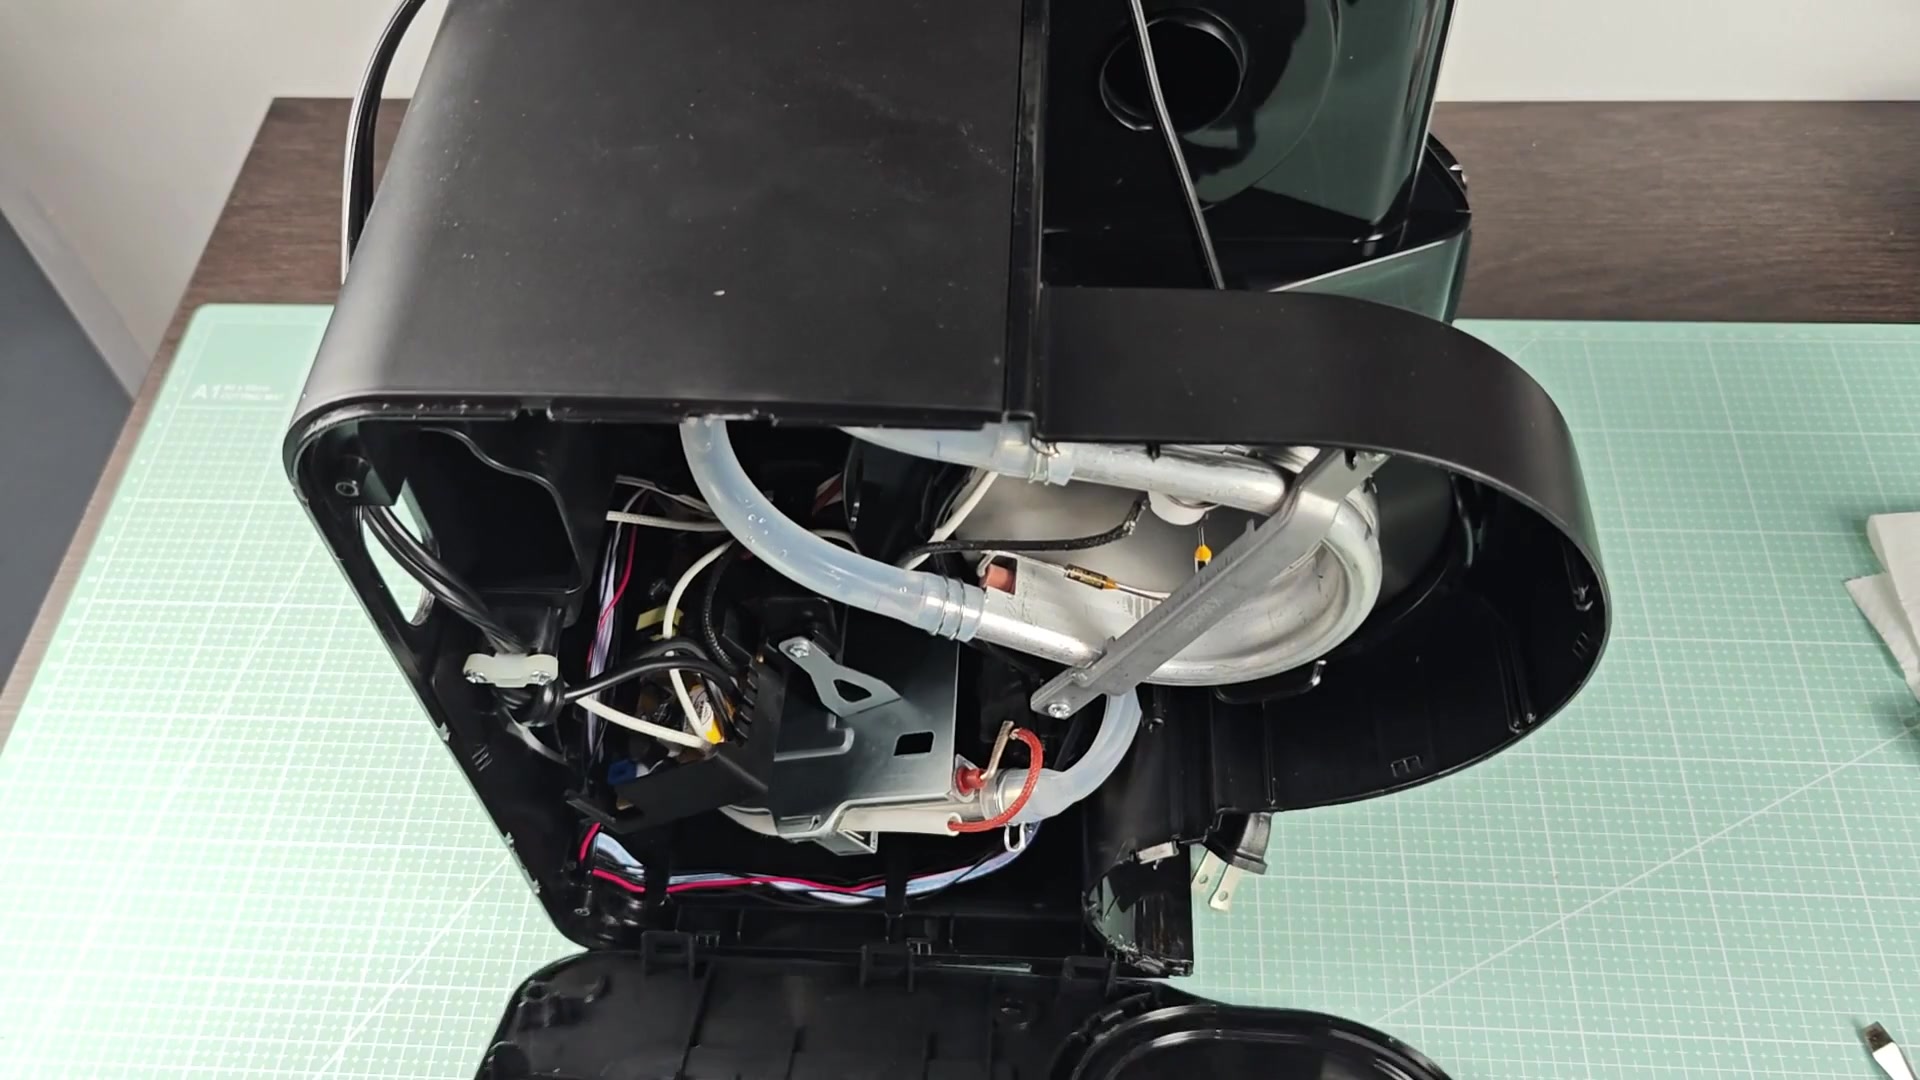
There’s a thermistor located close to the heating element so it can gets an accurate reading of temperature. This helps it maintain the correct temp throughout the brewing cycle. Look at how the water pump connects to see what direction the water flows.
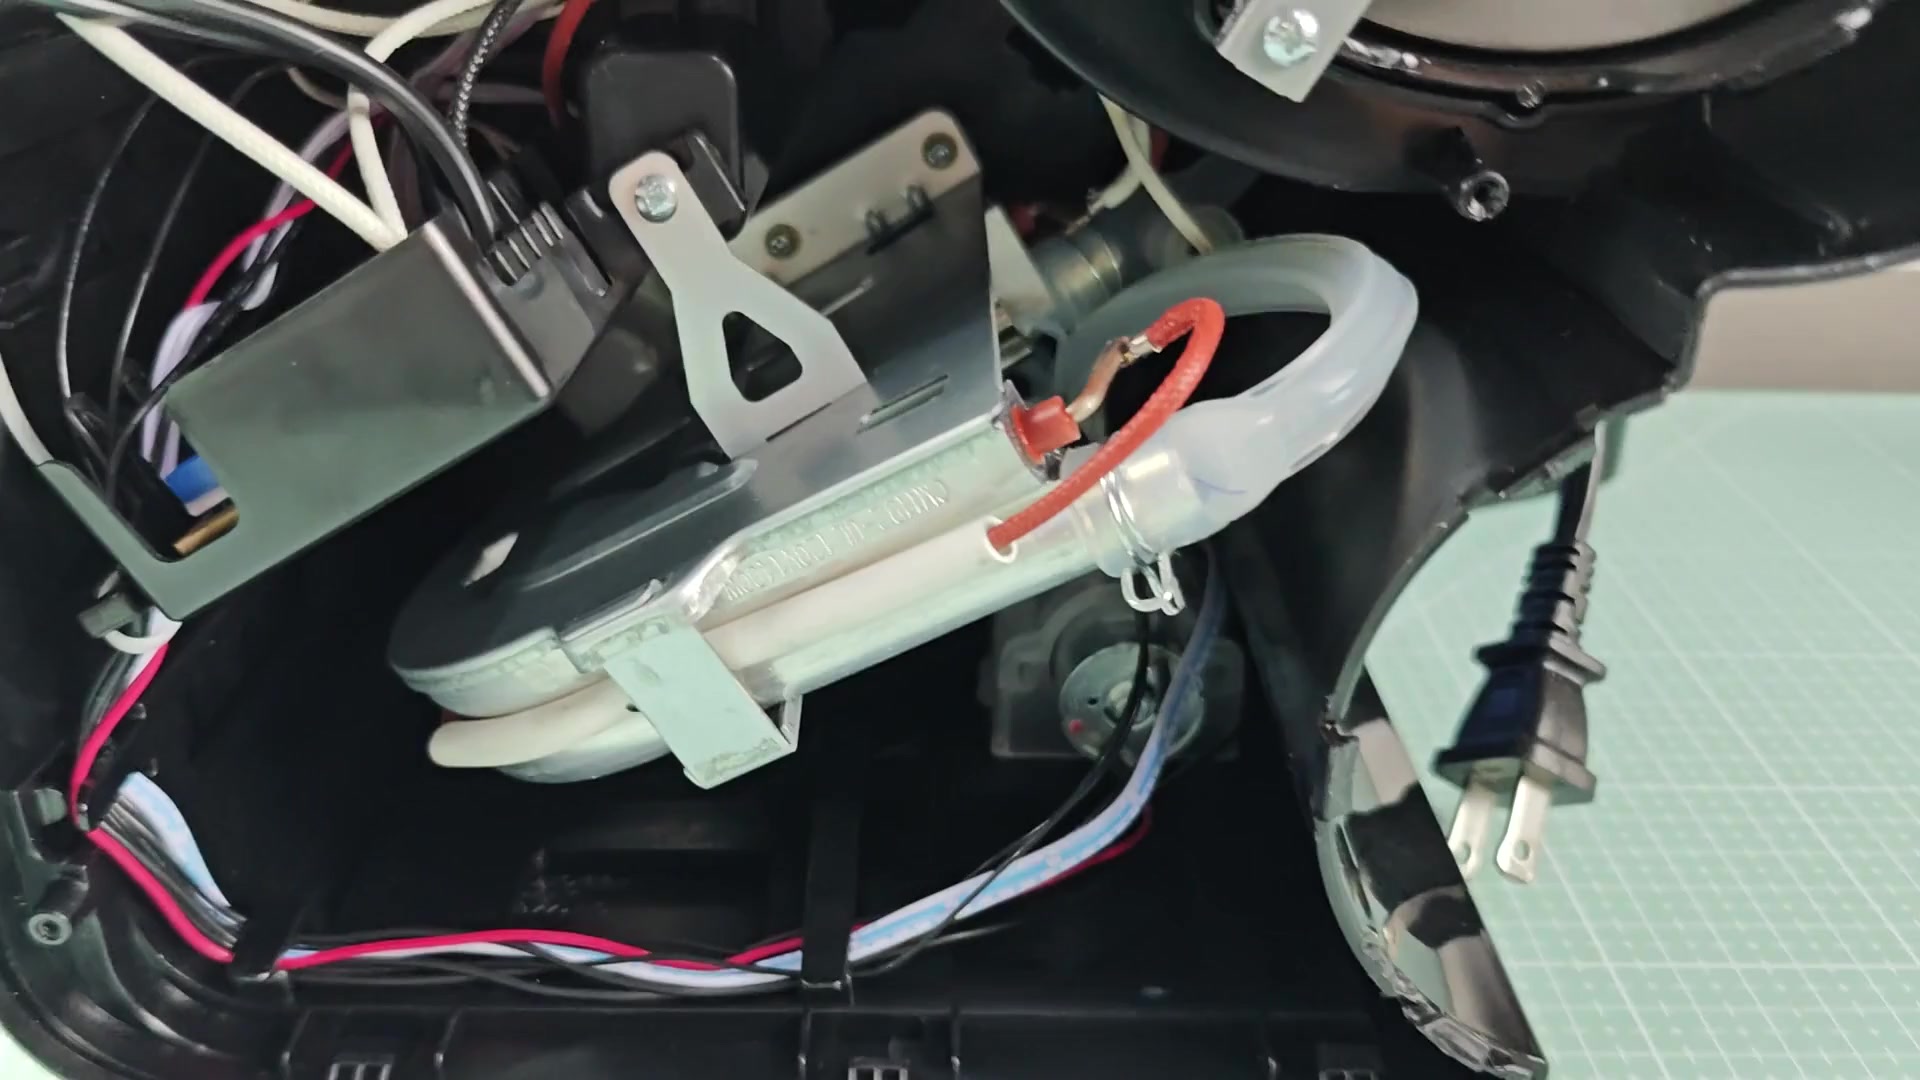
Water enters the reservoir and flows up through tubes that lead to the brewing heads within the unit. The tubing is held in place with metal bracket. This keeps everything properly aligned so nothing come loose or kinks when pressurized.
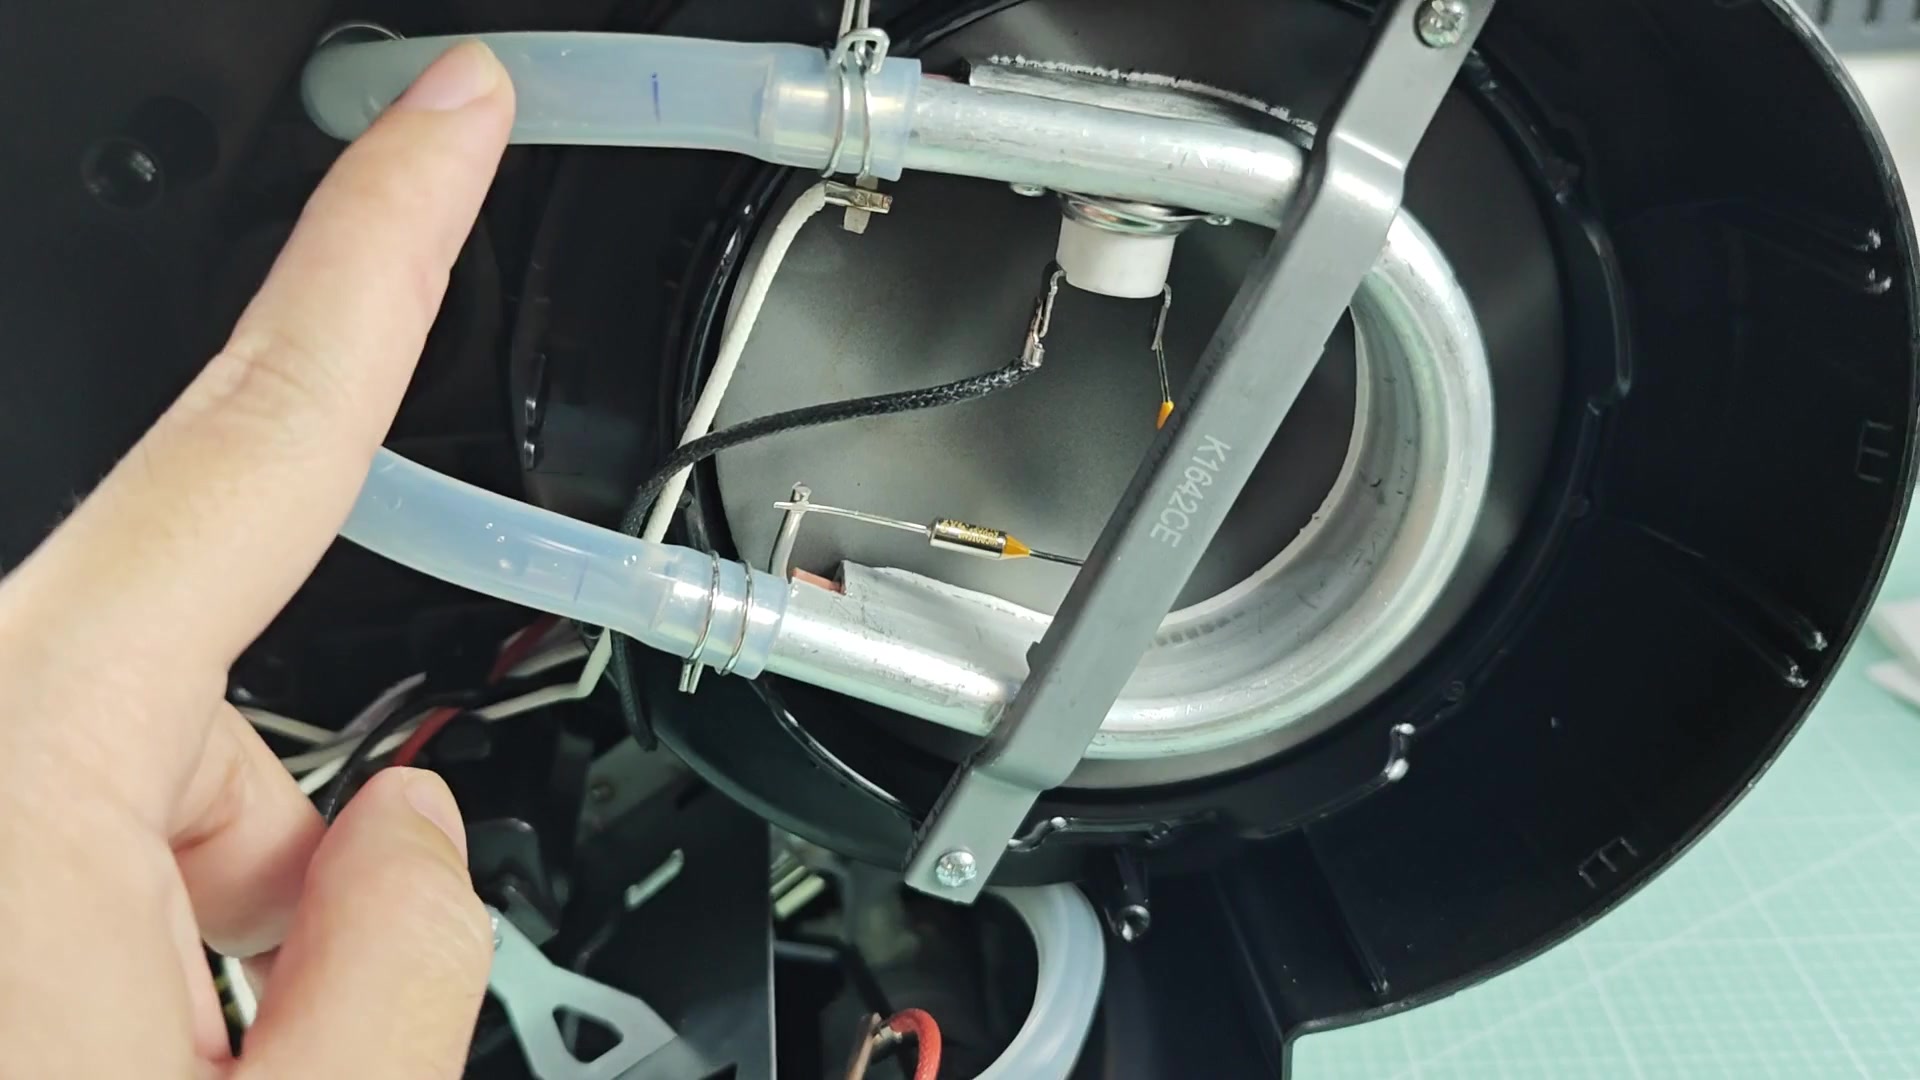
Even though there’s a lot of water flowing, everything stay compact. If you hold the top cover open, you’ll be able to follow how the water flows from entry to exit. There aren’t many obstructions so you’ll have no problem seeing the mechanics.
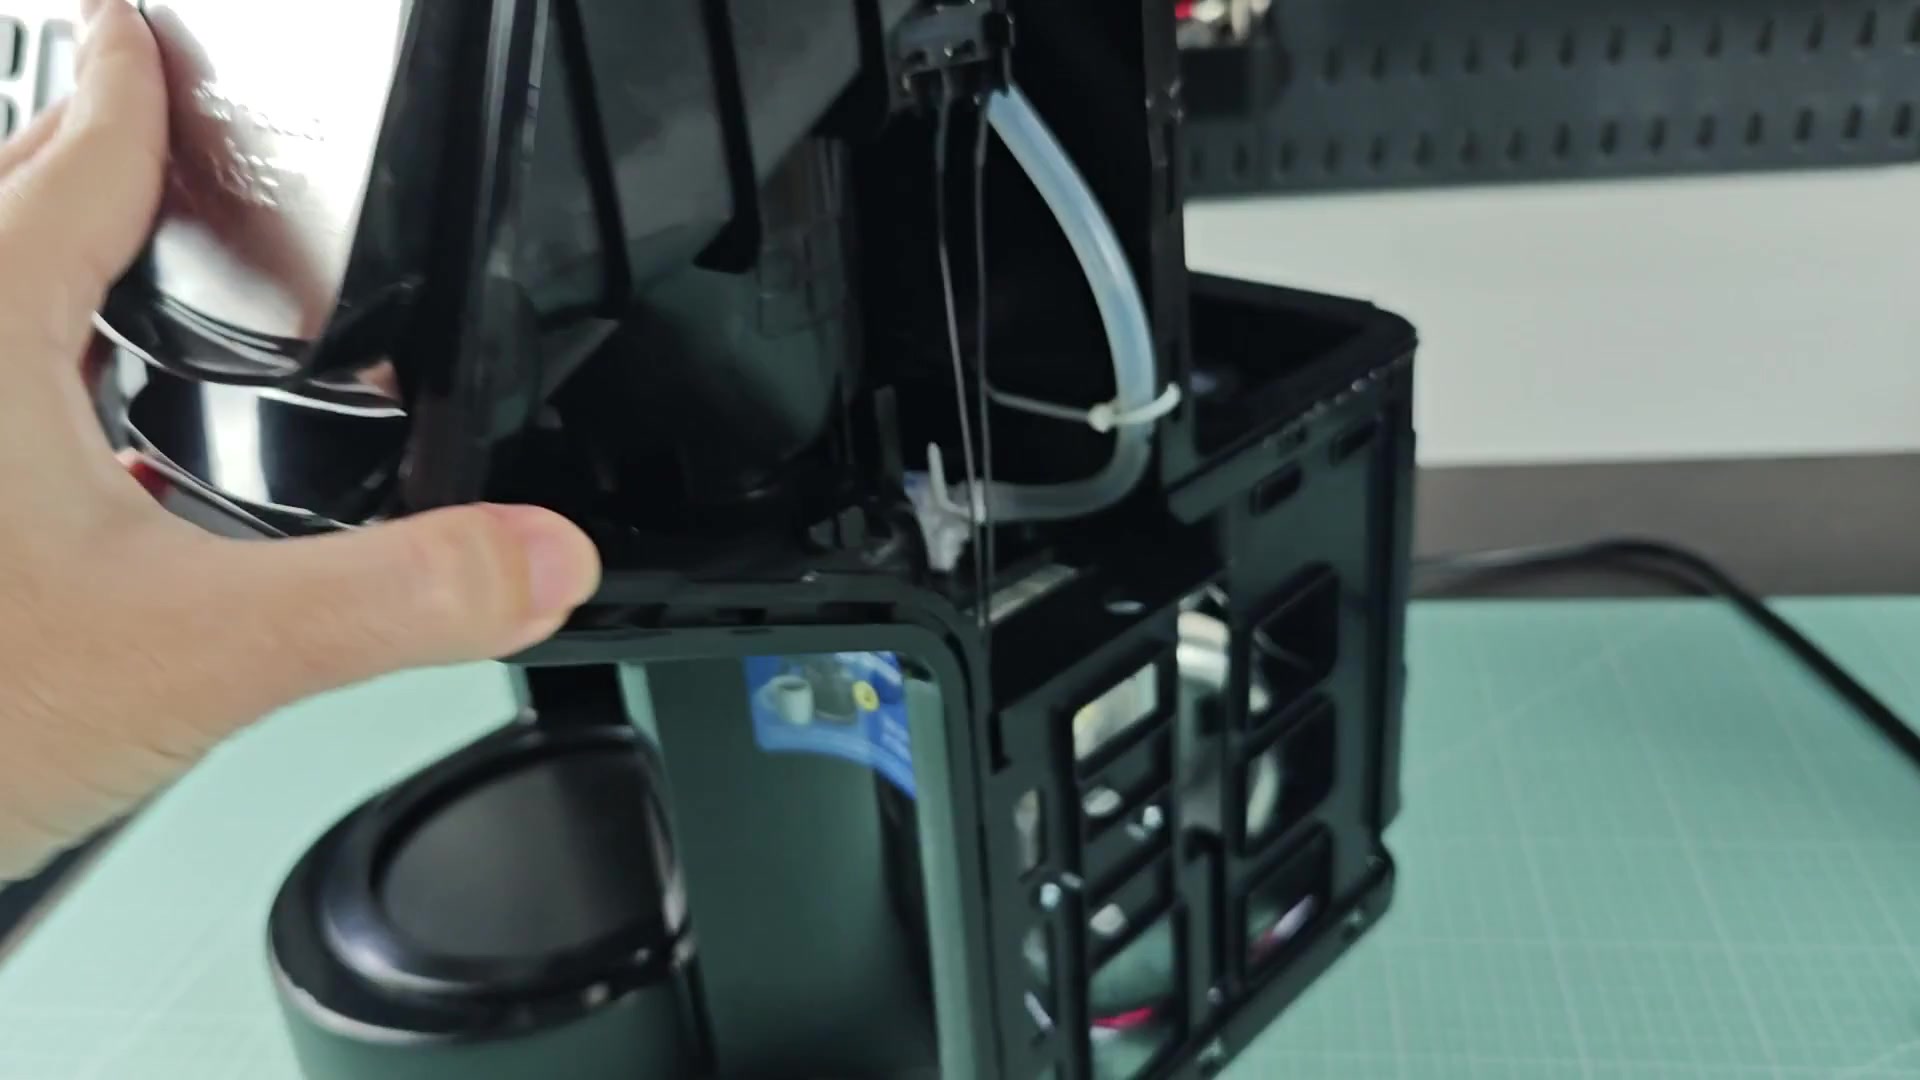
Note that this design emphasizes snug fitting and can therefore be tricky to clean. Examine yours for wear inside. Plastic brackets with manufacturing codes are visible inside. Those are meant for quality control at the factory but don’t help identify them for repairs.
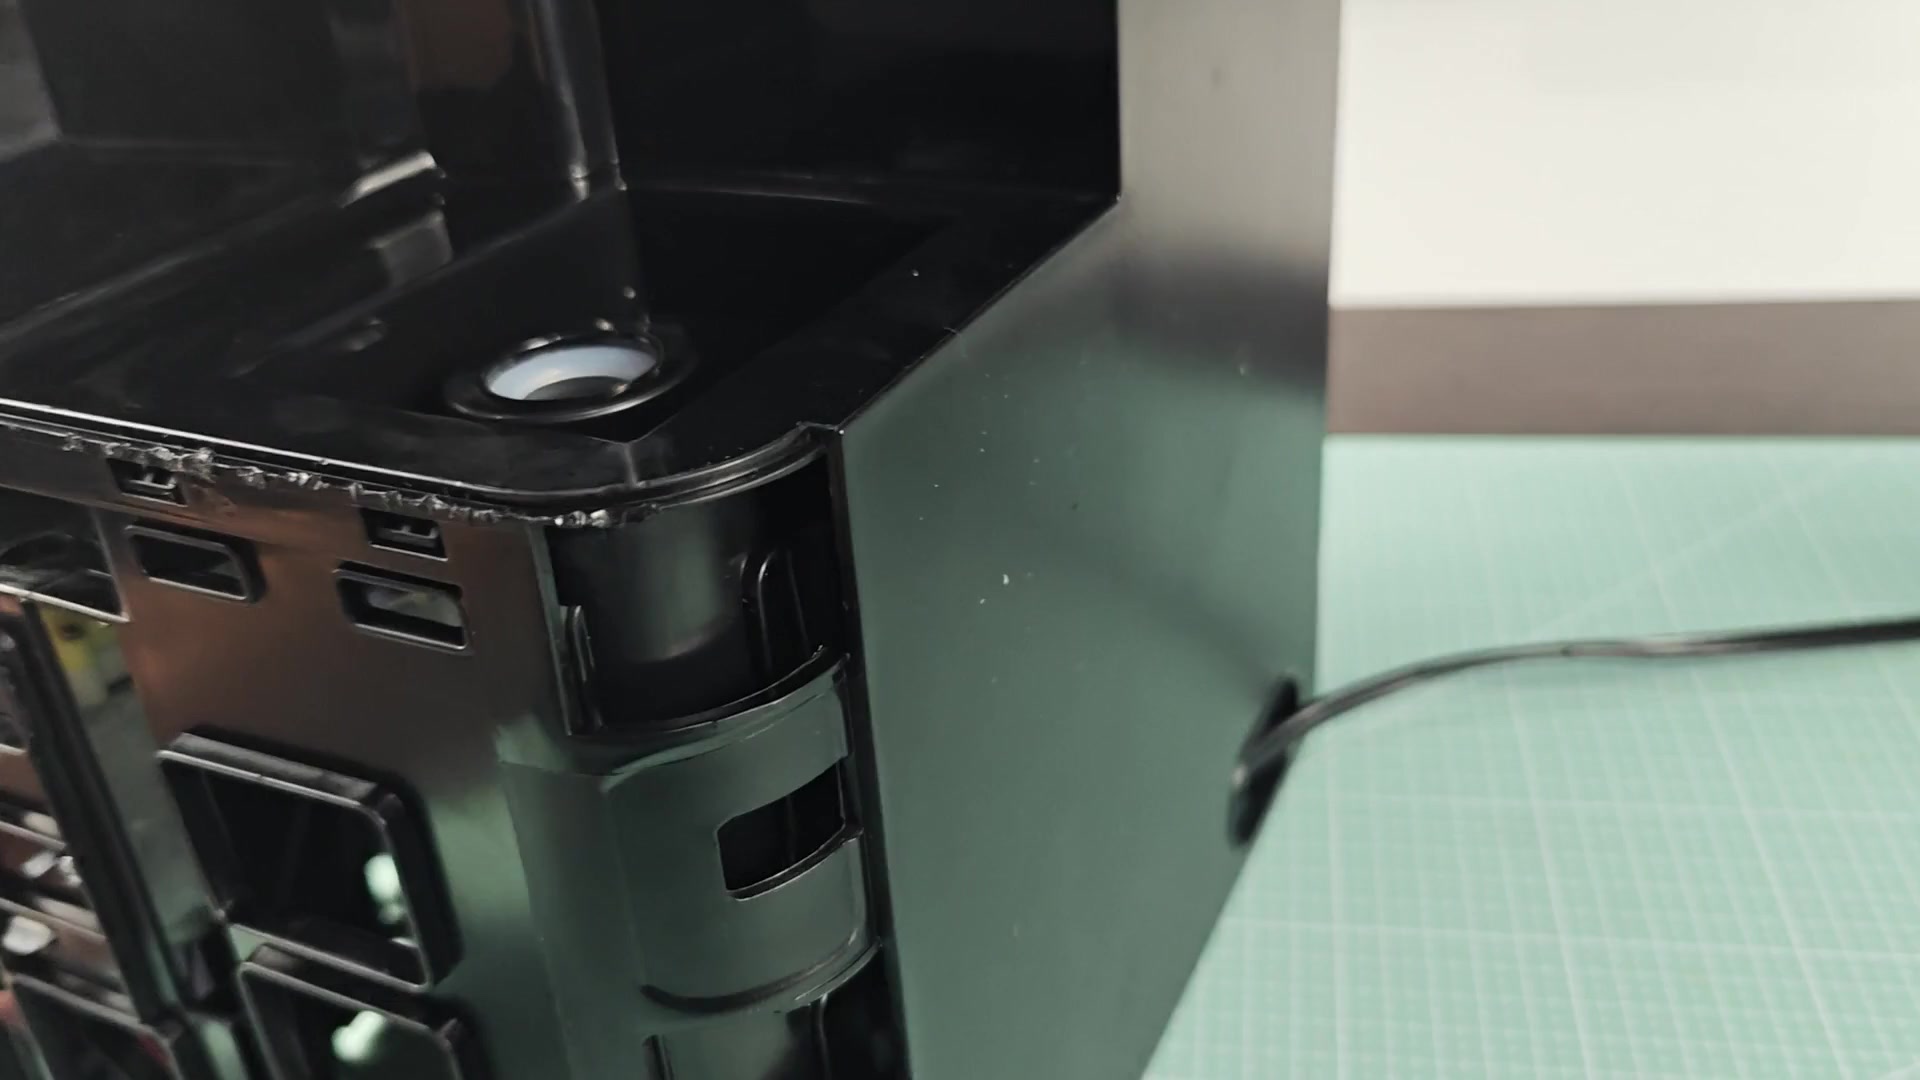
The major components is easy enough to spot without a service manual. When done checking inside, close it up again.
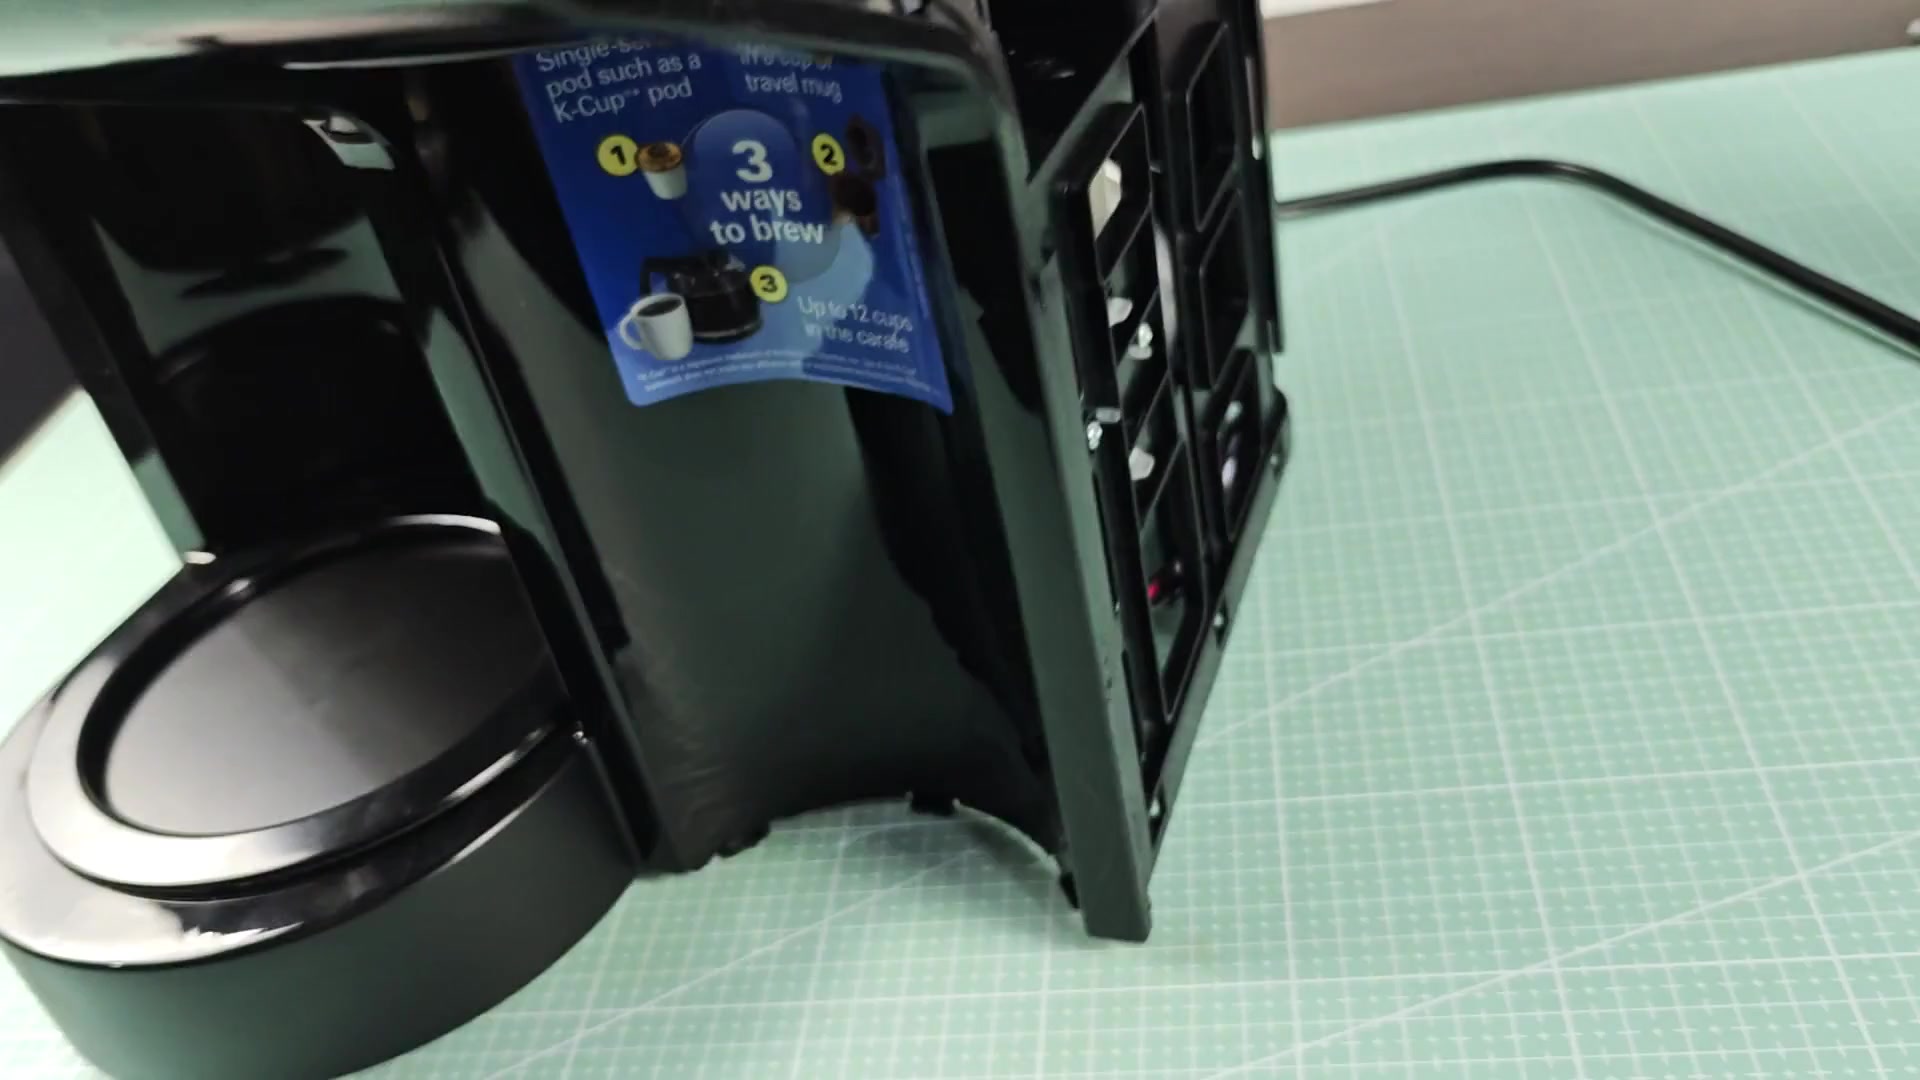
Re-assembling is quicker than disassembling. Make sure you get each clip snapped into place. Once everything is secured, put the three screws back on and call it a day.
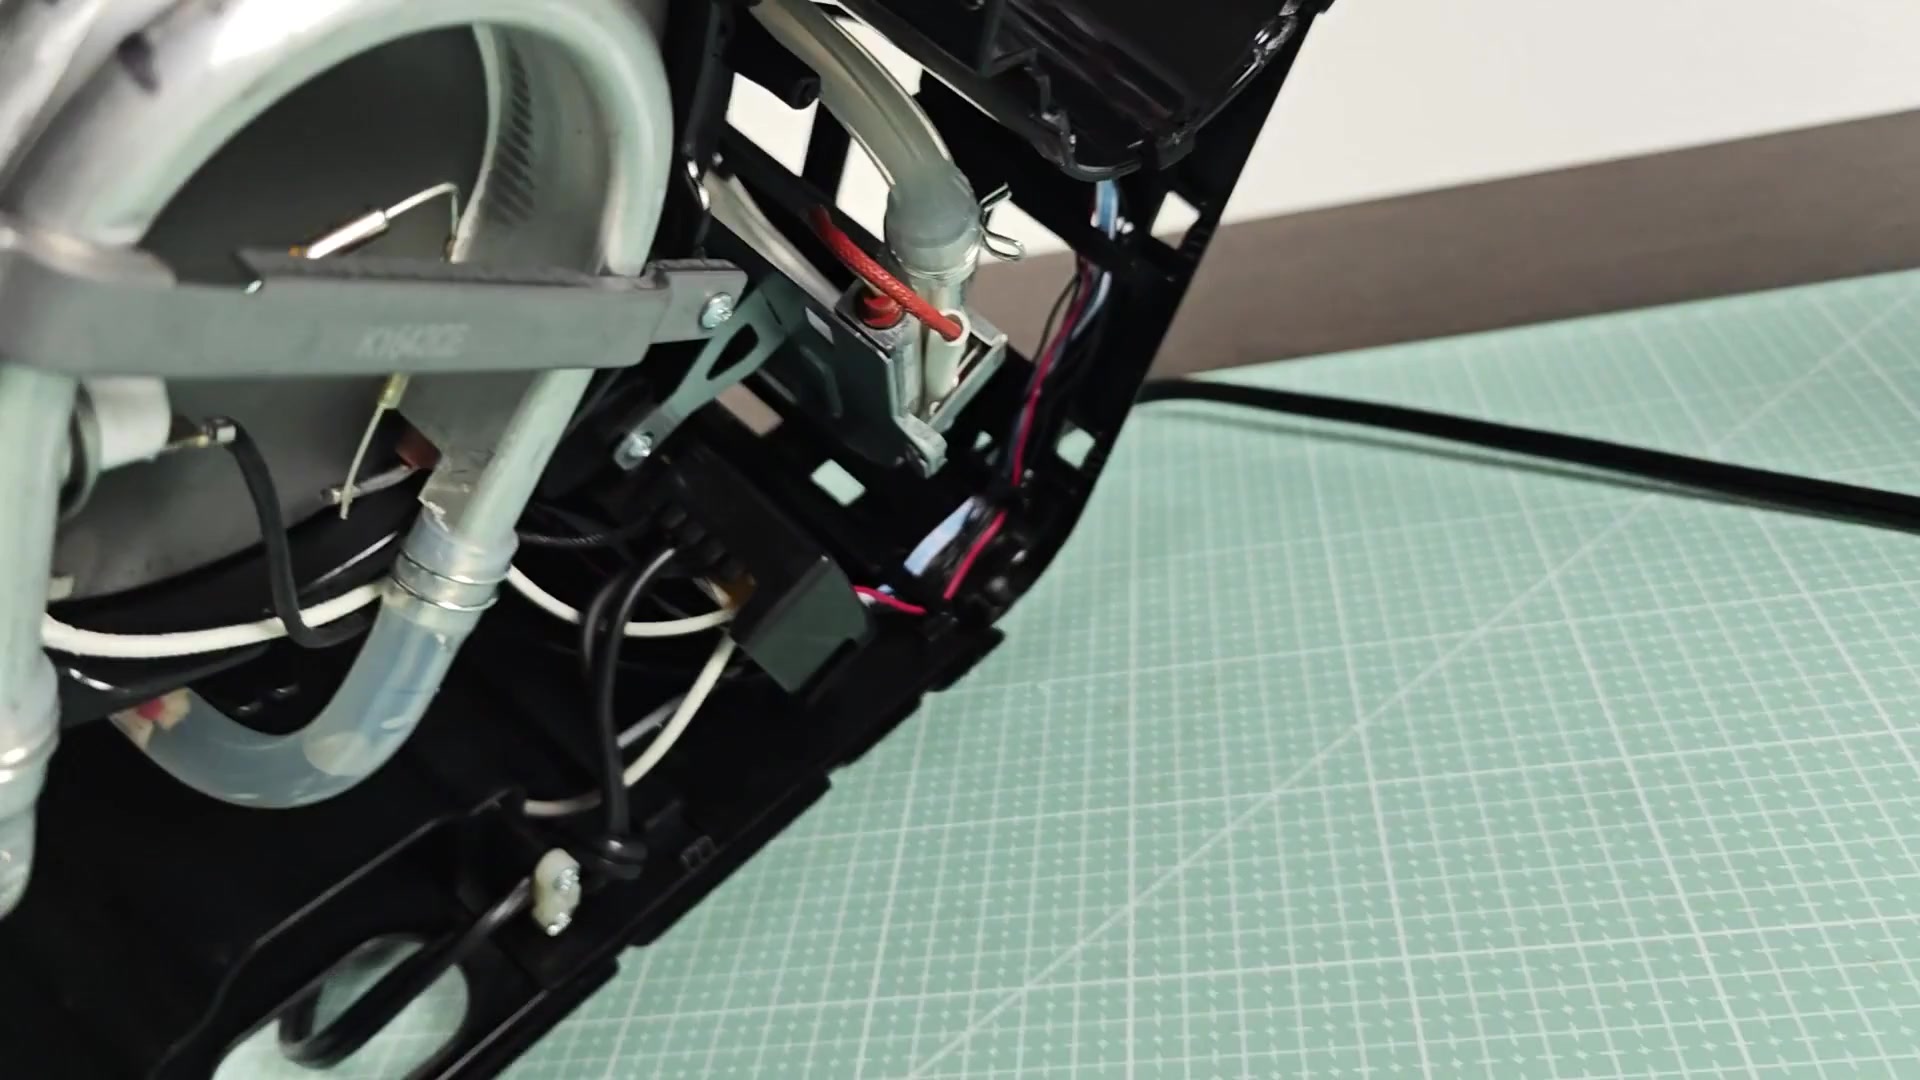
With the case securely on, your machine will be good as new. Brew yourself some coffee and feel confident in its internal condition after checking for signs of wear.