It’s not making any noise, it’s not making that telltale gurgle, it might not work anymore. You push the button and…nothing. The reservoir is filled. Easy fix? Maybe. Or maybe not so easy. Here are five place you’ll want to look in order to get your FlexBrew going again.
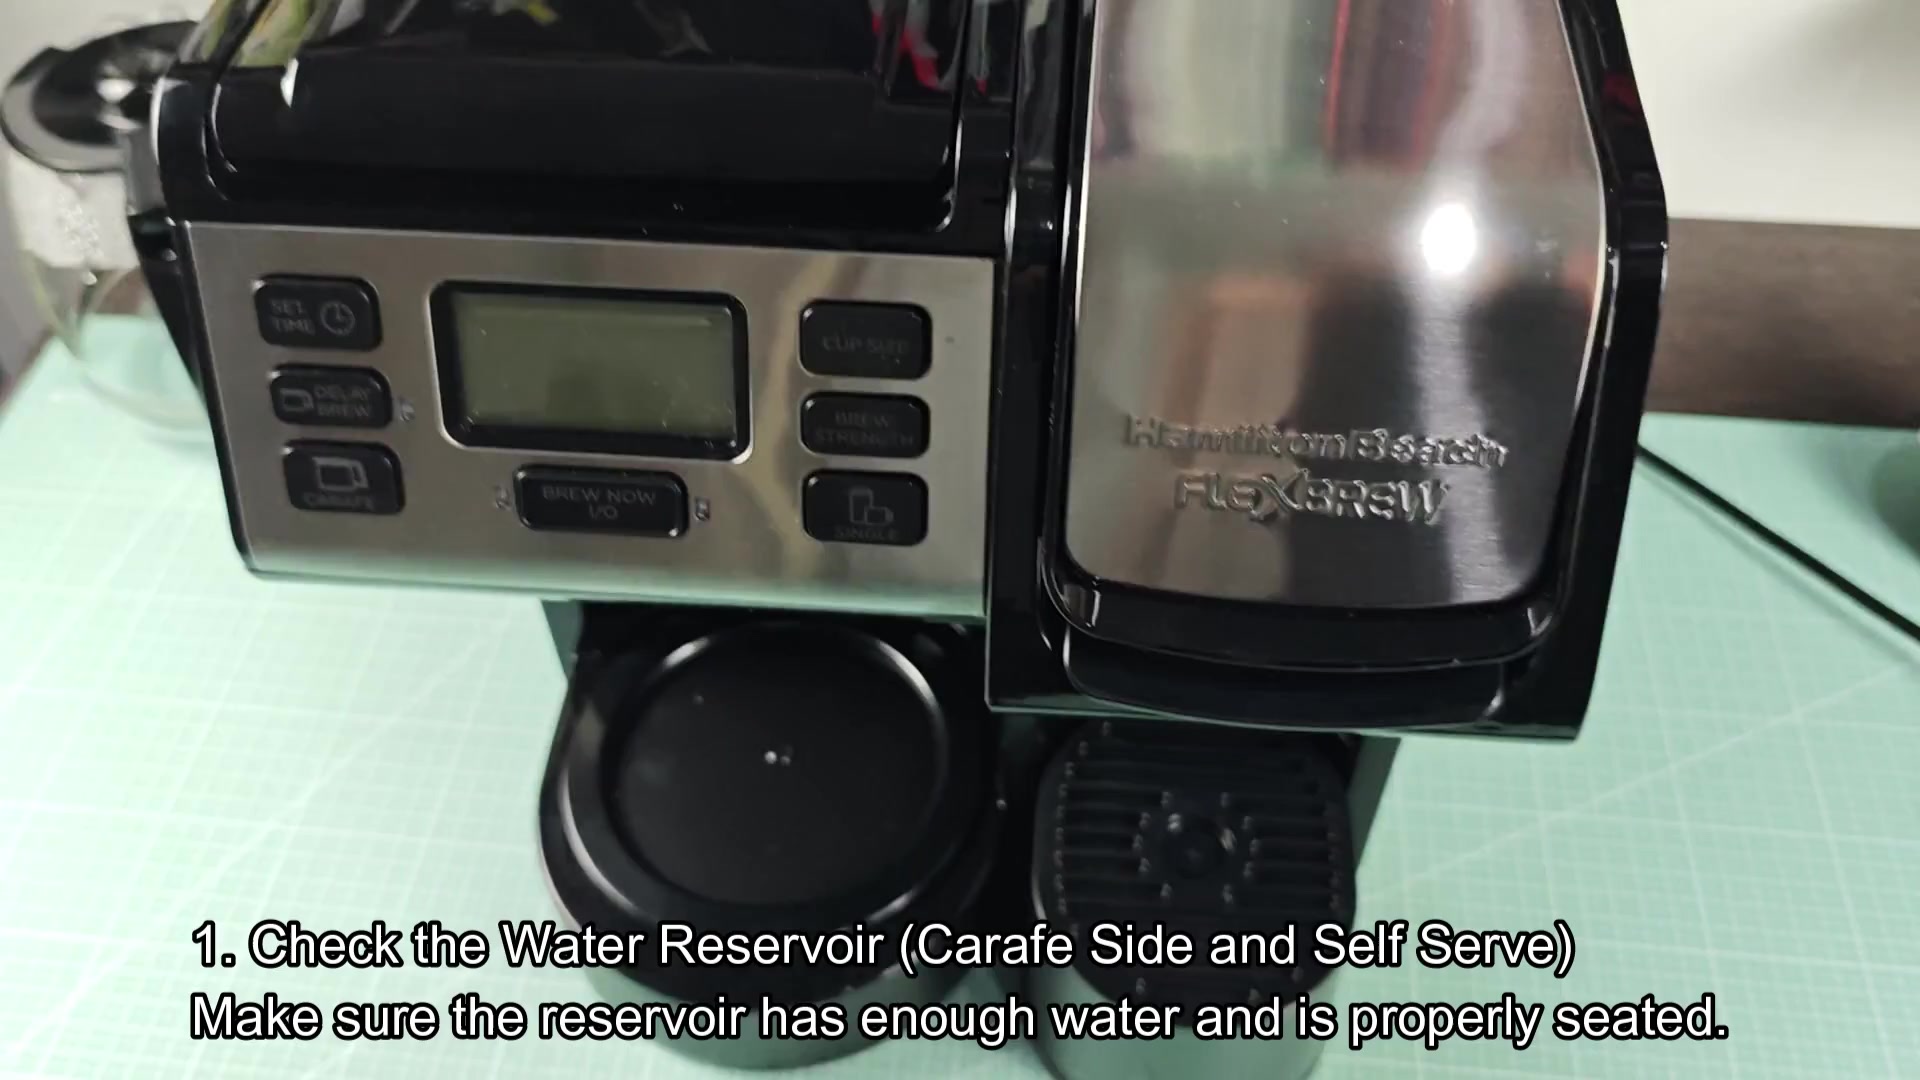
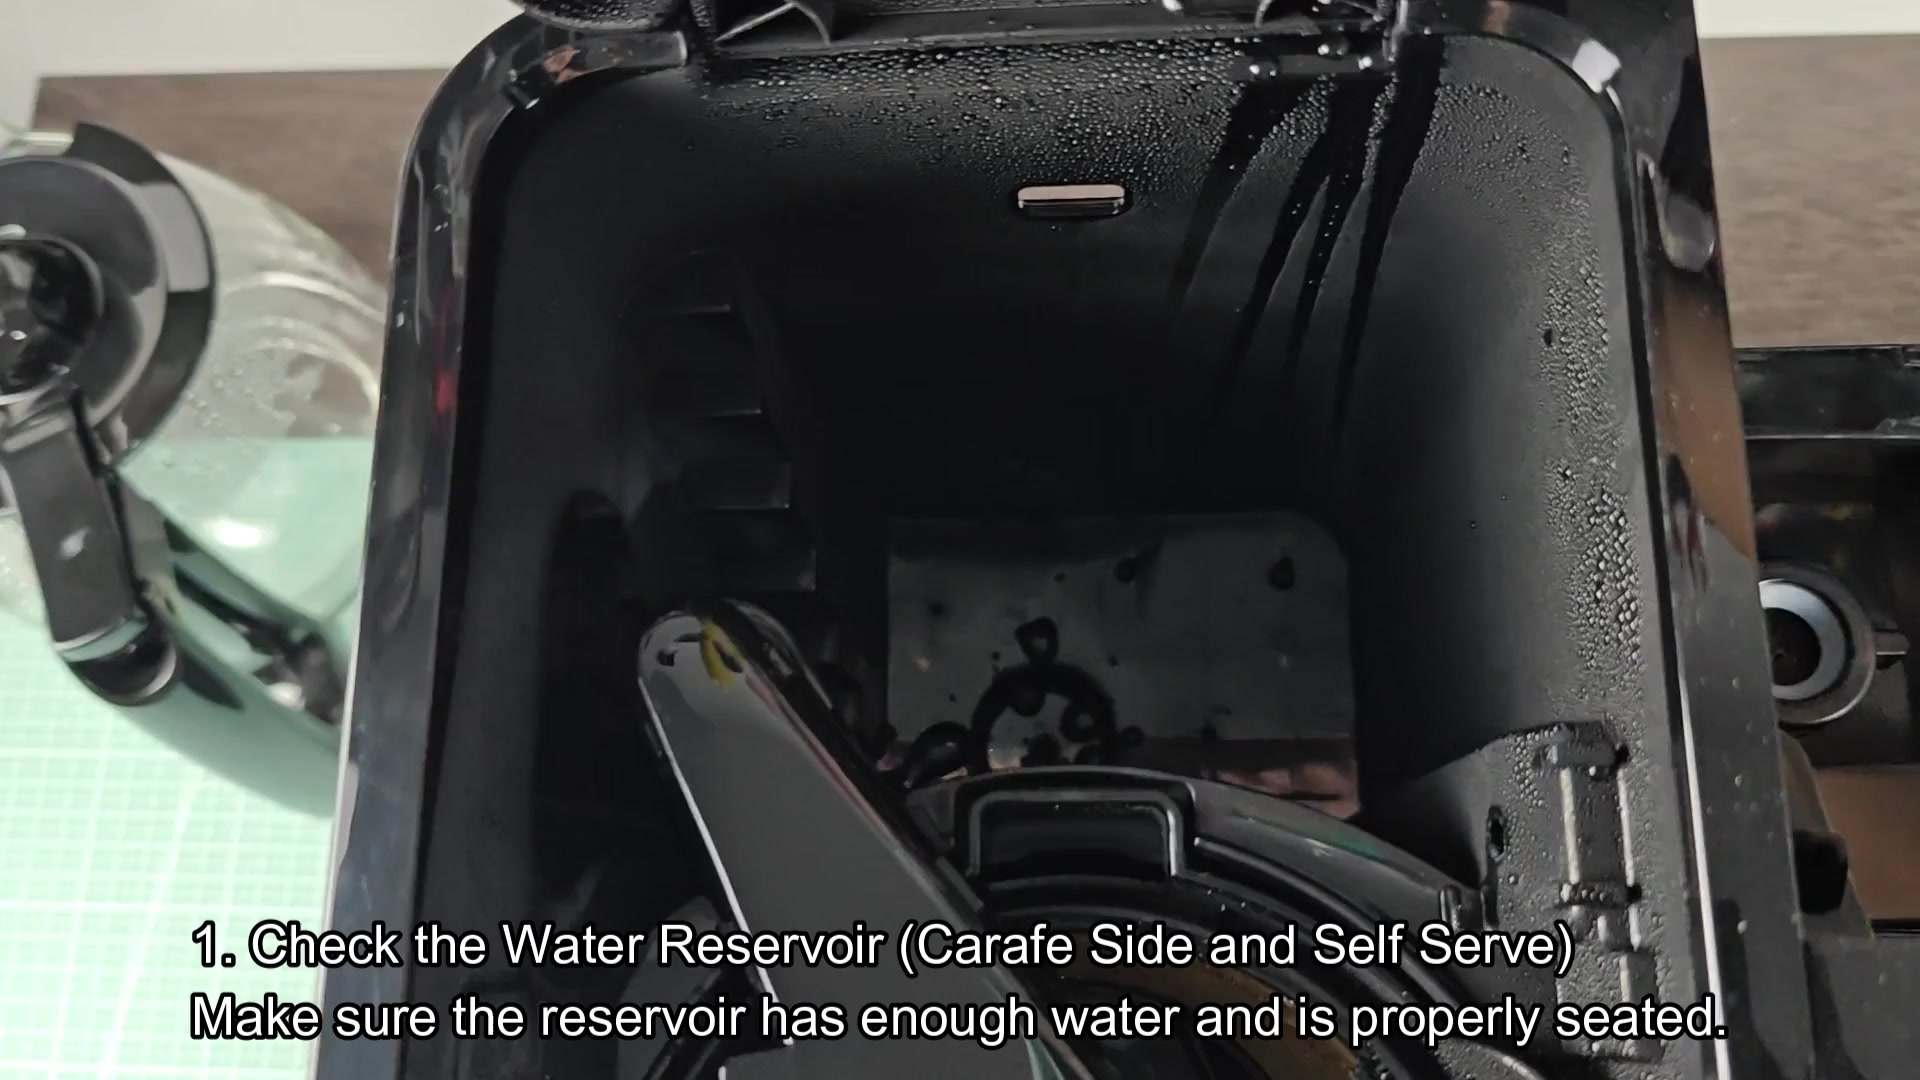
The first thing is the water level. Obvious I know but so easy to miss. From the side the reservoir may appear to be full. But what about that connection to the bottom? It is either air or water. Lift up the reservoir and firmly insert back into place. Make certain it clicks into place on each side. This applies to both the single-serve side and the carafe side. Either latch can becomes loose and thus break the seal.
Checking The Pump And Housing
Next, you check in the inside of the filter area. Sometimes stuff settles in there as well. You open up the basket and look into the round part where water flows downward. Water needs to flow freely through this area. If something blocks it off slightly, nothing will happen. You rinse it quickly. That clears things. After that first check, your water move better. That is good enough to move on to deeper problems.
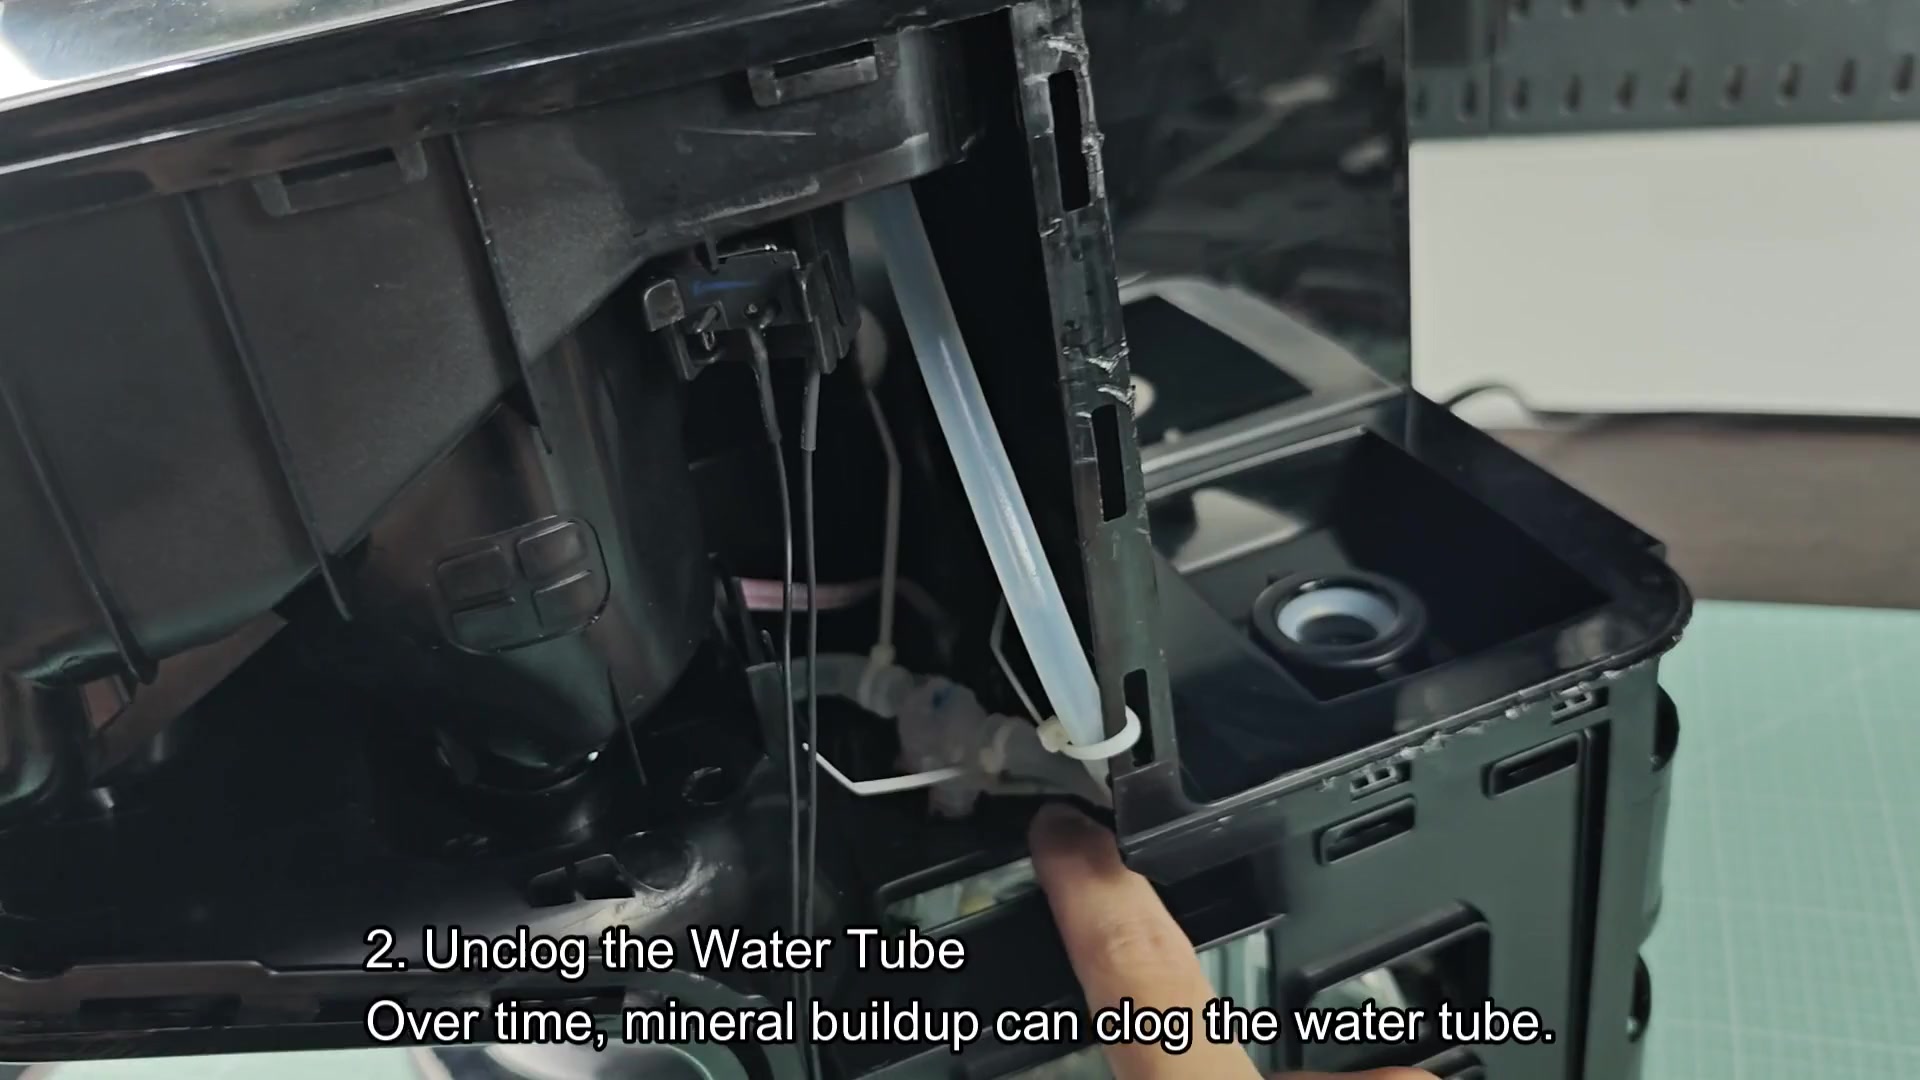
Then you move onto the interior tubing. Over time, mineral build up occurs. White residue builds within the clear tubing from hard water. This reduces the water path. And eventually closes it off entirely. See cloudiness within the lines. It made no sense why it worked before. Then you recall all that time on hard water. Clean tube by flushing vinegar through the system. The clear plastic tubing becomes clear again. Simple fix.
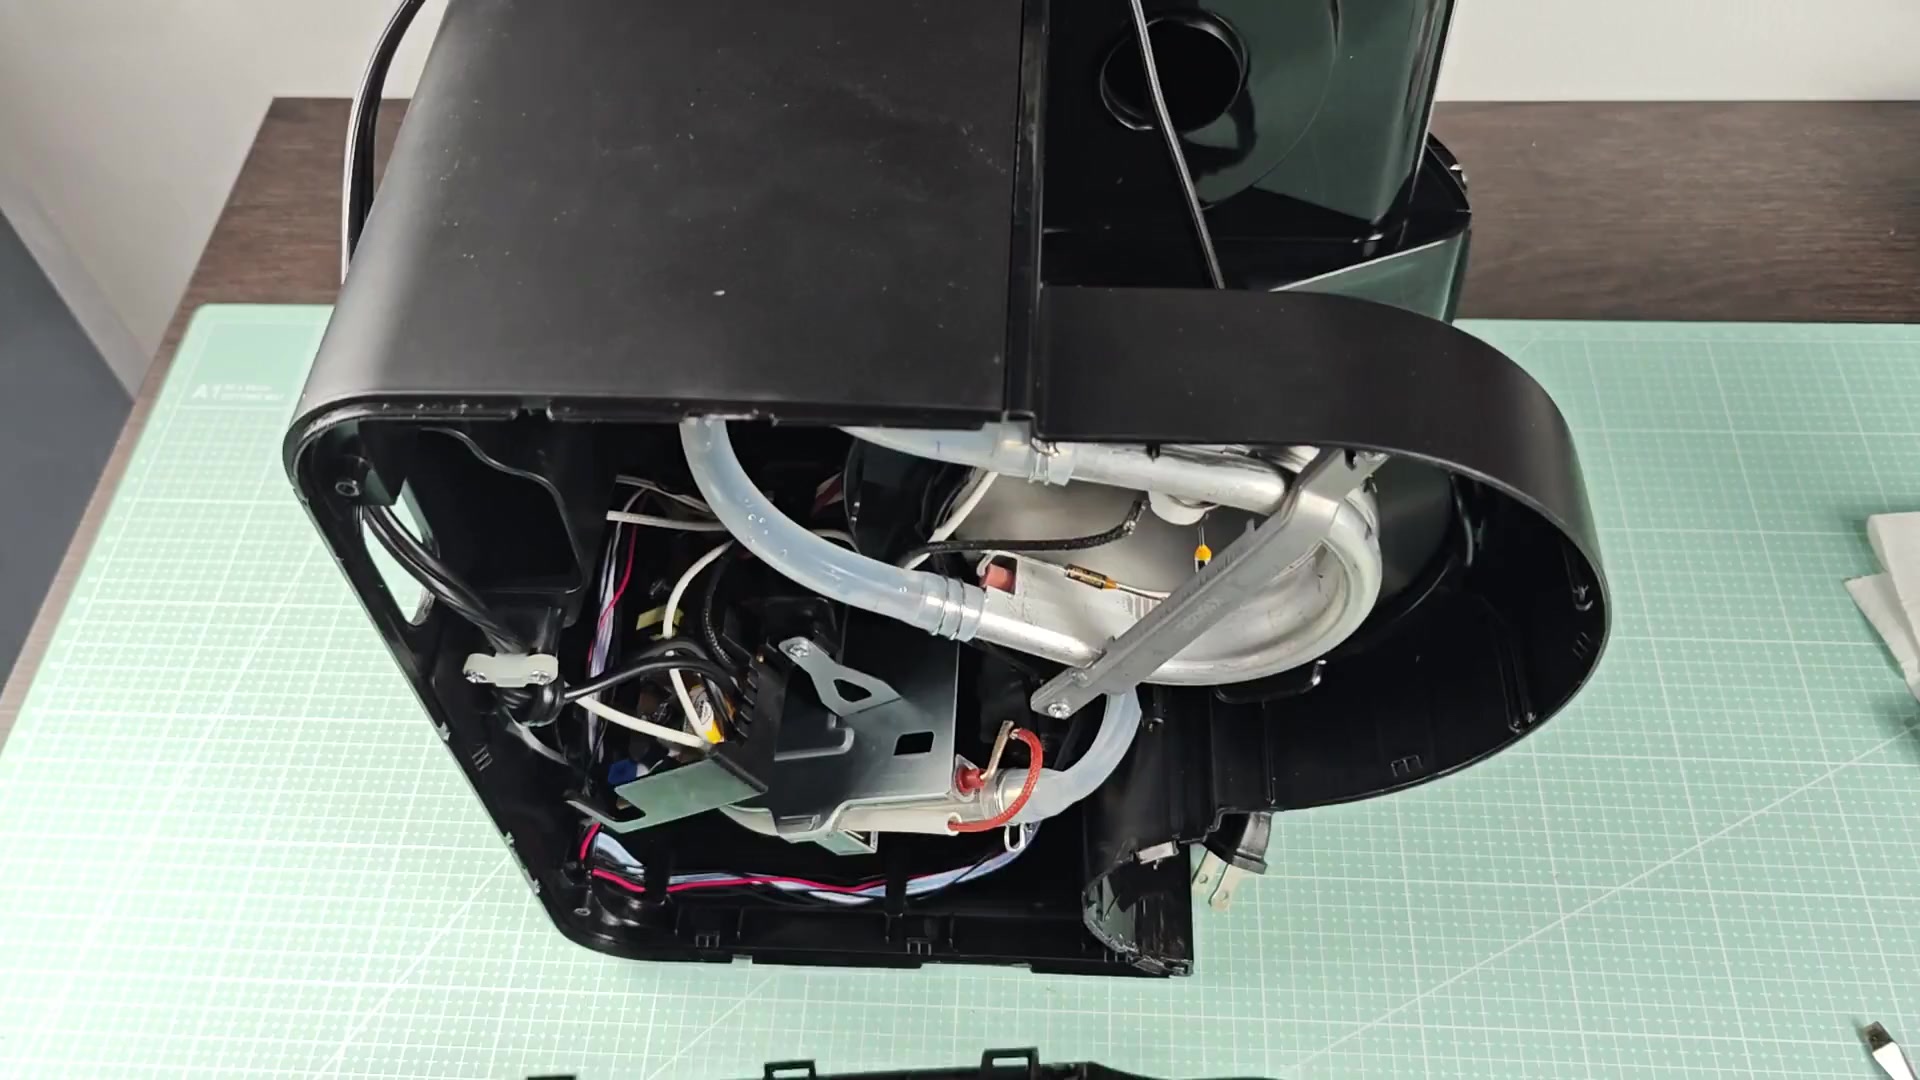
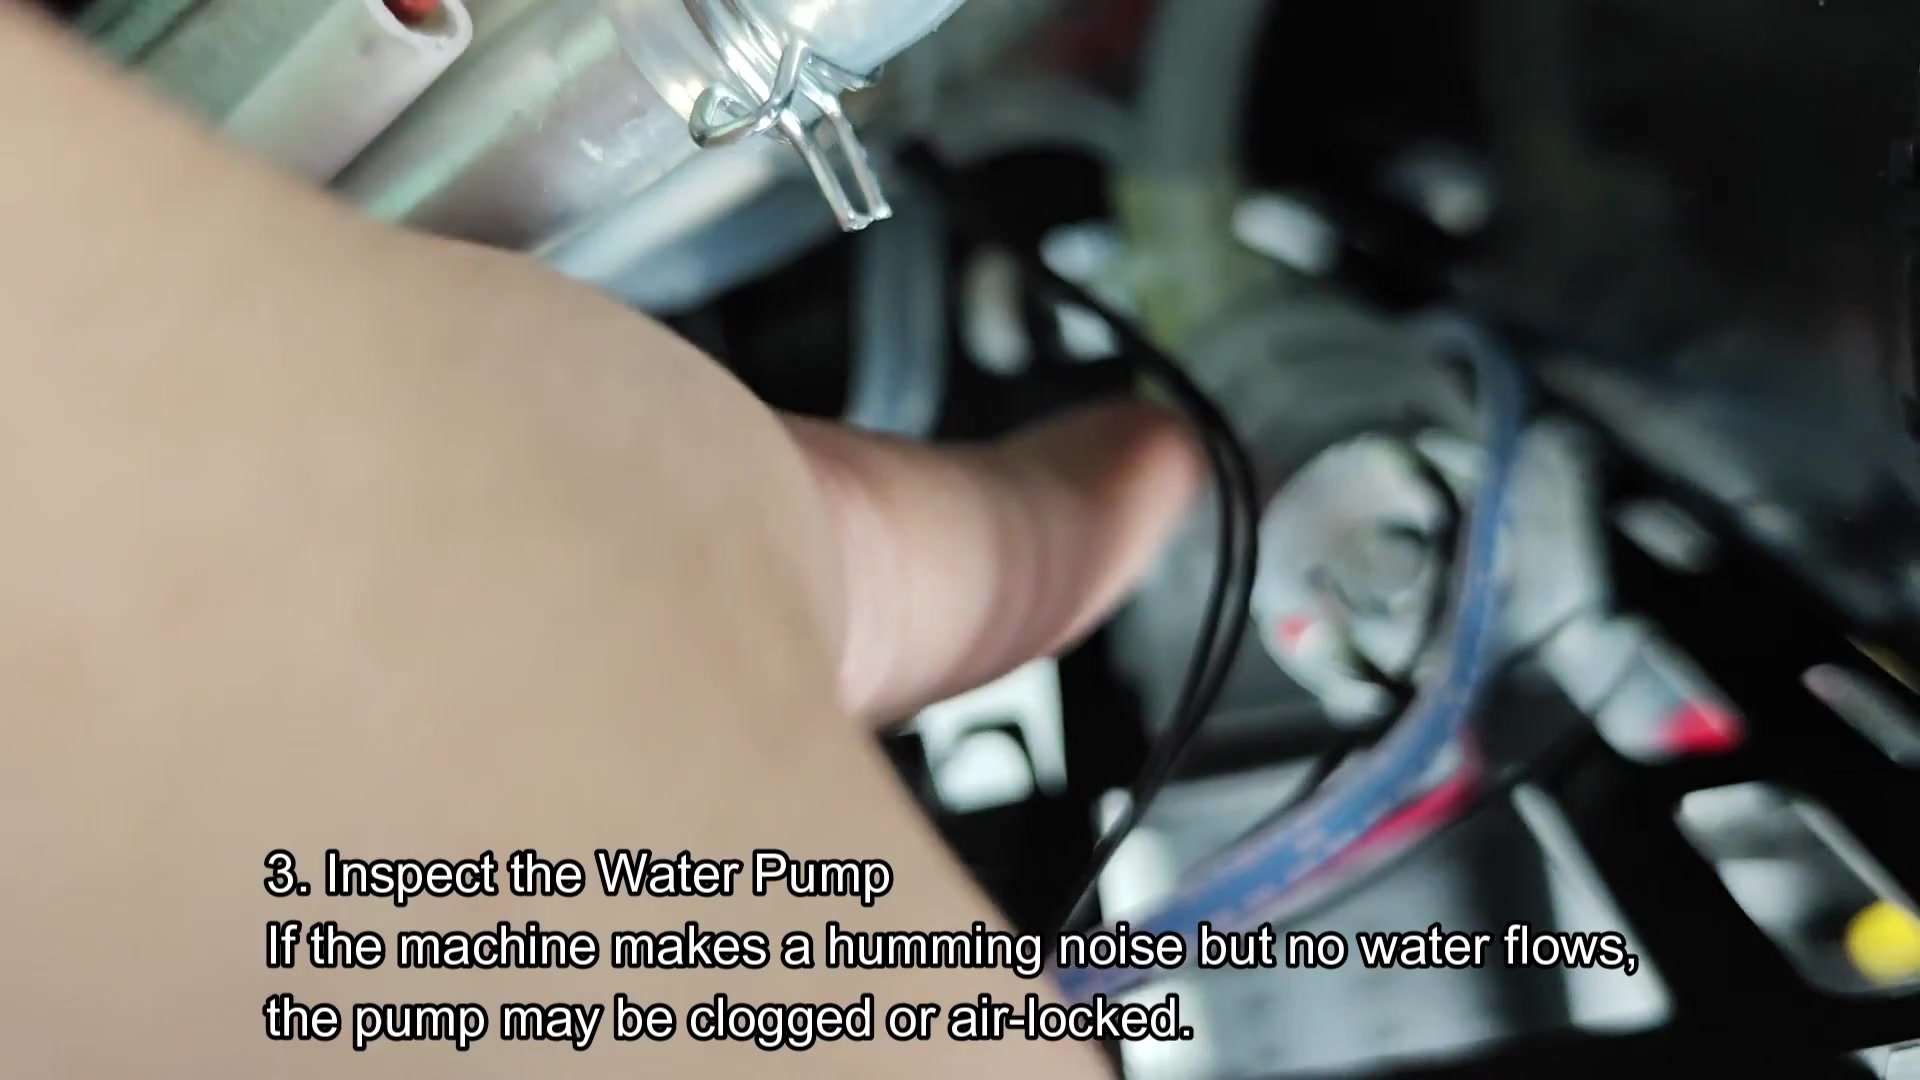
Could it be the pump? The pump pushes water through the system from the tank and into the heater. If you hear the pump humming but no water is moving, it isn’t working properly. It’s either clogged with sediment or perhaps it has become air-locked.
You push on the brew button and listen. You hear the low hum. Nothing flows. That means the pump is attempting to do its job but can’t seem to get going. Perhaps it requires repair? For you, a gentle tap dispels an air bubble. Back to life it goes.
Next you look at the pump housing area. Everything looks good, the components fit snugly together. Hoses and wires run straight into the motor. That’s where a loose connection would stop pressure build up. Look for any visible cracks in the hose connections. There aren’t. However there’s still the intermittent humming noise. Annoying. After the flush you decide not to mess with it anymore. If it doesn’t stop it will have to go.
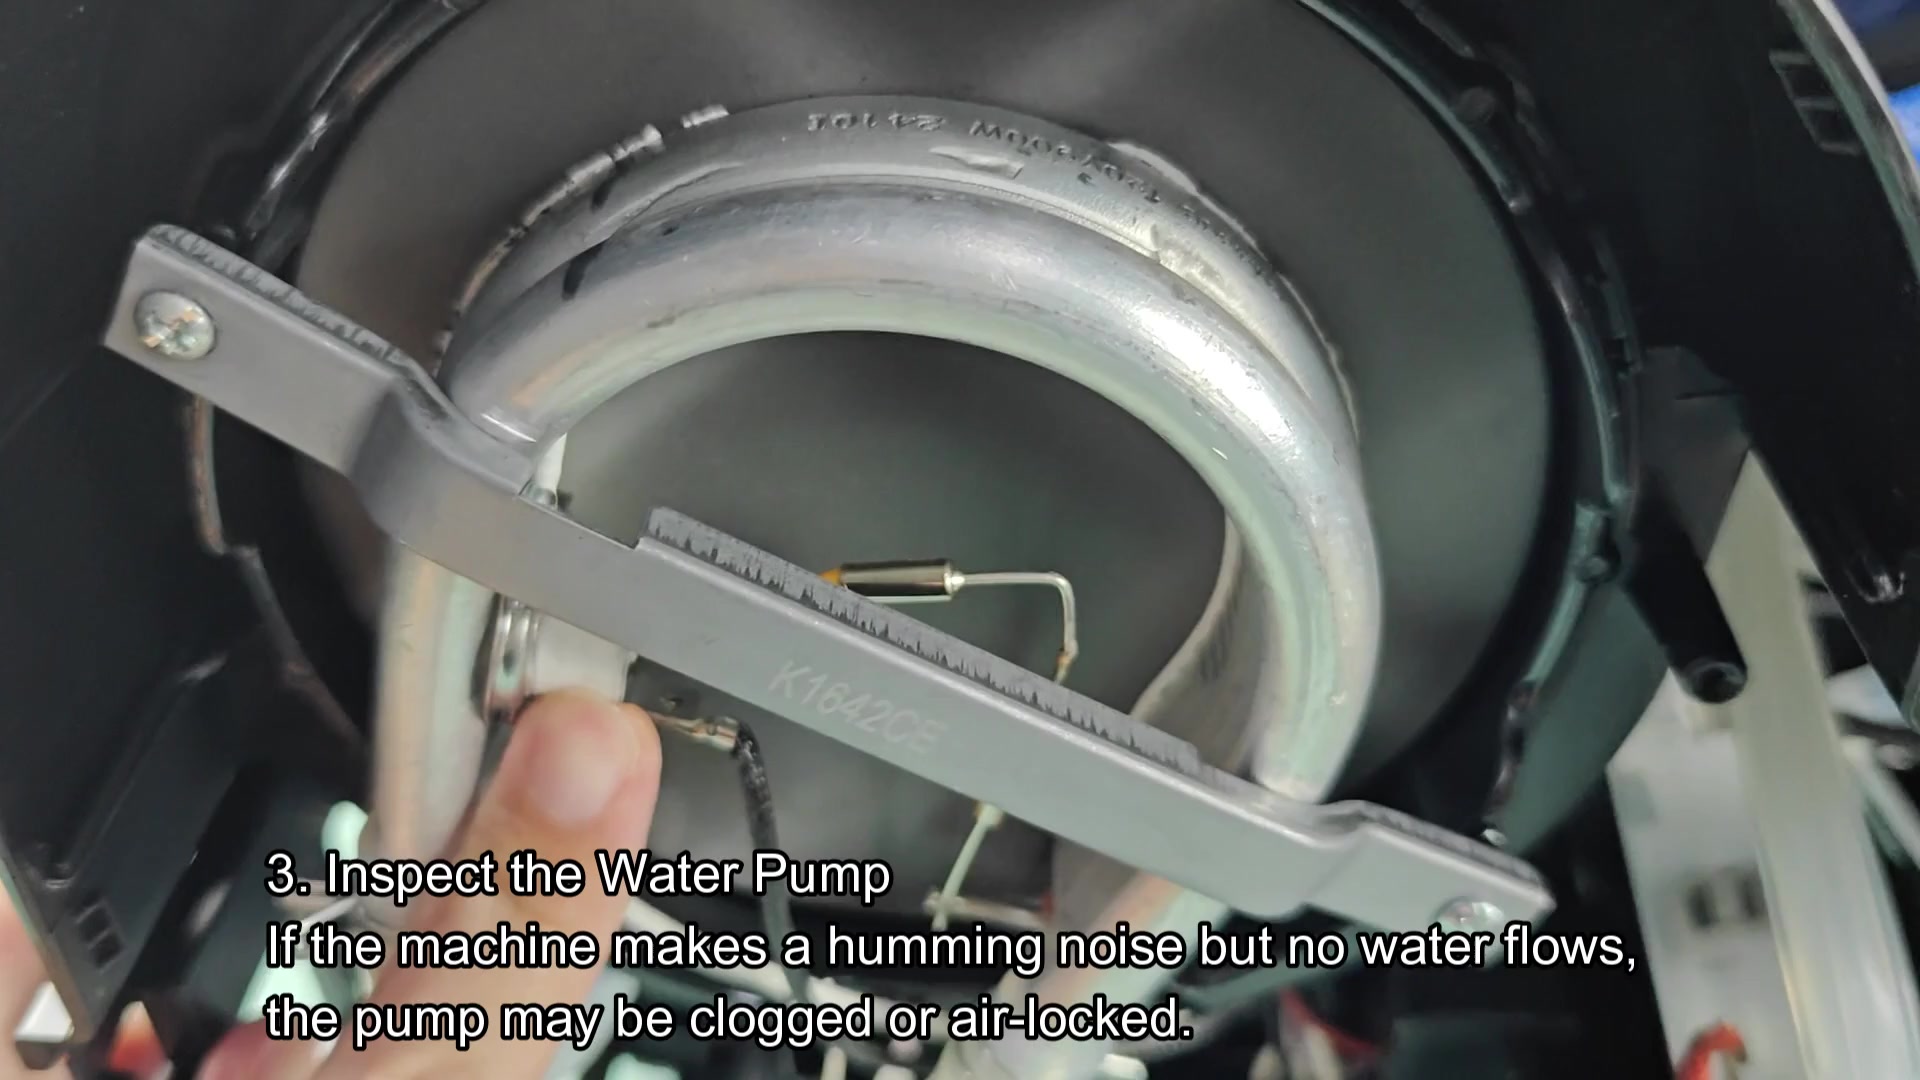
A metal bracket holds the pump in place behind it. Bracket keeps all secured in place. Over time vibrations can cause things to come loose. That is a round piece of metal next to the heating element. That’s what you’re looking at.
There are no apparent signs of damage. Wires are still intact. You keep an ear out for another day. After the clean up it remains quiet. It is good enough.
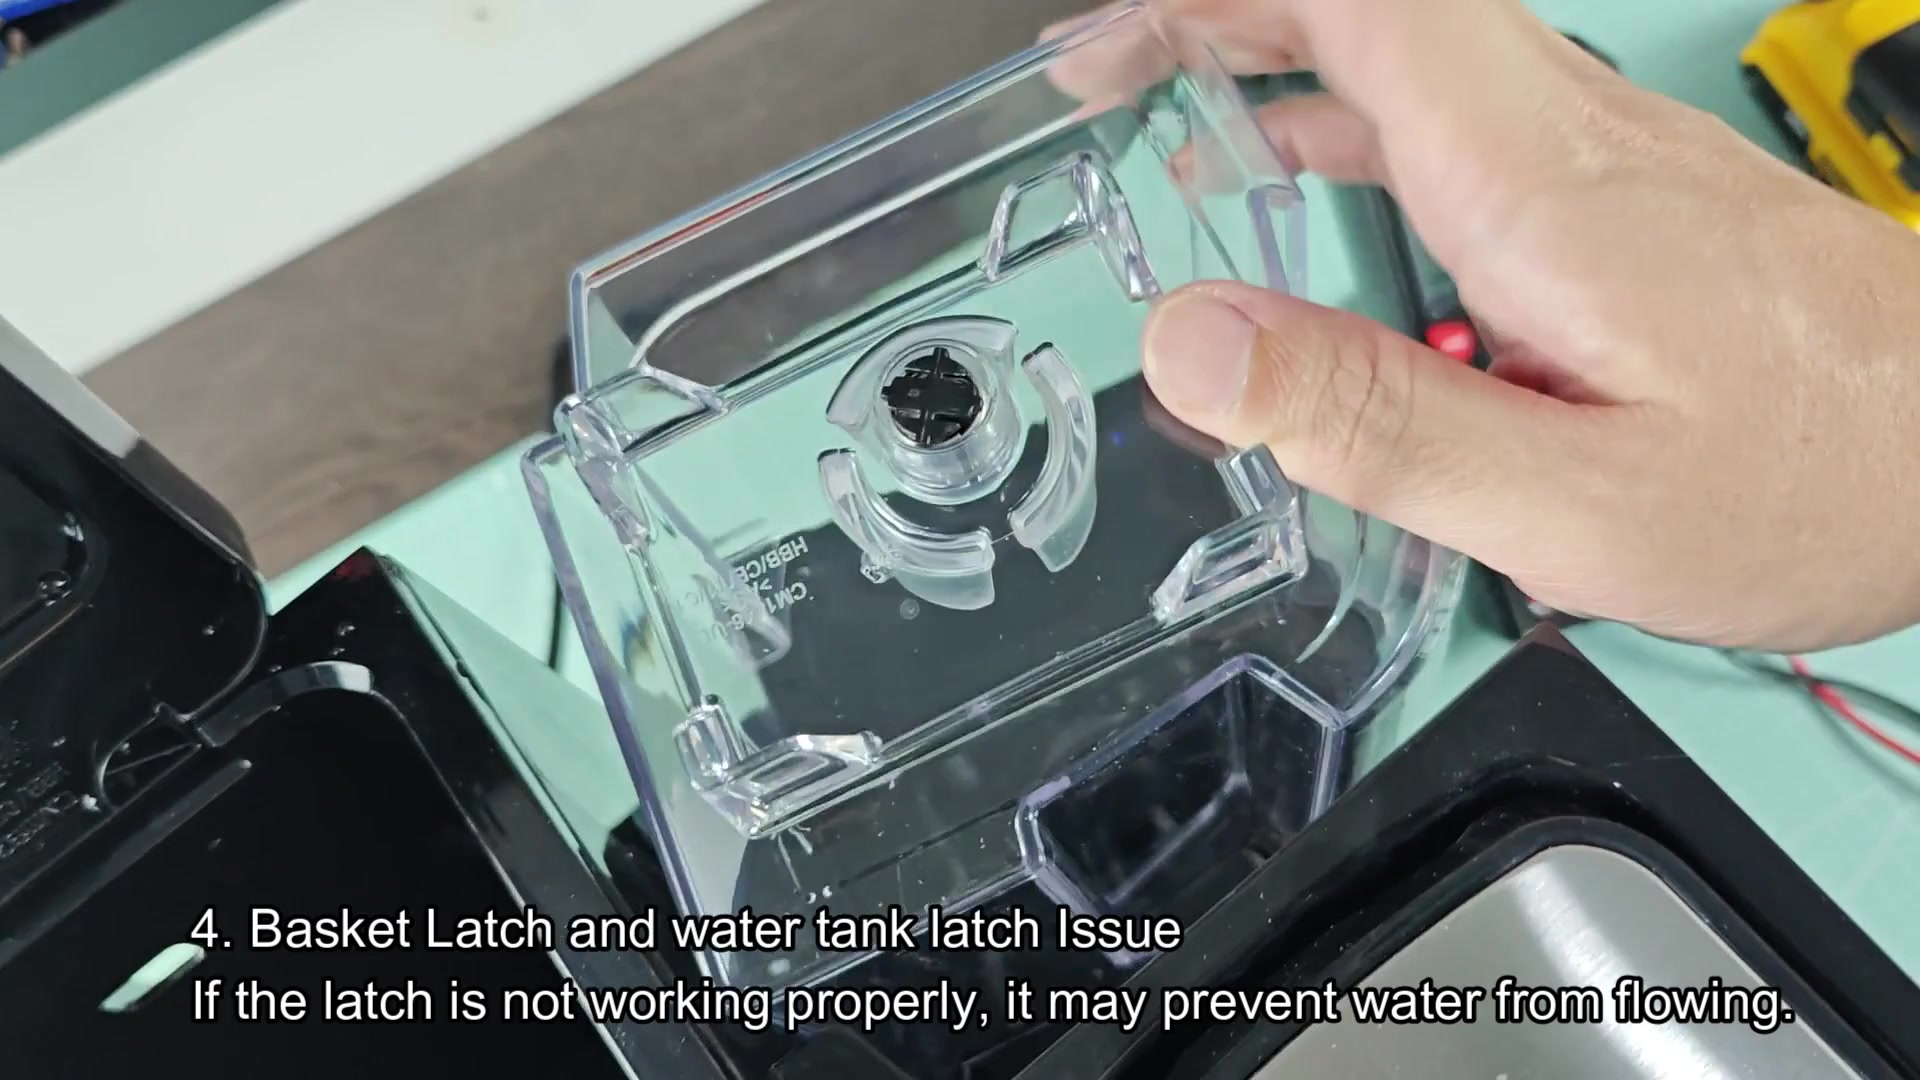
The larger issue involves the latches. The water tank latch and the basket latch are safety switches. When they don’t engage, the machine cuts power to the pump. Why? This prevents the heater from burning out without water. Both latches is checked physically. First, the basket latch is stiff. Second, it doesn’t close with a sharp click. That’s why there is no proper electrical contact. The circuit was open so no water would flow.
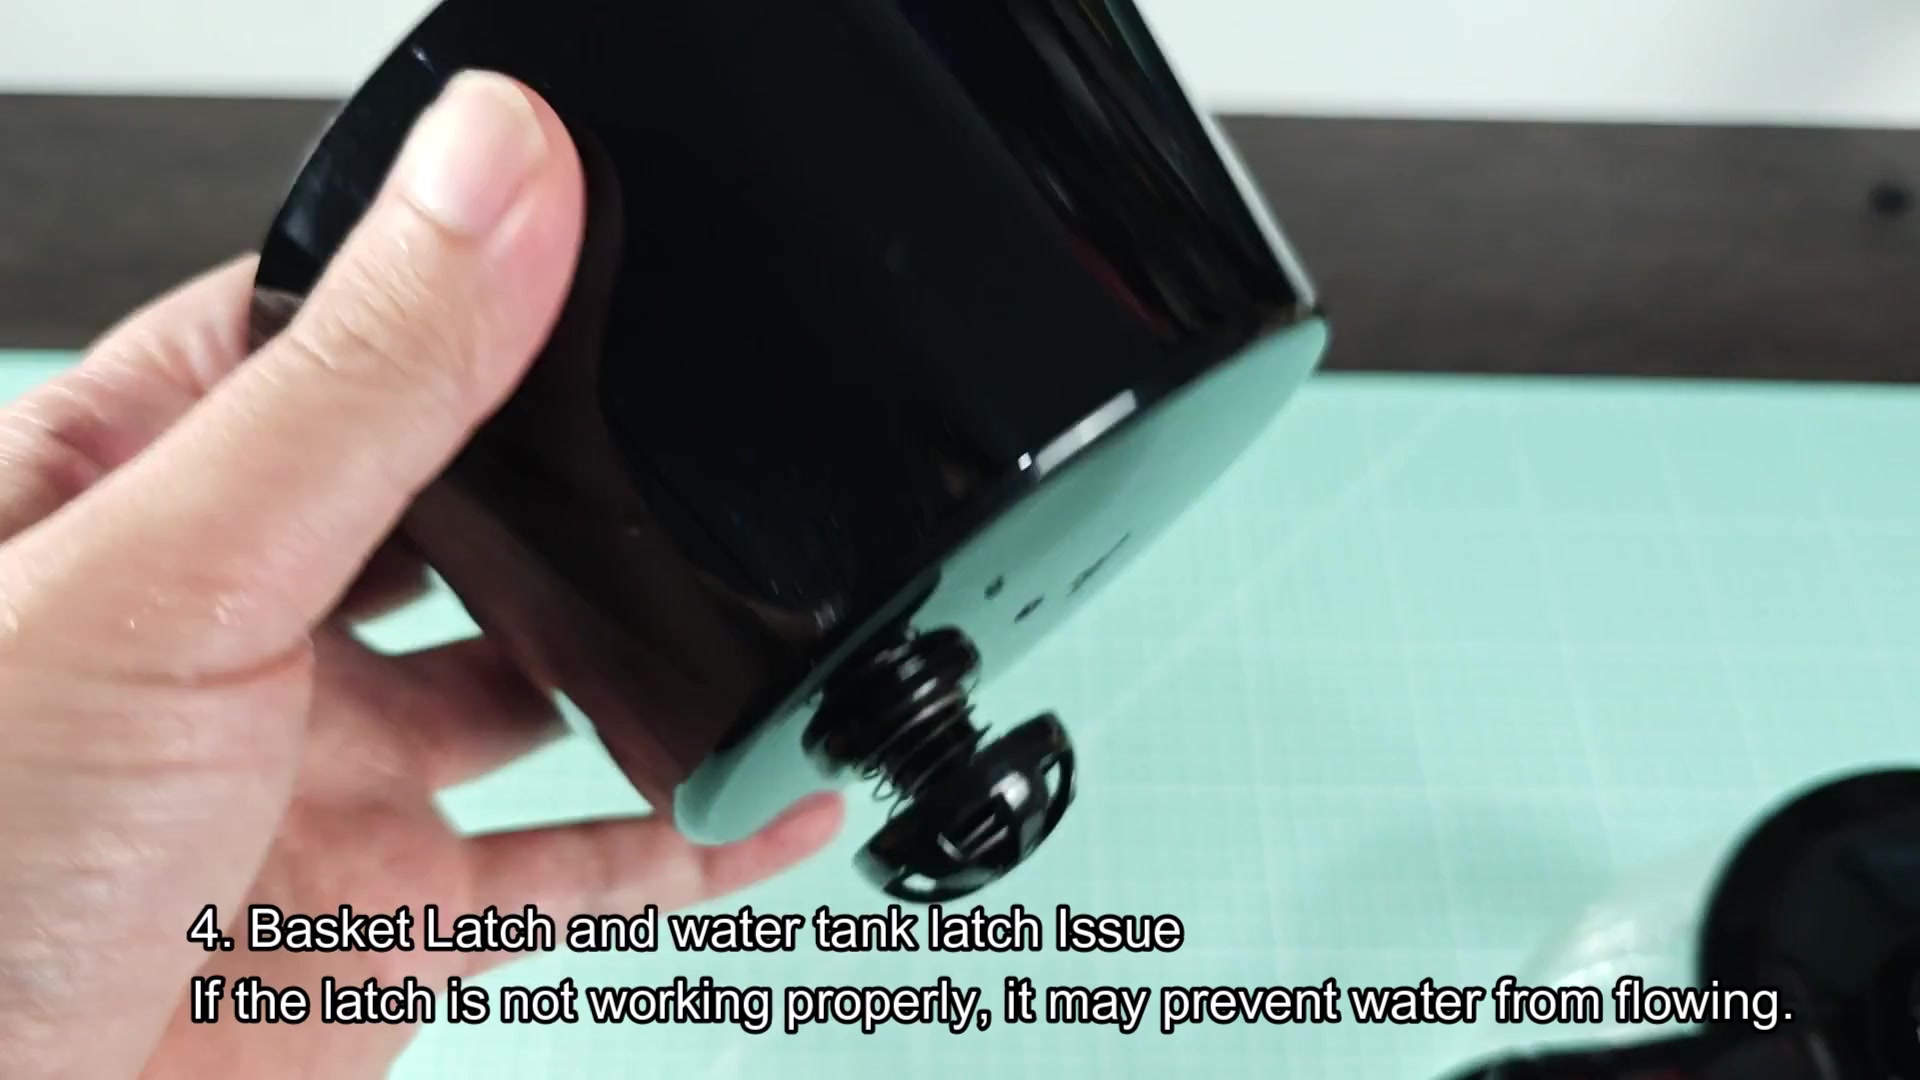
Okay, you look at the bottom of the water tank. It has a round valve in the middle. When the tank seats properly, that valve opens up. But it’s held closed by the latch above pushing on it. No water goes into the system. So you pull down on the spring loaded outlet yourself. Out comes the water streaming. Yes! Now you know the tube wasn’t clogged. The problem was entirely how the parts fit together.
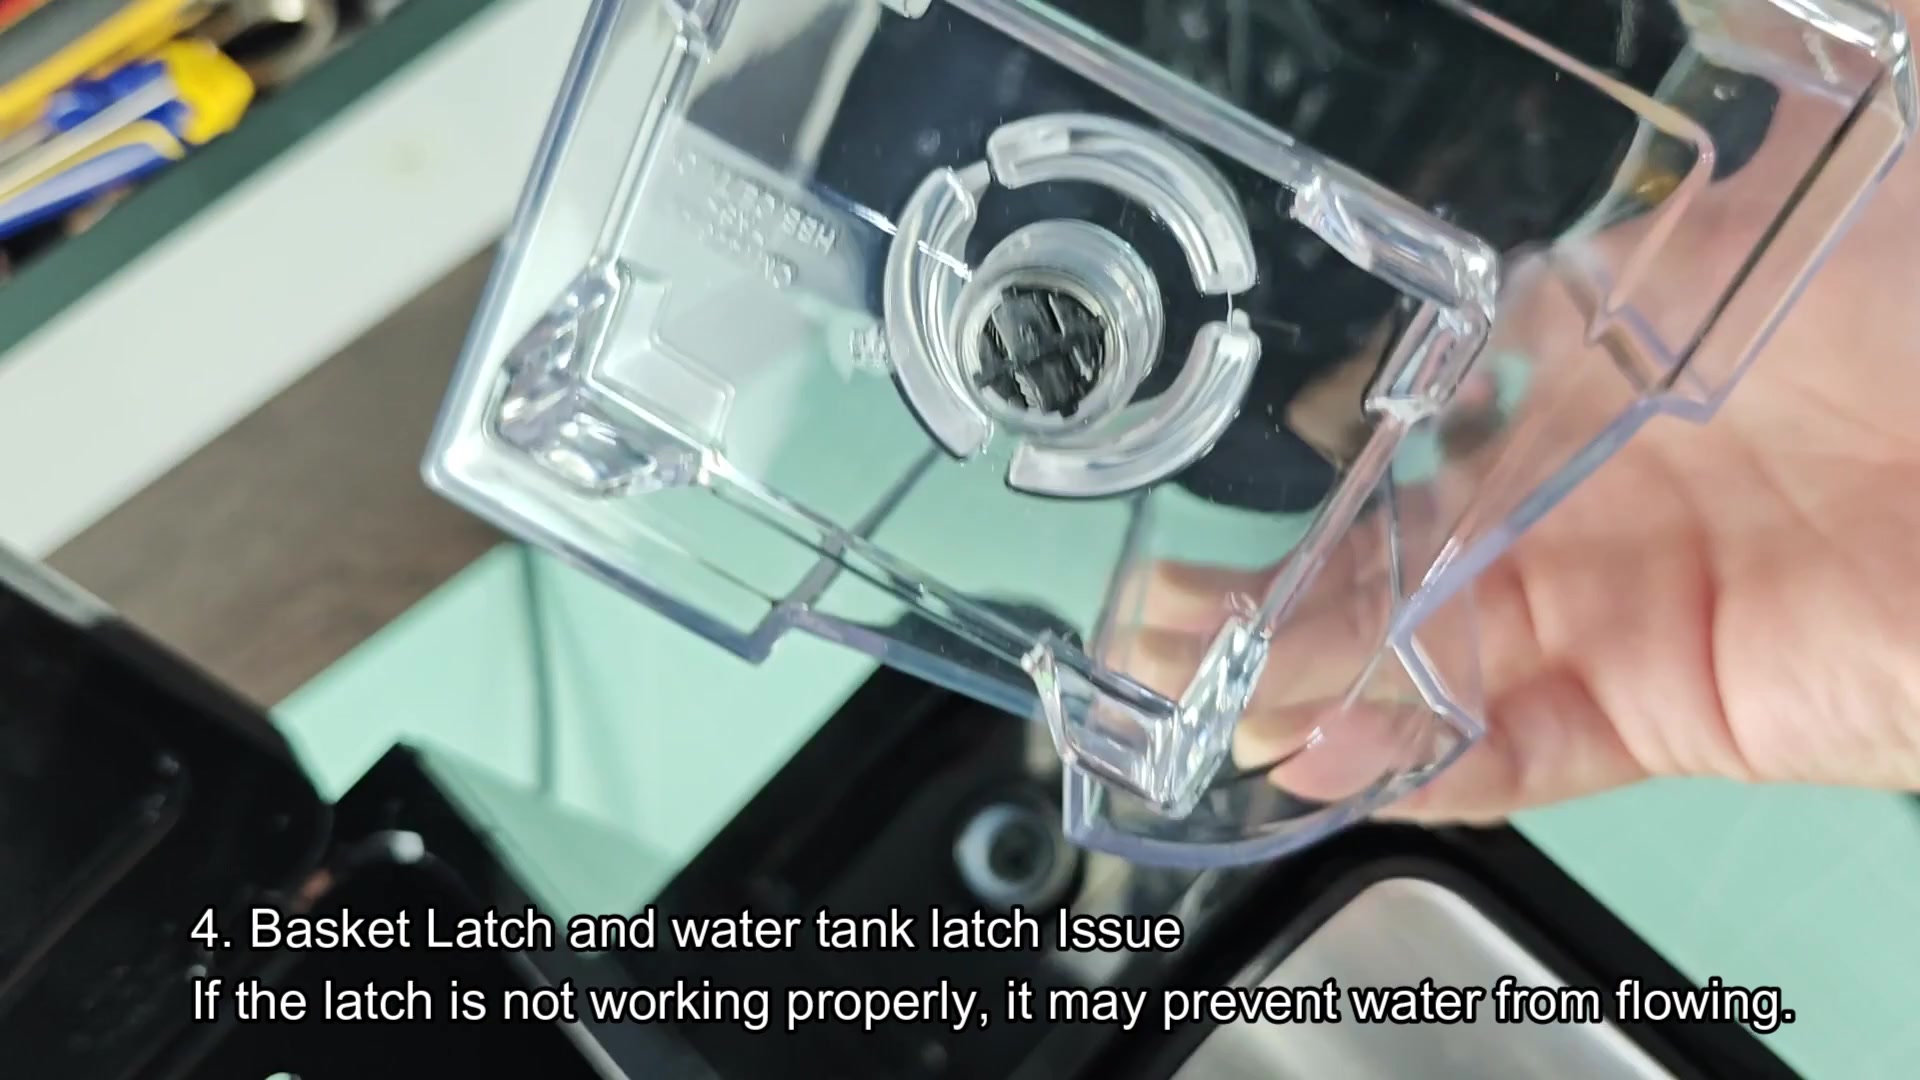
Clarity comes from manual testing of the valve. The pump is good. The tubes are clear. The latch mechanism is broken. Wiggle tank around until it seats further down in latch. Listen for a sharp click. Machine knows there is now water inside. It immediately begins brewing. It is a simple mechanical failure. It is a classic blunder.
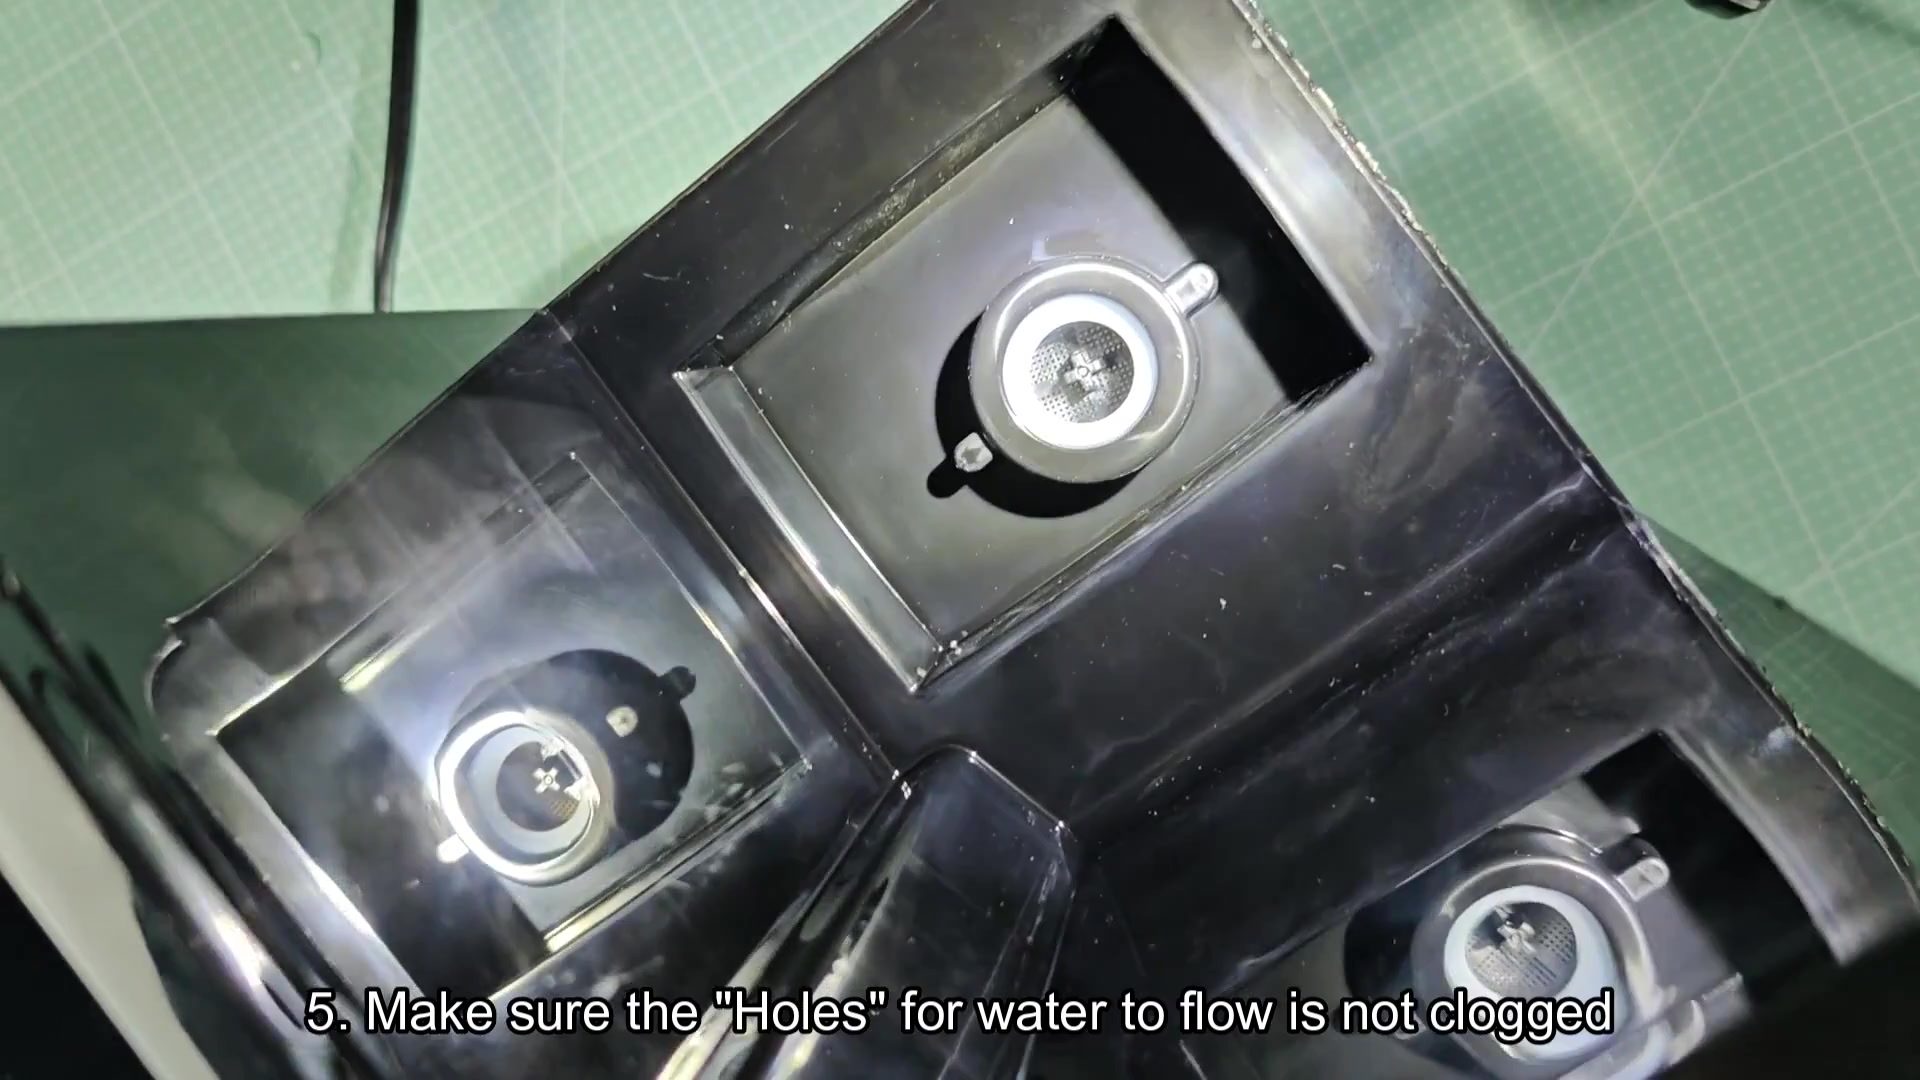
And now you inspect the tiny holes on the underside of the reservoir. Those are water intakes. They’re very small and collect minerals and the oil from your coffee. You return to the bottom of the tank. There’s multiple round intake ports. Several of them have a black gunk surrounding them. It prevents the water from flowing into the main tube. With a pin, you poke out all the holes. They were almost completely closed.
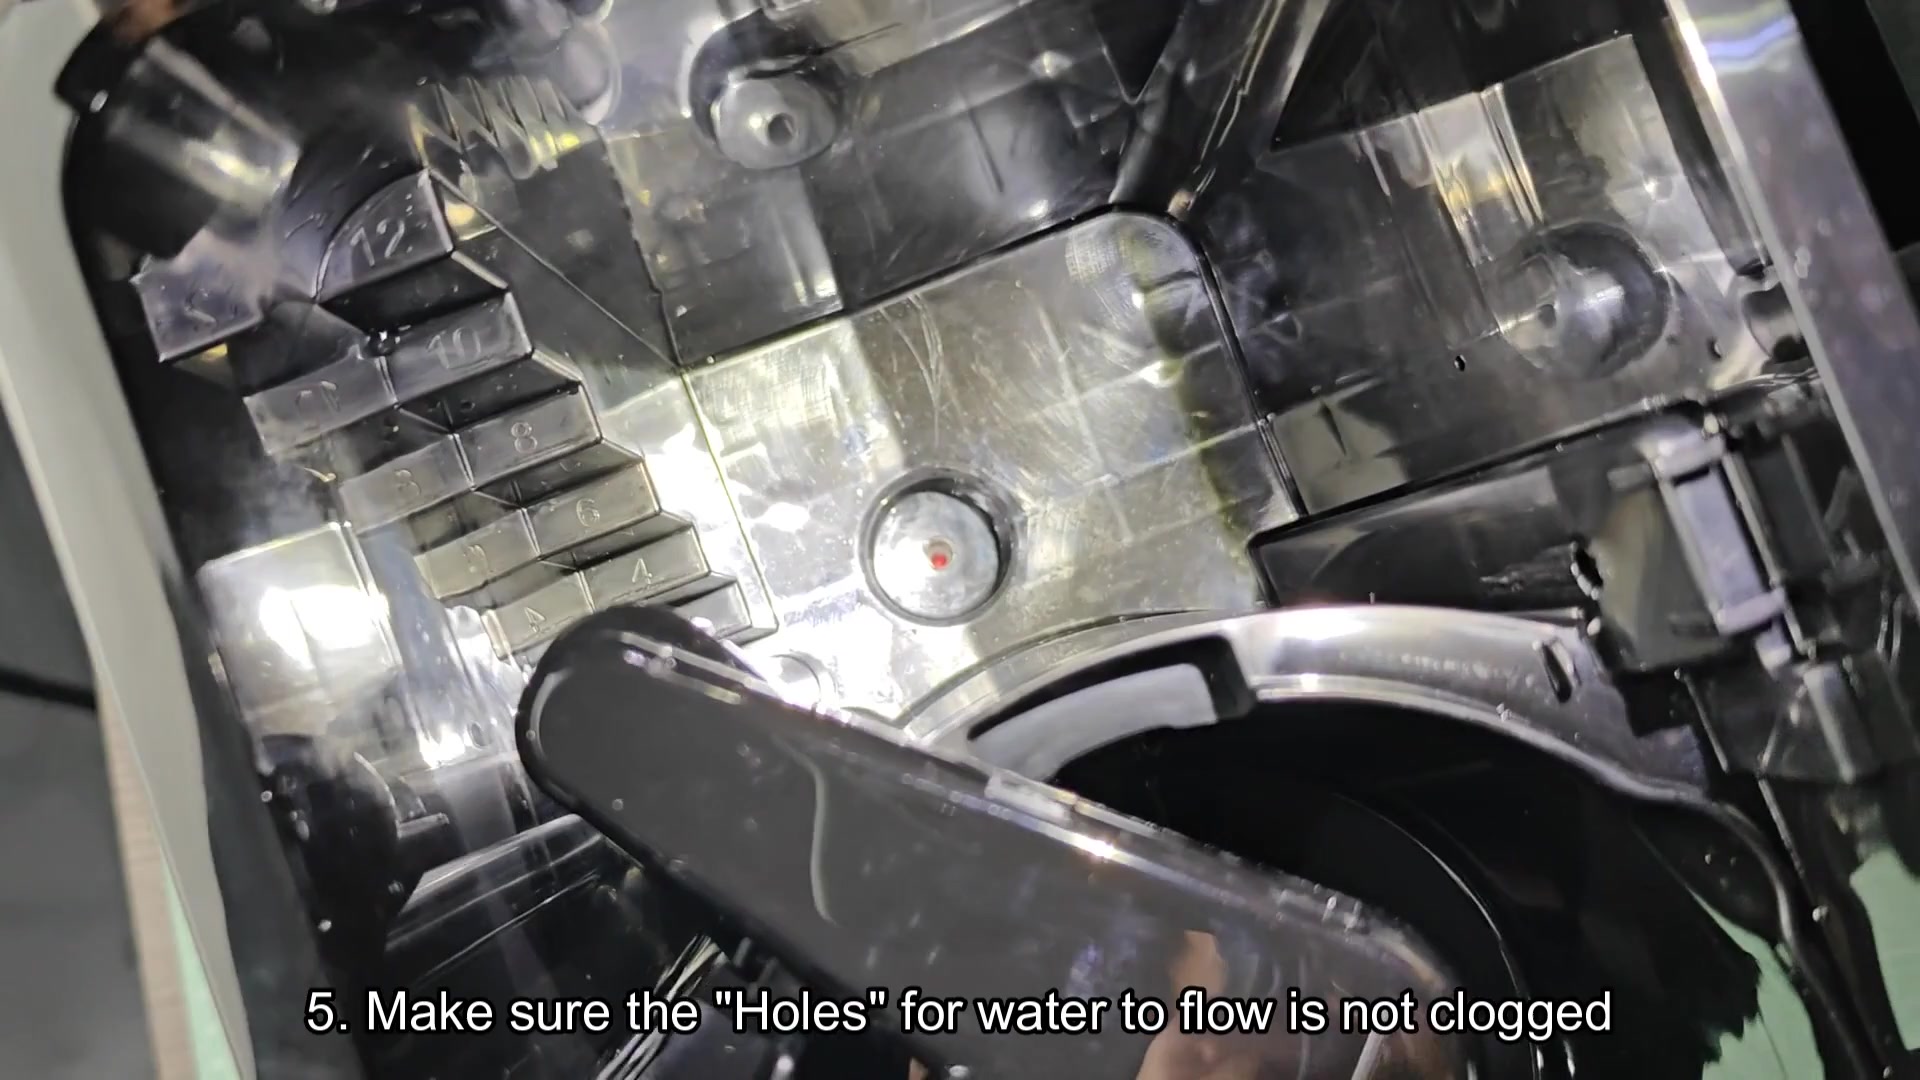
All that remained to be seen was one totally clogged up port. It was a small gunk crater. Took some effort to clear out. The plastic housing around it was worn down a bit. Once open though, all systems were go again. Water could now freely flow through to the pump intake. That was the final straw for the sluggish action.
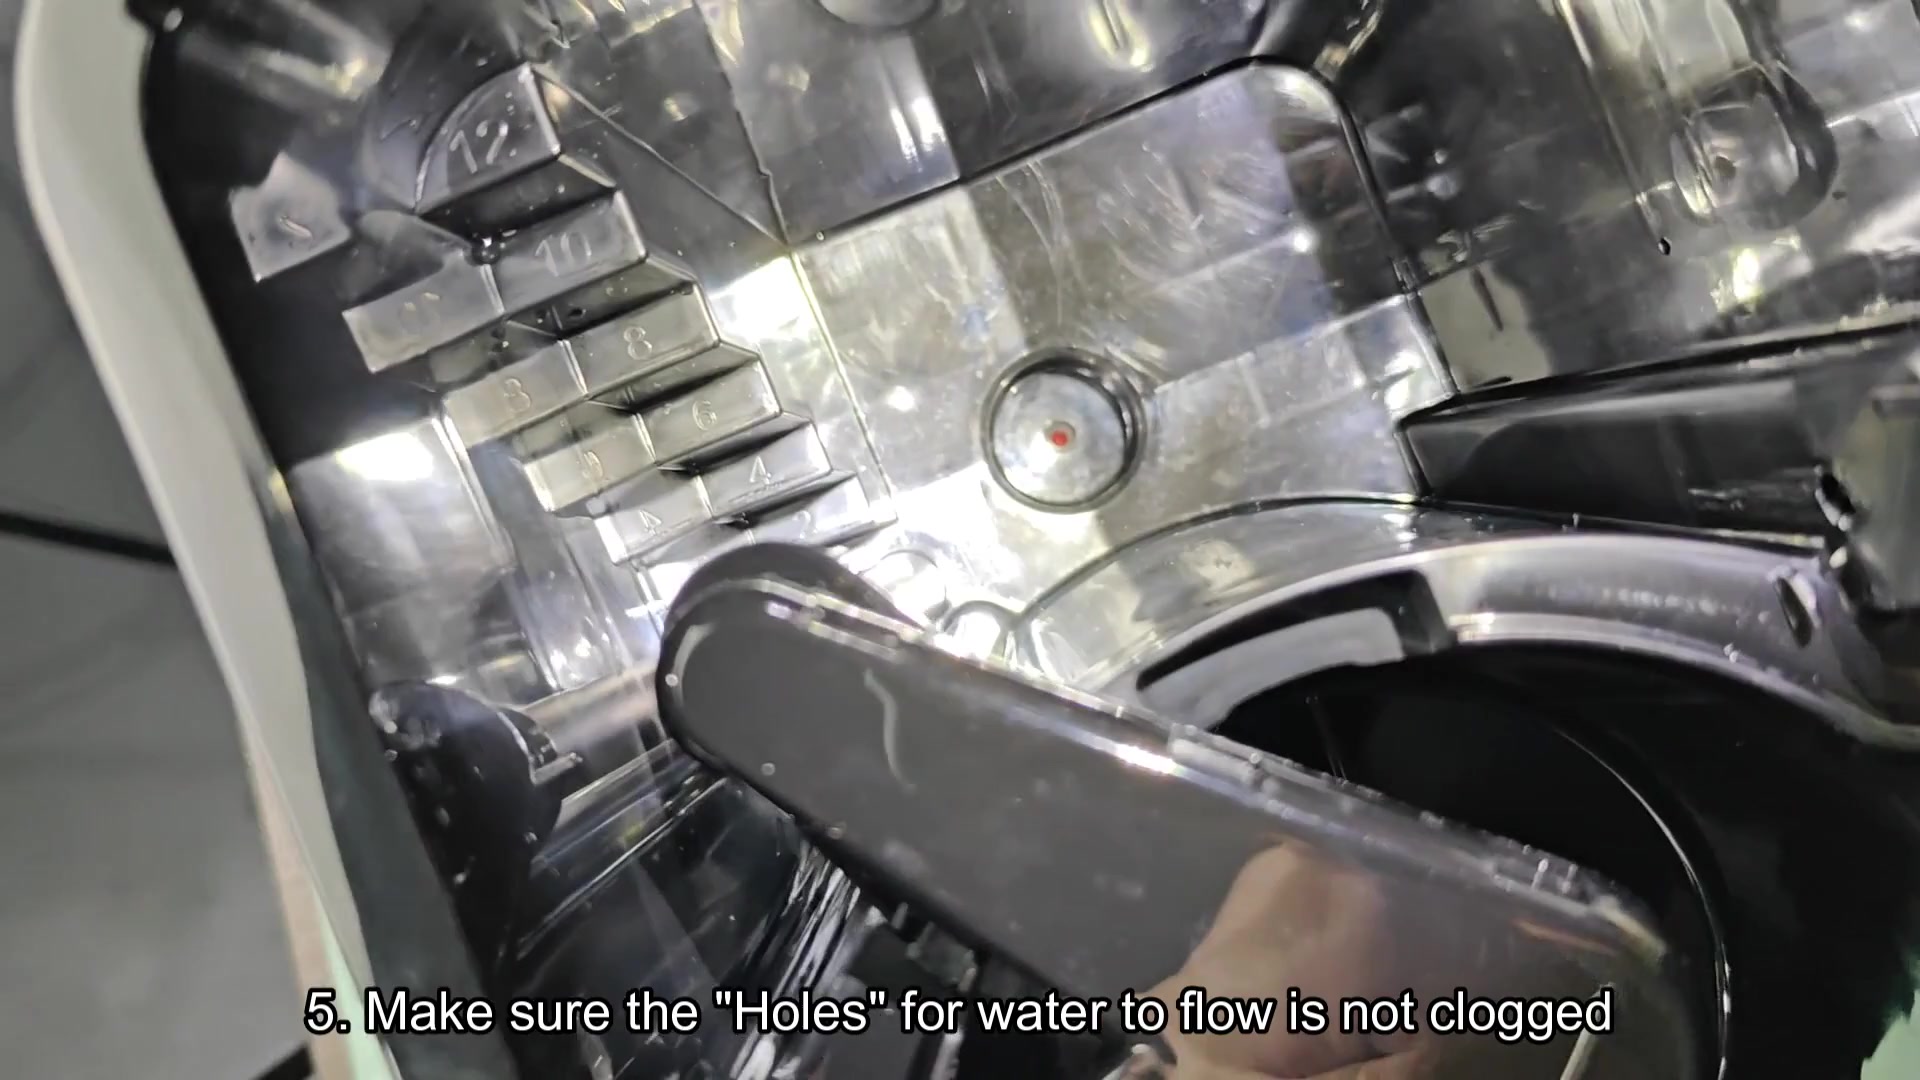
Everything flows well. All the holes are clean. The machine continues to brew. It no longer stops halfway. It maintains pressure during the entire brewing cycle. It no longer sputters. Problem was a combination of clogs and latches. Fixing both restores full functionality. Now it’s good as new.