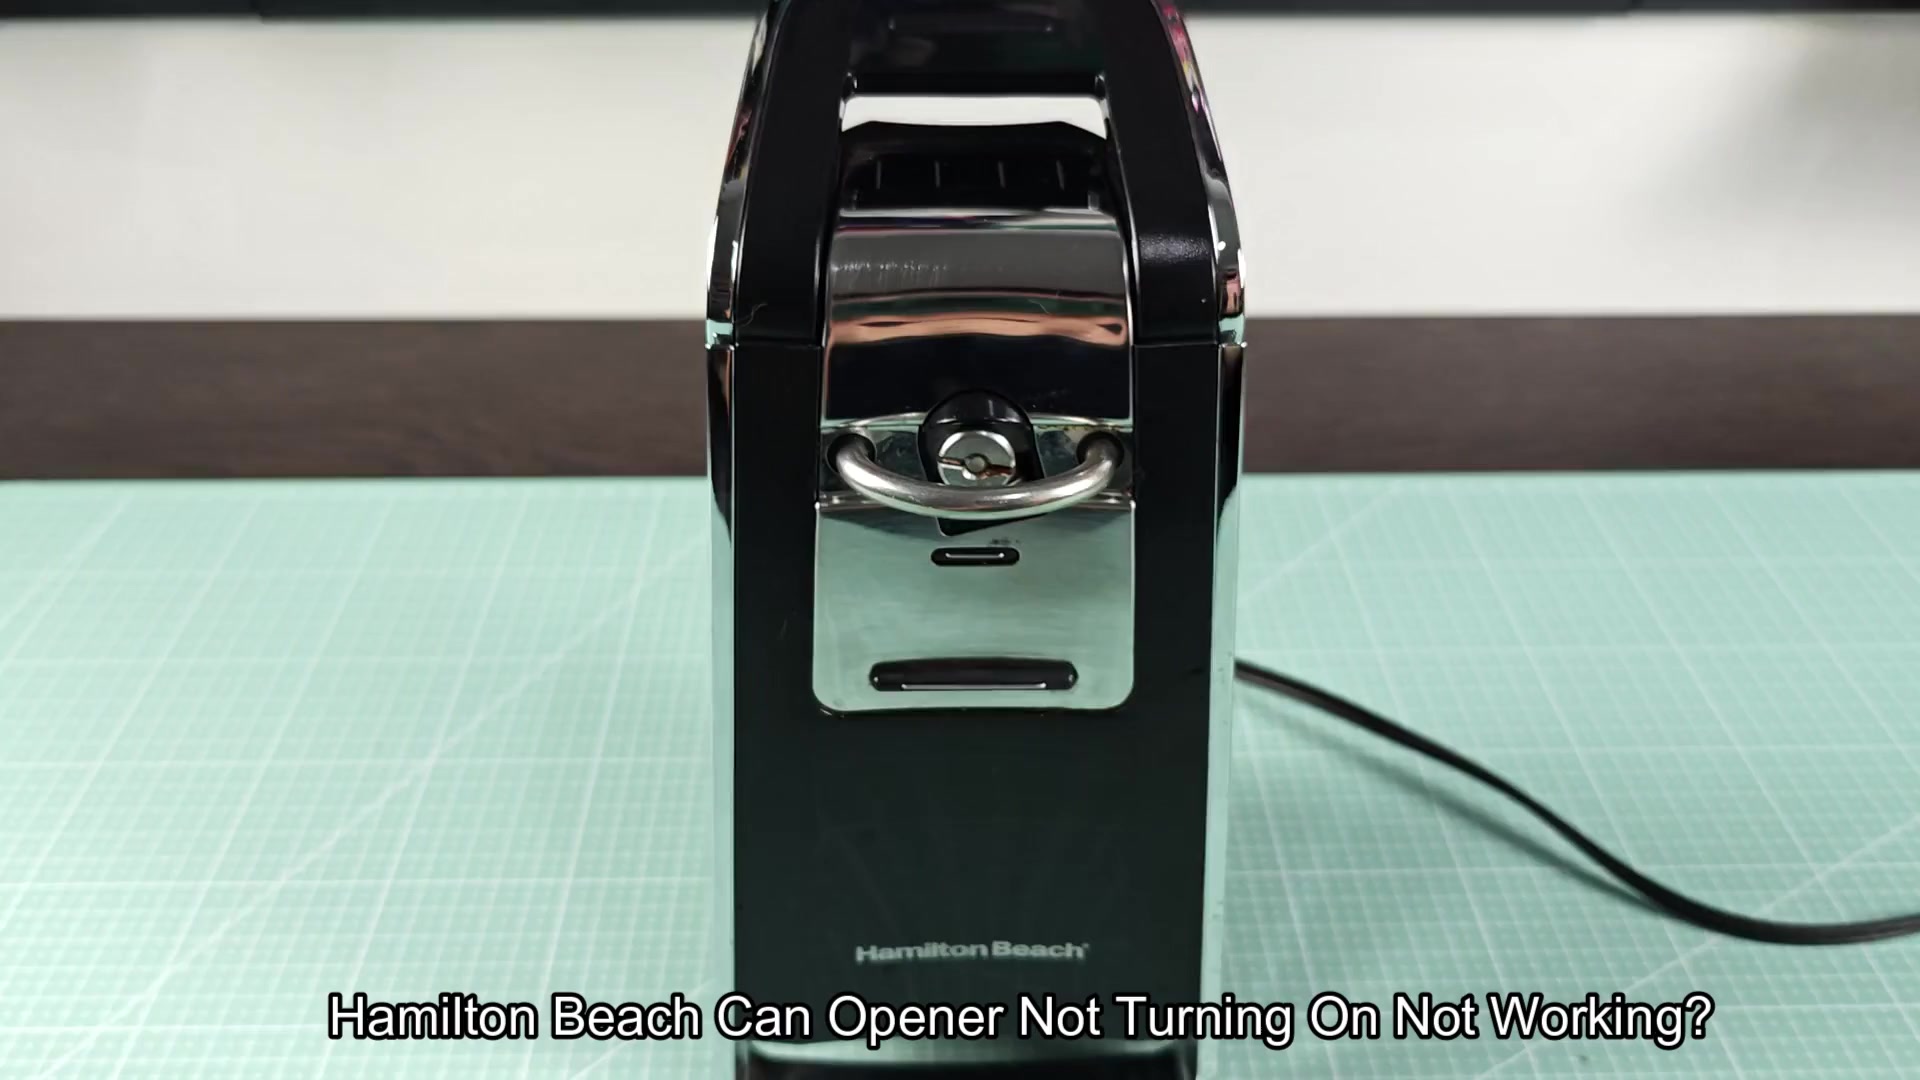
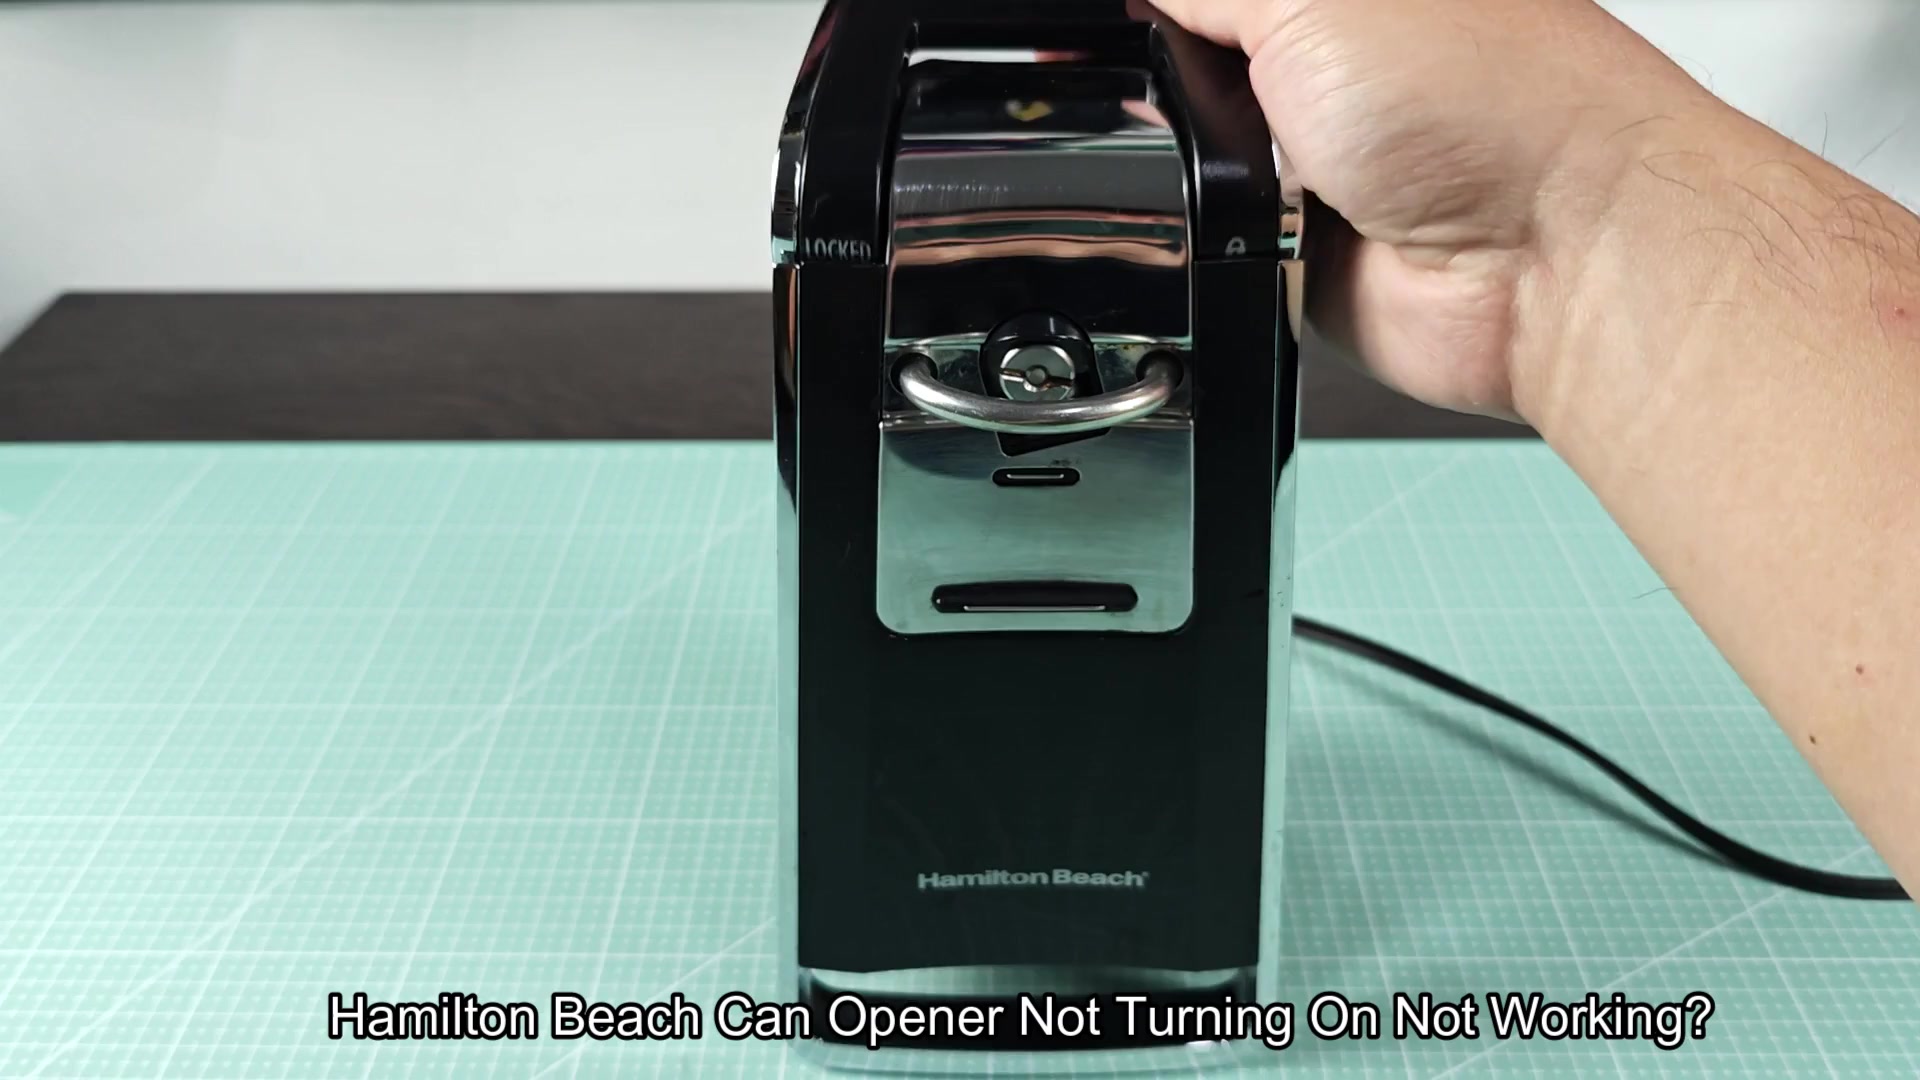
Before starting anything, turn off the appliance and remove it from the outlet. Why? Because working with electrical appliances is dangerous; safety always comes first.
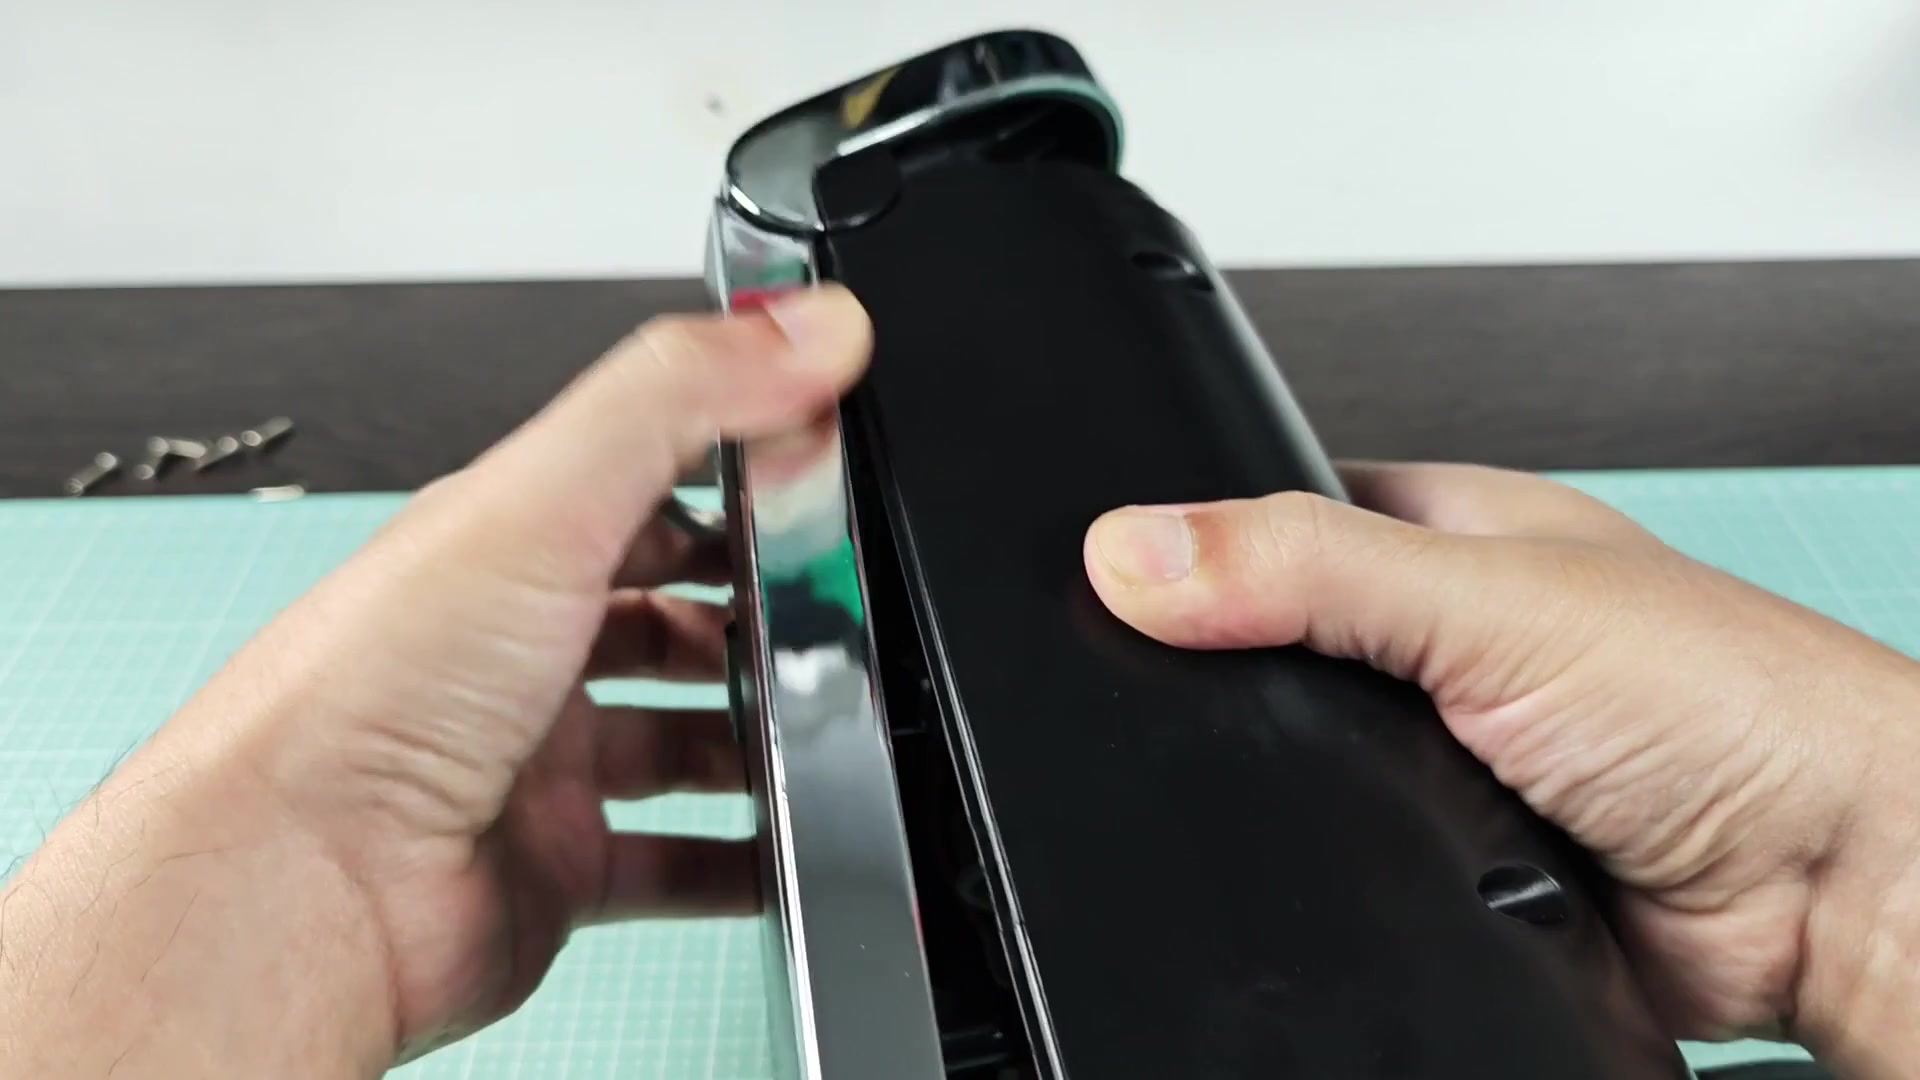
Unscrew the back case with a screwdriver and then gently pry it open to reveal inside of the appliance. At this point, it might appear quite daunting, but don’t worry, by breaking the appliance down into pieces, it becomes something you can manage.
Inspecting Internal Components
Because most appliances include a fuse somewhere near their power input, you’d assume this appliance has one as well. That way, you wouldn’t have to track down a new one right away. But it’s not there in this particulur Hamilton Beach.
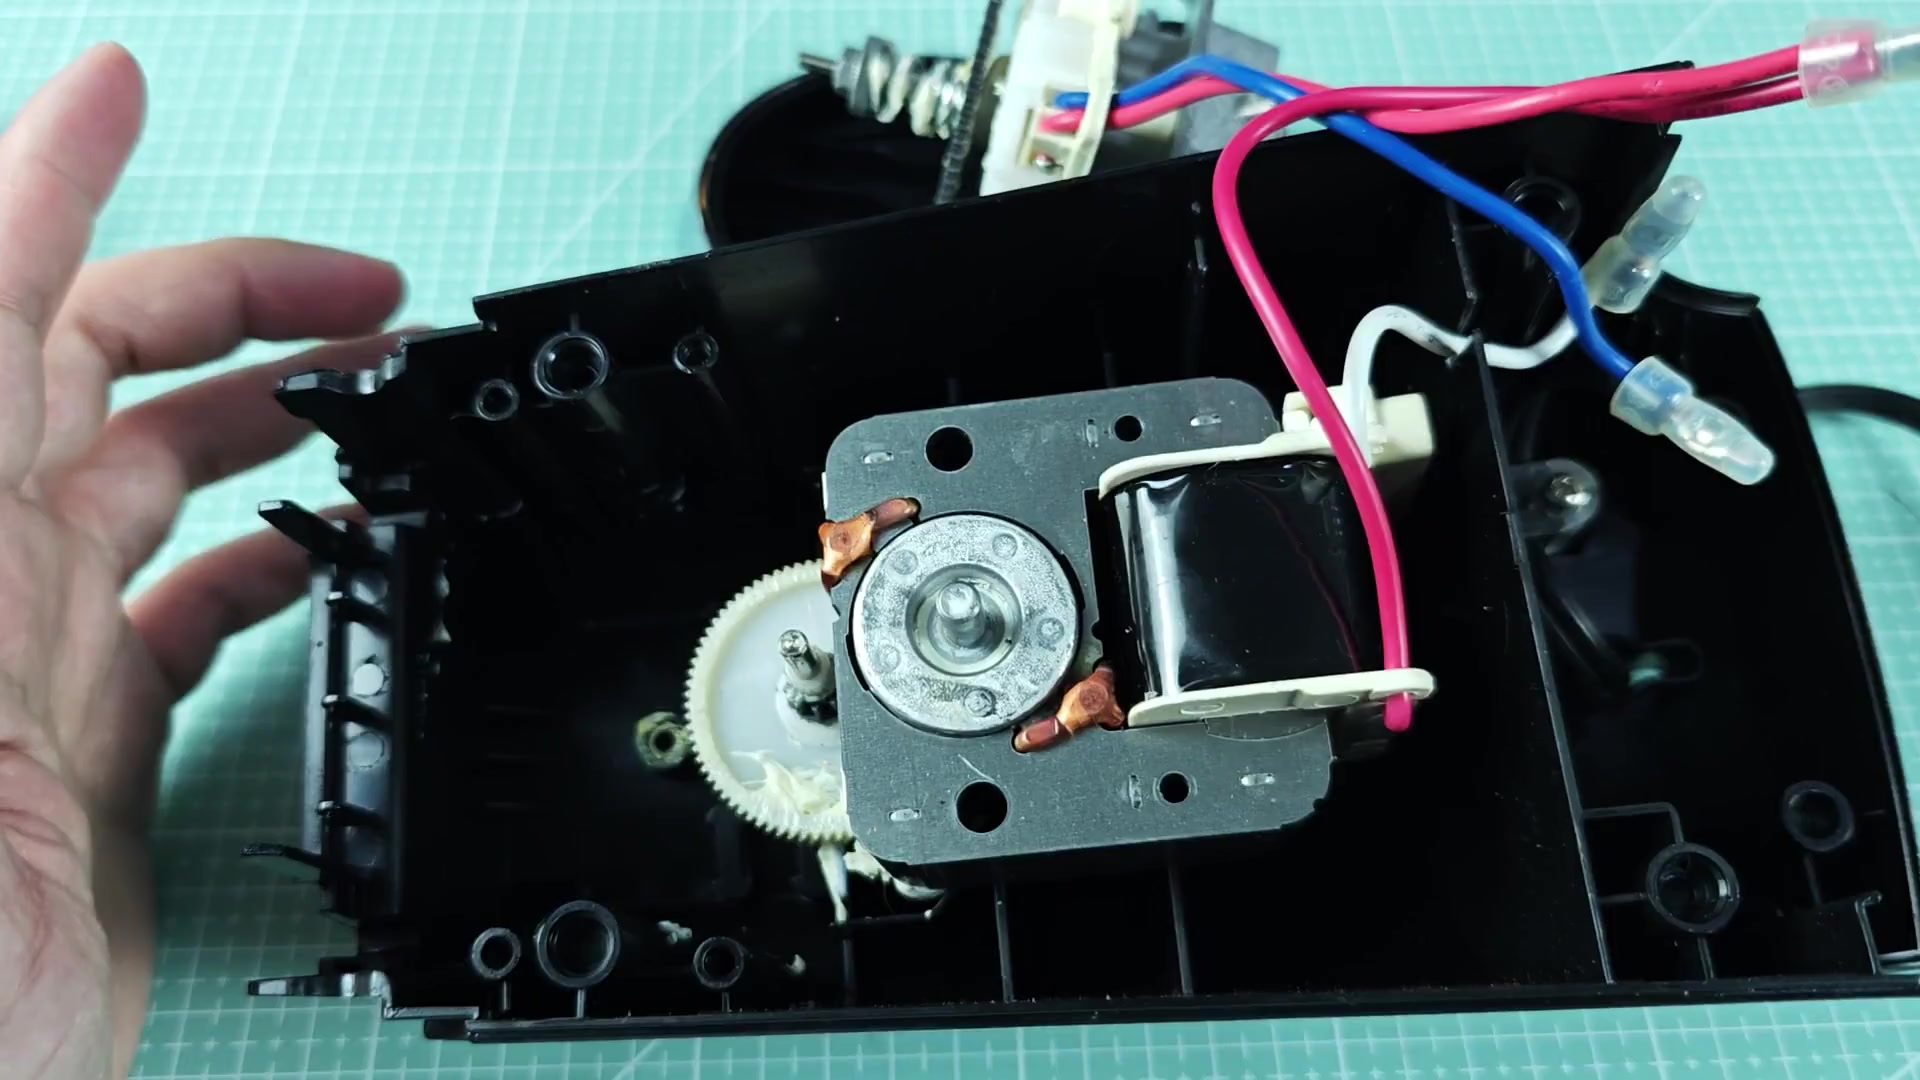
You scan the wiring and connections on the unit itself. There should be three wires, red, white, and blue… Running throughout the machine. Are all of them connected? Is everything tight?
The problem with a loose wire is that it can messes with your power. Your wires aren’t loose; they’re nice and snug and secure. So, probably it’s not an issue based off a broken connection.
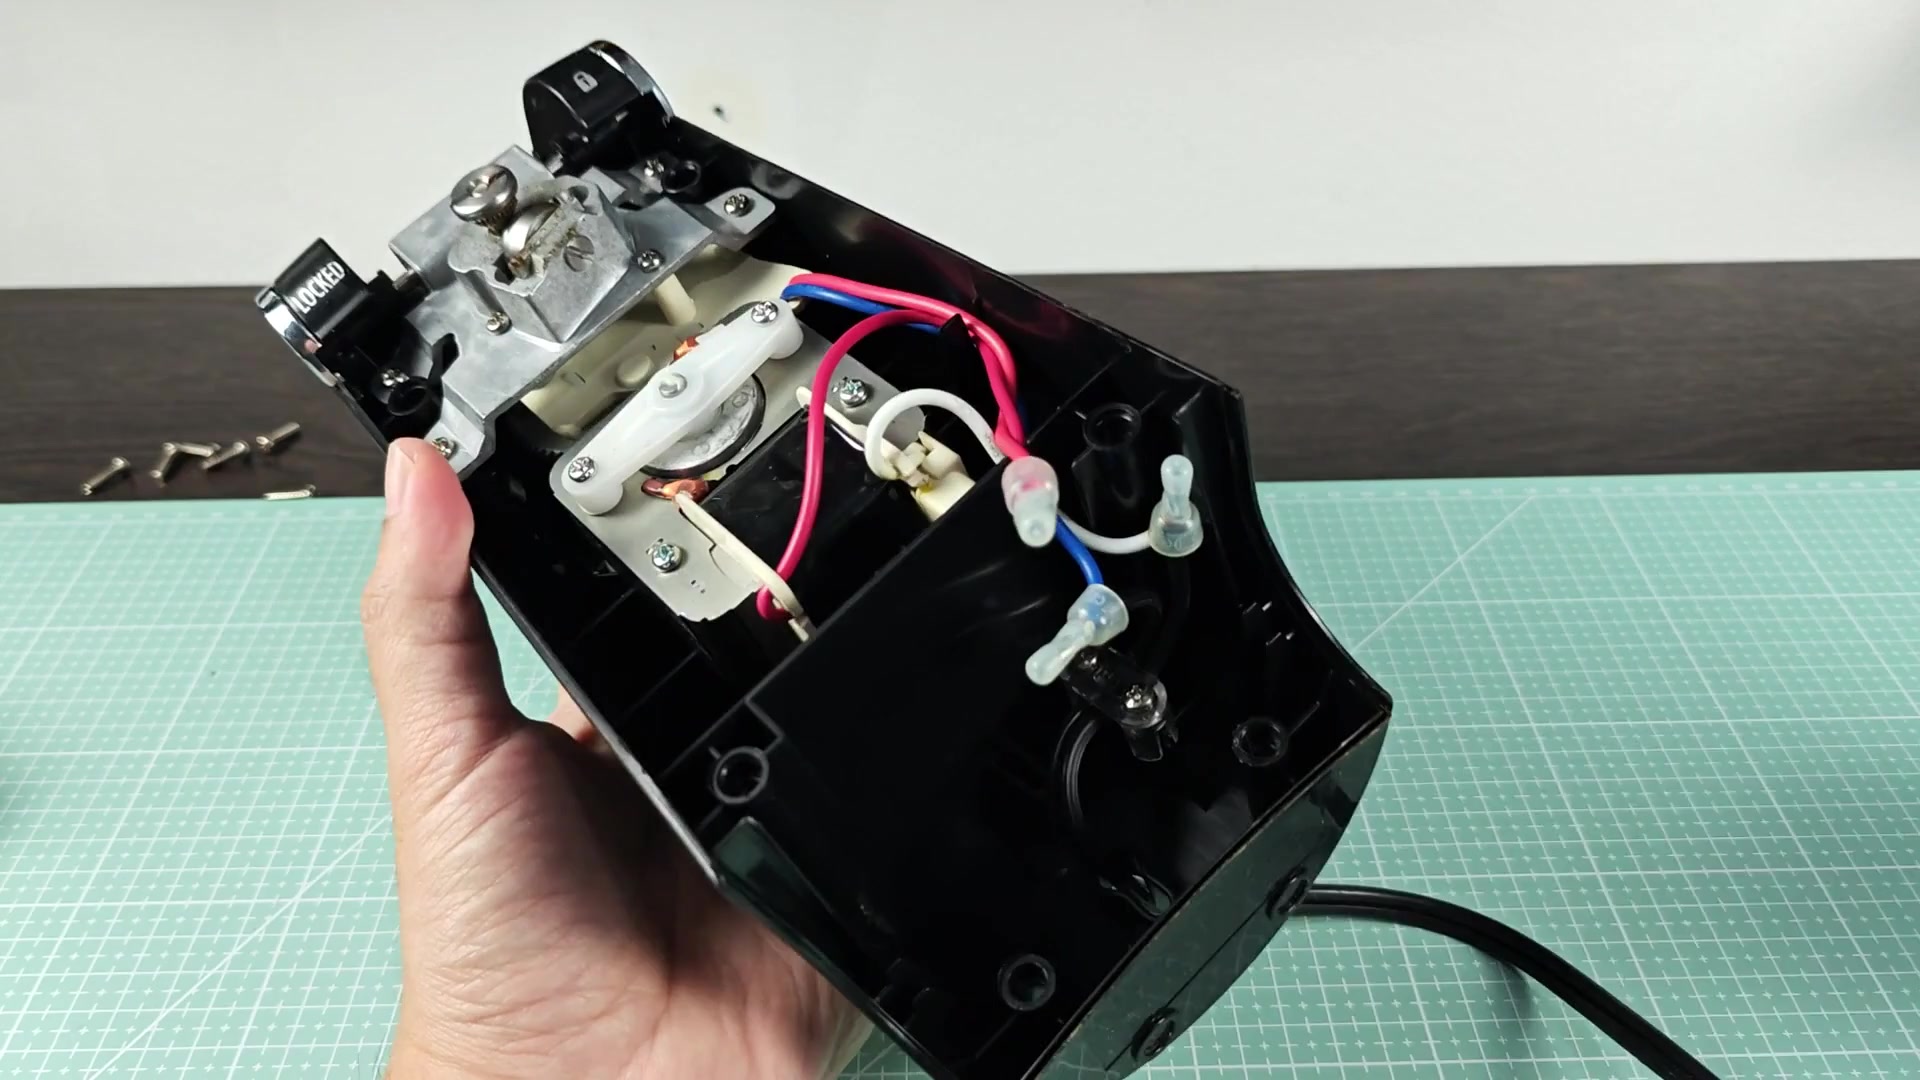
The next thing you look at is the motor assembly because one of the most common causes of these failures are due to a bad motor. Inside the casing, sitting on the right side is the motor, which appears in good shape from the exterior. That’s where mechanical parts can fool you; you have to inspect the blades and gear too.
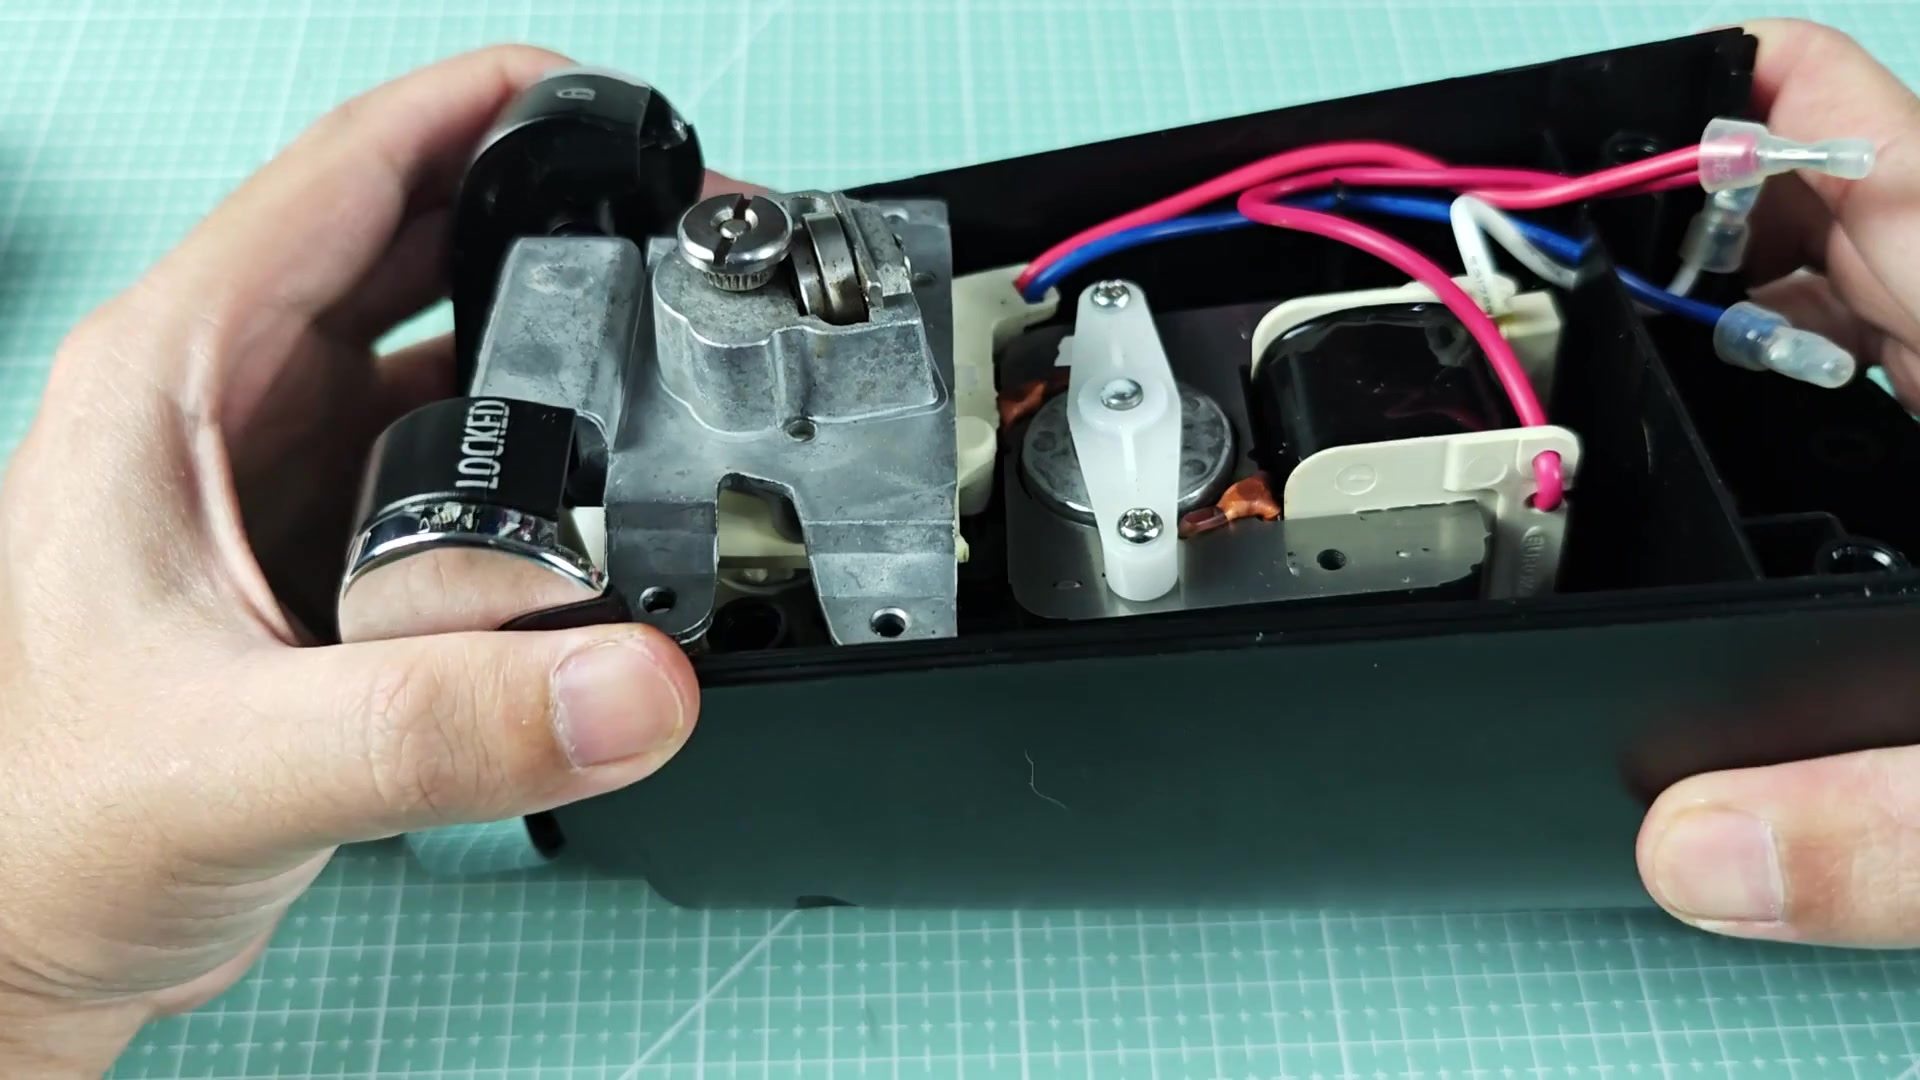
Looking at the beige frame, you see the label stating that it’s a Eureka motor model M602-23212. That helps you know exactly what it is and understand what you’re dealing with; these little motors are dependable but not bulletproof. Before you think it’s a burned out motor, it’s best to check the mechanics.
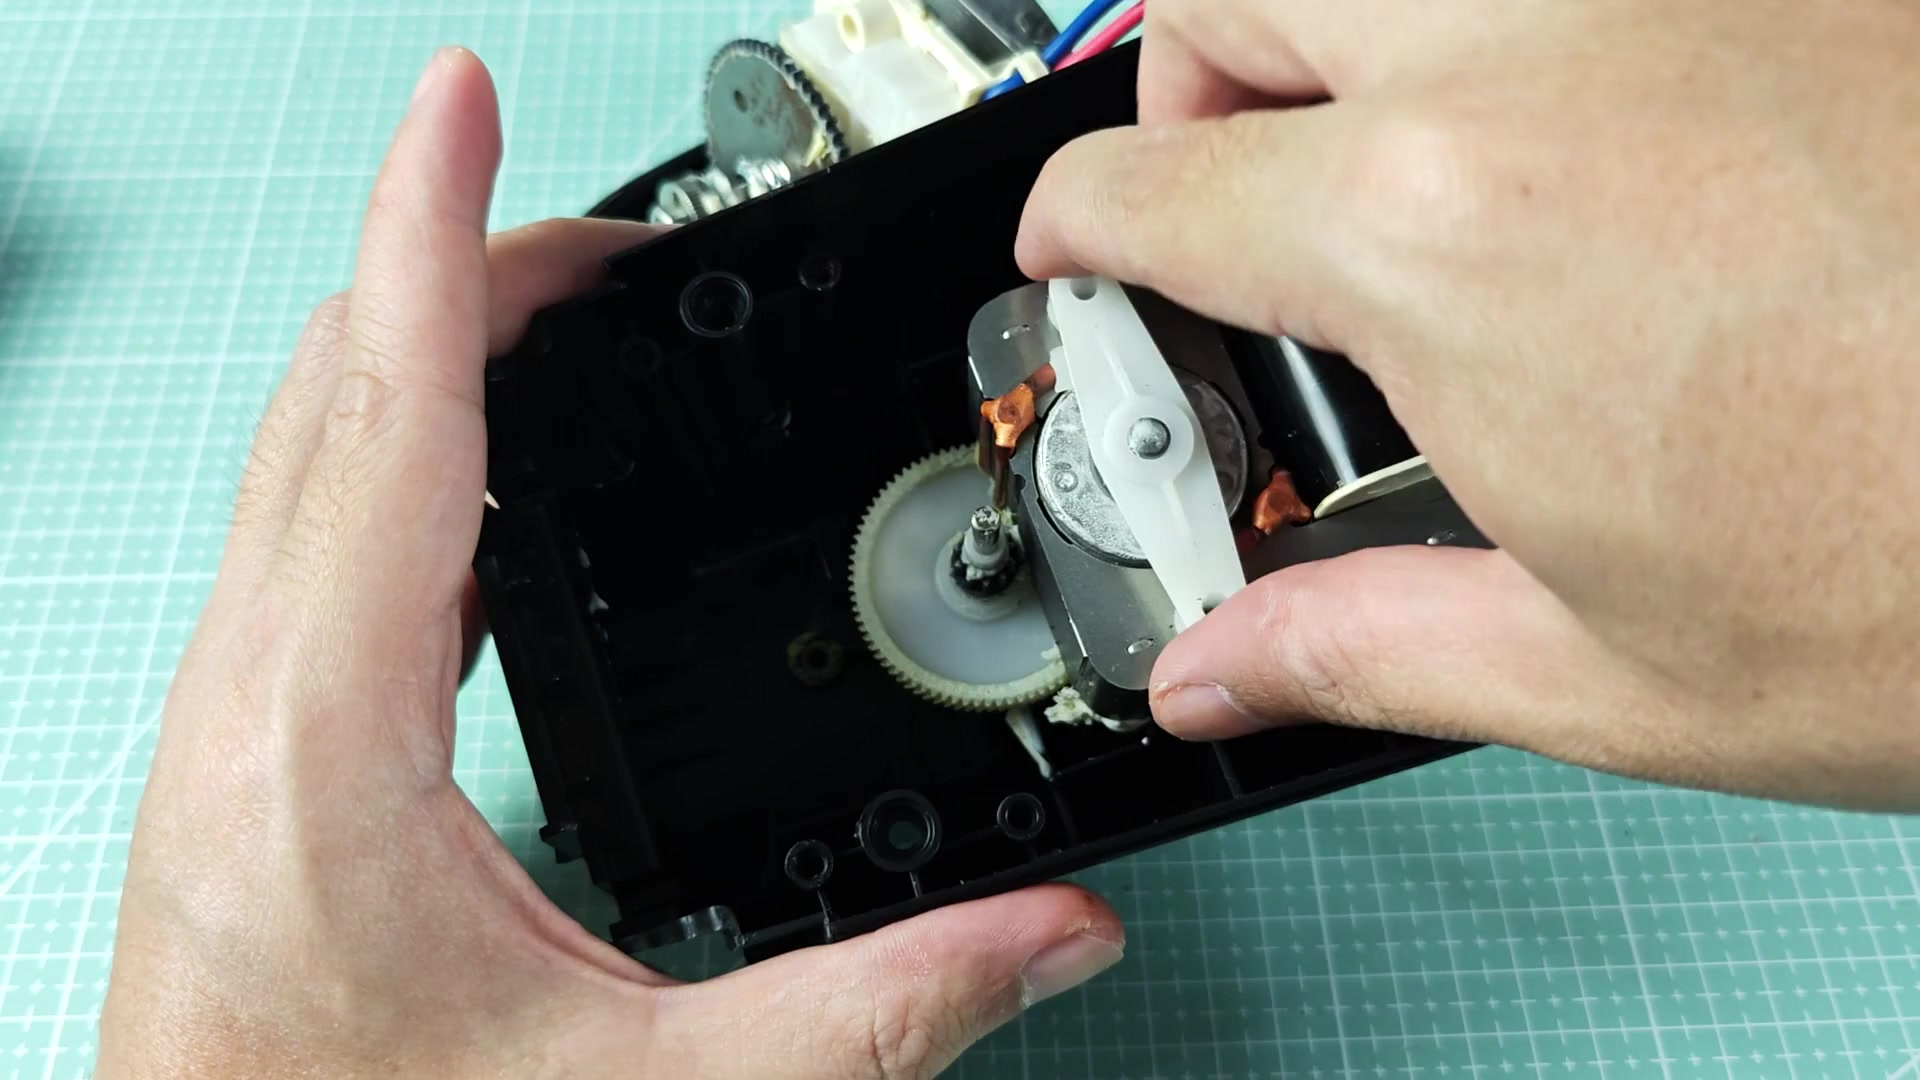
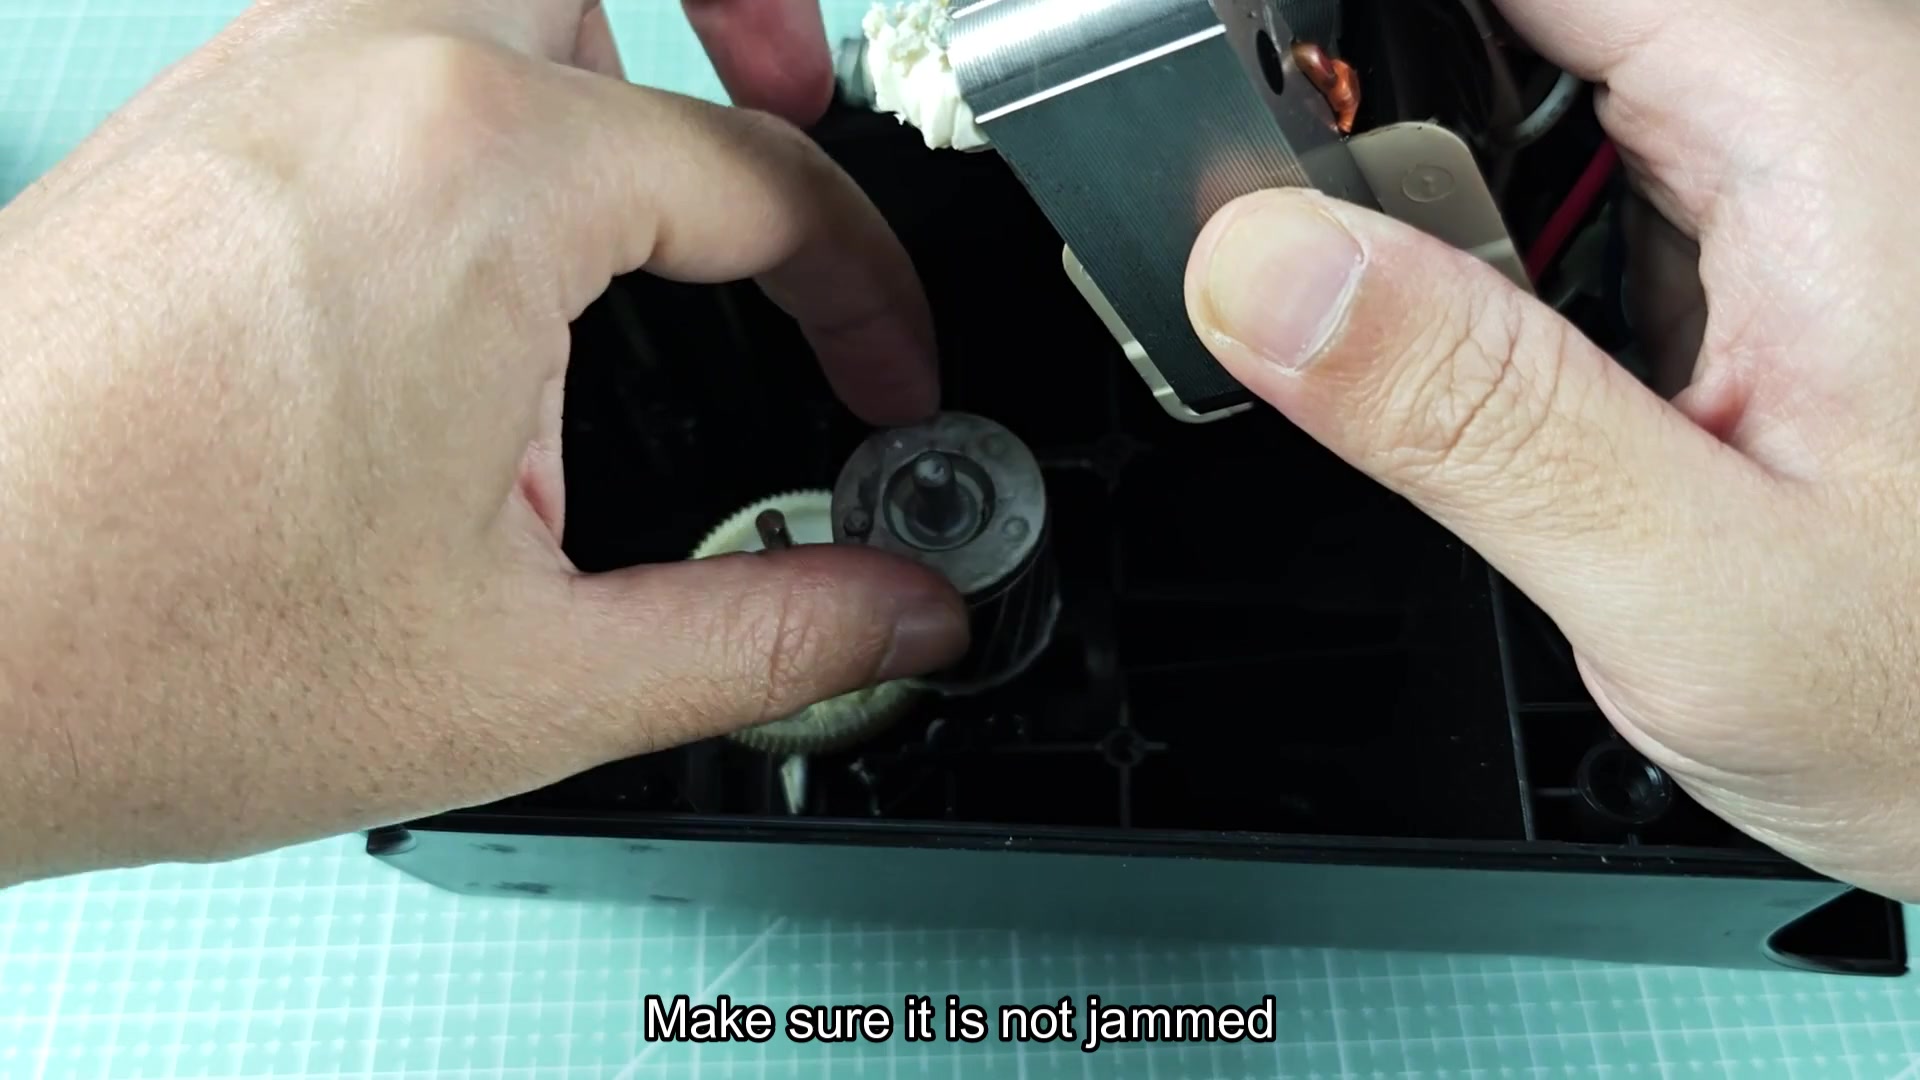
Because metal shavings and other food residue can often become lodged in the gears, you also want to check for jammed up parts. At first glance, the unit appears free of significant blockages; however, you’ll raise the spring-loaded shaft and gear assembly from the housing to ensure there is nothing wedged between them.
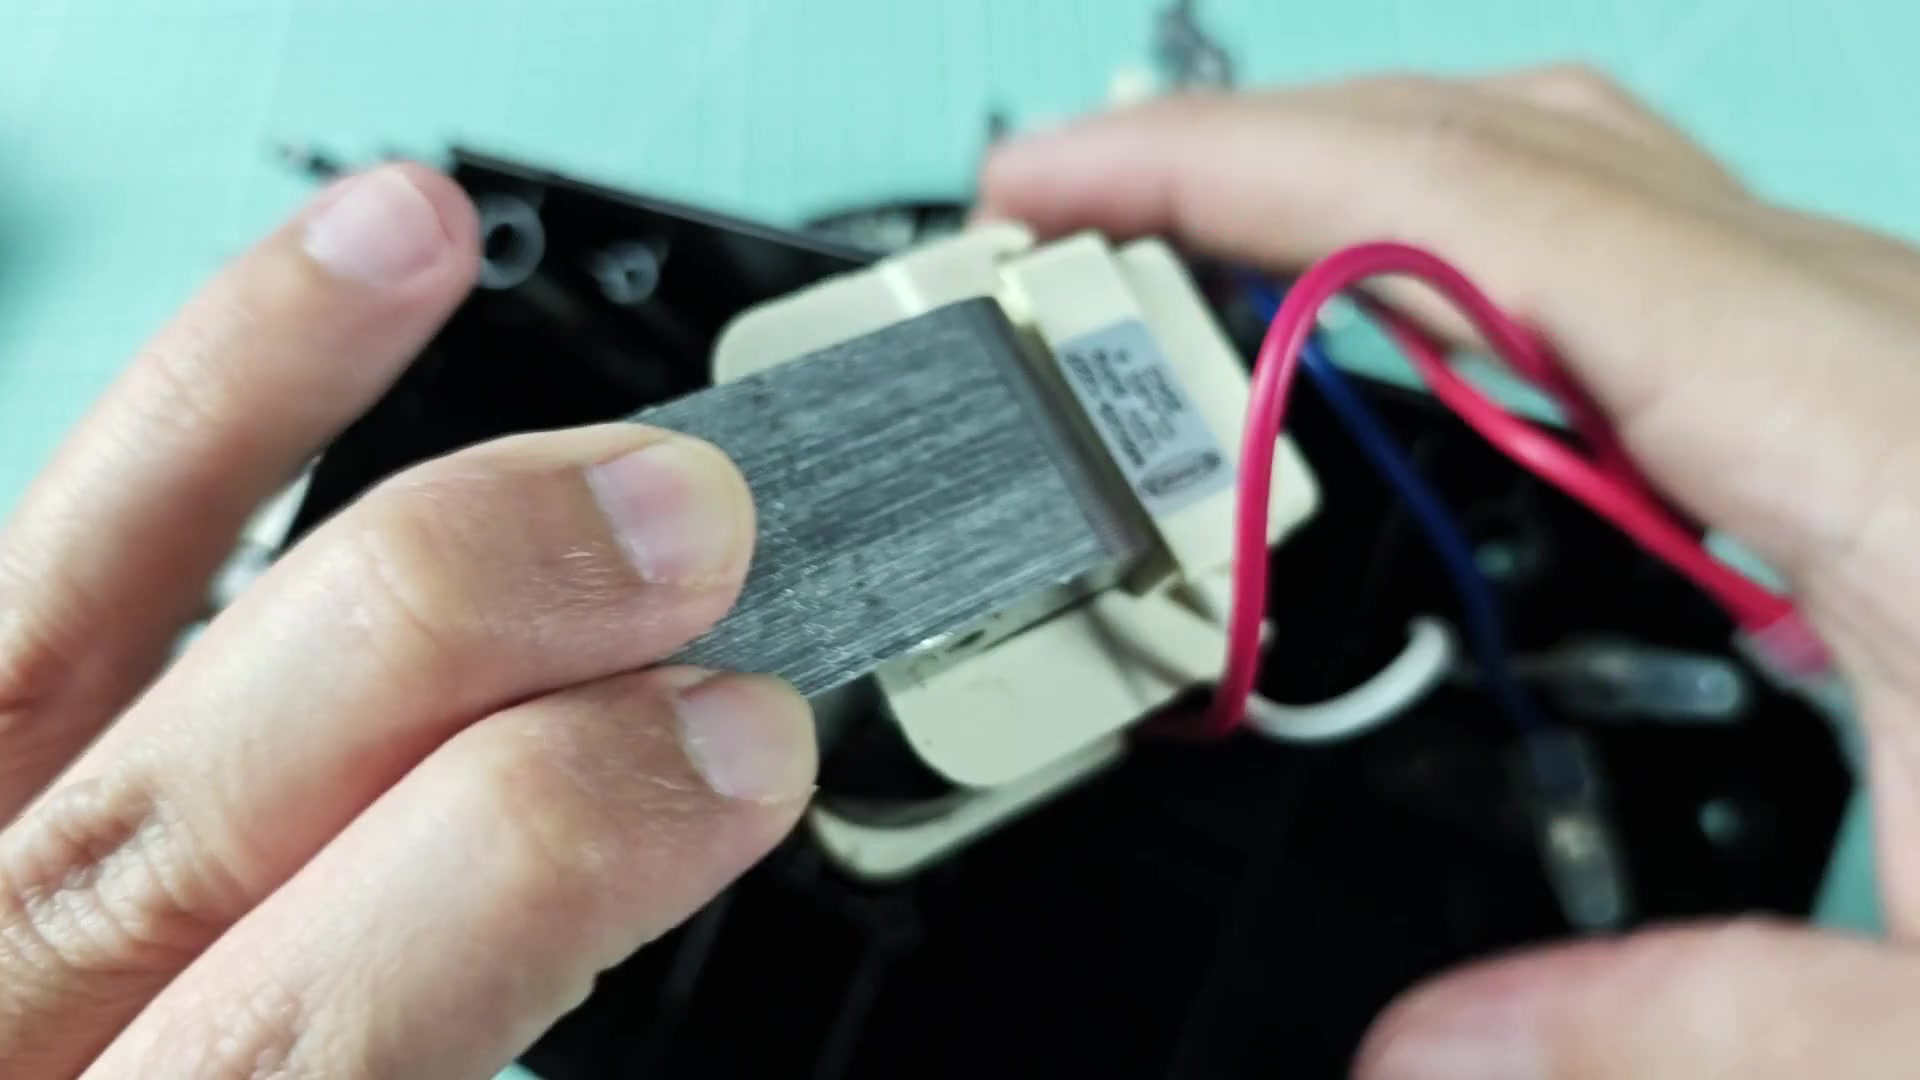
You’ll then have free access to check how they move and the gear should spins freely with no resistance. When you pick the gear up manually, it should move easy; if it sticks, the motor won’t be able to turn it well enough. This ensures there is no mechanical binding in this section.
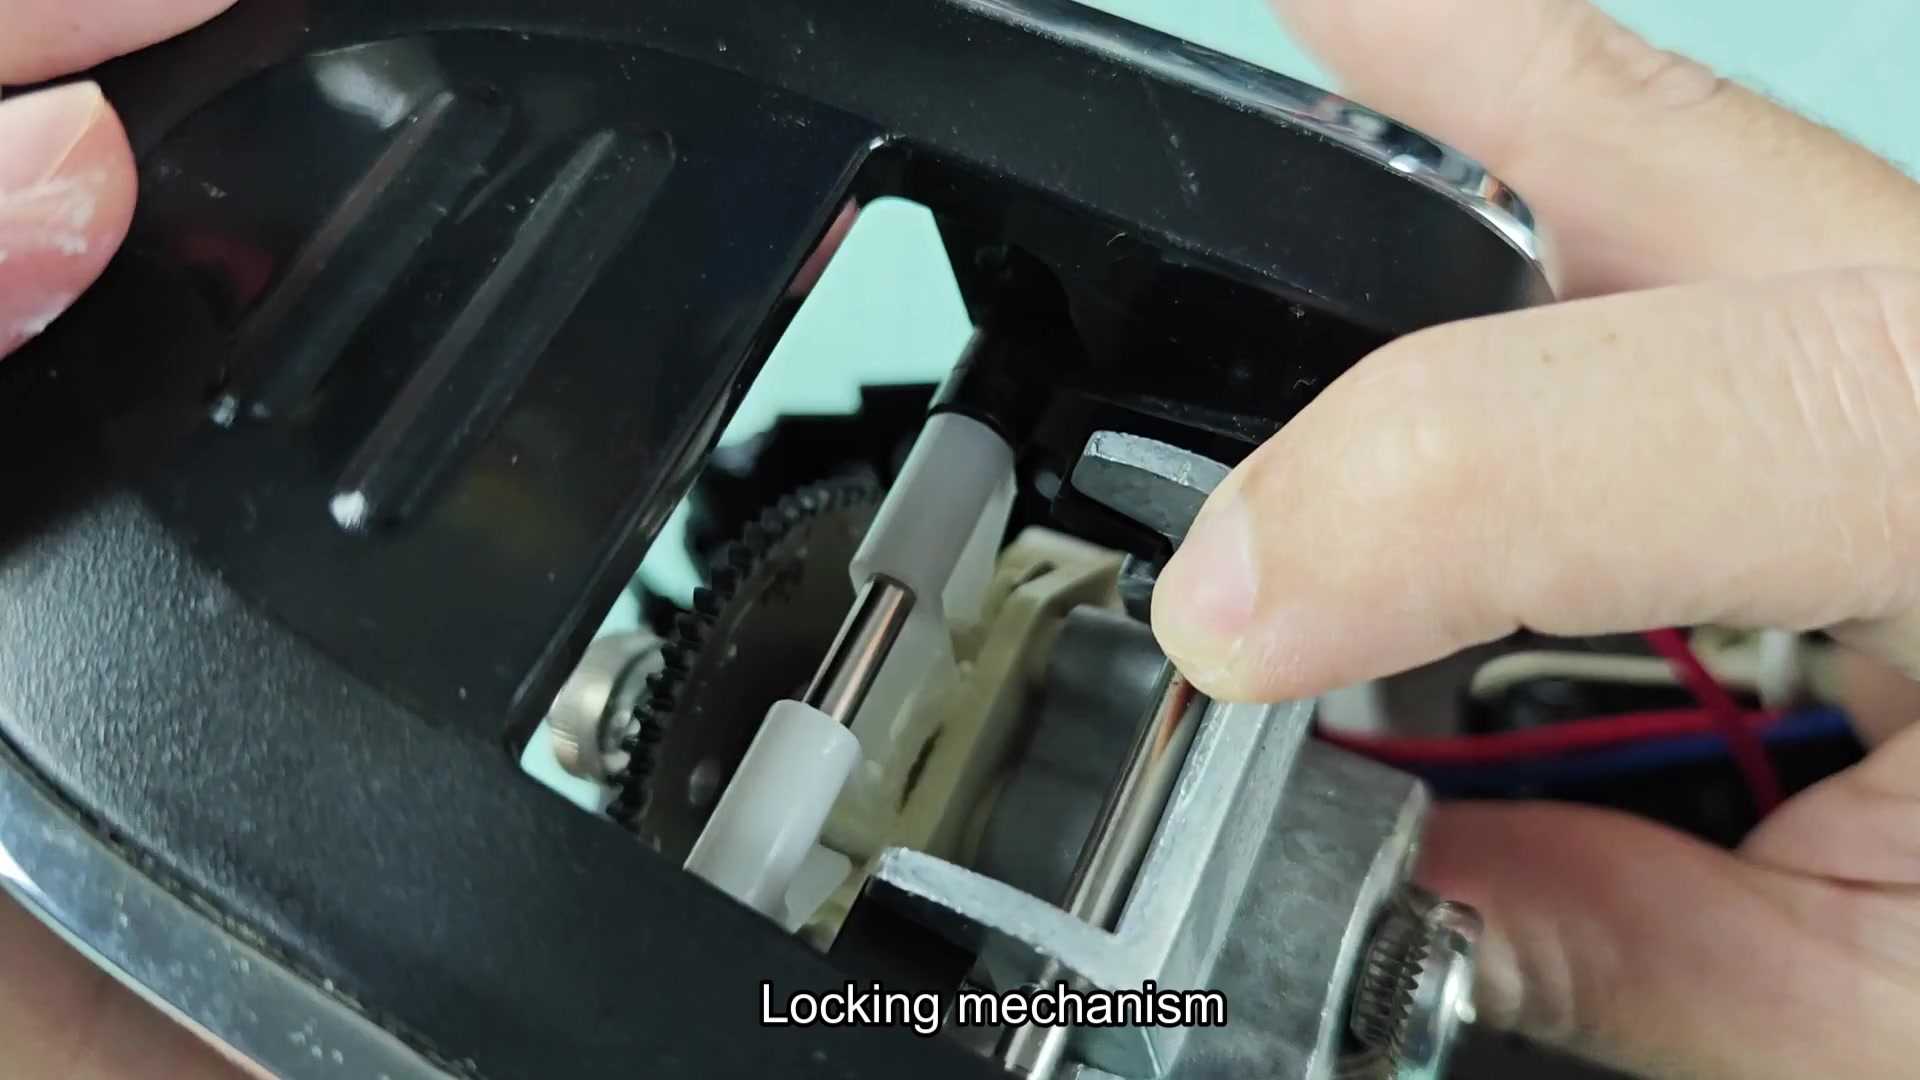
Next you look at the locking mechanism, since it’s positioned near the left side of the interior. This is what holds the can in place as it operates, and when this fails, the entire system will lock up. To check it, you manually slide the metal slider back and forth; it feels stiff but functional. A bit of lubrication couldn’t of hurt here so you think about squirting a bit of oil onto moving parts.
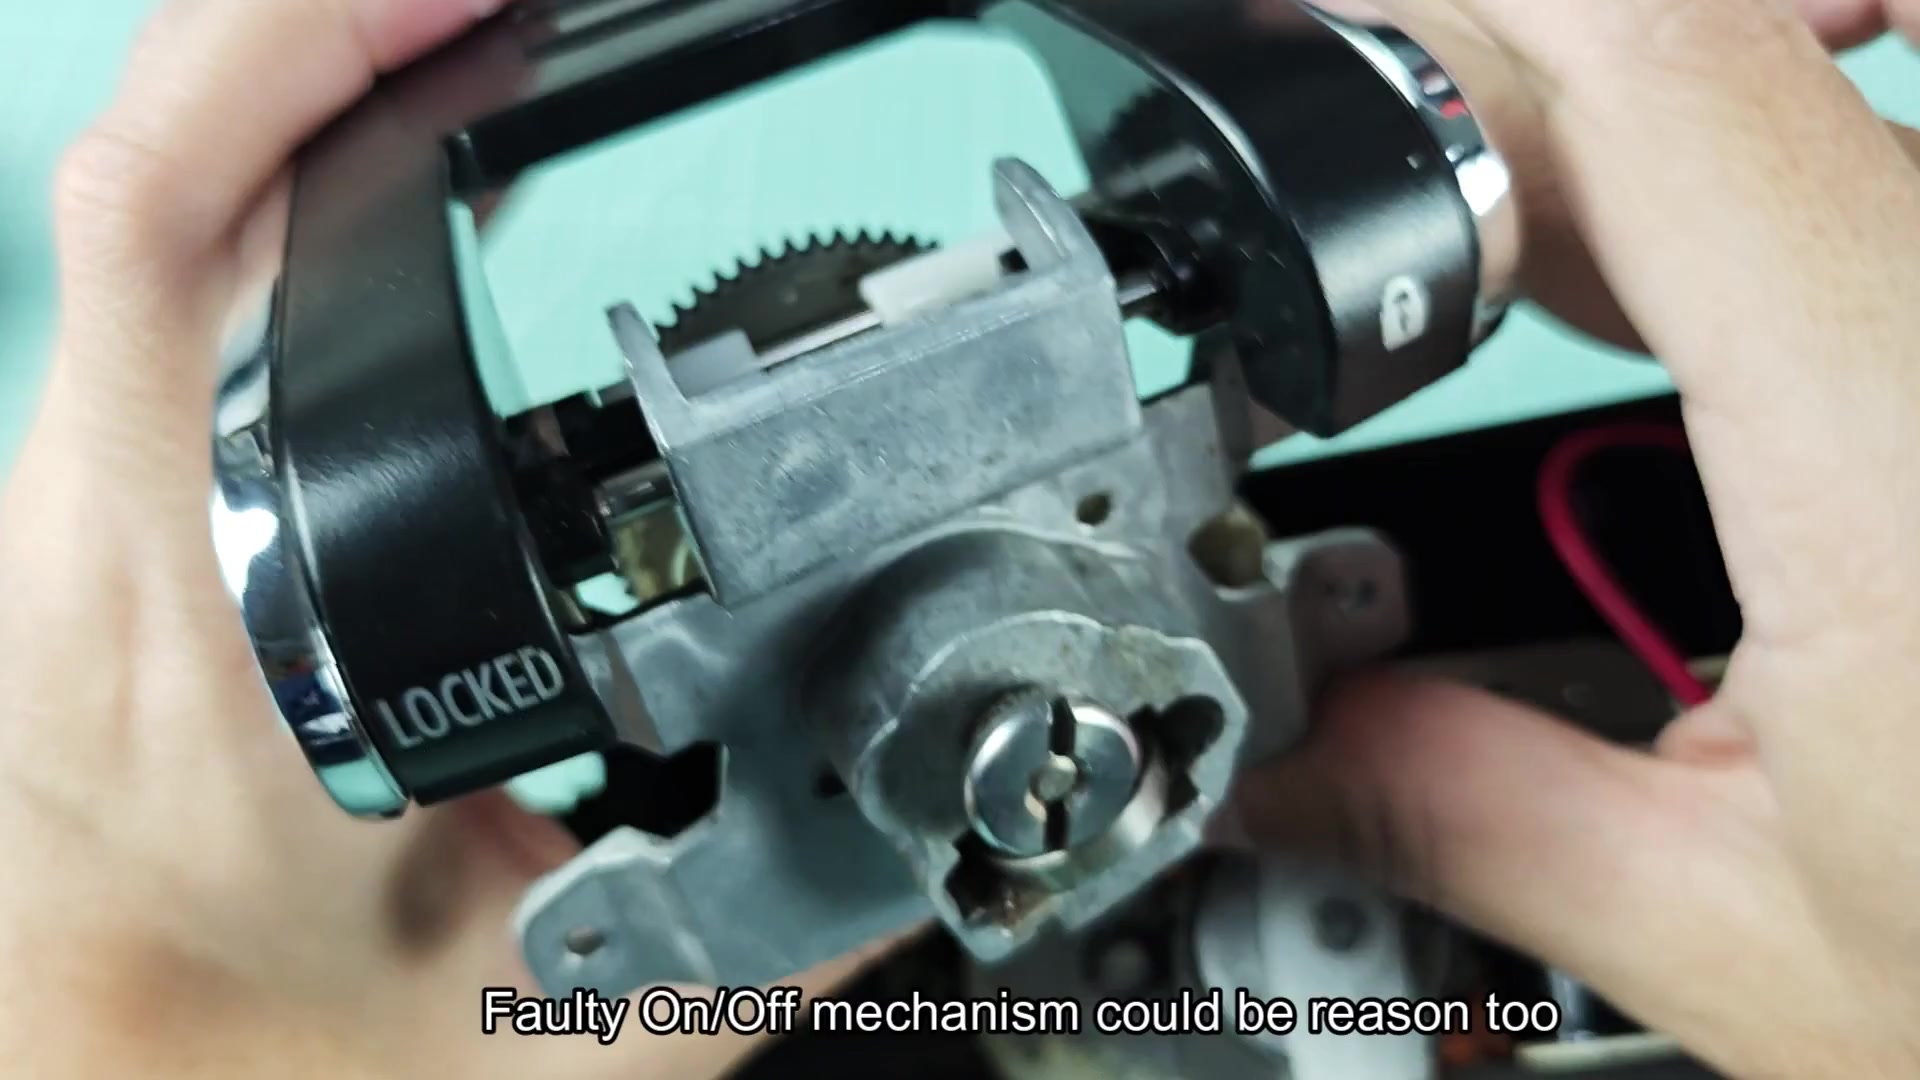
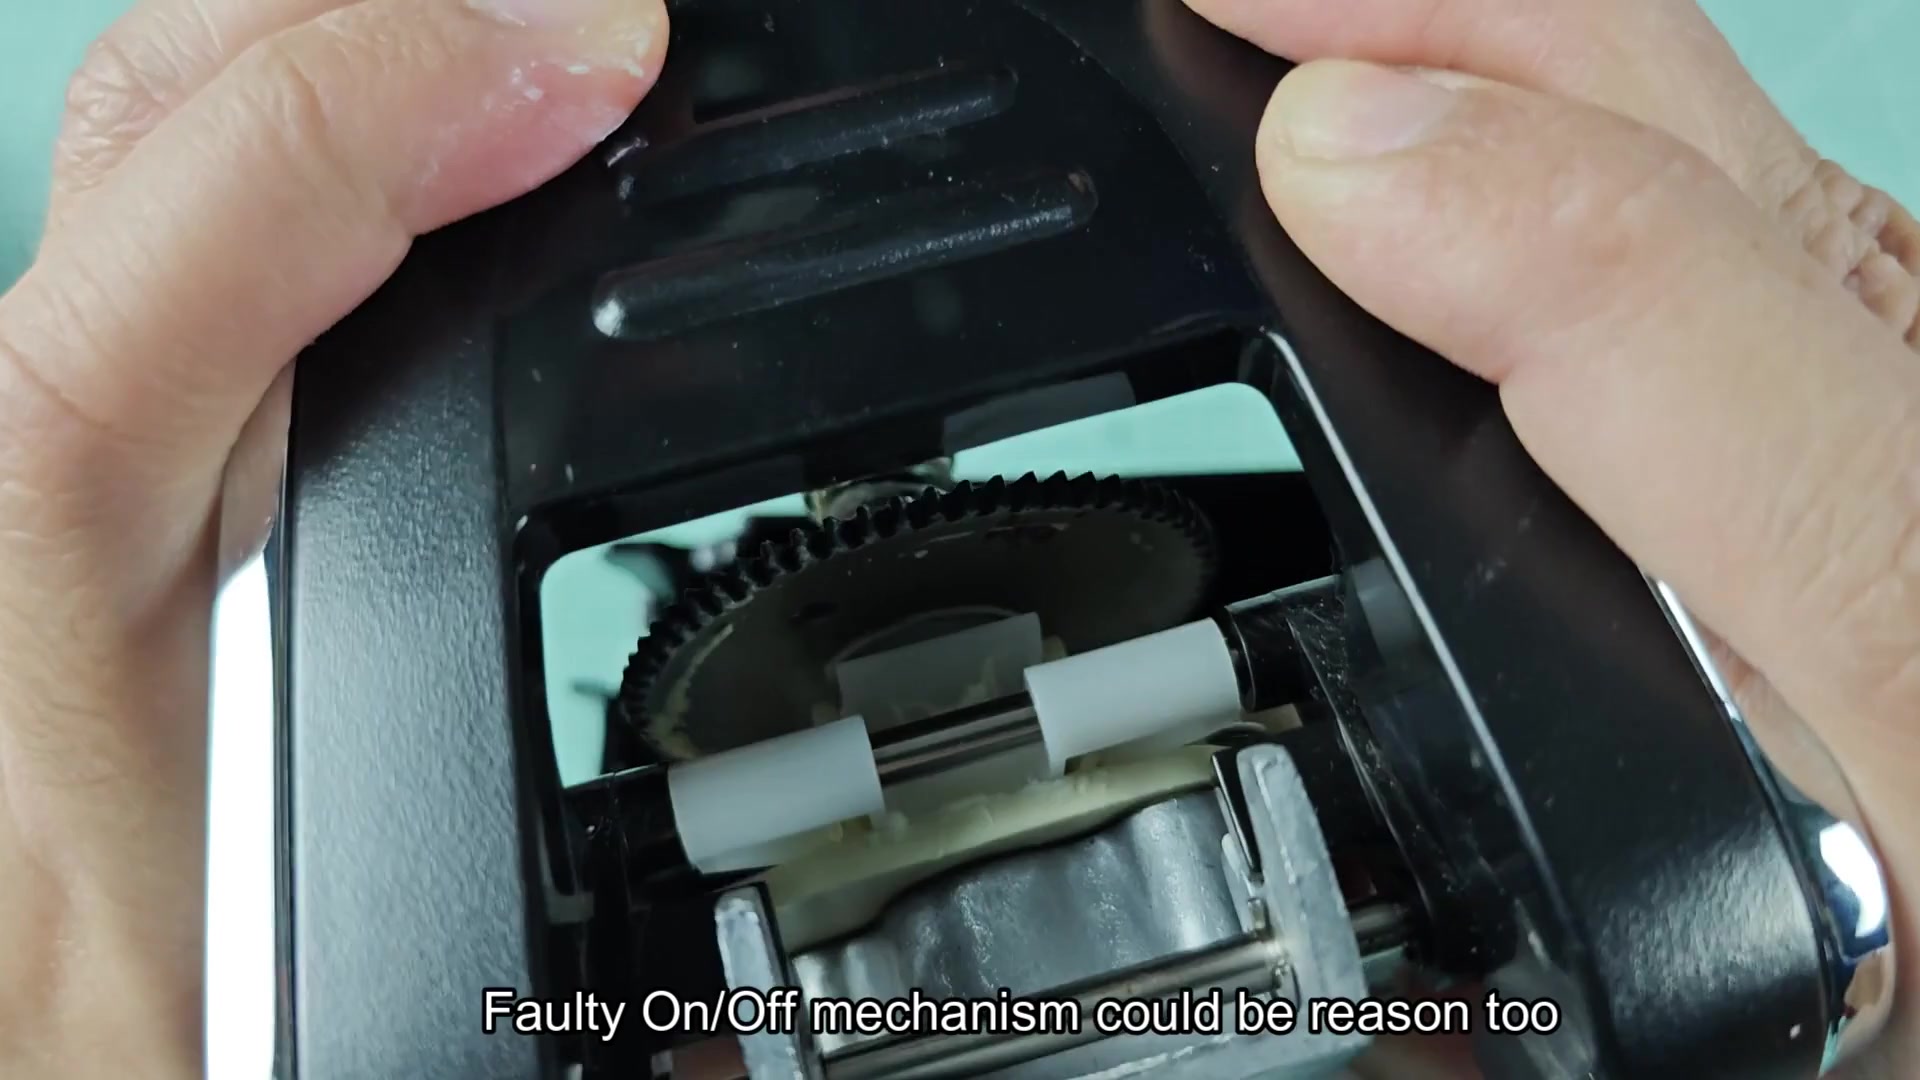
Finally, you also look at the on/off switch mechanism, as contact failure and wear over time can cause the switch not to engage. The worn area where the power button engages with the internal circuits appears to be a weak spot (a common one in many electric openers).
You check the roller and blade area again, as that can be a big factor in how the thing will perform. There is not much wear on the metal components, so things all line up right again in your mind’s eye if you picture yourself putting it back together.
Problem solved… sometimes, the solution is easier than you thought and it was simply a tiny bit of something that got into it. After all your checks, you put it all back together and tighten the cover well. Now you’re anxious to plug it back in so you push the button and see if it comes alive. It does and before long you know the answer.